This site is supported by our readers. We may earn a commission, at no cost to you, if you purchase through links.
Don’t worry, friend, sewing machine hook assembly repair is a DIY-friendly task that’ll have you stitching like a pro in no time.
First, you need to understand the hook assembly components – think drive shaft bushing, hook wheel, and thread intersection.
Then, it’s time to get your hands dirty: disassemble the machine, adjust the bushing, and fine-tune the hook timing.
It’s not as scary as it sounds, and with these expert tips, you’ll be on your way to smooth, stress-free sewing.
And that’s just the beginning!
Table Of Contents
- Key Takeaways
- Bobbin Essentials for Smooth Sewing
- Maintaining Your Bobbins for Optimal Performance
- Troubleshooting Common Hook Timing Issues
- Understanding Hook Assembly Components
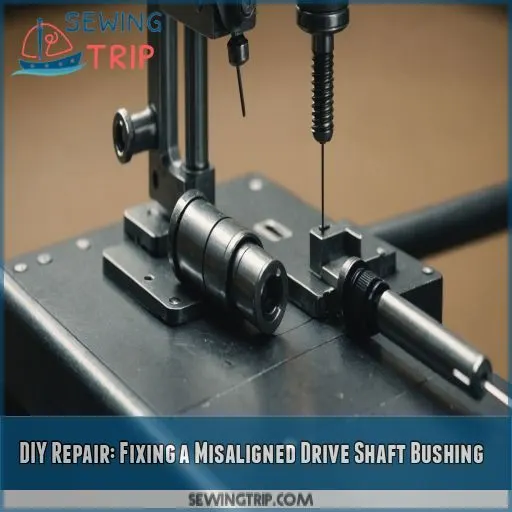
- DIY Repair: Fixing a Misaligned Drive Shaft Bushing
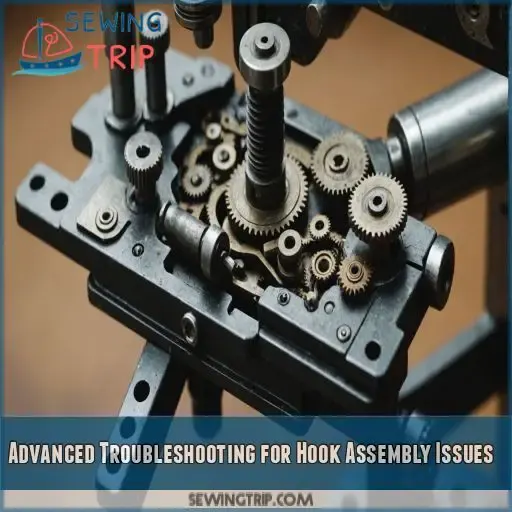
- Advanced Troubleshooting for Hook Assembly Issues
- Preventing Future Hook Assembly Problems
- Frequently Asked Questions (FAQs)
- Conclusion
Key Takeaways
- You’ve got the power: Don’t be intimidated by sewing machine hook assembly repair – with the right guidance, you can DIY and save yourself from future headaches. By understanding the hook assembly components and tackling that pesky timing, you’ll be stitching like a pro in no time.
- Bobbin Basics are essential: Before you start tinkering with your hook assembly, make sure you’ve got the basics covered with your bobbins. Choosing the right bobbin for your machine and keeping it in good condition is crucial for smooth sewing.
- Timing is everything: Hook Timing issues can be a real pain, but by identifying the problems, checking for simple fixes, and fine-tuning that hook timing, you’ll be on your way to perfect stitches every time. Remember, it’s like a game of thread-tag – the needle thread and bobbin thread need to catch each other in perfect harmony.
- Maintenance is key: To prevent future hook assembly problems, prioritize regular maintenance, inspect for wear and tear, and replace damaged or worn-out parts as soon as possible. By staying on top of maintenance, you’ll avoid costly repairs and guarantee smooth sewing for years to come.
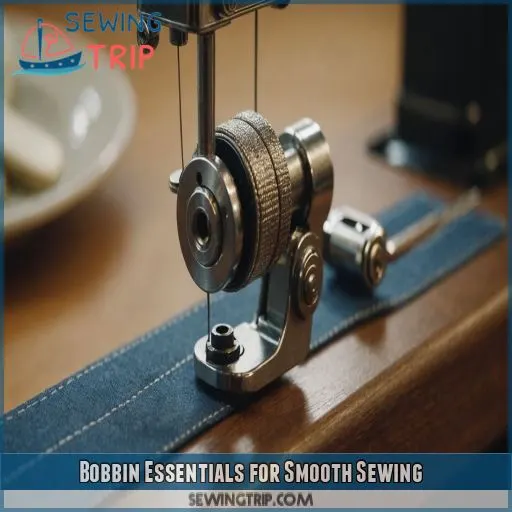
Bobbin Essentials for Smooth Sewing
You’re probably here because your sewing machine is acting up, and you suspect the hook assembly is to blame.
Before you start tinkering, let’s make sure you’ve got the basics covered with your bobbins.
Choosing the right bobbin for your machine and keeping it in good condition is important for smooth sewing.
We’ll explore the essentials you need to know.
Types of Bobbins and Their Uses
The humble bobbin – a tiny hero in your sewing journey! With various types, each serves a purpose. Plastic, metal, and ceramic bobbins cater to different sewing machines and fabrics. Understanding bobbin materials is key to achieving smooth stitches. Familiarize yourself with the options to learn a world of seamless sewing. Your machine (and fabrics) will thank you!
Choosing the Right Bobbin for Your Machine
Time to get personal with your sewing machine! Now that you know the types of bobbins out there, it’s time to choose the right one for your machine. Check your sewing machine manual for the recommended bobbin type and size. Consider the fabric type and thread weight to make sure they’re compatible. A well-chosen bobbin means smooth sewing ahead!
Bobbin Materials and Their Effects on Stitch Quality
Now that you’ve chosen the right bobbin for your machine, let’s talk about the materials that’ll make or break your stitch quality. Here are a few things to keep in mind:
- Plastic bobbins can be prone to thread slippage and may not be the best choice for delicate fabrics.
- Metal bobbins offer great durability but can be noisy and expensive.
- Ceramic bobbins provide a smooth, quiet ride and are gentle on threads.
- Wooden bobbins are a sustainable option, but may not be as durable as other materials.
These materials will affect your stitch tension, fabric compatibility, and overall sewing machine performance.
Thread Capacity and Bobbin Size Considerations
Now that you’ve got a handle on bobbin materials, let’s talk thread capacity and bobbin size. The right combo depends on your fabric type, thread weight, and project type. A general rule of thumb: use smaller bobbins for lighter fabrics and shorter stitch lengths. Your sewing machine manual can also provide guidance on the perfect pairing.
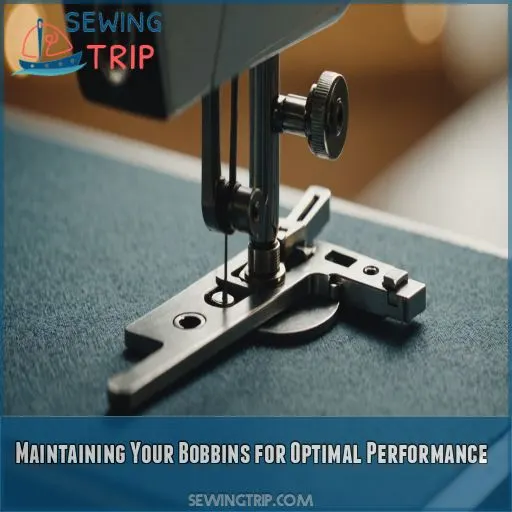
Maintaining Your Bobbins for Optimal Performance
You’re probably excited to get sewing, but before you start, take a minute to think about your bobbins – those tiny, but important, components that can make or break your stitching. By cleaning, winding, storing, and replacing them properly, you’ll be rewarded with smooth, stress-free sewing and a noticeable improvement in your project’s overall quality.
Cleaning Bobbins to Prevent Lint Buildup
Now that you’ve got the right bobbin for your machine, let’s talk about keeping it in top shape. Cleaning your bobbins regularly is a must to prevent lint buildup. Here’s how:
- Use lint removal tools or a small brush to gently sweep away debris.
- Clean your bobbins after every 5-10 uses.
- Store them in a dry, cool place to prevent moisture buildup.
- Avoid using harsh chemicals or abrasive materials that can damage your bobbins.
Avoiding Tension Issues With Proper Winding
Now that you’ve cleaned your bobbins, it’s time to think about winding them. To avoid tension issues, use a consistent winding technique and don’t overfill the bobbin. Leave a little thread tail and avoid winding too tightly, as this can cause thread tangles and affect your sewing machine’s hook timing. Use a bobbin winder to keep things tidy!
Storing Bobbins to Prevent Damage
Now that you’ve mastered the art of winding your bobbins, let’s talk about storing them. You don’t want all that careful work to go to waste, do you? Here are 4 tips to keep your bobbins in top shape:
- Keep them dry: Store bobbins in a low-humidity area to prevent rust.
- Use a container: Designate a bobbin storage container to keep them organized.
- Dust protection: Store bobbins in a sealed container or plastic bag to keep dust out.
- Label and categorize: Organize bobbins by size, thread type, or color to make them easy to find.
Replacing Worn-Out or Damaged Bobbins
Time to say goodbye to your worn-out bobbins!
Replacing them is a breeze.
Look for signs of wear like scratches, dents, or rusty spots.
You can opt for bobbin alternatives from brands like Janome or Brother.
Store your new bobbins properly to extend their lifespan.
Don’t hesitate to consult a sewing machine repair professional if you’re unsure about the replacement process.
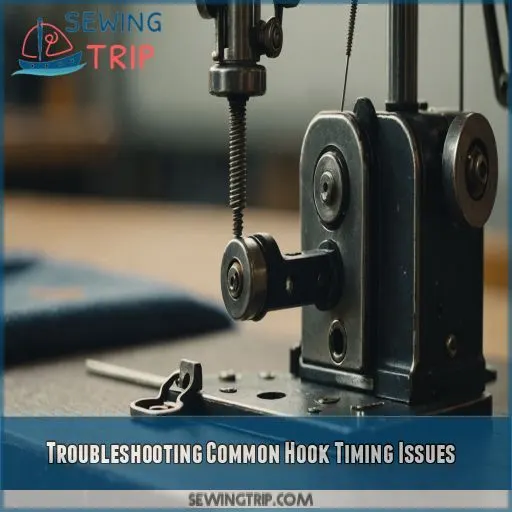
Troubleshooting Common Hook Timing Issues
You’re just a thread away from smooth sewing, but hook timing issues are getting in the way. Let’s get your machine humming again by identifying the problems, checking for simple fixes, and fine-tuning that hook timing for perfect stitches every time.
Identifying Hook Timing Problems
Now that you’re a pro at maintaining your bobbins, let’s tackle hook timing problems. You’ll know it’s a timing issue when your needle thread isn’t picking up the bobbin thread. Here are 3 telltale signs:
- Your stitch quality is inconsistent
- Your machine is making a strange noise
- You’re experiencing resistance when turning the handwheel
Checking for Simple Issues Before Repair
Let’s get hands-on. Before tearing into your sewing machine, check for simple issues. It’s like baking a cake – you gotta make sure the ingredients are right before blaming the oven. Try swapping the needle, rethreading the machine, and sewing on scrap fabric. This often does the trick.
| Issue | Fix |
|---|---|
| Wrong needle | Swap it out |
| Thread tangles | Rethread the machine |
| Fabric mismatch | Try a different fabric |
| Bobbin not seated | Adjust the bobbin case |
| Tension off | Check the tension dials |
Cleaning the Bobbin Case and Surrounding Area
Now that you’ve checked for simple issues, it’s time to get a bit more hands-on.
Clean the bobbin case and surrounding area to remove any lint or debris that might be causing hook timing issues.
Use lint removal tools or a small brush to gently sweep away dust and dirt.
Regular cleaning can prevent problems and keep your sewing machine running smoothly.
Consulting Visual Guides for Hook Timing Adjustment
Now that you’ve cleaned the bobbin case, it’s time to get visual!
Consult hook timing diagrams or online tutorials to make sure the needle and hook are perfectly aligned.
Think of it like a puzzle – the hook tip should pass just above the needle’s eye.
With these visual guides, you’ll be troubleshooting like a pro in the sewing machine repair business.
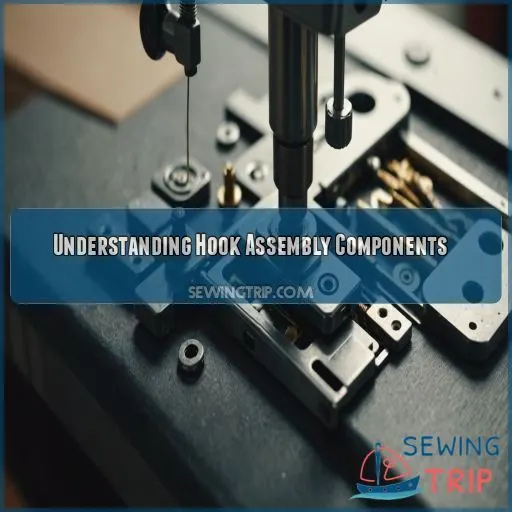
Understanding Hook Assembly Components
As you get ready to fix your sewing machine’s hook assembly, you need to understand the key components involved. You’ll need to familiarize yourself with the drive shaft bushing, hook wheel, and the intersection of the needle thread and bobbin thread to make sure the repair goes smoothly.
Drive Shaft Bushing and Its Importance
Your sewing machine’s drive shaft bushing plays a key role in smooth stitching. If it’s misaligned or worn out, threads won’t engage properly. Check for signs of wear like excessive vibration or noise. Replacing the bushing with a durable material and keeping it lubricated can make all the difference. Proper alignment is key to avoiding future sewing headaches.
Hook Wheel and Thread Engagement
Now that you’ve got a handle on the drive shaft bushing, let’s talk hook wheel and thread engagement.
Think of the hook wheel as the matchmaker between your needle thread and bobbin thread.
Proper hook wheel tension makes sure a smooth thread path and prevents pesky tangles.
Adjusting the hook wheel is key to achieving perfect needle timing and hook alignment.
Needle Thread and Bobbin Thread Intersection
Now that you’ve got a handle on the hook wheel and thread engagement, let’s talk about where the magic happens: the needle thread and bobbin thread intersection.
This is where your stitch quality is made or broken.
Proper needle tension, bobbin tension, and thread type all come together here.
Get this spot on, and your sewing machine will hum along smoothly.
DIY Repair: Fixing a Misaligned Drive Shaft Bushing
You’re about to tackle one of the most common sewing machine headaches: a misaligned drive shaft bushing. Don’t worry, with a few simple tools and some patience, you’ll be back to sewing like a pro in no time, and we’re here to guide you through it.
Tools Needed for the Repair
Time to get your toolkit ready! To fix that misaligned drive shaft bushing, you’ll need a few trusty friends: a Phillips screwdriver, a flathead screwdriver, pliers, and Allen wrenches (especially a 2.5mm Allen key). Don’t worry, it’s not as intimidating as it sounds. With these tools, you’ll be well on your way to getting your sewing machine humming smoothly again.
Disassembling the Sewing Machine
Now that you’ve got your tools ready, it’s time to disassemble the sewing machine. Start by removing the needle plate – don’t forget to take out the screws carefully to avoid stripping them. Gently lift the plate off, and you’ll see the drive shaft and surrounding components. Take a moment to identify the parts before proceeding.
Adjusting the Drive Shaft Bushing
Now that you’ve disassembled your sewing machine, it’s time to adjust the drive shaft bushing. Don’t worry, it’s easier than it sounds! To get started, you’ll need to:
- Loosen the set screw with your trusty Allen wrench
- Rotate the drive shaft until it’s just right
- Tighten the set screw
- Check for any signs of misalignment
- Repeat as needed until everything is purring smoothly
Ensuring Proper Hook Engagement
Now that you’ve adjusted the drive shaft bushing, it’s time to guarantee proper hook engagement. Think of it like a perfectly choreographed dance between the needle and hook. To get it right, check the following settings:
| Setting | What to Check |
|---|---|
| Hook Timing | Needle position at lowest point |
| Bobbin Tension | Thread type and stitch selection |
| Thread Type | Compatible with your machine and fabric |
Advanced Troubleshooting for Hook Assembly Issues
You’ve made it through the basics of hook assembly repair, and now it’s time to tackle those pesky issues that still have your sewing machine on the fritz. In this section, you’ll learn how to identify misaligned or worn-out parts and adjust the hook timing for peak performance, so you can finally get back to sewing like a pro.
Identifying Misaligned or Worn-Out Parts
Now that you’ve fixed that misaligned drive shaft bushing, it’s time to play detective and identify any other worn-out or misaligned parts. Inspect the hook assembly components for unusual wear patterns, and use a magnifying glass to spot any tiny signs of component failure. Check the machine’s calibration to verify everything is working in harmony.
Adjusting the Hook Timing for Optimal Performance
Now that you’ve identified the misaligned parts, it’s time to adjust the hook timing for peak performance! Think of it as a dance between the needle and bobbin threads. To get them in sync:
- Check the needle thread’s trajectory and adjust the hook’s alignment accordingly
- Fine-tune the bobbin tension control for a smooth thread synchronization
- Test your sewing machine’s calibration with a scrap fabric to guarantee perfect harmony
Preventing Future Hook Assembly Problems
Now that you’ve mastered the art of troubleshooting and repairing your sewing machine’s hook assembly, it’s time to think about preventing future problems from arising. By performing regular maintenance, inspecting for wear and tear, and replacing damaged or worn-out parts, you can keep your machine running smoothly and efficiently, saving you time and frustration in the long run.
Regular Maintenance for Hook Assembly Components
To keep your hook assembly purring like a well-oiled machine, prioritize regular maintenance. Use lubrication techniques to reduce friction and prevent corrosion. Check your manual for recommended maintenance schedules. Regularly clean the hook and surrounding areas to prevent lint buildup. By staying on top of maintenance, you’ll avoid costly repairs and guarantee smooth sewing for years to come.
Inspecting for Wear and Tear
Now that you’re on top of regular maintenance, it’s time to play detective and inspect for wear and tear. Check the bobbin case for scratches or corrosion, and examine the thread path for signs of friction. Look for worn-out bushings, and analyze the hook’s movement. Lubricate your machine’s parts to keep them running smoothly.
Replacing Damaged or Worn-Out Parts
Your trusty sewing machine‘s hook assembly is like a finely tuned orchestra – when one part is out of sync, the whole thing falls apart. To prevent future problems, replace damaged or worn-out parts ASAP. Check your machine’s manual for specific bushing replacement tips and threader maintenance advice to keep those sewing machine gears humming smoothly.
Tips for Smooth and Efficient Sewing
Now that you’ve mastered hook assembly repair, it’s time to fine-tune your sewing skills. For smooth and efficient sewing, remember to maintain your machine regularly, choose the right fabric, and control thread tension. Optimize your sewing speed, and prioritize stitch quality. With these tips, you’ll be whipping up flawless garments in no time – and your machine will thank you!
Frequently Asked Questions (FAQs)
What causes hook assembly to break or get damaged ?
When it rains, it pours" – and in your case, it’s a broken hook assembly! You likely over-tightened the bobbin, causing tension issues, or maybe you neglected to clean the area, leading to lint buildup and damage.
How to identify worn-out or damaged hook assembly parts ?
Check for worn-out or damaged hook assembly parts by looking for signs of wear, such as rough edges, rust, or excessive play. Inspect the hook’s surface and the surrounding area for any blockages or debris.
Can I repair a broken hook assembly myself ?
Think of repairing a broken hook assembly like fixing a bike chain – it’s doable with the right tools and patience! You can DIY, but if you’re not comfortable, consider consulting a professional for a smooth ride.
How to reassemble the hook assembly after cleaning ?
Reassembling the hook assembly after cleaning is a breeze! Simply pop it back onto the mounting shaft, ensuring the positioning pin aligns properly, and tighten the screw (Source). Easy peasy, your machine’s good as new!
What are the signs of incorrect hook timing adjustment ?
If your hook timing is off, you’ll notice your needle thread not picking up the bobbin thread, or uneven stitches. It’s like a game of thread-tag – they just can’t seem to catch each other!
Conclusion
You’ve conquered the tangled mess and emerged victorious, with a sewing machine that hums like a well-oiled machine.
Pat yourself on the back, DIY master!
By grasping the hook assembly components and tackling that pesky timing, you’ve saved yourself from future headaches.
Sewing machine hook assembly repair is no longer a tough task, but a badge of honor.
With these expert tips, you’ll be stitching like a pro in no time, and that’s a beautiful thing!

