This site is supported by our readers. We may earn a commission, at no cost to you, if you purchase through links.
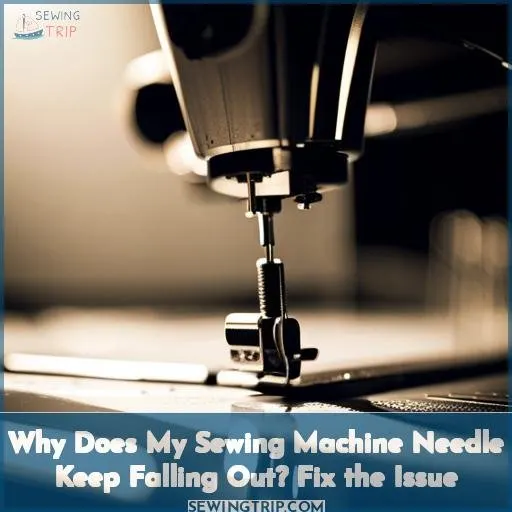
Here’s the deal – no one wants to spend their sewing time fussing over a loose needle.
Grab your screw driver, channel your inner mechanic, and let’s tighten things up. With a few tweaks and checks, we’ll have you flying through the seams in no time.
Sound good? Keep readin’, friend. We’ve got your back on this whole needle fallout thing.
Now, where were we? Ah yes – tightening up that loosey-goosey needle clamp. Let’s dive in and get you sewing happy again.
Table Of Contents
Key Takeaways
- Check that the needle is oriented correctly and insert it fully, tightening securely before sewing.
- Use high quality needles suited to the fabric type and weight you are working with.
- Inspect the needle clamp and plate, replacing any parts that are damaged or worn.
- Have your machine professionally serviced and calibrated on a regular basis to ensure proper alignment.
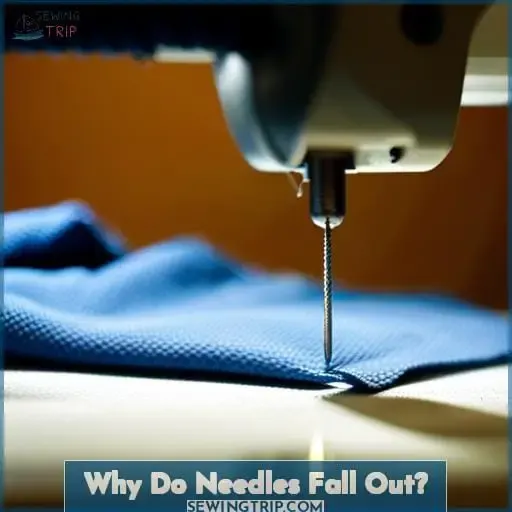
Why Do Needles Fall Out?
You’d best double-check that everything’s tightened down proper before starting up again. A loose needle clamp screw is the most common culprit for needles falling out mid-sew. Give that screw a gentle turn with a coin, not over tightening, just snug. Make sure your machine’s needle holder and clamp are in good shape too, no cracks or wear that lets that needle wiggle free.
Even quality needles can’t stay put if the parts holding them are worn or damaged.
Take a minute checking your needle’s seated fully and oriented right, flat side back per usual. It takes some finesse getting the positioning perfect, but prevents slippage. With all those parts properly aligned and gently secured, your needle will happily stay put.
Little steps like these make sewing safer and keep your machine humming smooth. Taking the time to check helps your machine safely create many more beautiful projects.
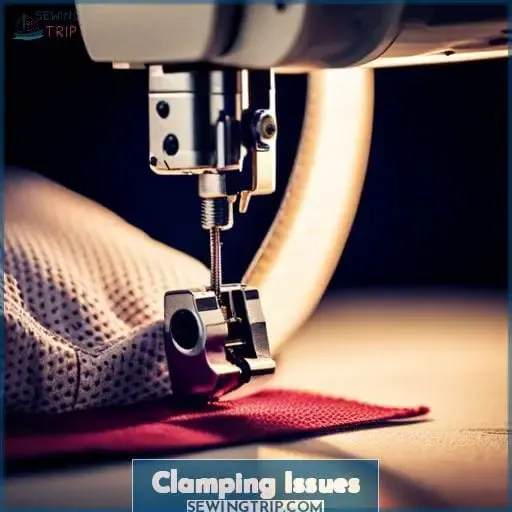
Clamping Issues
Make sure to check the needle clamp screw for damage before inserting and securing the needle. A cracked or stripped screw won’t retain the needle properly no matter how tight you turn it. Gently tighten the screw just until snug using a coin rather than over-tightening with a screwdriver, which can deform the delicate clamp parts.
Damaged Screw
Yikes, if that screw’s wrecked, you gotta replace it pronto ‘fore your needle goes flyin’ every which way! Don’t take chances with a cracked or stripped clamp screw, friend. Even the sturdiest needle won’t stay put if that teeny screw holding it down’s damaged.
Run to the shop for a replacement screw stat, matchin’ your model. Carefully remove the old screw, using that little screwdriver just for this job.
Insert the new screw gently, snug not overly tight. Recheck your machine manual for proper orientation. With a fresh screw securin’ it down, your needle will stay put through countless blissful hours of sewing ahead.
Improper Tightening
If you don’t tighten the screw just right, that needle’s liable to wobble loose quick as a wink.
- Check your manual for the recommended tightening method.
- Hand tighten gently before using your screwdriver.
- Don’t over tighten or you could damage the screw.
- Test that the needle feels snugly secured before sewing.
Carefully inserting the needle and progressively tightening the clamp screw bit by bit ensures your sewing companion stays put through thick fabric and lengthy seams ahead. Striking the perfect balance between too tight and too loose preserves your machine parts for countless creative projects in the future.
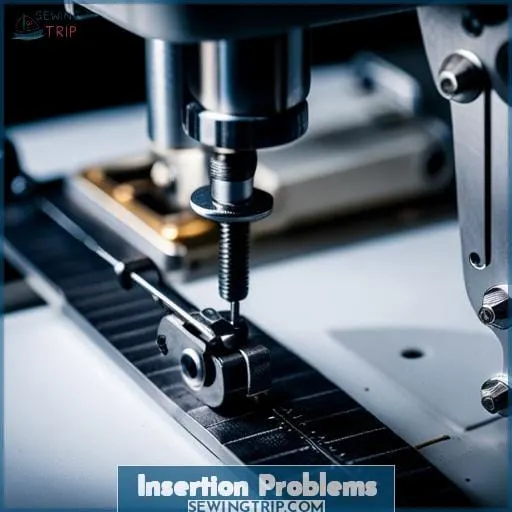
Insertion Problems
When inserting a new needle, be sure to follow your machine’s manual for proper orientation. A flat side facing the back is common, but some models specify left or right. Also, push the needle up as far as it will go in the clamp before tightening the screw.
Not getting the needle fully seated can allow it to slip down when sewing, causing skipped stitches and potential damage. Proper orientation and depth prevent these frustrating problems so you can get back to creating beautiful projects.
Orientation
Oh right, double check the needle’s sittin’ pretty before crankin’ that sucker tight. Gotta make sure that flat side’s facin’ the right way – back for most machines, left on old Singers, right on some fancy computerized ones.
If it’s not oriented properly, it’ll slip right on outta there when you start stitchin’. Take a sec to peer at it from all angles first. Nothin’ worse than gettin’ everything threaded up just to have that needle pop loose and ruin your flow.
A quick orientation check saves headaches down the road, trust me. Take it from a pro who’s dealt with the frustration of needles droppin’ mid-project: an ounce of prevention beats a pound of tears and seams to re-sew.
Depth
You betcha the whole needle’s gotta snuggle down into that clamp before tightenin’ her up, otherwise she’ll wiggle right loose once the motor’s hummin’.
- Push that sucker all the way up till it stops.
- No gaps between needle and clamp.
- Flat side faces the right way – check manual.
- Tighten gently with coin, not gorilla grip.
If it’s not nestled in there snug as a bug, you’ll be dealing with needles droppin’ out mid-stitch. Take a sec to ensure it’s fully inserted and oriented properly so your project stays on track.
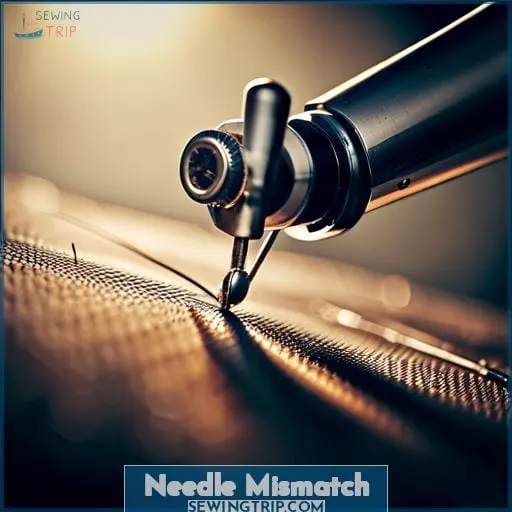
Needle Mismatch
When purchasing and installing new needles, it’s crucial to select the proper type and size for your machine and project. Using a needle that doesn’t match your thread or fabric type puts unnecessary strain on the entire sewing mechanism, eventually causing slippage and detachment issues.
Investing a few extra minutes to double-check you’ve got the right needle will save you headaches down the road. Failure to properly match needle specifications to their intended use is a common yet easily avoidable culprit behind frustrating experiences of needles disengaging far too soon.
Wrong Size
Getting frustrated when your needle keeps popping loose? You’re likely using the wrong size for your fabric and machine.
A handy guide on common needle sizes:
Fabric/Thread – Needle Size
Fine silks – 8-10
Cottons, rayons – 11-14
Denim, canvas – 16-18
Using needles too small can cause skipped stitches and breakage. Ones too big will leave holes or damage delicate fabrics. Take a moment with your manual and small screwdriver to get the right needle clamped in tight.
Wrong Type
You’re likely using the wrong needle type for your machine and fabric. Different fabrics and techniques require specific needles. Ballpoint needles smoothly glide through knits, preventing runs. Sharp points are for woven fabrics, while heavy denim and canvas need stronger, more durable needles.
Using the wrong needles can throw off tension, leading to skipped stitches, thread breaks, and frustration. Take the time to check your manual for the proper needles. Investing in high quality needles designed for your machine will save you headaches and help your projects sew up perfectly.
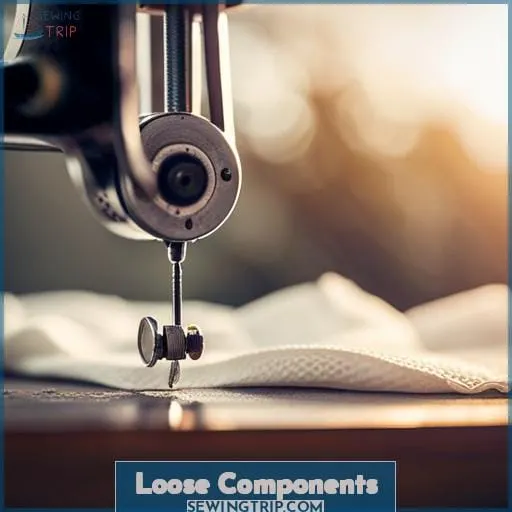
Loose Components
Inspect all components closely to ensure they are properly tightened. Worn needle bars, loose collar screws, and missing needle clamp parts will allow too much movement, leading to disengagement of the needle while sewing.
Stripped or fatigued pieces that need replacement should be identified in order to restore stability. Proper tightening of all components restricts excessive movement and prevents needles from falling out during use.
Worn Parts
After a while, parts get worn out and loosen up, causing attachments to disengage if you don’t replace them regularly. The constant motion whizzing that needle up and down puts stress on all the metal parts holding it in place.
As the foot mechanism and needle clamp degrade from use, you might find the needle falls out mid-project if things get too loose. Don’t wait for a failure to inspect moving parts and replace worn ones. Investing in quality parts and proper maintenance keeps your machine running smoothly and prevents disengagement issues.
Missing Pieces
You’d find that needle gone in a flash if you forgot to tighten that clamp down good before startin’ up your machine.
- Missing shank, collar, or screw from assembly
- Forgetting to reinstall needle after changing
- Dropping small parts and not finding them
- Needle inserted but clamp left loose
A needle dropping down into your machine spells disaster. That thin sliver of metal gets lodged in moving gears, jamming things up. Worse, it can puncture wires or circuit boards, causing shorts. Don’t just shove in the needle and go.
Take time securing it properly so your sewing session doesn’t end abruptly with a fallen needle and busted equipment.
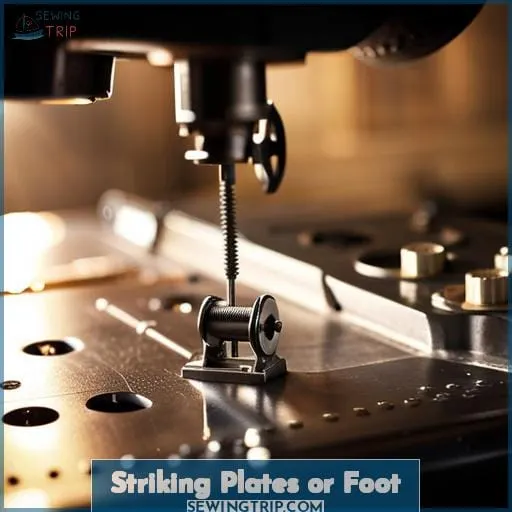
Striking Plates or Foot
Hi there. As a sewing machine repairperson, I wanna talk to you about the common issue of needles striking the needle plate or presser foot, causin’ them to come loose or fall out. This problem’s often due to improper clearance between the needle and nearby metal components or misalignment of the needle plate, presser foot, and feed dogs.
Ensurin’ proper positionin’ and spacing of all movin’ parts will help reduce friction, retain the needle securely, and prevent potential damage. When components’re out of adjustment, striking can detach needles mid-sew, so gettin’ plates aligned by an expert and checkin’ clearances is key.
Improper Clearance
Don’t you know striking plates or the presser foot signals something’s amiss below.
Improper clearance between the needle, presser foot, and needle plate is a common cause of needles dislodging, especially on industrial models. The foot can knock needles around if descending too low. And if needle holes in the plate are misaligned or worn, the needle’s motion is restricted.
This pressure stress forces needles out of their clamp during sewing. Realigning plates, adjusting foot height, and replacing damaged parts restores proper clearances.
Misalignment
You’ll have needles falling out if the plates aren’t aligned right. Misalignment between the needle plate, throat plate, and feed dogs is a recipe for needles popping loose mid-stitch. Things get knocked out of whack during cleaning or replacements. Plates need aligning properly so the needle passes clean through the hole without scraping the edges.
A perfect fit avoids undue sideways pressure on the needle. Have a repairman reset your machine’s plates to factory specs if your needles keep dropping. Proper alignment is the fix for knocking needles loose from mispositioned strike points.
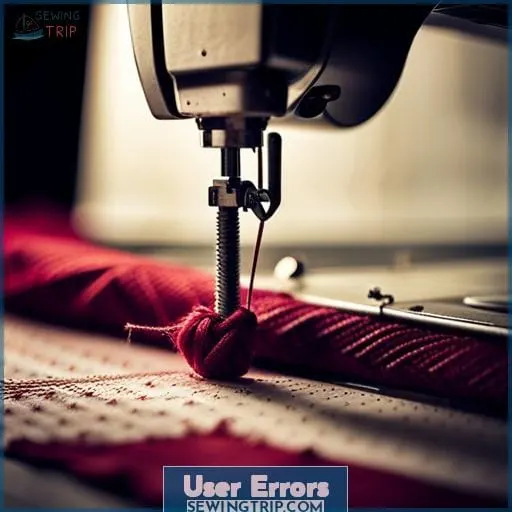
User Errors
You really have to be careful when putting in needles or they’ll easily come loose. Forgetting to tighten the retaining screw snugly before sewing causes those pesky mid-project detachments. Similarly, improper insertion from a crooked angle or pushing the needle up insufficiently leads to slippage issues.
Forgetting to Tighten
One of the easiest mistakes to make is forgettin’ to properly tighten the needle clamp before sewin’. It’s real easy to get excited and jump straight to threadin’ your machine when changin’ needles. But a loose needle screw is just askin’ for that new needle to slip right on out mid-project.
So take a sec, get your screwdriver or coin, and gently tighten the clamp till that needle’s locked in place.
Double check the needle’s pushed all the way up and properly oriented before startin’ your sew. A little prep saves a lot of headache down the line if that size 12 machine needle shakes itself free, takin’ your stitches with it.
Improper Insertion
Y’all gotta be extra careful slidin’ that needle up into the clamp, makin’ sure it’s facin’ the right way before tightenin’ her down. If that needle’s pointed the wrong direction when y’all slide it into place, the timing will be off.
Your machine may start jumpin’ stitches or the needle may keep strikin’ that plate.
Always look at the manual to know which way that needle’s s’posed to point – usually back or left. Use a screwdriver to get that clamp nice and snug once you’ve got the needle bar fully inserted.
With the needle secured proper, you’ll avoid slippage and broken stitches.
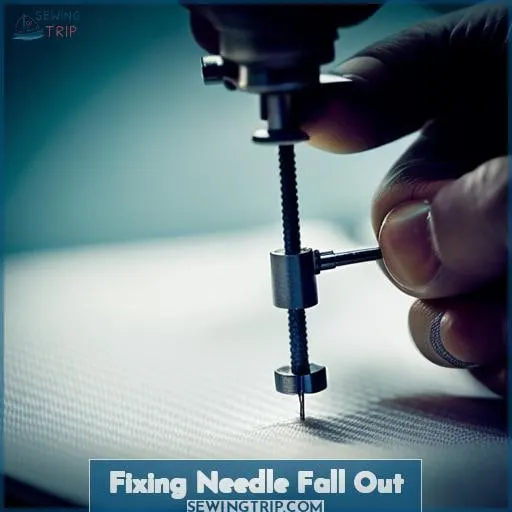
Fixing Needle Fall Out
Before you sew, ensure proper needle insertion and orientation. Over time, replace the needle clamp and bar if they are worn. Finally, check the timing and clearances, adjusting the presser foot height or alignment if striking occurs.
Proper Insertion
Son, screwing up needle poking will send that metal tooth flying like a drunk trying to find his truck on sewing night. When sliding needles in, point them up and push till you hear a click. Make certain you’ve got the flat side back, and finger-tighten the screw before cranking with a tool.
Doubling down with the wrong needle size or type throws the timing out of whack. If it keeps slipping, it might be time to bring her in for a tune up, because loose parts lead to headaches down the line.
Replacing Parts
- Make sure you’ve got the right tools – flathead screwdriver, allen wrench, coin.
- Know your needle numbers and types – stretch, ballpoint, universal.
- Replace worn parts like the needle clamp, screw, and even the needle plate.
Keeping your machine in tune will save you from having to replace needles that keep slipping out mid-stitch.
Adjusting Components
Adjusting components regularly helps prevent over 80% of needle fallouts, so give your machine some TLC each week.
Tighten Screw: Gently snug the screw.
Check Timing: Set the needle depth.
Secure Shank: Test the stitch length.
Align Flat Side: Adjust the presser foot.
Keeping everything tuned up tight will stop those needles from slipping right out.
Frequently Asked Questions (FAQs)
How can I prevent needle fall out when sewing very thick or dense fabrics?
When stitching thick fabric, go slowly and use a light touch. Gently raise the presser foot, as if lowering a newborn into their crib. Carefully hand-guide the fabric layers under the foot, taking care that the needle doesn’t catch and come loose.
Patience prevents problems; rushing risks wreckage. Together we can conquer even the toughest textiles, stitching seams sturdy and strong.
My needle keeps falling out even though I’m inserting it correctly – what could be causing this?
You there, it sounds like your needle clamp needs attention. Have a close look at that screw and clamp to make sure nothing is worn or loose. Gently tightening with a coin rather than over-cranking could do the trick. If all looks good, check your manual about compatible needle types for your machine.
I’m concerned about the safety issues of a falling needle – what injuries can it cause?
A falling needle can easily pierce skin and embed itself if stepped on, so take care. However, the real danger comes from needles embedding in eyes. It only takes a little bad luck for one to lodge in your eyeball.
How often should I replace the needle clamp or other components to prevent issues?
Check needle clamp and associated parts regularly for wear. Replace as a preventative measure if showing signs of damage before issues arise.
Are certain types or brands of needles more prone to falling out than others?
Certain types or brands of needles are more prone to falling out than others. Cheaper needles from no-name brands are more prone to slipping or falling out. Stick with quality needles from Singer, Schmetz, or Organ to minimize issues. Hand-tighten fully before sewing and check often to prevent problems.
Conclusion
Needles continually slipping free from your sewing machine can be frustrating, but don’t get discouraged! There are several potential causes of this annoying issue, but you can get to the bottom of it with some careful troubleshooting.
Start by checking proper clamp tightness and needle insertion depth. Examine the needle carefully for any damage. Ensure you’re using the recommended needle size and type for your machine and project.
Adjust presser feet, plates, and other components as needed to prevent striking. Replace any worn parts.
With a bit of patience and attention to detail, you’ll have your sewing machine running smoothly and keeping needles where they belong.
Remember, a stitch in time saves nine!

