This site is supported by our readers. We may earn a commission, at no cost to you, if you purchase through links.

Start by removing the waistband and belt loops, then use tailor’s chalk to mark your new waistline. Baste and stitch that baby back on, reinforcing the back seam for extra strength.
When taking in the waistband, match your thread color to blend seamlessly. A quick press with the iron, and voila – you’ve got pants that hug your curves in all the right places.
Ready to take control of your wardrobe? Let’s get started! With a few simple tools and a dash of patience, you can achieve the perfect fit.
Table Of Contents
- Key Takeaways
- Altering Pants at Home
- Can Pants Be Altered?
- Altering the Waistband
- Tailoring the Waistband for a Smaller Fit
- Tailoring the Waistband for a Larger Fit
- Altering Other Areas of Pants
- Common Mistakes to Avoid
- Tips for a Professional Finish
- When to Seek Professional Help
- Troubleshooting Common Alteration Issues
- Frequently Asked Questions (FAQs)
- Conclusion
Key Takeaways
- Unlock Your Inner Tailor: With just a seam ripper, some thread, and a touch of patience, you can transform saggy pants into a perfect fit like a pro seamstress. Think of it as giving your old favorites a new lease on life – no haunted house impressions here!
- Practice Makes Perfect (and Eco-Friendly): Start your sewing adventures with thrift store finds. They’re like training wheels for your stitching skills, allowing mistakes without the heartbreak. Plus, it’s a win-win for your wardrobe and the planet!
- Don’t Skimp on the Details: Matching thread is crucial, so don’t pick a bright orange unless you’re aiming for a pumpkin look. And remember, a good ironing session is your secret weapon – much like a sneak peek of a runway show in your living room!
- Know When to Call in the Cavalry: If you’ve got pants that are trickier than your grandma’s secret cookie recipe, consider calling a professional. They can handle complex alterations while you sip a cup of calm instead of wrestling with fabric.
Altering Pants at Home
Feeling like your pants have more room than a haunted house?
Don’t worry, with a few handy tools and some thrift store practice, you’ll be a waistband wizard in no time!
Essential Tools and Materials Needed
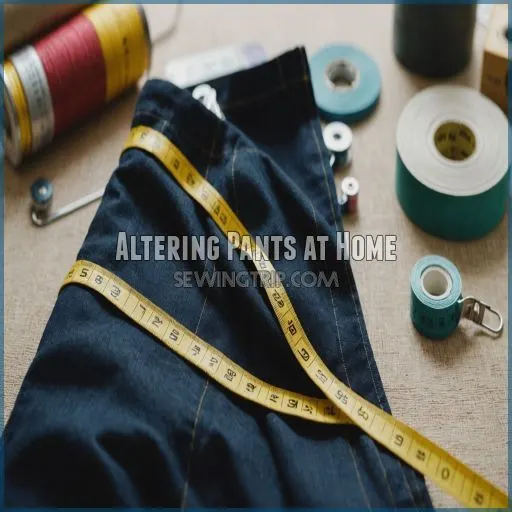
To alter pants at home, you’ll need a few essential tools: a seam ripper, fabric scissors, pins, tailor’s chalk, and a measuring tape. If you have one, a sewing machine will make the job much easier. But even with just hand-sewing skills, you can tackle basic pants alterations.
- Seam ripper
- Fabric scissors
- Pins
- Tailor’s chalk
- Measuring tape
Practicing Alterations on Thrift Store Pants
Got your tools from the last section? Great! Begin your tailoring journey with thrift store finds. These gems offer affordable practice and the freedom to mess up, guilt-free.
Think of it as training wheels for your stitching skills. Embrace the mantra "practice makes perfect" in DIY fashion.
Plus, it’s eco-friendly sewing—you’re giving those pants a second life!
Can Pants Be Altered?
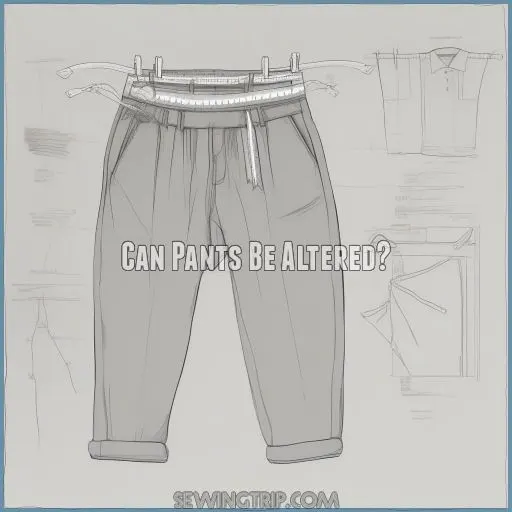
Yes, you can alter pants yourself, but things can get tricky, so keep the number of "Oops" moments to a minimum by starting with a thrift store find.
If Grandma’s sewing kit isn’t cutting it or the pants are expensive, consider letting a professional weave their magic.
Types of Pants That Can Be Altered
Breathe new life into your wardrobe! Almost any pair of pants can be altered—be it jeans, chinos, dress pants, cargo pants, or khakis.
Just keep these in mind:
- Jeans: Tough fabric needs a strong stitch.
- Chinos: Cotton can be tricky, but rewarding!
- Dress pants: Delicate and require precision.
- Cargo pants: Stitching handles wear well.
- Khakis: Easy-breezy alteration.
Limitations of Altering Pants at Home
While you can certainly tackle basic pants alterations at home, there are some limitations to keep in mind.
Heavily structured fabrics like wool or denim may prove tricky for the novice sewer.
Likewise, altering the crotch or leg shape requires more advanced sewing skills.
If you’re unsure, it’s best to consult a professional tailor to make sure you get a polished, long-lasting result.
When to Consider Professional Tailoring
Sometimes, it’s best to let the pros handle it. Complex alterations and delicate fabrics might need a tailor’s touch.
Consider a professional when:
- Time constraints have you in a tizzy.
- Lacking tools leaves you high and dry.
- Alterations like tapering legs or fixing uneven hems are hair-raising.
You’ll thank yourself for saving the headache!
Altering the Waistband
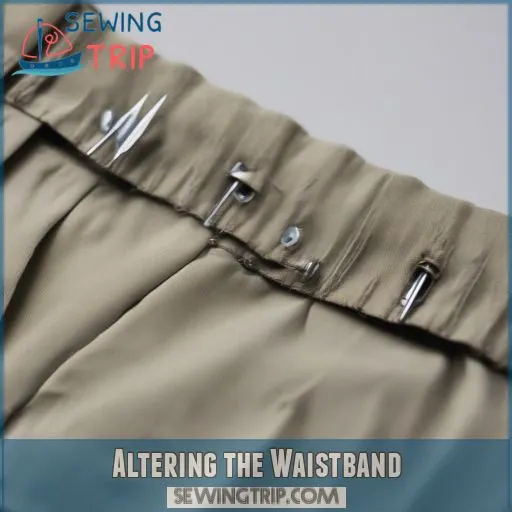
When you notice your pants are a bit too snug, altering the waistband can save you from the dreaded "pants dance" struggle.
With a few tools and some patience, you’ll soon feel like the proud owner of pants that fit just right, without ever leaving home.
Removing the Waistband Seam and Belt Loops
Now that you’re rolling up your sleeves for the waistband project, grab that trusty seam ripper. Carefully remove the waistband seam, taking out stitches about four inches from the center.
Next up, liberate those belt loops, making way for a smooth alteration.
Need extra help? Professional tailoring services are always an option for mastering those tricky seams.
| Tool | Purpose | Remarks |
|---|---|---|
| Seam ripper | Remove stitches | Essential for precise seam removal |
| Fabric scissors | Trim excess fabric | Keep those edges neat and tidy |
| Measuring tape | Measure adjustments | Make sure your alterations are accurate |
| Tailor’s chalk | Mark new seam lines | Easy to use and washes out easily |
Drawing a New Waistline With Tailor’s Chalk
Once you’ve removed the waistband seam, it’s time to draw a new waistline using tailor’s chalk.
Start by turning the pants inside out and placing one leg inside the other for better access to the back rise seam.
Use the chalk to mark a line tapering down from the waist to the lower part of the back rise.
This will guide your stitching for a custom fit.
Basting and Stitching the New Waistband
You’re starting with basting techniques: think of it like a rehearsal for waistband alignment. Pin, test, and adjust for perfect stitch tension. Use temporary stitches to guide you confidently. Then, when stitching, keep those seams snug but not suffocating; it’s like threading a needle through the eye of perfection! Follow this cheat sheet:
| Step | Tool | Tip |
|---|---|---|
| Measure | Measuring Tape | Double-check your fit. |
| Pin | Pins | Secure evenly. |
| Baste | Thread & Needle | Use long stitches. |
| Stitch | Sewing Machine | Adjust stitch length. |
| Check | Seam Ripper | Remove mistakes gently. |
Success is sew easy!
Reinforcing the Back Seam With Heavy-Duty Stitch
- Select heavy-duty stitch types to handle thick fabric.
- Adjust your sewing machine settings for the best stitch tension.
- Use proper seam reinforcement methods to make them last longer.
Keep things snug as a bug, and you’ll have pants that won’t call it quits.
Tailoring the Waistband for a Smaller Fit
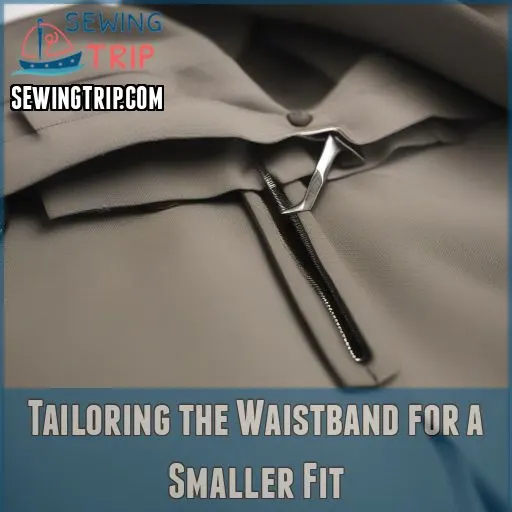
Taking in your pants’ waistband at home can transform a loose fit into a custom masterpiece.
Don’t worry, with a few basic tools and a bit of patience, you can avoid embarrassing plumber’s moments and keep those pants hugging in all the right places!
Marking the New Waistline and Removing Excess Fabric
First, use that trusty tailor’s chalk to mark the new waistline, starting at the top and tapering down to the lower back rise.
Then, carefully remove the excess fabric with your fabric scissors, taking care not to snip anything important.
Pinning the waistband section is key before stitching to keep everything aligned.
Sewing the New Waistline and Reattaching Belt Loops
Time to stitch that waistband, my friend! Grab your needle and get cracking with these steps:
- Belt Loop Placement: Reposition loops for a custom fit.
- Belt Loop Alignment: Make sure it’s straight and true.
- Waistband Stitching: Sew the new line with care.
- Seam Finishing: Reinforce with a solid backstitch.
- Fabric Matching: Choose complementary threads.
Let’s sew up success!
Tips for Maintaining the Original Stitching Details
When you’re shrinking pants, matching thread like your favorite socks—essential—is key.
Keep the original stitch length to sneakily blend changes.
Don’t skimp on seam allowance or the pants might yelp in distress!
Basting before final stitching is as smart as checking the mirror twice before a date.
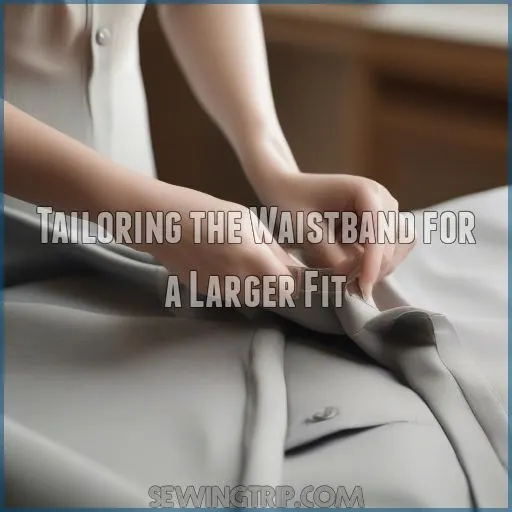
Tailoring the Waistband for a Larger Fit
Making your pants’ waistband bigger is as easy as pie with the right steps!
All you need is some extra fabric, a bit of patience, and a dash of optimism to realign those belt loops and tags for a perfect fit.
Letting Out the Waistband Seam and Adding Fabric
If your pants are feeling a bit snug around the waistline, don’t fret – you can easily let out the waistband seam and add some extra fabric.
Choose a matching or coordinating fabric, and make sure to leave enough seam allowance for a secure fit.
With a few simple stitches, you’ll have some extra breathing room in no time.
Realigning the Belt Loops and Tags
Belt loops and tags are like the cherry on top, they can make or break your pants’ fit!
After letting out the waistband, make sure belt loop placement aligns with the new seams for a seamless look.
Don’t forget tag placement, too!
With a little belt loop sewing magic, you’ll have those loops sorted quicker than a caffeine rush on Monday morning.
Ensuring a Professional Finish With Ironing
Ironing is like the cherry on top—absolutely essential for that polished look.
Use appropriate pressing techniques with your iron temperature settings based on fabric types. A quality steaming tool helps your seams sit perfectly.
Trust me, ironing’s like a secret weapon; it transforms your work from "DIY" to "I-bought-it-this-way" level.
Give it a whirl!
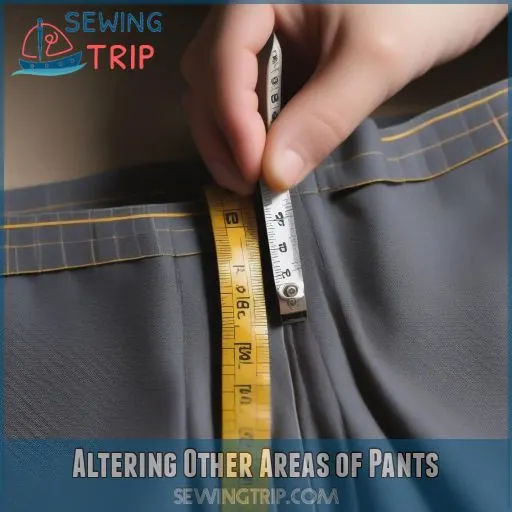
Altering Other Areas of Pants
Altering other areas of your pants, like the legs or hem, can make them fit better and look just right.
If you’ve ever tripped over extra fabric or struggled with a tight crotch, it’s time to tackle those issues with some simple sewing.
Shortening or Lengthening the Legs
Shortening or lengthening the legs is a breeze with the right approach.
Start by marking the new seam line, then carefully remove the existing stitches. Sew the new seam, trim the excess fabric, and voila – a perfect fit!
Just be mindful of maintaining the original proportions for a polished look, and remember to achieve a perfect fit.
Hemming the Pants for a New Length
Now let’s discuss hemming your pants to add a dash of finesse. Grab your measuring tape and decide on a hem allowance.
Carefully cut any excess length, but don’t go wild with those scissors.
Choose the perfect hem style, adjust your stitches, and secure the edge.
Voilà! Your pants will strut with style and grace.
Adjusting the Crotch for a Better Fit
Adjusting the crotch area can dramatically improve the fit of your pants.
Start by creating a muslin mock-up to pinpoint problem areas.
Then, make targeted adjustments like:
- Lengthening or shortening the crotch seam
- Adding a crotch gusset for extra room
- Altering the crotch depth for a more comfortable rise
- Modifying the inseam for a better leg fit
- Shaping the crotch curve for a flattering silhouette
Common Mistakes to Avoid
When you’re tailoring pants at home, it’s easy to make a few rookie mistakes that can ruin your hard work.
Don’t overdo the waist adjustment, forget matching thread, or skip the ironing unless you want pants only a circus clown would wear!
Taking in the Waist Too Much
Overzealous waist adjustments can lead to uncomfortable fit and awkward proportion imbalances.
Suddenly, you’re wondering why you’re walking like a penguin! Be mindful; only take in two inches max.
Mastering excess fabric management can save you from reversal headaches.
Remember: Comfort’s key. If you slip into those jeans and feel like a sausage casing, it’s time to reconsider, and prioritize Mastering your alterations.
Not Using Matching Thread
While taking in the waist, don’t overlook matching thread! Imagine the eyesore of visible thread contrast; it’s like a zebra in a field of horses. A thread color mismatch can scream amateur hour, affecting the polish of your work.
Prioritize thread type selection and thread quality importance to avoid thread tension issues that can unravel your sewing dreams.
Not Ironing the Pants for a Professional Finish
Don’t skip ironing! It’s like leaving a job half-done. A final press makes your pants look professional-looking and sharp.
- Consider these steam alternatives:
- Use a damp towel over the fabric.
- Try fabric-safe wrinkle remover sprays.
- Know your fabric types:
- Delicate materials might need special care.
Remember: crisp seams mean serious sartorial success.
Tips for a Professional Finish
For a professional finish while altering your pants, focusing on a few techniques can make all the difference.
It’s like being a sewing ninja—hidden stitches, reinforced seams, and a good press will leave everyone wondering how you got that perfect fit.
Using a Heavy-Duty Stitch for Reinforcement
When altering the waistband, use a heavy-duty stitch to reinforce the back seam.
This extra strength will make sure your pants hold up to everyday wear and tear.
Adjust your sewing machine’s tension and stitch length to create a durable, long-lasting seam that can handle thicker fabrics.
A sturdy stitch is the secret to professional-looking pants alterations.
Stitching in the Ditch for Concealed Stitching
After reinforcing the waistband with heavy-duty stitching, it’s time for a touch of magic: stitching in the ditch. This sewing technique hides your stitches in the seam’s shadows, ensuring a professional finish.
Imagine your stitches as sneaky spies, blending into the fabric landscape.
Feel empowered as you work with precision, mastering this hidden art for seamless results.
Pressing the Seams for a Crisp Finish
Once you’ve mastered stitching in the ditch, grab your iron and let’s press those seams to perfection.
Steam your pants like a pro.
It’s all about taming that seam allowance beast for a crisp finish.
Use pressing tools like a tailor’s ham for tougher spots.
They’ll be so sharp, they’ll cut through the blahs like butter.
When to Seek Professional Help
Sometimes, tailoring pants at home can turn into a DIY disaster, leaving you tangled in threads and frustration.
If your waistband looks like it’s advertising a new wave of “Franken-fashion,” it’s time to call the professionals.
Signs That You Need Professional Tailoring
If the fabric is tricky, the alterations are complex, or the fit feels uncomfortable, it may be time to call in a professional tailor.
Unique designs or needing multiple adjustments are also signs you could use an expert’s touch.
Don’t risk ruining your favorite pants – a skilled tailor can work their magic for a perfect fit.
Benefits of Hiring a Professional Tailor
Noticed your pants alterations going a bit haywire?
Consider hiring a professional tailor. Their expertise guarantees quality alterations with precision tailoring that saves you time.
Imagine sipping tea, while they work magic for that expert fit.
It’s a time-saving solution, and peace of mind wrapped up in perfectly fitted pants.
Let the pros handle it!
How to Find a Reliable Tailor
Finding a reliable tailor? It’s a bit like dating—swipe through online reviews, ask for recommendations from friends, and always check their experience.
Don’t settle too quickly; visit multiple shops to compare pricing and get a feel for their skills.
Trust your gut, and remember, a good tailor should feel like a perfect pair of jeans. They should also be someone you can trust your gut with.
Troubleshooting Common Alteration Issues
Even the most skilled DIY tailor can run into a few snags when altering pants at home, especially when enlarging the waistline.
Don’t worry – we’ve got your back with easy troubleshooting tips to fix uneven hems, waistbands that are too tight or loose, and get your pants looking and fitting just right.
Dealing With Uneven Hems or Seams
You’ve just dealt with some sewing headaches—now it’s time to identify those uneven seams and straighten those crooked hems.
Grab a seam ripper like a trusty sidekick and start re-sewing any misaligned hems.
Fixing a Waistband That’s Too Tight or Loose
Oops, looks like you’ve ended up with a waistband that’s either too snug or too loose. No need to fret – a few simple adjustments can get those pants fitting just right.
First, check the waist measurement and compare it to the original. Then, carefully remove the waistband and tweak the fabric placement.
Choose a sturdy stitch to secure the new fit, and test the comfort before stitching it all back up to ensure the right waist measurement.
Adjusting the Fit of the Pants After Alteration
If the waistband feels tighter than an overly snug hug, or looser than a handshake from a stranger, don’t fret.
Double-check your measurements, ensuring they weren’t ghostwritten by a mischievous tape. Consider adding elastic for flexibility or resetting the waistband altogether.
Use reliable tailoring tools to adjust inseam length and achieve comfort, creating that envy-inducing fit people dream of.
Frequently Asked Questions (FAQs)
How to select the right sewing machine?
To find your match in sewing machines, consider features like stitch variety, presser feet, and machine size.
Prioritize functionality over flashiness!
Whether hemming jeans or crafting couture, pick wisely and you’ll stitch your way to mastery.
What fabrics are easiest to alter?
Cotton and polyester fabrics are your best friends when altering pants. They’re easy to sew, forgiving, and don’t unravel easily.
You’ll breeze through cotton adjustments, while polyester gives you some wiggle room if mistakes happen.
How to match thread correctly?
Matching thread is a life-or-death decision for your sewing project.
Bring your fabric to the store and unspool threads over it.
Pick the closest shade or go slightly darker for a seamless finish.
What time does it take to alter pants?
Altering pants can be anything from a quick task to a day-long project, all depending on the complexity of the alteration. For example, hemming pants with tape can be done in minutes, but a more complex alteration like taking in the waistband might take a bit longer.
If you’re handy with a needle, you’ll be done in a jiffy, like piecing together a puzzle!
How to maintain alterations durability?
A stitch in time saves nine—reinforce seams with heavy-duty stitches and backstitch where lines meet for lasting alterations.
Press seams open and use matching thread.
Regularly check for wear, ensuring your handiwork stands the test of time.
Conclusion
With a few snips and stitches, you’ll be the master of your wardrobe.
Tailoring pants waistband at home is a game-changer, allowing you to achieve a perfect fit that flatters your figure.
Whether taking in or letting out the waist, these easy techniques will have your pants hugging your curves in all the right places.
So, grab your sewing kit and get ready to transform your look – the power to dress your best is in your hands.

