This site is supported by our readers. We may earn a commission, at no cost to you, if you purchase through links.
Are you looking to add a unique touch to your clothing or accessories? Sewing on patches is the perfect way to do this! Not only can it give them a personalized look, but it also saves money by covering up damages.
It’s easier than ever before; all you need are some supplies and maybe a bit of practice. In this article, we will cover everything from materials needed for patch sewing, how to prepare the damaged area beforehand, as well as different types of stitches and tips for using iron-on patches.
You don’t have to be an expert seamstress either – with these helpful guidelines, anyone can master sewing on patches like pros!
Table Of Contents
- Key Takeaways
- Benefits of Adding Patches to Clothing or Accessories
- Materials Needed for Sewing on Patches
- Choosing the Appropriate Needle and Thread
- Preparing the Damaged Area Before Patching
- Securing the Patch in Place
- Sewing on Patches
- Tips for Using Iron-on Patches
- Sewing on Patches: an Essential DIY Skill
- Frequently Asked Questions (FAQs)
- Conclusion
Key Takeaways
- Sewing patches is a DIY skill that allows for personalizing clothing and accessories while saving money.
- Choosing the appropriate needle and thread size, as well as fabric type and texture, is important for successful patching.
- Hand-sewing techniques provide more control over tension and placement, while iron-on patches offer extra durability.
- Patch design should complement surroundings and make a statement, and good quality tools improve results.
Benefits of Adding Patches to Clothing or Accessories
You can add personality and save money by patching up your clothing or accessories! There are creative uses for patches, such as covering up holes, tears, or stains. When placing a patch on an item of clothing, it is important to choose the right fabric so that it lasts.
To prepare the item for patching, use scissors to cut open any seams if necessary and ensure there are no lint particles left behind. It’s also important to think about how you’re going to attach the new piece. Pins, iron-on adhesive methods, or hand sewing techniques all work well depending on what type of repair job you have in mind.
The design of your chosen patch is also essential. Pick something that complements its surroundings while still making a statement with its colors and shapes! Lastly, when attaching the new piece, make sure that the thread color matches (or contrasts) with your chosen embroidery pattern.
Secure knots throughout each stitch so everything stays in place securely once finished.
Materials Needed for Sewing on Patches
In order to sew on patches, you’ll need a few basic materials like a needle, thread, pins, or fabric glue – not to mention some serious determination. Needle selection is key. Thin fabrics require thinner needles, while thicker fabrics may need something more substantial.
Thread color should match or contrast with patch shape and size for the best effect when stitching it into place.
Fabric glue can be used instead of sewing pins, but it will not provide as much security in the long run. An appropriate sewing needle should also be chosen based on your project’s material type and thickness before the knot-tying method begins.
Best results are achieved with good quality tools, such as the best sewing tables available in the market today.
Choosing the Appropriate Needle and Thread
When selecting a needle and thread for your patch, consider the fabric type to ensure the best results. If you have visible damage on thicker fabrics like denim or leather, opt for a thicker needle. This will help with sewing speed while avoiding skipped stitches. For thinner materials such as chiffon or silk, go with a thinner needle that won’t cause permanent damage when stitching along delicate surfaces.
The thread color is also important. It can be matched to the patch material itself in order to blend seamlessly into the garment’s surface or contrast heavily depending on the look you are aiming for. When choosing adhesive types such as pins and fabric glue, think about where exactly you plan to place your patch before making any decisions.
Finally, secure all threads by tying off at least two overhand knots near the index finger position at the end of doubled-over thread strands.
Preparing the Damaged Area Before Patching
Before patching, it’s important to clean and cut off any white threads and fluff from the damaged area. This can save up to 50% of your time spent sewing on the patch. Selecting an appropriate needle and thread depends upon the fabric.
Thin fabrics require thinner needles while thicker fabrics require thicker ones. Choose a thread color that will either match with or contrast against your chosen patch.
Iron-on methods are popular for quick application but may not be as secure as traditional sewing methods when dealing with small holes in clothing items. Double stitching using double strands of thread creates a stronger strand capable of better securing patches in place than single stitches alone without compromising stitch length from edge to edge around the perimeter of the patch.
Sewing patches is an essential DIY skill that can help you save more money while still adding personality into clothes, bags, jackets, etc.
Securing the Patch in Place
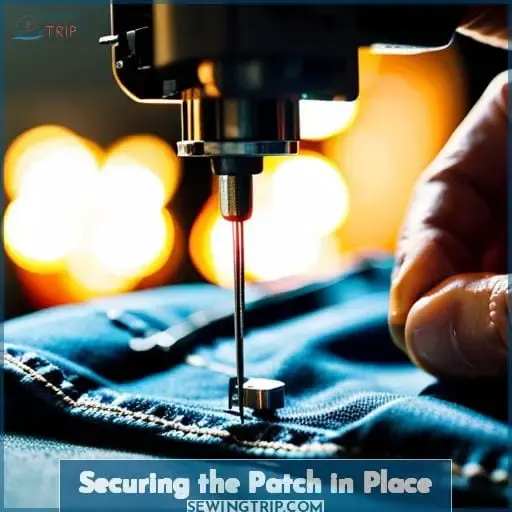
Once the damaged area has been prepped, it’s time to secure the patch in place. Depending on the fabric and situation, there are several methods that can be used.
For mending holes or tears in thin fabrics, hand-sewing patches is often preferable as this method allows for more control over thread tension and patch placement. Select a needle with an eye large enough for two strands of thread, then double up equal lengths of thread through the eye of the needle before knotting them together at one end.
Iron-on techniques may provide extra durability, but make sure you follow directions carefully first! With patience and practice, anyone can learn how to properly secure their own creative touches into clothing items.
Sewing on Patches
Sewing on patches is a great way to add your own unique style and flair to clothing! Whether you choose simple whip stitches, iron-on patches, appliqued patches, or reverse applique patches, there are plenty of options available that can make any outfit one-of-a-kind.
Each type of patch has its own advantages and disadvantages depending on the desired look or fabric it will be applied to.
Simple Whip Stitches
Take your sewing skills to the next level with a simple whip stitch! Invisible stitches create professional-looking results on thick fabrics. Embroidery hoops, bias tape, and fabric glue can help you achieve an applique look.
Alternatively, use the simple backstitch technique for added durability. To get started, gather supplies such as thread, a needle, and a sewing kit, along with embroidery thread or blanket stitch for more intricate designs.
Iron on Patches
For a quick and easy way to add patches, try iron-on patches! Mending techniques vary depending on the patch design and your sewing skills. Ironing tips can help guide you in the proper placement of the new patch. Fabric glue may be used instead for an even application, but personal preference will determine whether sew-on or iron-on patches are better suited for each task.
Appliqued Patch
You can create an even more personalized look by appliquéing your patch instead of simply sewing it. Match fabrics, combine colors, and use contrasting thread for texture. Place the patch carefully, use the right materials, and secure loose threads with a small loop stitch.
Reverse Applique Patch
Transform your clothing with a reverse applique patch for an eye-catching style! Hide any damage by creating and ironing on the design of your choice. Match the thread colors to the back of your patch and use techniques like double backstitch or blanket stitch along unbroken lines, cutting off any white threads or fluff at the edges.
Ironing tips can help secure the patch in place, but sew it down for extra security if desired.
Tips for Using Iron-on Patches
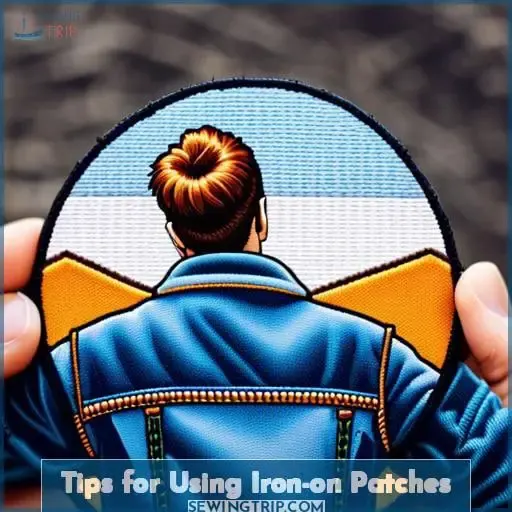
Ironing on patches is an easy way to give your clothing or accessories a new look quickly; in fact, it can take as little as 1 minute for them to be securely attached! Before you get started, make sure that you have the right materials: fabric glue, embroidery thread, and blanket stitch are great tools for iron-on patching.
Here’s what else you should know:
- For best results, use thin paper and a mini sewing machine when possible.
- Make sure that the new thread matches or contrasts with the patch material before starting.
- Iron-on patches should always be secured by hand stitching around their perimeter for extra security.
A creative idea is to use iron-on patches not just for decoration but also to repair damage in clothing or accessories – this could save money on alterations too! Don’t forget that while fabric glue may provide some adhesion, double backstitching provides superior strength, so it’s worth taking time over doing this properly if using thicker fabrics such as denim jeans, etc.
So go ahead and try out those fun ideas with your own unique style – who knows where they might take you?
Sewing on Patches: an Essential DIY Skill
Sewing on patches can be an easy way to add a personal touch and save money at the same time. Before starting, select a patch that matches your style or choose one with creative uses like covering up holes or stains.
To begin, choose the right needle for thick or thin fabric and thread types that match or contrast with the patch color. The placement of your patch is important, so make sure you position it correctly before securing it in place using pins on the backside of the fabric.
Next, sew around 1/8 inch from the patch’s edge using double backstitching techniques while moving along its perimeter, inserting through both fabrics together until completed. Remember to tie off threads securely by making overhand knots at the end of each stitch line.
Sewing on patches is an essential DIY skill that can come in handy for repairing clothes or adding a personal touch to your favorite items.
Frequently Asked Questions (FAQs)
How long does it take to sew a patch?
Sewing on a patch can take anywhere from 10 minutes to an hour, depending on the size and complexity. However, it is important to remember that it is not about how long it takes. Instead, it is about taking control of your wardrobe and expressing yourself through DIY fashion.
Is it necessary to use pins or fabric glue when sewing a patch?
Using pins or fabric glue when sewing on a patch is not necessary, but it can make the process easier and more precise. Pins help hold the patch in place while you sew, and fabric glue provides additional security for heavier patches.
What type of fabric is best for patching?
When patching, choose a fabric that is similar in weight and texture to the damaged area. Avoid fabrics with stretch or delicate fibers. Opt for sturdy materials like denim or canvas for long-lasting patches.
Is there a risk of damaging the fabric when sewing a patch?
When sewing on a patch, there is a risk of damaging the fabric if it is not properly prepared. To avoid this, clean and trim any loose threads or fluff before securing the patch with pins or using the iron-on method.
Use an appropriate needle and thread size for thin or thick fabrics to prevent tearing. Double backstitch around 1/8 inch from the patch edge until the entire patch is secure, tying off the thread with overhand knots.
Alternatively, use embroidery thread and blanket stitch for added durability. Follow the directions when using iron-on patches to prevent damage during the application process.
Are there any alternatives to sewing a patch?
If you want to avoid sewing a patch, you can try using fabric glue or iron-on patches for a speedy solution. Just make sure to carefully follow the instructions and consider adding stitching for extra strength.
Conclusion
Sewing on patches is a creative and practical way to customize your clothing and accessories. It allows you to express yourself and add a unique touch to your items while saving money on costly repairs and alterations.
To ensure success, it’s important to select the appropriate needle and thread. With practice and patience, you’ll be able to patch up any holes, tears, or stains with confidence.
Patches are an important symbol of the DIY movement, representing the idea that you don’t need to be an expert to make something beautiful. By sewing patches, you can create something that is uniquely yours and will stand the test of time.
As you practice, you’ll become more confident and creative in your designs. With the right attitude and determination, sewing on patches is a great way to express yourself and add flair to your wardrobe.

