This site is supported by our readers. We may earn a commission, at no cost to you, if you purchase through links.
 A stitch in time saves nine," but what if your sewing machine keeps breaking thread? This frustrating issue can derail your projects and test your patience.
If you’re wondering why your sewing machine keeps breaking thread, you’re not alone. In this article, we’ll explore 10 quick fixes to get you back on track.
From Thread quality to tension settings, we’ll cover the common culprits and provide practical solutions. Get ready to conquer this pesky problem and elevate your sewing game.
Table Of Contents
- Key Takeaways
- Why Does Sewing Machine Keep Breaking Thread?
- Understanding Thread Quality
- Examining Needle Condition
- Verifying Correct Threading
- Adjusting Tension Settings
- Checking Bobbin Placement
- Avoiding Tangled Threads
- Cleaning the Machine
- Matching Bobbin and Top Thread
- Inspecting for Mechanical Obstructions
- Lubricating the Machine
- Frequently Asked Questions (FAQs)
- Conclusion
Key Takeaways
- Thread quality matters more than you think – don’t skimp on the good stuff, or you’ll be pulling your hair out faster than your machine breaks thread!
- Tension is the name of the game – too tight, and your thread snaps like a rubber band; too loose, and your stitches unravel faster than a poorly knitted sweater.
- Your needle isn’t just a pointy stick – keep it sharp, straight, and sized right, or you’ll be in for a world of stitching hurt.
- Cleanliness is next to threadliness – a well-maintained machine is your best friend in the battle against broken threads, so show it some TLC regularly.
Why Does Sewing Machine Keep Breaking Thread?
If your sewing machine keeps breaking thread, don’t worry – you’re not alone. Several factors can cause this frustrating issue.
Start by checking your thread quality and age, as old or low-quality threads are prone to breakage. Next, examine your needle for damage or dullness. Make sure you’ve threaded the machine correctly, following the proper path through all guides.
Tension settings play an important role, so adjust them if necessary. Don’t forget to check your bobbin placement and clean out any lint buildup.
Understanding Thread Quality
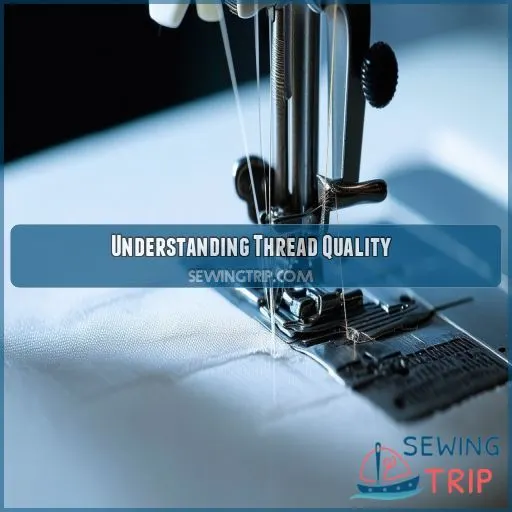
Thread quality can make or break your sewing project—literally. You’ll want to choose the right thread type for your fabric and machine. High-quality threads have a higher thread count, which means they’re stronger and less likely to break. But it’s not just about buying the good stuff; proper thread storage is essential too. Keep your threads away from direct sunlight and humidity to prevent weakening.
When it comes to thread compatibility, always match your bobbin thread to your top thread. This guarantees smooth stitching and reduces the risk of thread breakage. Don’t forget to check the thread’s age—old threads can become brittle and snap easily.
If you’re still experiencing issues, take a closer look at your thread’s path through the machine. Sometimes, a simple re-threading can solve persistent problems. Remember, investing in quality thread pays off in the long run!
Examining Needle Condition
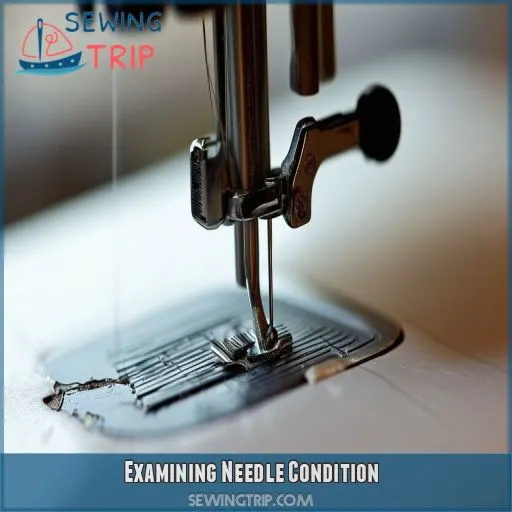
Your sewing machine’s needle plays a critical role in preventing thread breakage. A dull or damaged needle can wreak havoc on your sewing projects. To guarantee smooth stitching, examine your needle’s condition regularly. Here’s what to look out for:
- Needle sharpness: Run your fingertip along the needle’s point. If it feels dull, it’s time for a change.
- Burred needle eye: Hold the needle up to a light source. A smooth eye prevents fraying.
- Bent needle tip: Roll the needle on a flat surface. Any wobbling indicates a bent tip.
- Worn needle groove: Check for a smooth, even groove along the needle’s length.
- Incorrect needle size: Match your needle size to your fabric weight and thread thickness.
Verifying Correct Threading
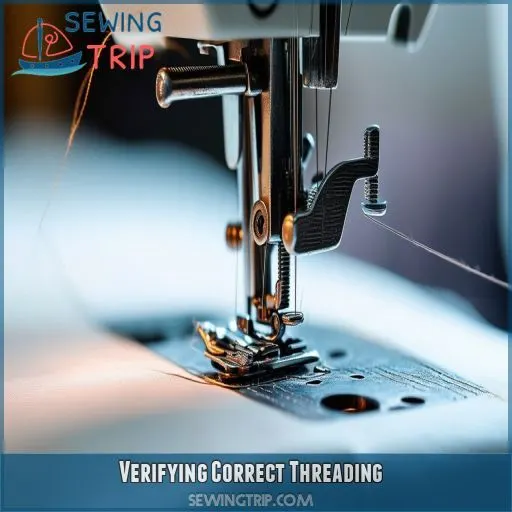
Now that you’ve checked your needle, let’s tackle the next common culprit: incorrect threading. Proper threading is essential for maintaining thread integrity and preventing those frustrating breaks. Think of your sewing machine as a finely tuned instrument – one wrong note, and the whole symphony falls apart.
Here’s a quick guide to common threading issues:
| Issue | Symptom | Fix |
|---|---|---|
| Improper thread path | Skipped stitches | Rethread machine |
| Loose tension discs | Uneven stitches | Clean and adjust discs |
| Bent thread guides | Thread snags | Straighten or replace guides |
Start by unthreading your machine completely. Then, follow the thread path step-by-step, ensuring the thread passes through each guide smoothly. Pay special attention to the tension discs – they should grip the thread firmly but not too tightly. Check for any misaligned spool pins or damaged thread guides that could be causing snags. Remember, a well-threaded machine is your best defense against those pesky thread breaks!
Adjusting Tension Settings
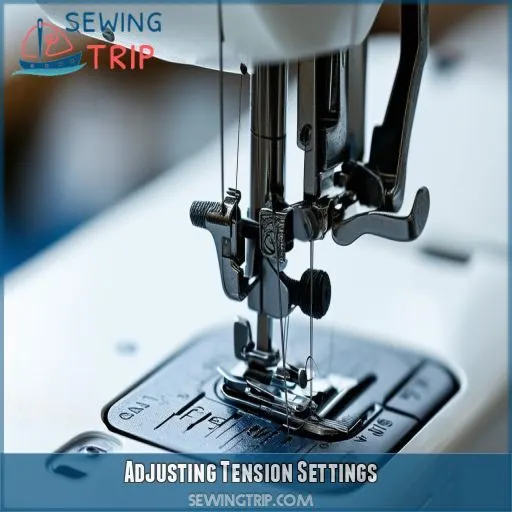
You’ve threaded your machine perfectly, but the thread’s still breaking? It’s time to tackle tension settings. Think of tension as a delicate dance between your upper and lower threads. Too tight, and your thread snaps like a rubber band. Too loose, and you’ll end up with a messy stitch that unravels faster than a poorly knitted sweater.
Start by adjusting your upper tension dial. Most machines have numbers from 0-9. If your thread’s breaking, try lowering the tension by one or two numbers. Don’t go overboard – small adjustments can make a big difference. Remember, thread size and quality play a role too. Thicker threads need less tension, while finer threads require more.
For the adventurous, there’s bobbin tension. But tread carefully – it’s a finicky beast. When in doubt, consult your machine’s manual or a pro. Happy stitching!
Checking Bobbin Placement
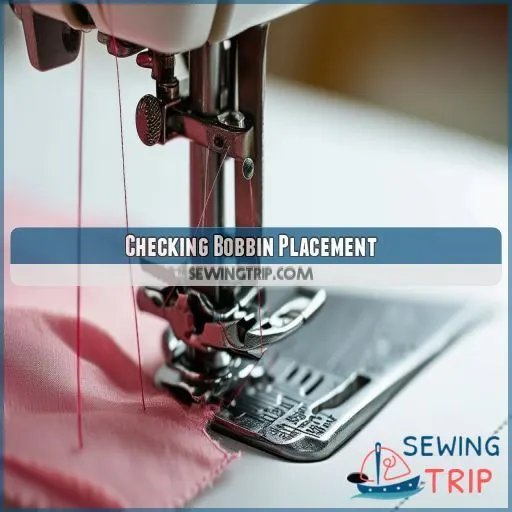
Now that you’ve adjusted your tension settings, let’s concentrate on the bobbin. Proper bobbin placement is critical for seamless sewing and can eliminate thread breakage. Here’s what you need to check:
- Bobbin case alignment: Confirm it’s seated correctly in the machine.
- Bobbin tension spring: Verify it’s not damaged or loose.
- Bobbin thread winding: Check for even distribution on the bobbin.
If your bobbin thread keeps breaking, examine the bobbin case for any signs of damage. Run your finger along the edges to feel for nicks or burrs that could snag the thread. Don’t neglect cleaning the throat plate while you’re at it – lint buildup can cause all sorts of trouble. When reinstalling the bobbin, ensure it’s spinning counterclockwise when you pull the thread. A correctly placed bobbin is your key to hassle-free sewing and fewer broken threads.
Avoiding Tangled Threads
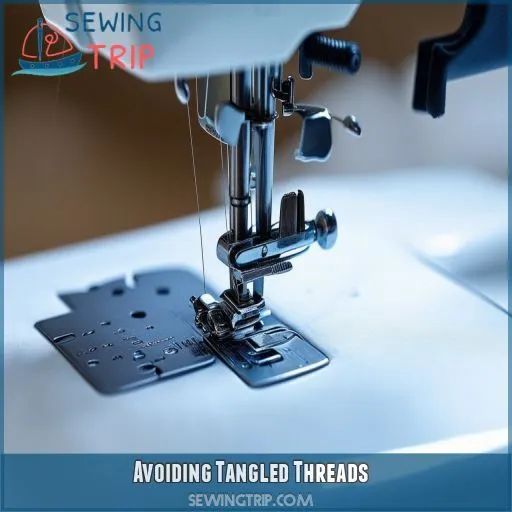
Tangled threads can be a real headache, but you’ve got this! First, check your thread spools. Are they seated correctly? A misplaced spool can throw off your whole thread path. Make sure the spool’s sitting snugly on the spool pin, with the thread unwinding in the right direction. Next, trace the thread’s journey through the machine’s thread guides. Any snags or loops here can spell trouble.
Don’t forget about thread thickness – it should match your needle size. Speaking of needles, check for damage or incorrect installation. A bent or poorly inserted needle is a recipe for disaster.
If you’re still finding broken thread, consider the spool itself. Old thread can be brittle and prone to breakage. When in doubt, swap it out for a fresh spool. Remember, a smooth thread path is your ticket to tangle-free sewing!
Cleaning the Machine
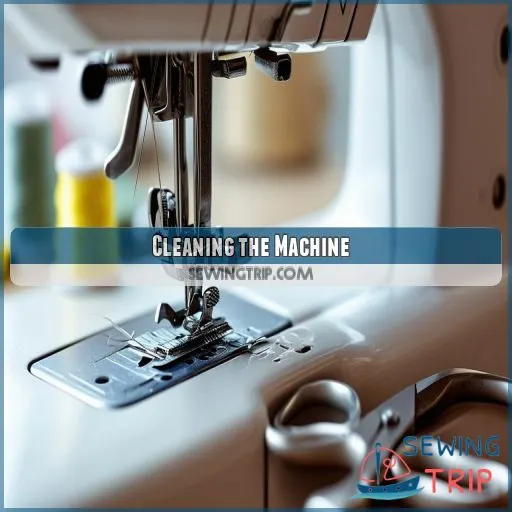
You’ve been sewing up a storm, but don’t forget to give your trusty machine some TLC! Regular cleaning is essential for smooth operation and preventing thread breakage. Start by unplugging your machine and removing the needle plate. Use a cleaning rod or brush to gently sweep away lint and debris from the feed dogs and bobbin area. Don’t forget to check the throat plate condition for any nicks or burrs that could snag your thread.
Next, tackle the upper threading path. Clean the tension discs, thread guides, and spool cap with a soft brush. For stubborn lint, a can of compressed air can work wonders. Remember to oil your machine according to the manufacturer’s lubrication schedule, using the correct oil type. A well-maintained machine is less likely to break threads, so make cleaning part of your sewing routine!
Matching Bobbin and Top Thread
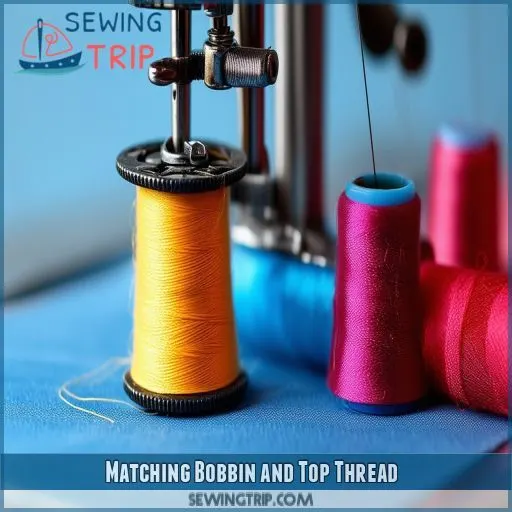
Now that you’ve cleaned your machine, let’s focus on matching your bobbin and top thread. It’s essential to use compatible threads for smooth sewing. Your upper thread and bobbin thread should be the same type and weight. Mixing different thread types can lead to tension issues and breakage. Always store your threads properly to maintain their quality. Avoid exposing them to direct sunlight or extreme temperatures.
When choosing thread, consider your fabric and project needs. Thread size and weight matter – use finer threads for delicate fabrics and heavier ones for sturdy materials. Make sure your spool pin is the right size for your thread spool to prevent tangling. If you’re still experiencing issues, try swapping out your upper thread. Sometimes, a simple change can make all the difference in achieving that perfect stitch you’re after.
Inspecting for Mechanical Obstructions
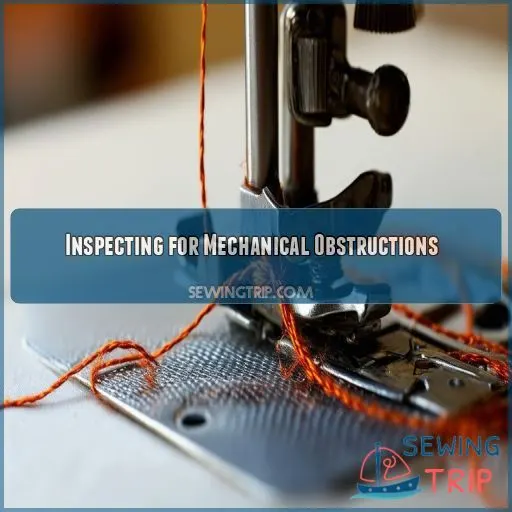
After ensuring your bobbin and top thread match, it’s time to play detective and inspect for mechanical obstructions. These sneaky culprits can wreak havoc on your sewing, causing thread breaks that’ll make you want to pull your hair out. Don’t pull, though – let’s tackle this methodically!
Check for these common offenders:
- Burrs on parts: Run your finger gently along metal surfaces
- Rough edges: Inspect the needle plate and tension discs
- Bent components: Look for anything out of alignment
Pay close attention to areas where the upper thread travels. Fabric fibers can accumulate, creating snags that lead to frustrating breaks. A thorough cleaning might be in order. Remember, even a tiny obstruction can cause big problems. If you spot any damaged parts, like a chipped bobbin or worn needle plate, replace them pronto. Your machine will thank you, and your projects will sail along smoothly.
Lubricating the Machine
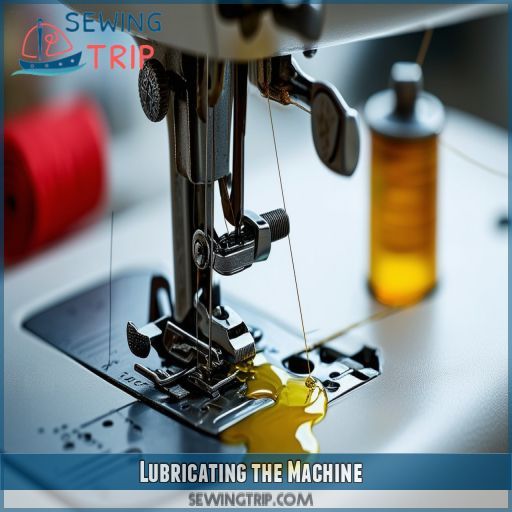
After checking for obstructions, it’s time to nurture your sewing machine. Proper lubrication is essential for smooth operation and can prevent thread breakage. Don’t despair over snapped threads – a well-oiled machine might be the solution you need.
Here’s a quick guide to lubricating your sewing machine:
| Oil Type | Viscosity | Application Area | Frequency | Tips |
|---|---|---|---|---|
| Sewing machine oil | Light | Moving parts | Monthly | Use sparingly |
| Silicone-based | Medium | Plastic components | Quarterly | Avoid fabric contact |
| Synthetic blend | Medium-light | Metal gears | Bi-annually | Clean before oiling |
| White lithium grease | Heavy | Gear teeth | Annually | Professional use only |
| All-purpose | Light | General use | As needed | Check manual first |
Frequently Asked Questions (FAQs)
How do I stop my thread from breaking on my sewing machine?
Check your threading, adjust tension, and replace old needles. Clean your machine regularly and use quality thread. If issues persist, inspect for burrs on the bobbin case or needle plate. Regular maintenance is key to smooth sewing.
Why does my sewing machine string keep snapping?
Did you know that 90% of thread breakage issues stem from improper threading? Check your machine’s tension, ascertain you’re using quality thread, and inspect for any burrs or damage. Regular maintenance and proper setup can prevent most snapping problems.
Why do I have to keep threading my sewing machine?
You’re constantly rethreading likely due to thread breakage or slippage. Check your tension settings, needle condition, and threading path. Make sure you’re using quality thread that matches your fabric and machine specifications. Regular maintenance can prevent frequent rethreading headaches.
Why does my sewing machine thread keep shredding?
Imagine your thread’s a delicate tightrope walker. It’s shredding because you’ve set up a treacherous path. Check for sharp edges on the needle, guides, or tension discs. Adjust tension and make sure threading is correct to create a safer journey.
How does humidity affect thread breakage?
Humidity can wreak havoc on your thread, making it weak and prone to breaking. High moisture levels cause fibers to swell and lose strength, while dry conditions make thread brittle. Keep your sewing area’s humidity balanced for best results.
Can using the wrong presser foot cause thread breaks?
Yes, using the wrong presser foot can cause thread breaks. It may not hold the fabric properly, creating tension issues. You’ll want to choose a foot that’s compatible with your project and fabric type for smooth sewing.
Does thread color influence its likelihood of breaking?
Thread color doesn’t typically affect breakage. You’ll find that quality, age, and compatibility with your machine and fabric are more significant factors. Focus on using fresh, appropriate thread for your project to minimize breaks.
How do fabric stabilizers impact thread performance?
Fabric stabilizers can dramatically improve thread performance. They’ll reduce fabric stretching and puckering, allowing your thread to glide smoothly through the material. You’ll experience fewer breaks and achieve neater stitches, especially when working with delicate or stretchy fabrics.
Can sewing speed contribute to frequent thread breakage?
Did you know that 70% of thread breakage is due to incorrect tension? Yes, sewing speed can contribute. You’re more likely to experience breaks when sewing too fast, as it strains the thread. Slow down for smoother stitching.
Conclusion
You’re now armed to the teeth with solutions to tackle that pesky thread-breaking issue. Remember, your sewing machine’s performance depends on various factors, from thread quality to proper maintenance.
By following these ten quick fixes, you’ll be well-equipped to answer the question, "Why does my sewing machine keep breaking thread?" Don’t let this common problem discourage you.
With patience and these practical tips, you’ll be back to creating beautiful projects in no time. Keep your machine in top shape, and happy sewing!

