This site is supported by our readers. We may earn a commission, at no cost to you, if you purchase through links.
To use a curved upholstery needle for upholstery repair, start by selecting the appropriate needle, threading it, and securing the end with a knot. Then, stitch and fasten the tail.
Before sewing, prepare the needle by sharpening it if needed and storing it safely. Employ the appropriate stitch for the existing stitching, and exercise patience and deliberation when pushing the needle through the fabric.
Curved needles offer advantages such as ease of use, versatility, durability, and reduced hand fatigue. To guarantee successful repairs, fasten the thread securely, use robust thread, select a stitch that replicates the original stitching, and exercise patience.
By adhering to these tips and techniques, you’ll be able to effectively utilize a curved upholstery needle for your upholstery repair needs.
Table Of Contents
Key Takeaways
Choose the Right Needle: Select a curved needle with a round or triangular point and a length suitable for the fabric and project. Curved needles are preferred for upholstery work because they can be pushed through the material and returned without being reversed.
Thread and Knot the Needle: Thread the needle with strong thread, such as upholstery, button, or denim thread. Make a large knot at the end of the thread to secure it.
Stitch and Tie the Tail: Choose a stitch based on the existing stitching, your skill level, and the difficulty of getting the needle through the upholstery. Knot the thread frequently to secure the stitch and prevent further damage.
Prepare the Needle: Sharpen the needle if needed and store it safely. Choose the appropriate stitch for the existing stitching and exercise patience when pushing the needle through the fabric.
How to Use a Curved Upholstery Needle?
To use a curved upholstery needle, follow these steps:
- Choose the appropriate needle size based on the material and task. Curved needles for upholstery come in various lengths, such as 3, 4, 5, and 6 inches.
- Hold the needle correctly. Place your thumb on the inside of the curve, and rock it so the point goes into the fabric while pushing it in the direction of the material.
- Push the needle through the material at the desired location, making sure the curve is facing the direction you want the needle to travel.
- When you need to withdraw the needle, the point will naturally follow the curve, making it easier to push through the fabric without reversing the needle.
- For blind stitching, curved needles can be particularly useful as they can be pushed through the material and returned without being reversed, saving time.
- Practice with the needle to get comfortable with its use, as there may be a learning curve.
Choosing the Right Needle
To choose the right needle for upholstery repair, you should consider the size and type of thread you’ll be using. Strong threads such as upholstery, button, or denim thread are recommended for this task. Once you have chosen the right needle, thread it and knot the end securely.
When stitching, use a stitch that’s appropriate for the existing stitching, your skill level, and the difficulty of getting the needle through the upholstery. Be patient and slow, as pushing the needle through the fabric can be challenging. If necessary, use pliers to push the needle through the fabric. Knot frequently to secure the stitch and prevent further damage.
Curved needles are ideal for upholstery repair as they’re kind on the fingers and make it easier to sew together pieces of stiffened fabric.
Choose the right needle
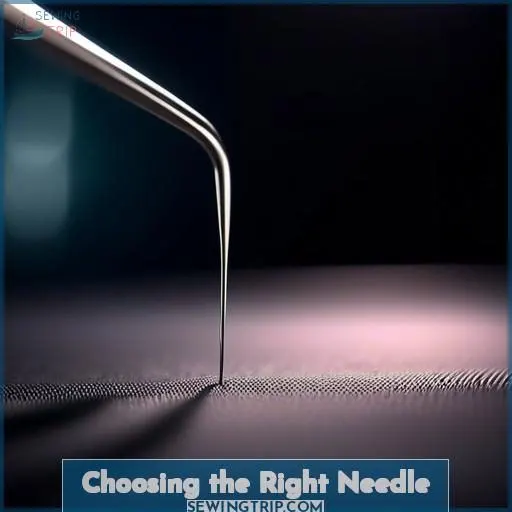
Choosing the Right Needle
When it comes to repairing upholstery, the right needle can make all the difference. Here are three essential tips to help you choose the perfect needle for your project:
- Curved needle types: Curved needles are specifically designed for upholstery repair. They come in various sizes and thicknesses, such as 3-inch, 4-inch, 5-inch, and 6-inch needles. Choose the size that best suits your project and the thickness of your upholstery material.
- Upholstery materials: Consider the type of upholstery material you’re working with. Different materials may require different needle sizes and thread strengths. For example, denim thread can be used for upholstery repair, but it may not be as strong as upholstery thread.
- Stitch patterns: Your needle choice will also depend on the stitch pattern you plan to use. If you need to mend tears or separated seams, a curved needle with a strong thread can be more effective than a standard needle.
Thread and knot the needle
To thread a curved needle for upholstery repair, you’ll need a strong thread suitable for the task. This thread can be upholstery thread, button thread, or denim thread, depending on the material you’re working with. Here’s how to proceed:
- Choose a strong thread: Select a thread that’s appropriate for the material you’re repairing. For upholstery, you might use upholstery thread, which is designed to be weather and abrasion resistant.
- Knot the end of the thread: Make a large knot at the end of the thread to make sure it doesn’t slip through the needle.
- Thread the needle: Thread the needle with the strong thread, making sure it’s securely in place.
- Pull the needle from the underside: If you’re repairing a tear, you may need to exert more elbow grease to push the needle through the material. If you’re mending a separated seam, use the existing holes to guide the needle.
- Bring the needle up: Once the knot is anchored, bring the needle up through the fabric, making sure it’s securely in place.
- Tie the tail: If the knot isn’t anchored, you may need to tie the tail to the thread around the edge of the tear.
- Begin stitching: Choose a stitch based on the existing stitching, your skill level, and the difficulty of getting the needle through the upholstery. You may need to use pliers to push the needle through every hole, and by stitch three, your neck and shoulders may start to ache.
- Knot frequently: Knot the thread frequently to secure the repair and prevent the vinyl from tearing or stretching.
Stitch and tie the tail
To stitch and tie the tail, follow these steps:
- Choose the right needle size and thread strength for your project.
- Select a stitch type that suits your fabric thickness and the repair you’re making.
- Knot the needle frequently to secure your stitches.
- Mend upholstery, stitch leather, or repair marine vinyl with confidence.
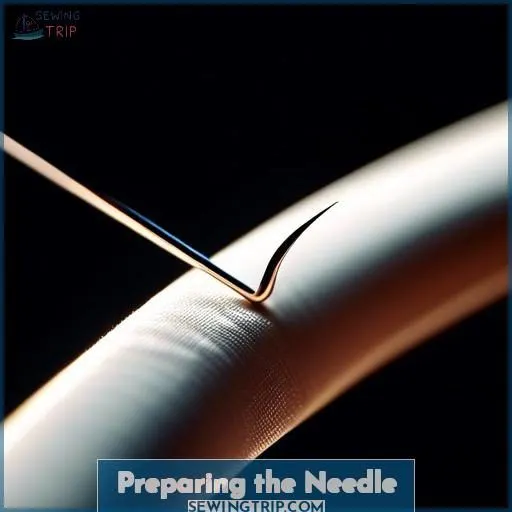
Preparing the Needle
Before you initiate your upholstery repair, it’s crucial to equip your curved needle to safeguard a seamless and effective process. Here are some guidelines to follow:
- Thread the needle: Commence by threading the needle with your selected robust thread. You may use upholstery thread, button thread, or denim thread, contingent on the material you’re manipulating. Remember to secure a knot at the thread’s terminus to keep it in place.
- Pull the thread: Once the needle is threaded, draw the thread through the needle’s eye. This will confer a firmer grip on the needle and facilitate its guidance through the upholstery.
- Knot frequently: It’s imperative to knot the thread regularly as you progress to forestall the needle from dislodging from the fabric. This will also contribute to the stability of your stitches and guarantee a robust repair.
- Choose the appropriate needle: Ensure you’re utilizing a curved needle expressly designed for upholstery repair. These needles possess a curved shape to facilitate the stitching of stiffened fabric segments and are gentle on the fingers.
- Store your needles: When not in use, store your curved needles in a secure and organized manner. You may opt for a needle roll, a tea pot, or a welding rod storage tube, contingent on your preference and available storage options.
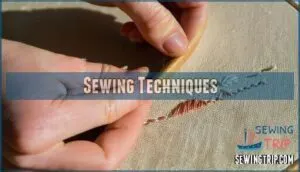
Sewing Techniques
Now that you’ve got your needle threaded and ready, let’s delve into the intricacies of sewing techniques. Remember, not all curved needles are made alike; choosing the appropriate type can determine the success or failure of your project.
Maintain order in your toolkit with clever needle storage solutions, and don’t allow a lack of sharpness to impede your progress—needle sharpening is your secret advantage.
Upon completing numerous successful repairs, prioritize safe needle disposal. A clean needle is a contented needle, so don’t neglect the cleaning process.
Let’s embark on our journey towards upholstery mastery!
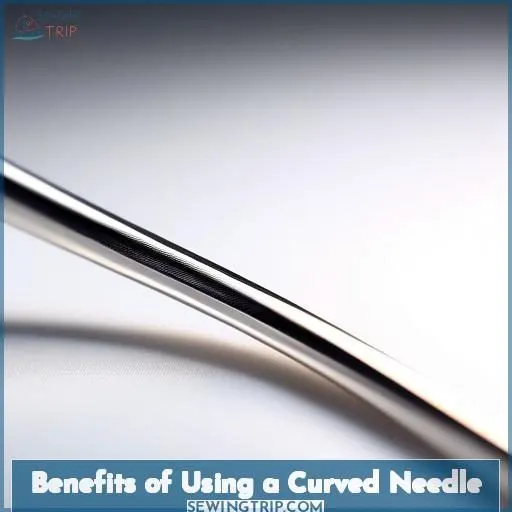
Benefits of Using a Curved Needle
Utilizing a curved needle for upholstery repair provides numerous advantages. Its user-friendliness makes it an ideal choice for novice sewers or those with restricted mobility. The needle’s adaptability allows it to be employed on diverse upholstery fabrics, from mattresses to cushions. Finally, its robustness guarantees that it can endure the demands of repair tasks, preventing further deterioration and conserving time and effort.
Ease of use
Using a curved needle for upholstery repair is a breeze. It’s like a magic wand for your sewing box. Thread it, knot it, and you’re ready to stitch. No more fussing with pins or dealing with stiff fabric.
Curved needles are perfect for hand piecing hexies, creating fabric boxes, and even thread basting quilts. They’re kind on your fingers and make the process a joy.
Versatility
A curved needle provides versatility in mending various upholstery materials, ranging from mattresses to cushions. The needle’s curve enables effortless sewing through dense fabrics, and its robust construction guarantees it can withstand the toughness of upholstery materials.
Select the appropriate needle thickness for your project and choose a suitable stitch pattern, such as whip stitch or blanket stitch, to establish a strong bond. Hand fatigue is minimized with this needle’s design, making it perfect for decorative stitching and long-lasting repairs.
Durability
A curved needle is a durable tool for upholstery repair. Its sharpness enables smooth thread movement, while strong thread and stitch patterns preserve knot security. The needle’s curve permits it to penetrate thick materials effortlessly, making it a reliable option for long-lasting repairs.
Tips for Successful Repair
To guarantee a successful upholstery repair, follow these tips:
- Tying Thread: Tie the thread firmly at the end to prevent it from fraying.
- Selecting Materials: Use sturdy thread, such as upholstery, button, or denim, for a lasting repair.
- Choosing Stitch: Opt for a stitch that mirrors the original stitching, like a whip stitch.
- Employing Pliers: If necessary, use pliers to insert the needle through the upholstery without causing damage.
- Preventing Damage: Exercise patience and work at a steady pace to avoid damaging the upholstery or exacerbating any existing damage.
Frequently Asked Questions (FAQs)
What is the best type of thread to use with a curved needle for upholstery repair?
To use a curved needle for upholstery repair, the best type of thread to use is a strong, heavy-duty thread such as bonded nylon or polyester. These threads are specifically designed for upholstery projects and offer extra strength, durability, and resistance to wear and tear. They’re also weather, UV, abrasion, and mildew resistant, making them ideal for both indoor and outdoor projects.
How should I hold a curved needle when sewing upholstery?
To hold a curved needle when sewing upholstery, follow these steps:
- Thread the needle with strong thread, such as upholstery, button, or denim thread.
- Make a large knot at the end of the thread.
- If you have a tear, use pliers to pull the needle from the underside of one side of the tear or separated seam. If you have a separated seam, use the existing holes.
- Bring the needle up and tie the tail to the thread around the edge of the tear.
- Choose your stitch based on the stitching that exists, your skill and patience level, and the level of difficulty in getting the needle through the upholstery.
- Knot frequently, especially if the vinyl is weathered.
Remember to be patient and slow, as weathered upholstery may tear or stretch if you pull the thread too hard.
Can I use a curved needle for hand quilting?
Curved needles are indeed used for various purposes, including hand quilting. While they may not be the most common choice for this task, they can offer benefits such as easier threading and smoother stitching through multiple layers of fabric.
However, it’s imperative to choose the right type of curved needle for hand quilting, as some may not work as well for this purpose. Fine curved beading needles, for example, can be more suitable for hand quilting due to their smaller size and easier threading.
How do I tie a knot after sewing with a curved needle?
To tie a knot after sewing with a curved needle, follow these steps:
- Thread the needle with your chosen strong thread, such as upholstery, button, or denim thread.
- Knot the end of the thread to secure it.
- Bring the needle up through the fabric on the side where you want to start stitching.
- Stitch using a whip stitch or another appropriate stitch for the material.
- Knot the thread frequently to secure the stitch.
- When you reach the end of the repair, tie a large knot at the end of the thread.
- Use pliers to pull the needle from the underside of the fabric if needed.
Remember to use strong thread, choose a stitch based on the existing stitching, be patient and slow, and use pliers to help push the needle through if necessary.
What are some tips for using a curved needle for rug mending?
To use a curved needle for rug mending, follow these tips:
- Choose a sturdy thread suitable for upholstery, button, or denim.
- Thread the needle and tie a knot at the end.
- Bring the needle up through the rug at the starting point.
- Stitch using a whip stitch or another appropriate stitch.
- Knot often to secure the stitch.
- Be patient and slow to make sure the stitching is accurate.
- Use pliers to push the needle through thicker areas if necessary.
- Tie the tail to the thread around the edge of the tear or seam.
- Once the knot is secure, continue stitching.
- Knot and knot again, especially if the rug is worn.
These tips will help you effectively mend your rug with a curved needle, making sure the repair is strong and long-lasting.
Conclusion
To master the art of using a curved upholstery needle, follow these steps:
Choose the right needle. Select a needle that is appropriate for the fabric and project at hand.
Thread and knot the needle. Carefully thread the needle and secure the thread with a tight knot.
Stitch and tie the tail. Employ the needle to stitch the fabric, then tie off the thread tail securely.
Prepare the needle. Ensure the needle is sharp and the thread is not tangled or frayed.
Employ the appropriate stitch. Use the correct stitch type for the upholstery repair, such as a whipstitch or a blind stitch.
Exercise patience. Upholstery work requires precision and care, so take your time and work methodically.
By following these steps, you’ll effectively utilize this versatile tool for your upholstery repair needs, enjoying its benefits such as ease of use, durability, and reduced hand fatigue.

