This site is supported by our readers. We may earn a commission, at no cost to you, if you purchase through links.
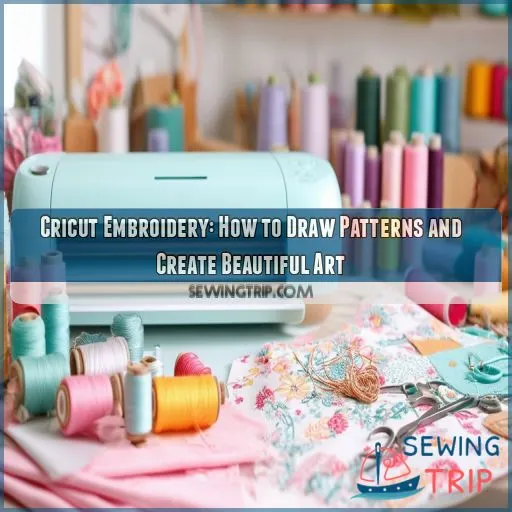 Ah, the eternal struggle: embroidery machines vs. Cricut. It’s like choosing between a gourmet chef and a microwave.
But wait! What if you could have both? Enter Cricut embroidery, the rebellious lovechild of precision cutting and traditional stitching.
You’ll release your inner artist, mastering patterns with a digital twist. Ready to free your creativity?
Let’s explore how you can use your Cricut and embroidery machine together to draw stunning designs and create beautiful art that’ll make your grandma’s doilies blush.
Table Of Contents
- Key Takeaways
- Can the Cricut Maker Do Embroidery?
- Supplies Needed for Cricut Embroidery
- How to Create Cricut Maker Embroidery
- Choosing the Right Design for Cricut Embroidery
- Adding Embroidery Stitches With Cricut
- Removing the Washable Fabric Pen From Fabric
- Finishing Your Cricut Embroidery Hoop Art
- Creative Possibilities With Cricut Maker-Assisted Embroidery
- Frequently Asked Questions (FAQs)
- Conclusion
Key Takeaways
- The Cricut Maker is like a trusty sidekick for embroidery enthusiasts – it can’t stitch for you, but boy, can it draw! Use it to transfer designs onto fabric with washable pens, saving you time and boosting precision.
- Mix and match your tools like a creative cocktail: Cricut for pattern transfer, embroidery machine for automated stitching, and good ol’ hand embroidery for that personal touch. It’s the crafting equivalent of having your cake and eating it too!
- Don’t let fabric fears hold you back – stick to sturdy, woven materials like cotton or linen when starting out. Trying to embroider on slippery fabrics is like trying to write on a wet noodle – frustrating and messy.
- Size matters, but technique trumps all. While you can draw designs up to 11.5" x 23.5" with a Cricut Maker 3, remember: it’s not the size of the hoop in the fight, it’s the size of the fight in the hoop. Let your creativity shine, no matter the scale!
Can the Cricut Maker Do Embroidery?
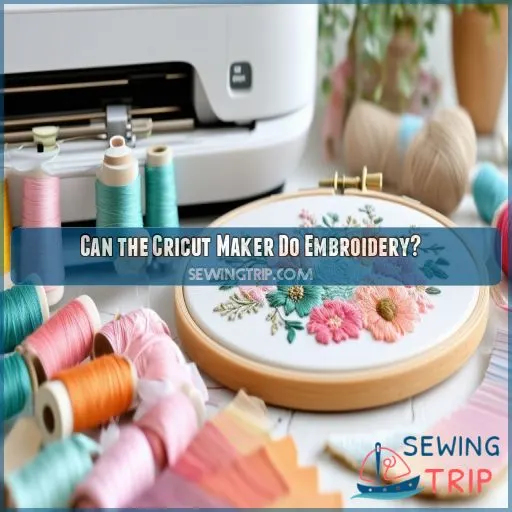
So, can the Cricut Maker embroider? The short answer is no, it can’t. But that doesn’t mean it can’t enhance your embroidery game! The Cricut Maker is a fantastic tool for those who love hand embroidery. It can’t directly embroider, but it can draw designs directly onto fabric with washable fabric pens, which is a huge timesaver and adds a level of precision to your embroidery projects.
You can use your own SVG files or choose from a wide range of online designs. The Cricut Maker allows you to quickly prepare designs to be stitched, saving you time and ensuring accuracy. So, while it doesn’t do the stitching for you, it speeds up the process and makes your embroidery journey more enjoyable.
Supplies Needed for Cricut Embroidery
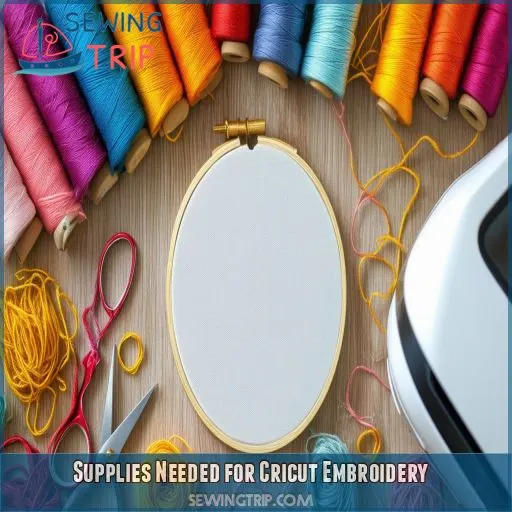
To get started with Cricut embroidery, you’ll need a basic toolkit that includes your Cricut machine, fabric grip mats, and a washable fabric pen. Don’t forget core embroidery supplies like fabric, thread, and embroidery hoops to make your designs come to life.
Basic Toolkit and Materials
- Basic Toolkit: The Cricut Essentials Tool Set is a must-have. It includes tweezers, a weeder, scissors, a spatula, a scraper, a scoring stylus, a paper trimmer, and replacement blades.
- Fabric and Fabric Handling: Choose your favorite fabric, preferably cotton, for embroidery. You’ll also need a fabric grip mat to secure the fabric in place while drawing or cutting.
- Embroidery Supplies: Gather an embroidery hoop, embroidery thread in various colors, needles, and any other core embroidery supplies you prefer.
Cricut Machine and Tools
To start your Cricut embroidery journey, you’ll need to gather the right tools and machines. Here’s a simple breakdown:
| Cricut Machine | Tools |
|---|---|
| Cricut Maker 3 or any Explore/Maker model | Washable fabric pen |
| Fabric grip mats | |
| Basic sewing toolkit | |
| Embroidery essentials |
With these supplies, you’ll be well-equipped to begin drawing designs and creating beautiful embroidery art. Remember, you can always expand your toolkit as you master new techniques and explore more complex projects.
How to Create Cricut Maker Embroidery
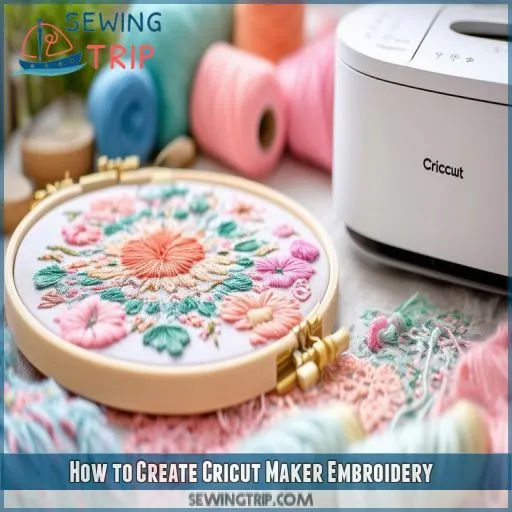
To create Cricut Maker embroidery, you need to begin by grasping how the machine boosts your embroidery ventures, including drawing precise patterns on the fabric. Afterward, ready and import your SVG files into Cricut Design Space, confirming that your design is primed for drawing.
Understanding the Role of Cricut Maker
The Cricut Maker is instrumental in elevating your hand embroidery projects to the next level. Here’s how:
- It offers precision and speed by directly drawing designs on fabric with washable fabric pens.
- This machine streamlines your embroidery work, making it efficient and accurate.
- You have the option to use your SVG files or explore the online library for new designs.
Drawing Designs on Fabric
Now that you grasp the role of the Cricut Maker, let’s jump into the process of drawing designs directly onto fabric. This method presents a unique twist to enhance your hand embroidery projects. The Cricut Maker uses fabric pens to draw on different fabric types, removing the tedious manual tracing step. Here are the simplified steps:
First, confirm that your fabric is pre-washed and ironed, especially if you’re working with cotton, as this creates a smooth drawing surface.
Next, choose your drawing tools. Consider the Cricut washable fabric pen, which creates washable guidelines with warm water after stitching. Alternatively, explore pens like Pilot Frixion Heat Erasable Fineliners or the Madame Sew Heat Erasable Gel Pen, which can be removed with heat. Regular Cricut markers are also an option, but remember to stitch over the lines.
Now, prepare your design. Utilize Cricut Design Space to import and set up your desired image, using your SVG files or online designs. Resize the design to fit your embroidery hoop and fabric. Don’t forget to set the Cricut Maker to "draw" mode and load the fabric pen into the pen holder.
Finally, attach your fabric to the fabric grip mat, following Cricut’s instructions. Set the base material according to your fabric type. Load the fabric pen, omit the blade, and press "Go" to start drawing.
With these simplified steps, creating beautiful embroidery designs with your Cricut Maker becomes effortless.
Preparing SVG Files
To prepare SVG files for your Cricut Maker embroidery projects, there are a few key steps and considerations to keep in mind:
- Vector vs. Raster: SVG stands for Scalable Vector Graphics, and it’s the most common file format for cut files. Unlike raster images, vector graphics are composed of mathematical formulas, allowing them to be scaled up or down without losing quality. This is especially important when you need to resize designs to fit your embroidery hoop or fabric.
- File Formats: Familiarize yourself with various file formats and their compatibility with different software. Common vector file formats include SVG, AI (Adobe Illustrator), and EPS. Keep in mind that certain software, like Silhouette Studio, may have limitations with specific formats.
- Design Space: The Cricut Design Space software offers a convenient feature to delete the background space from your images, making it easier to work with intricate designs. However, SVG files are generally more manageable and compatible.
- Adobe Illustrator: Adobe Illustrator is a popular vector graphics software that allows you to create and edit SVG files. It provides a wide range of tools for designing logos, packaging designs, and web graphics.
- Inkscape: Inkscape is a free, open-source vector graphics editor that can be used to create and edit SVG files. It offers flexible drawing tools and broad file format compatibility, making it a great alternative to Adobe Illustrator.
Choosing the Right Design for Cricut Embroidery
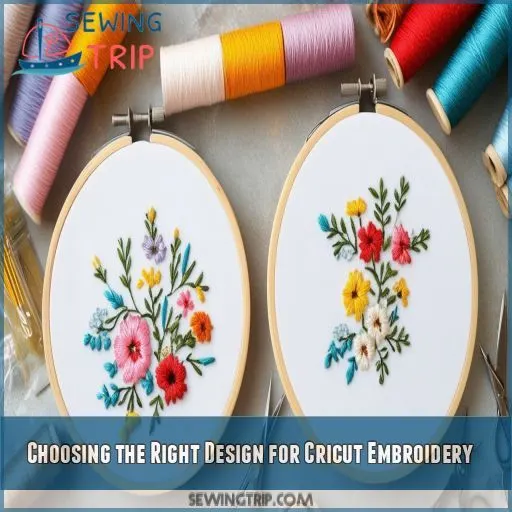
Choosing the right design for Cricut embroidery starts with single-line designs, which are perfect for this technique. Use Cricut Design Space to find suitable designs, and remember to secure your fabric with fabric grip mats for optimal results.
Single-Line Designs
When choosing a design for your Cricut embroidery project, it’s best to go with single-line designs. An easy way to find these is by filtering "Images" in Cricut Design Space by "Draw Only." Doing so will guarantee that your chosen design will be drawn with a pen as a single line, which is perfect for embroidery projects.
Additionally, you can create custom single-line SVG files using Adobe Illustrator or free online tools like boxy-svg.com. This option allows you to have custom designs that stay as a single line when uploaded to Design Space.
Cricut Design Space
Choosing the right design for your Cricut embroidery project is a breeze with the Cricut Design Space app. This app offers over 50,000 free images, fonts, and projects to spark your creativity.
You can also upload and edit your own image files in various formats, including SVG, and even use your system fonts.
With the Cricut Image Library at your fingertips, you’ll have endless possibilities for unique designs.
Fabric Grip Mats
When choosing a fabric grip mat for your Cricut embroidery project, there are several key factors to keep in mind: gripping fabrics, adhesive strength, material compatibility, and cutting accuracy.
The fabric grip mat should have adequate adhesive strength to hold your fabric firmly in place during cutting. Seek out mats constructed from high-grade, dense polyvinyl chloride (PVC) material, capable of withstanding the intense pressure of the Rotary Blade. This guarantees smooth fabric cuts, free from slipping or movement.
Material compatibility is also imperative. Select a fabric grip mat designed for your specific Cricut machine, be it the Cricut Maker or the Cricut Explore series. Using the appropriate mat will provide accurate cutting and assist in achieving your desired outcomes.
Additionally, pay attention to the mat’s size, ensuring it accommodates your fabric and embroidery hoop dimensions. The standard adhesive area sizes for the FabricGrip mat are 12 x 12 and 12 x 24 inches.
For the best results, remember to ready your fabric by trimming it to size and removing any creases with an iron before placing it on the mat.
Adding Embroidery Stitches With Cricut
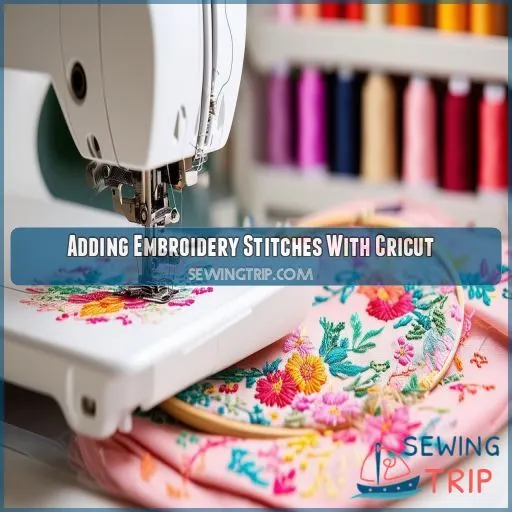
Now that you’ve chosen the right design, it’s time to add some embroidery stitches with your Cricut machine. This process will bring your design to life, allowing you to express your creativity through different stitches and thread colors.
First, remove the fabric from the mat and place it in your embroidery hoop. Separate the two rings of the hoop, positioning the inner ring behind your drawn design. Press down on the top ring, and then tighten the screw. Pull the fabric taut, creating a drum-like surface to work on. Be careful not to pull it too tight, though, as you don’t want to distort your image.
Now, it’s time to choose your embroidery thread colors and decide on the stitches you want to use. You can experiment with different stitches like backstitch, French knots, or satin stitch to add texture and detail to your design. With your Cricut machine, you’re just using it to draw the pattern, and then you fill it in with your embroidery thread by hand. So, grab your favorite colors and get stitching! Remember, this is your chance to have fun and be creative, so feel free to mix and match stitches and colors to your heart’s content. Your Cricut machine has helped you create the outline, and now it’s up to you to make it your own unique masterpiece of #hoop_art.
Removing the Washable Fabric Pen From Fabric
After completing your embroidery, it’s time to remove the washable fabric pen marks. This step is essential for a polished final product. Here’s how to do it effectively:
- Rinse the fabric under cool running water to avoid setting any stains.
- Use a mild detergent if needed, but avoid harsh chemicals that might damage your stitches.
- For stubborn marks, try soaking in lukewarm water with a gentle fabric cleaner.
- Test pen alternatives on a scrap piece before using them on your main project.
- Consider fabric sensitivity when choosing removal methods to preserve your work.
Finishing Your Cricut Embroidery Hoop Art
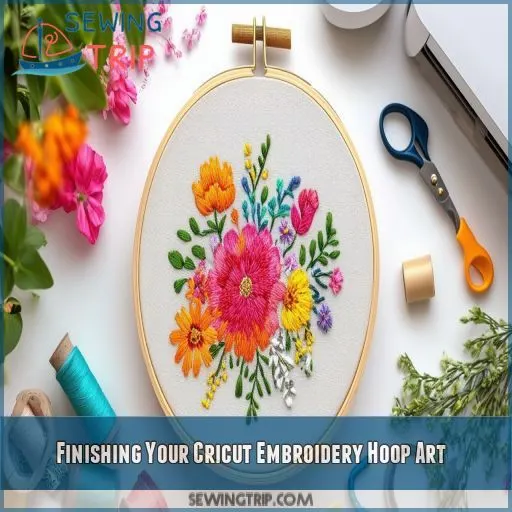
Now that you’ve removed the washable pen marks, it’s time to put the finishing touches on your Cricut embroidery hoop art. Start by framing your work in the hoop, ensuring the fabric is taut and wrinkle-free. Trim excess fabric, leaving about an inch around the hoop’s edge. Secure the backing by gluing or stitching it to the inner hoop, creating a neat appearance. For a polished look, consider edge finishing techniques like blanket stitching or fabric glue.
You’ve mastered the art of combining Cricut and embroidery machine techniques, so show off your creation! Display options are endless – hang it on a wall, prop it on a shelf, or gift it to a lucky recipient.
Your unique piece, adorned with French knots and satin stitches, is a demonstration of your newfound embroidery stitching skills and Cricut creativity.
Creative Possibilities With Cricut Maker-Assisted Embroidery
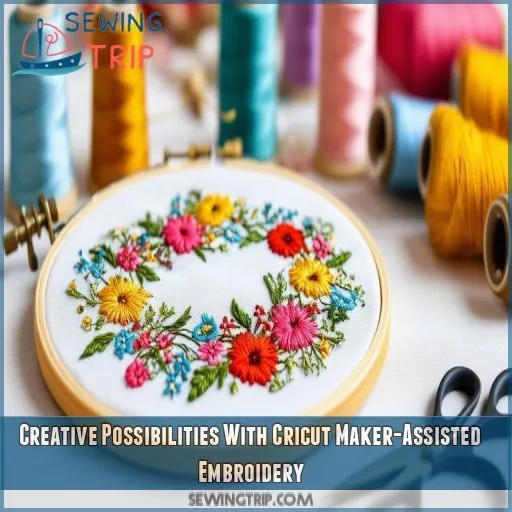
With Cricut Maker-assisted embroidery, you’re opening up a world of creative possibilities. You can elevate your projects by combining traditional embroidery with modern techniques. Here are some innovative ways to take your art to the next level:
- Mix media by incorporating fabric painting alongside your stitches
- Add texture through layering different materials and stitches
- Fuse beadwork with your embroidery for a stunning 3D effect
- Incorporate appliqué to create depth and visual interest
Don’t limit yourself to just drawing on fabric with your Cricut Explore. Experiment with free-motion embroidery to add a personal touch. While the Cricut can’t do machine embroidery, it’s an invaluable tool for precise pattern transfer. Consider investing in an embroidery kit to expand your stitch repertoire. By combining these techniques, you’ll create unique, eye-catching pieces that showcase your artistic vision and technical skill.
Frequently Asked Questions (FAQs)
Can a Cricut machine do embroidery?
No, Cricut machines can’t directly embroider. However, they’re great for drawing patterns on fabric for hand embroidery. You’ll use a washable pen in your Cricut to create guidelines, then stitch over them manually. It’s a helpful tool for precise designs.
Can you machine embroider on Cricut vinyl?
Like Icarus reaching for the sun, you’re pushing boundaries! While you can’t machine embroider directly on Cricut vinyl, you can create appliqués. Cut vinyl designs with your Cricut, then use an embroidery machine to stitch around them.
Can I use my Cricut to write on fabric?
Yes, you can use your Cricut to write on fabric. Load a washable fabric pen into your machine, select the "Draw" function, and create your design. It’s a great way to personalize textile projects with precision.
Can you stitch with a Cricut?
You can’t stitch directly with a Cricut, but it’s a game-changer for embroidery prep. Use it to draw designs on fabric with washable pens, then hand-stitch over them. It’s like having a high-tech stencil for your needlework!
Can Cricut designs be transferred to computerized embroidery machines?
Picture your Cricut design as a blueprint for a grand sculpture. You can transfer it to computerized embroidery machines using software that converts SVG files into embroidery formats. It’s like transforming a sketch into a 3D masterpiece.
How does Cricut embroidery compare to machine embroidery quality?
You’ll find Cricut embroidery offers precision in design transfer but lacks the automation of machine embroidery. While machine embroidery excels in consistency and speed, Cricut-assisted hand embroidery allows for more creative control and personal touch.
Are there specific fabrics to avoid with Cricut-assisted embroidery?
You’ll want to avoid slippery or stretchy fabrics with Cricut-assisted embroidery. Stick to tightly woven, stable materials like cotton, linen, or canvas. These fabrics hold their shape and allow for crisp, accurate designs and easier stitching.
Can Cricut markers be used on dark-colored fabrics?
You can use Cricut markers on dark fabrics, but they’re not ideal. For best results, opt for white or light-colored fabric pens. They’ll show up better and create a clearer design for your embroidery project.
Whats the maximum embroidery size possible with Cricut assistance?
Size matters, but it’s not everything. You can draw designs up to 5" x 5" with a Cricut Maker That’s plenty of room for most embroidery projects. Just remember, you’ll be stitching by hand afterward.
Conclusion
From precision cuts to delicate stitches, your Cricut and embroidery machine are a dynamic duo waiting to ignite your creativity.
You’ve learned how to draw patterns, prepare designs, and create stunning art that blends digital precision with traditional craftsmanship.
Whether you’re embellishing home decor or personalizing gifts, the possibilities are endless.
So grab your fabric pen, fire up your Cricut, and let your imagination run wild.
With your newfound skills, you’re ready to stitch your way into a world of beautiful, customized creations.

