This site is supported by our readers. We may earn a commission, at no cost to you, if you purchase through links.
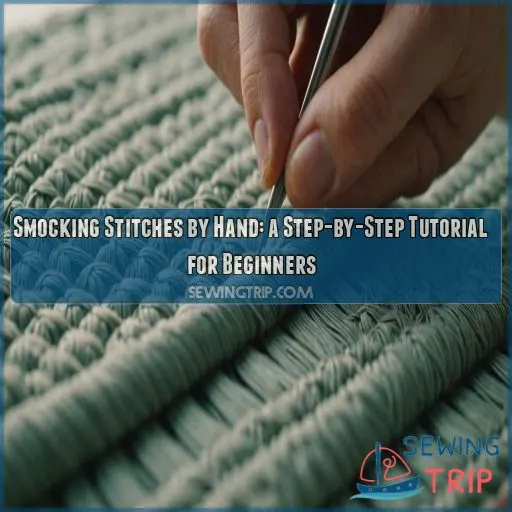
Start by choosing a lightweight fabric like cotton or linen, and make sure it’s pre-washed and ironed.
You’ll create a grid with your trusty fabric pen or use iron-on dots for precision.
Thread your needle, secure each pleat, and work that needle under the dots to gather evenly.
Want those stitches snug? A tiny ‘X’ stitch works wonders!
With a bit of practice, you’ll have that vintage charm gracing your fabric in no time.
Curious about adding flair? Stay tuned for some advanced smocking magic!
Table Of Contents
Key Takeaways
- Start your smocking adventure with the right fabric and tools: Lightweight fabrics like cotton or linen are your best friends, and having a sharp needle and either embroidery floss or all-purpose thread makes all the difference. Don’t forget to iron that fabric – it’s just like smoothing out the road before a scenic drive!
- Creating a smocking grid is like laying the foundation of a good house – essential for success. Use a fabric pen or iron-on dots, depending on your style, and align everything with the fabric’s grain. Think of it as your GPS for perfect pleats, minus the British accent!
- Practicing basic stitches, such as the cable or wave stitch, is your golden ticket to adding flair. It’s like watching your garden grow – you start with a seed and end with a blossoming work of art. And remember, pulling that thread just right is key to keeping those pleats behaving!
- Dive into the modern world of smocking with creative combinations! Try mixing smocking with other embroidery techniques, like cross-stitch or beading, for a design that stands out like a chili pepper in a bowl of oatmeal. It’s all about letting your inner artist run wild!
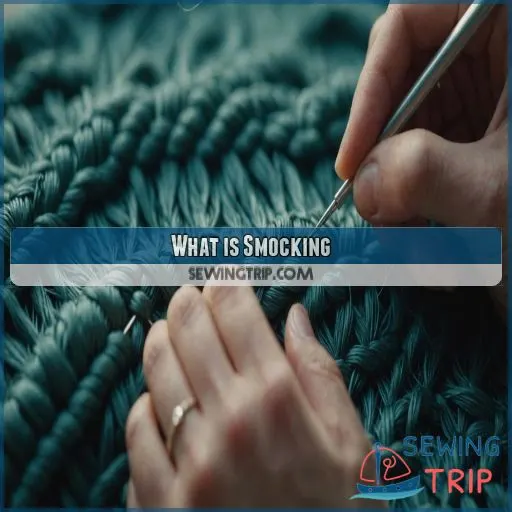
What is Smocking
Smocking is an ancient embroidery art that makes fabric look fancy and flexible, it gathers cloth into pleats with decorative stitches. You’ll find it in clothes like cuffs and collars, giving garments a stylish touch since before elastic came along!
Definition of Smocking
Smocking’s all about turning ordinary fabric into something extraordinary using special stitches. It’s like embroidery’s playful cousin, creating stretchy pleats that add style and comfort to garments. Dress up a baby dress or add flair to shirts with hand smocking. With a few smocking tools and techniques, you’ll craft charming designs that’ll make your heart dance!
History of Smocking
Smocking has been around since the Middle Ages, when it was used to add stretch and fullness to garments before elastic was invented. In the Victorian era, smocking became a popular decorative technique, adorning everything from christening gowns to bodices. Today, this timeless embroidery stitch continues to grace modern fashion and home decor.
Uses of Smocking in Fashion
Smocking has weaved its charm through fashion’s history and continues to turn heads today. You’ll spot it in baby clothes, historical pieces, and among contemporary designers embracing timeless elegance. Smocking techniques, despite their vintage flair, are as trendy as a sewing machine’s hum. Whether popping in bias tape or mastering that binder attachment, smocking trends are here to stay!
Benefits of Smocking in Garments
Smocking isn’t just about style; it’s a masterstroke of comfort and fit. By blending versatility with a touch of flair, smocking adds a snug embrace to garments without squeezing the daylights out of you. Plus, this technique boosts durability, ensuring your clothes don’t flop like a pancake. It’s like having a well-dressed superhero in your wardrobe!
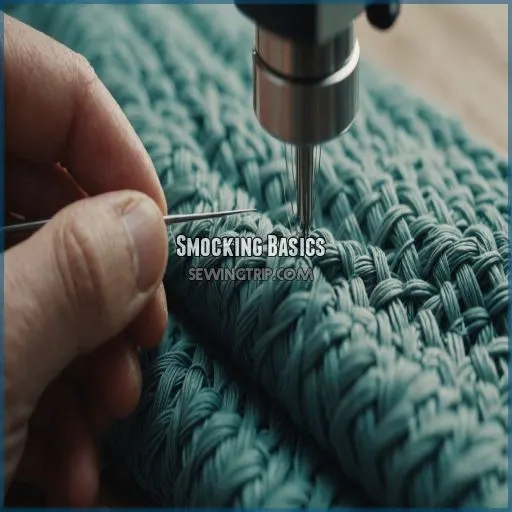
Smocking Basics
You’ll find smocking is a bit like sculpting miniature mountains on fabric, using just a needle and some thread. Don’t worry if your first smocking attempt resembles a toddler’s drawing—practice makes "x" perfect!
Choosing the Right Fabric for Smocking
Now that you’ve got a feel for smocking, let’s choose the fabric. Light and airy fabrics, like cotton or linen, are your best pals—easy to handle with just the right stretch. Consider fabric weight, thread count, and weave type for smoother smocking. And please, check for colorfastness; no one wants a technicolor surprise after washing! Happy smocking!
Thread Selection for Smocking
For smocking thread, you’ll want to opt for embroidery floss or regular sewing thread. Embroidery floss comes in a wide array of vibrant colors, allowing you to get creative with your designs. For a more subtle look, sewing thread blends seamlessly into the fabric. Consider these three factors when selecting thread:
- Thread weight and durability
- Fiber type (cotton, polyester, silk)
- Color coordination with your fabric
Smocking Grid Creation
You’ve got your thread, now it’s time to create the smocking grid.
Start by marking dots with your favorite tool: fabric pen, pencil, or even iron-on dots for a fancy touch.
Mind the fabric grain, or your pattern will dance like it’s had too much coffee!
Keep grid size and dot spacing consistent to make stitching a breeze.
Fabric Preparation for Smocking
Before you start smocking, it’s really important to choose the right fabric—cotton or linen works wonders! Pre-wash it, or it might shrink, leaving you in a pickle. Iron it to smooth out those wrinkles; nobody likes working on a crumpled fabric road. Carefully mark your fabric; precision is key here. Finally, cut it to size, and you’re ready!
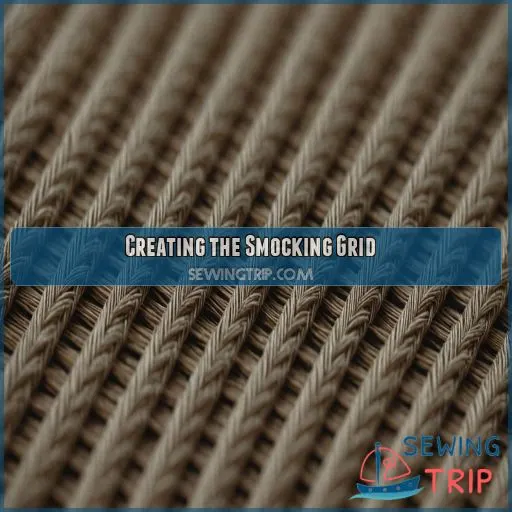
Creating the Smocking Grid
Before starting the smocking, you’ll need to create a grid of dots on your fabric to guide your stitches—think of it as a helpful GPS but without the British accent. Just grab your fabric pen and ruler, and let’s lay down those dots like a boss!
Drawing the Smocking Grid
You’ve chosen your fabric and thread—let’s add some magic to smocking with grid patterns. Grab a fabric pen and create your smocking grid with accuracy. Think of it as laying out a treasure map! Keep grid size and spacing consistent, aligning with the fabric’s grain for perfect pleats. Remember, chaos is fun, but not in smocking!
Using Iron-on Dots for Precision
For a precise smocking grid, consider using iron-on dots. These handy little guys make it a breeze to mark your fabric – just iron them on and you’re ready to go! Play around with dot size to achieve your desired pleat density. When you’re done, simply peel off the dots. No messy pencil marks here!
Aligning Dots With Fabric Grain
Now that you’ve got those iron-on dots in place, let’s talk about fabric grain direction. Align your dots with it to avoid pattern distortion and wonky designs. Think of it as following a straight stitch path. Going on the bias would be like walking diagonally through a crowded room: tricky and full of bumps! You’ve got this!
Customizing Grid Size and Spacing
How can you make sure your smocking pattern is on point? It’s all about customizing grid size and spacing! Aim for that Goldilocks sweet spot: just right for your fabric and design goals. Adjust pleat density and stitch count for unique pattern effects. Tweak as needed for ultimate fabric drape and design flexibility, making sure everything smocks up beautifully!
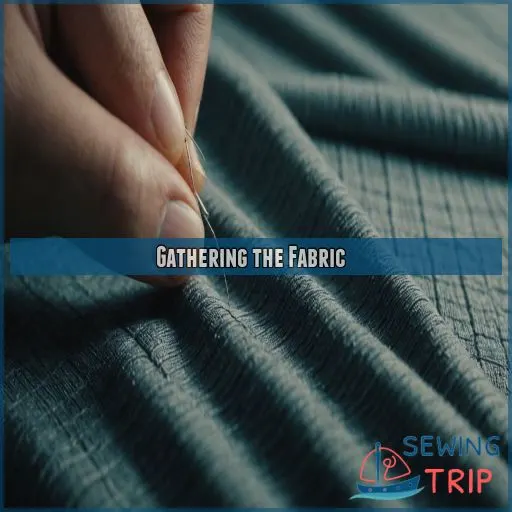
Gathering the Fabric
To gather the fabric for smocking, thread your needle and tie the end to prevent it from pulling through. Carefully pass the needle under each dot, from one side of the fabric to the other, securing the thread around a pin to hold the stitches in place. (Source)
Threading the Needle for Gathering
Let’s get into threading that needle! You’ll want to choose the right tools for success. Here’s what you need to keep in mind:
- Needle types: Go for a sharp, slender one.
- Thread thickness: Thicker holds well; thinner shows less.
- Knotting techniques: Secure without stress.
- Tension control: Loosey-goosey isn’t cool.
- Needle size: Perfectly balanced!
Passing the Needle Under Dots
| Dot Spacing | Needle Size | Stitch Direction |
|---|---|---|
| 1 inch | #7-8 | Left to right |
| 0.5 inch | #9-10 | Right to left |
|---|
1.5 inch
Securing the Thread for Gathering
To securely gather your fabric, tie a knot.
It doesn’t need to be fancy, just sturdy.
Pin placement is key; anchor the thread with a strategic pin to prevent thread slippage.
Use reliable gathering tools to maintain the right thread tension.
Creating Even Gathers
Now that you’ve secured the thread, it’s time to create even gathers across your fabric. Gently pull the thread from the first row, taking care not to yank too hard. Watch as the fabric pleats up into small, uniform gathers with the dots sitting neatly on top. The key is to:
- Pull the thread slowly and evenly
- Adjust any uneven gathers as you go
- Maintain consistent spacing between the dots
- Avoid creating any large, uneven pleats
Stitching the Gathers
Now that you’ve gathered your fabric, it’s time to stitch those pleats into place with some colorful embroidery floss. This part’s like adding the icing on a cake—the fun part, where your fabric starts to bloom into a beautiful smocked pattern!
Choosing Embroidery Floss for Smocking
When you’re choosing embroidery floss for smocking, think of weight, sheen, and color as your magical trio. Opt for a weight that gives enough durability without being bulky. Let your favorite floss brand’s sheen add some sparkle. Match floss colors to fabric like you’re pairing socks, ensuring harmony. Who knew color matching could feel like matchmaking? Happy smocking!
Stitching Gathers in Pairs
Now that you’ve gathered the fabric, it’s time to start stitching those gathers together. Use colorful embroidery floss to create a beautiful smocked pattern. Stitch the gathers in pairs, creating a tiny "x" that cinches them together. Take your time and keep an even tension – you’ve got this!
Alternating Rows for Smocking Pattern
How do you create pattern symmetry with alternating rows in smocking? It’s like dancing; each stitch sets the rhythm. Carefully stitch across each row, ensuring row alignment for a polished look. Mind the tension control so gathers don’t misbehave like mischievous kittens! Play with thread color choices to add a fun twist, and explore smocking stitch variations.
Securing the Thread
You’re almost there! After alternating your rows, it’s time to secure the thread. Think of securing knots as the final handshake on a business deal—firm but not overbearing. Focus on thread tension; too loose, and it slips like a greased pig. Choose sturdy knots to prevent slippage, so your hard work doesn’t unravel like a bad mystery novel.
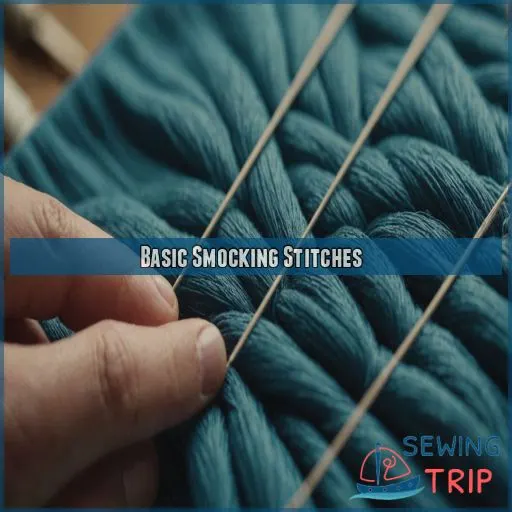
Basic Smocking Stitches
You’re about to learn some basic smocking stitches that will add charm to your sewing projects and get familiar with basic hand sewing techniques. Don’t worry if you’re not an embroidery expert yet; think of this as giving your fabric a friendly hug with some colorful thread!
Outline Stitches for Smocking
Now, let’s take a closer look at outline stitches for smocking.
Think of this stitch as the friendly guide that outlines your gathered fabric like a well-drawn map!
Grab your trusty needle and thread, and explore popular outline designs.
But beware, outline stitch difficulties can trip you up!
With patience and humor, mastering outline stitch variations will become your new favorite pastime.
Happy stitching!
Cable Stitch Smocking
The cable stitch is a classic smocking pattern that creates a lovely braided effect. To work this stitch, stitch pairs of gathers together, alternating the direction of the stitches to form an X shape. Experiment with varying the tension and spacing to create different cable patterns. This versatile stitch works beautifully on lightweight fabrics like cotton or linen.
Trellis Stitch Smocking
Get started with Trellis stitch smocking with a dash of creativity! This technique adds a lovely crisscross pattern to your projects, giving even beginner pieces flair. Forget about straight-laced stitchingembrace variations and history. Grab your tools and explore how Trellis stitch can turn ordinary fabric into extraordinary art, like magic! Its perfect for smocking projects that need style!
Wave Stitch Smocking Pattern
Imagine a gentle wave on the ocean, and you’ve got the wave stitch—perfect for smocking beginners. Grab your wave stitch tools and create various wave stitch projects. You’ll work by stitching the pleats, forming a series of dips and peaks. The history of this stitch is as classic as a vintage sea tale, giving your fabric graceful movement.
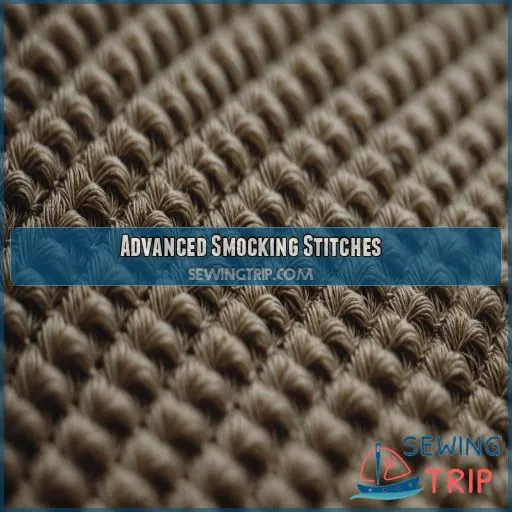
Advanced Smocking Stitches
In advanced smocking stitches, you’re about to master intricate designs like the diamond, honeycomb, and other complex patterns that elevate your textile creations. You’ll transform basic pleats into stunning art pieces, making your friends question if you secretly hired a Renaissance artist.
Diamond Stitch Smocking
Once you’ve mastered the basics, it’s time to level up with the diamond stitch. This intricate pattern creates a stunning diamond-shaped grid that adds a touch of elegance to your smocked projects. Don’t be intimidated – with a little practice, you’ll be stitching these diamonds like a pro in no time!
Honeycomb Stitch Smocking Designs
Diving into honeycomb stitch designs is like opening a treasure chest of possibilities! Start by gathering your fabric and trusty smocking supplies. This stitch, with its delightful crisscross pattern, dates back centuries. Perfect for beginners tackling smocking projects, it’s both forgiving and satisfying. Experiment with honeycomb variations to add unique flair, and you’ll have your fabric singing in no time!
More Challenging Smocked Stitches
Ready to spice up your smocking game? Try out more challenging smocked stitches and watch your skills bloom!
- diamond stitch Smocking: Stitch diamonds with extra flair and precision.
- Cable Stitch Variations: Experiment with twists for dynamic designs.
- Smocking on Lace: Elevate lace with intricate smocking patterns.
- 3D Smocking Designs: Create depth and texture for eye-popping effects.
Get stitching and let your creativity run wild!
Contemporary Smocking Designs
Get into modern smocking! Embrace bold color palettes and sustainable materials to create contemporary designs. Picture a masterpiece on fabric, where your creativity runs wild. DIY projects let you explore trending techniques effortlessly. Trust yourselfsmocking isn’t just for baby clothes anymore; it’s an art form! So, why not give it a whirl and transform your wardrobe?
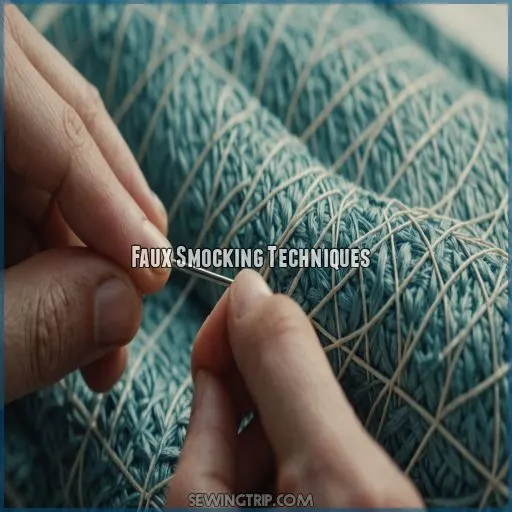
Faux Smocking Techniques
If you’re looking for a quicker way to achieve the smocked look without the intricate hand-stitching, try faux smocking techniques like shirring with elastic thread or machine smocking using gathering. These methods can give you the same beautiful, textured effect with less time and effort. (Source)
Shirring With Elastic Thread
As you master advanced smocking stitches, why not explore shirring with elastic thread? It’s like smocking’s playful cousin! Grab lightweight fabric, set the right elastic thread tension, and let the magic begin. Lost yet? No worries, shirring vs. smocking will become clear in no time. Imagine creating gathered sundresses or breezy tops. Troubleshooting shirring? Check thread tension first!
Machine Smocking Using Gathering
Ever thought machines weren’t just for high-speed sewing? Machine smocking uses gathering with the right tools. Try a gathering foot and adjust tension settings for those perfect puckers. Choose fabric that doesn’t slip-slide away, and remember, patience is key. Finish with flair, and voilà, your faux smocking looks like the real McCoy. Easy peasy, right?
Materials for Hand-Look Smocking
To achieve that "hand-look smocking" magic, start with lightweight fabric types like cotton. Choose a needle size small enough to weave through pleats easily. For thread, embroidery floss adds flair, while all-purpose thread stays subtle. Gather your tools and equipment – a thimble, sharp scissors – and you’re ready! Remember, patience is key; haste can unravel progress.
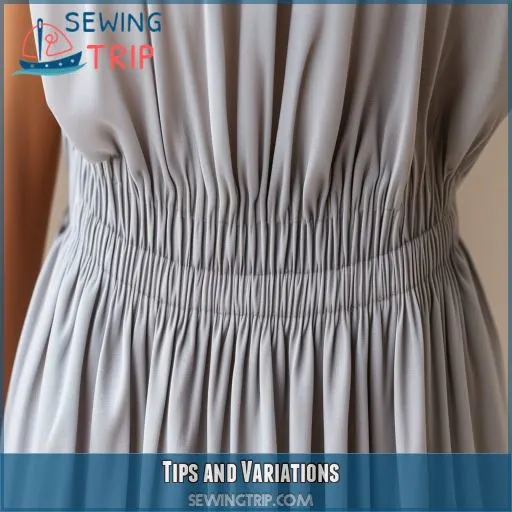
Tips and Variations
Once you’ve mastered the basics, don’t be afraid to get creative! Try experimenting with extra small pleats for a delicate look, or combine smocking with other embroidery techniques to add unique flair to your projects embroider letters on shirt.
Extra Small Pleating for Smocking
Embracing tiny pleats in smocking offers a delicate charm, like adding a sprinkle of magic dust to your garment. With the right fabric choice, a sharper needle, and mindful stitch tension, you create a lovely design impact. Imagine these careful details as your artistic flair, shaping the fabric like a skilled sculptor dances with clayjust don’t poke yourself!
Combining Smocking With Other Embroidery
After mastering those tiny pleats, why not spice things up a bit? Combining smocking with other embroidery forms can really jazz up your fabric.
- Smocking and Cross-Stitch: adds charming patterns.
- Smocking and Applique: for 3D effects.
- Smocking and Ribbon Embroidery: creates depth.
- Smocking and Beading: a touch of sparkle!
Mix ’em and watch your creations pop!
Troubleshooting Common Smocking Issues
Combining smocking with embroidery fuels creativity, but uneven gathers and loose stitches can mess with your masterpiece. If fabric’s puckering or thread’s breaking, check stitch tension—like a tightrope walker, it shouldn’t be too taut or too relaxed. Don’t let frustration fray your patience. Breathe, adjust, and remember: even Bob Ross had happy little accidents.
Experimenting With New Smocking Designs
Once you’ve tackled common smocking issues, let your creativity run wild! Try experimenting with vibrant color combinations or mixing stitch variations for a playful twist. Fancy a challenge? Use unique fabrics that surprise and delight. Blending different patterns can really make your design pop. Remember, with smocking, there’s no wrong turn—only new adventures in artistry!
Frequently Asked Questions (FAQs)
How do I sew smocking in the middle of a garment?
Picture a soft, flowing field of gathered fabric—right in the center of your garment. Draw a smocking grid, gather the fabric with care, and stitch those charming pleats. Voilà, you’ve created a smocked masterpiece!
What type of needle and thread work best for smocking?
For smocking, grab a sharp, medium-sized needle—size 7 or 8 works well—and use embroidery floss for a colorful pop or standard thread for subtlety. Don’t stress; they’ll help you stitch those gathers like a pro!
Can I use elastic thread for smocking and still have stretch?
Who doesn’t want a bit of stretch without the hassle of elastic? Using elastic thread gives smocking stretch while keeping the stylish pleats. Just hand-wind it onto a bobbin and enjoy making those cozy, flexible designs!
How do I fix loose or uneven smocking stitches?
To fix loose or uneven smocking stitches, try adjusting your needle tension, using a finer thread, and ensuring your pleats are evenly spaced. With a little practice, you’ll be stitching up a storm! (Source)
What are some creative ways to incorporate smocking into a design?
Think of smocking as a sprinkle of magic on your fabric canvas. Add smocking to unexpected places like sleeves, bag accents, or even pillow edges. It’s like giving your design an extra hug of texture and style!
Conclusion
So, you thought smocking stitches by hand would be just a simple stitch-and-go, didn’t you?
Little did you know, you’ve started on a detailed journey that weaves tradition with creativity!
Embrace the practice, and soon you’ll be mastering vintage charm in no time.
Celebrate your progress, and let your newfound smocking skills add flair to your projects!

