This site is supported by our readers. We may earn a commission, at no cost to you, if you purchase through links.
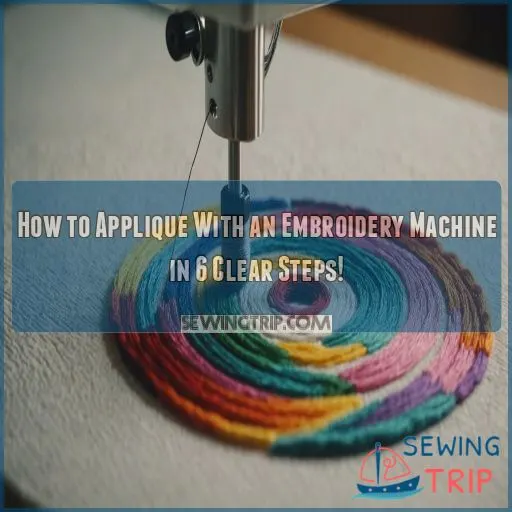
As you secure your fabric in the hoop, double-check tension—it’s the peacekeeper in fabric diplomacy. Your placement line is the beacon guiding your applique fabric. Trust your tacking stitch; it’s the safety belt for your artwork.
Finish with a border stitch and you’re nearly there. Trim, press, and admire! Ready for more behind-the-scenes secrets and tips? Let’s journey further into applique.
Table Of Contents
- Key Takeaways
- Choosing the Right Fabric
- Understanding Applique Design
- Preparing the Embroidery Machine
- Step 1: Stitching the Placement Line
- Step 2-3: Cutting and Placing the Applique
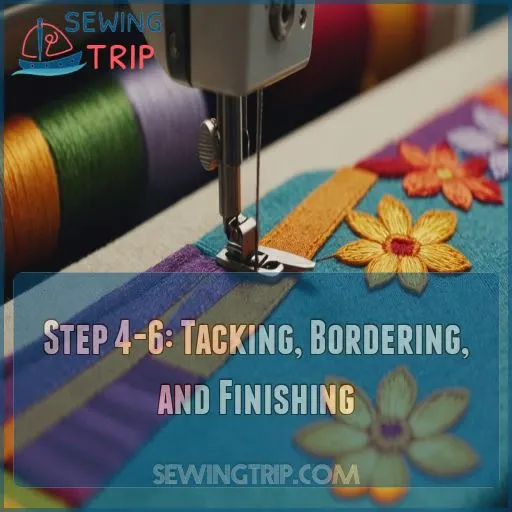
- Step 4-6: Tacking, Bordering, and Finishing
- Tips for Working With Different Fabrics
- Common Applique Mistakes and Solutions
- Taking Your Applique to the Next Level
- Frequently Asked Questions (FAQs)
- Conclusion
Key Takeaways
- Don’t sweat the small stuff, like choosing fabric. Your fabric is the star of your show. Cotton is a classic, but denim adds pizzazz. Don’t forget stabilizers, those unsung heroes that keep everything smooth.
- Your embroidery machine is a magical tool, but even it needs a bit of prep. Think of setting it up like tuning a race car: adjust the tension, choose the right needle, and you’re ready to roll.
- Dive into stitches like a pro. Placement stitches are your treasure map, leading the way. Tack down your fabric securely, then finish with a snazzy border stitch for that "wow" factor.
- Keep calm and cut precisely. Whether you’re using scissors or a cutting machine, accuracy is your best friend. Like a puzzle piece, placing your appliqué fabric snugly will make everything come together beautifully.
Choosing the Right Fabric
Choosing the right fabric is like picking the star of your show—using poor fabric can make your applique flop, but the perfect one makes it a hit.
You’ll need to think about fabric type, stability, and preparation to get everything just right, so think of yourself as a fabric matchmaker!
Fabric Options for Applique
When choosing appliqué fabric, consider these types:
- Cotton: The classic pick, easy to work with.
- Denim: Adds texture; pre-wash to avoid shrinkage.
- Felt: Won’t fray; perfect for intricate designs.
- Faux Leather: Adds luxury; handles like a diva.
Remember to pre-wash!
Working With Knit and Woven Fabrics
Now, let’s talk knit versus woven fabrics. Knit fabrics stretch, causing potential headaches without proper stitch density and hooping techniques. Think of them as stretchy gym socks! Use a stabilizer to maintain your embroidery design integrity, as you’ll learn about in the ITH guide. Woven fabrics, however, play nicely.
Selecting the Best Stabilizer for Fabric
Selecting the right stabilizer is key for applique success.
Consider the fabric weight – lightweight knits need a no-show mesh, while thicker fabrics require a heavier cut-away.
Avoid puckering by using a temporary adhesive to secure the stabilizer.
It’s all about finding the perfect match!
Understanding Applique Design
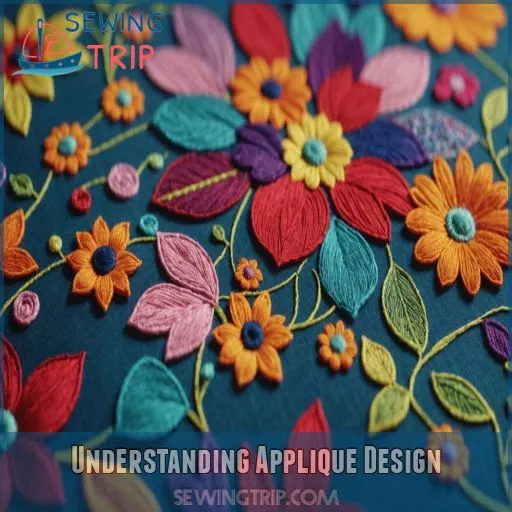
When you’re ready to tackle applique, understanding the design process is important for creating beautiful results.
From the placement stitch, which makes sure your fabric aligns perfectly, to the tacking and border stitches that add the final touch, you’ll transform ordinary fabric into a masterpiece with just a few precise steps—think of it as a recipe for fabric magic!
Placement Stitch and Its Importance
You’re ready to start stitching!
Begin with placement stitch accuracy—your embroidery machine will carefully lay down this line, guiding where your applique sits.
Use solid hooping techniques.
This foundational step helps avoid design disasters and sets the stage for perfection.
Tacking Stitch for Secure Attachment
Let’s take a closer look at tacking stitches for securing applique fabric. This stitch:
- Attaches fabric firmly
- Uses varied types for different effects
- Balances stitch density
- Adjusts tension for smoothness
- Employs specific tools
Master these, and you’ll be stitching like a wizard with your embroidery machine!
Border Stitch for Finishing Touches
Once you’ve tacked down the applique fabric, it’s time to add the border stitch for a polished finish.
Choose from satin, decorative, or even a dense running stitch to frame your design and prevent fraying.
| Stitch Type | Applique Fabric | Stitch Density |
|---|---|---|
| Satin Stitch | Smooth Fabrics | Dense |
| Decorative Stitch | Textured Fabrics | Varied |
| Raw Edge Running Stitch | Any Fabric | Loose |
Preparing the Embroidery Machine
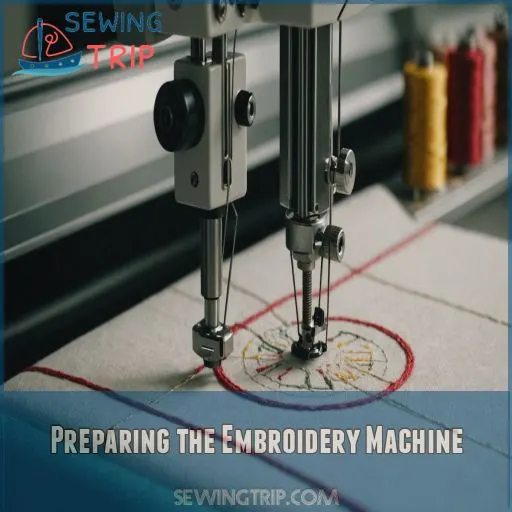
Getting ready to machine applique is like setting up a race car; you need the perfect thread, needle, and calibration for smooth stitching success.
Don’t worry, your embroidery machine won’t mind if you skip the pit stop snacks!
Setting Up the Machine for Applique
Getting started with applique design means making sure your embroidery machine is ready to go. Start by ensuring your hooping is secure.
- Select the right stabilizer.
- Adjust machine settings.
- Prep the bobbin thread.
- Check needle selection.
Choosing the Right Thread and Needle
Get into thread wonderland: choose a 40-weight embroidery thread for stitching finesse.
Match it with a needle size that suits your fabric, like a 75/11 needle for most tasks.
Trust polyester for durability; it won’t leave you in stitches!
Calibrating the Machine for Optimal Performance
Next, calibrate your embroidery machine for the best performance.
Adjust the hoop tension, needle depth, and stitch density to match your applique fabric.
Tweak the bobbin tension and speed as needed.
With your machine dialed in, you’re ready to start stitching!
Step 1: Stitching the Placement Line
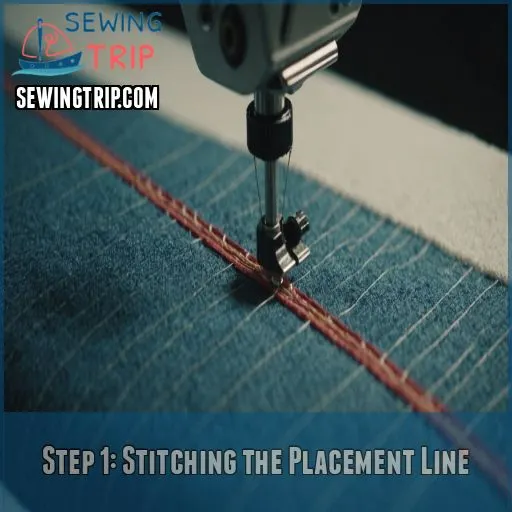
Kicking off your applique project with an embroidery machine starts with stitching the placement line, really important for ensuring your design’s precision and accuracy.
Imagine it as drawing an X on a treasure map, marking exactly where your applique fabric should go—it’s the seamstress’s secret to preventing any “where’s my fabric?” moments!
Hooping the Fabric for Precise Stitching
When hooping your fabric, make sure it’s taut as a trampoline! This helps your embroidery projects stay spot on.
Remember:
- Select the right hoop size for your design.
- Check the fabric tension.
- Use proper hooping tools.
- Secure stabilizer placement skillfully.
Stitching the Placement Line for Accuracy
You’ve hooped your fabric skillfully, now let’s focus on stitching the placement line accurately.
This line makes sure your applique fabric sits perfectly where it should.
Use your embroidery machine wisely for precise stitch quality and avoid the tempting chaos of mismatched lines!
Adjusting the Machine for Perfect Alignment
Now that your placement line is stitched, tweak your machine’s hoop tension, needle depth, stitch width, and bobbin tension to make sure the applique fabric lays flat and smooth.
A well-calibrated machine is key for precise, professional-looking applique.
Step 2-3: Cutting and Placing the Applique
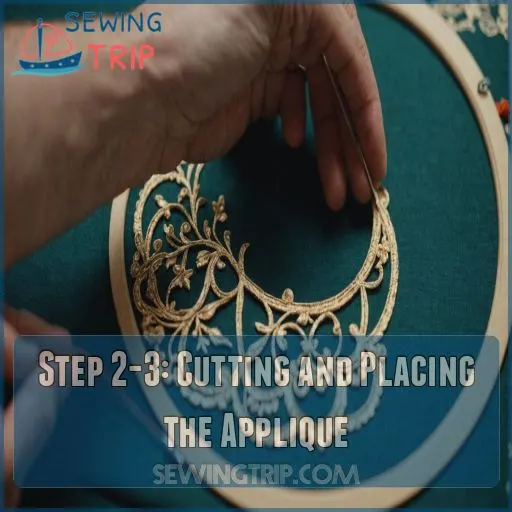
Cutting and placing the applique might feel like walking a tightrope, but with the right methods, you won’t fall!
Keep calm and carry your fabric with care, ensuring each piece is smooth and perfectly aligned for a wrinkle-free finish.
Methods for Cutting Applique Fabric
Cutting the appliqué fabric accurately is key to achieving mastery in your designs.
Here are four methods:
- Stitch-and-Cut Technique
- Pre-Cut with Templates
- Use Fabric Cutting Tools
- Try Fabric Layering
Find the technique that suits your style!
Placing the Applique for Smooth Attachment
Placing your applique is like finding the perfect puzzle piece.
Make sure hoop tension is snug to keep fabric aligned.
Use a touch of applique fabric adhesive for stability, then gently position your applique fabric, smoothing it like a cat in a sunbeam.
Tips for Avoiding Wrinkles and Creases
Avoid wrinkles and creases by carefully hooping the fabric with even tension.
Steam iron the applique fabric to remove any stubborn wrinkles before cutting.
Choose a stabilizer that provides the right amount of support for your fabric type.
Press the applique firmly in place to secure it.
Step 4-6: Tacking, Bordering, and Finishing
Now that you’ve placed your applique, let’s secure it with a tacking stitch, add a snazzy border for a polished look, and put the finishing touches on your masterpiece.
Make sure your embroidery machine is ready because transforming fabric scraps into art has never been this fun and easy.
Stitching the Tacking Stitch for Secure Attachment
It’s time to secure the applique fabric with the tacking stitch. Align everything and make sure you have proper stitching.
Use these tips to get it right:
- Adjust tacking stitch tension.
- Optimize tacking stitch length and width.
- Maintain even tacking stitch density.
Adding the Border Stitch for a Professional Finish
You’ve mastered the tacking stitch; now it’s time to add the border stitch. Whether you choose a satin stitch or decorative stitch, make sure your machine’s tension is perfect. These stitches add flair and prevent fraying in your applique fabric projects.
| Border Stitch Types | Tips |
|---|---|
| Satin Stitch | Adjust thread tension for smoothness. |
| Zigzag Stitch | Keep even width for consistency. |
| Blanket Stitch | Great for rustic designs. |
| Decorative Stitch | Adds a unique touch to edges. |
| Dense Running Stitch | Ideal for raw edge applique. |
Final Touches for a Completed Applique
Now that the border stitch is complete, give your applique a final press with a hot iron to set the stitches and fabric.
Carefully trim any loose threads,
then display your stunning new creation with pride!
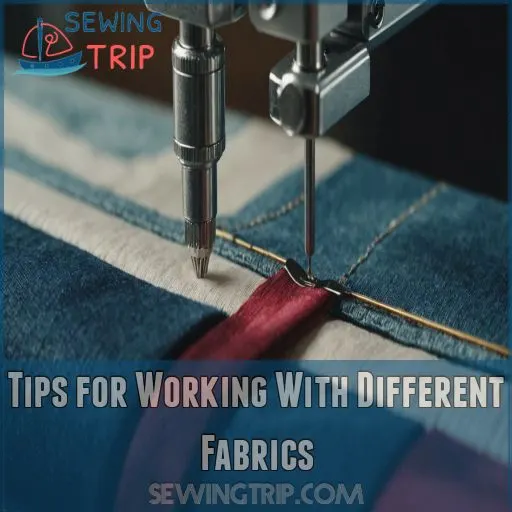
Tips for Working With Different Fabrics
When you’re tackling applique, understanding how to work with different fabrics is important for a great finish.
From stretchy knits to delicate lace, each fabric has its quirks, and if you don’t handle them correctly, you might end up with results as frustrating as a gym sock full of bees!
Applique on Stretchy Fabrics Like Knits
After making your applique look amazing, let’s tackle stretchy fabrics like knits.
Hooping knits without stretching is an art.
Use a stretchy fabric stabilizer, ensuring your applique fabric designs are just right for those playful baby bodysuits or stylish leggings!
Working With Delicate Fabrics Like Lace
Lace applique requires a gentle touch and precise steps.
Use a lightweight stabilizer to avoid puckering and carefully hoop your project to maintain tension.
Let’s make magic! Lace loves a delicate stitch, so adjust tension and stitch slowly.
Keep scissors handy!
Using Applique on Thicker Fabrics Like Denim
When working with thick fabrics like denim, use a heavy-duty needle, topstitch thread, and a sturdy stabilizer.
Hoop the denim securely, and consider raw-edge applique for a rustic look on projects like tote bags or baby blankets.
The extra thickness may require adjusting your applique stitches.
- Use a heavy-duty needle and topstitch thread
- Stabilize denim with a thick, sturdy backing
- Hoop the fabric tightly to prevent shifting
- Try raw-edge applique for a unique finish
Common Applique Mistakes and Solutions
When you’re working with an embroidery machine, even the seasoned applique enthusiasts can run into a few hiccups like fabric bunching or stitches going astray.
Don’t worry, though; these common mistakes are easily fixable with a bit of technical know-how and a dash of patience – just follow our expert tips to keep those snags at bay!
Preventing Fabric Bunching and Puckering
Working with different fabrics can feel like juggling cats, but you can conquer bunching and puckering with the right tricks.
Make sure stabilizer selection suits your fabric tension.
Master your hooping techniques.
Adjust stitch density.
Choose compatible applique backing.
Fixing Misaligned or Uneven Stitches
Fixing those pesky misaligned or uneven stitches is key to mastering your applique crafts!
First, check your hooping technique—it’s like setting the stage for a play.
Adjust stitch tension, choose the right needle type, and select a compatible stabilizer.
Troubleshooting Common Machine Issues
Dealing with a temperamental embroidery machine? No sweat! Check your needle, thread tension, and bobbin – these common culprits can cause misaligned stitches. Proper hooping is key too. With a little troubleshooting, you’ll be appliquéing like a pro in no time!
- Inspect your needle and thread for damage
- Adjust bobbin and top thread tension as needed
- Make sure fabric is hooped taut and secure
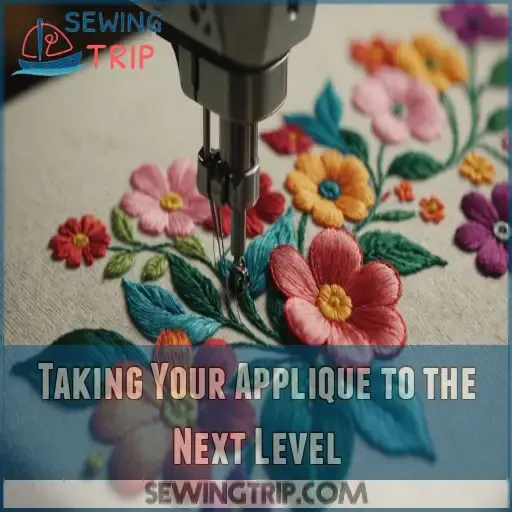
Taking Your Applique to the Next Level
Ready to take your applique skills up a notch?
Explore advanced techniques to tackle tricky designs.
Mix and match threads for dazzling results.
Get creative with a variety of fun applique materials!
Advanced Techniques for Intricate Designs
Get into advanced applique with layered techniques, bringing depth to your designs!
Try free-motion applique and mix it with shadow applique for stunning results.
Use satin stitch techniques to add flair, and don’t forget your trusty temporary spray adhesive for precision control!
Using Multiple Colors and Threads
Spice up your applique projects by exploring color blending and thread combinations.
Try:
- Creating smooth color shifts for eye-catching designs.
- Utilizing varying thread weights for texture.
- Experimenting with color gradients to bring your applique fabric gifts to life.
Who knew threads could dance?
Experimenting With Different Applique Materials
Boost your creativity by experimenting with diverse applique fabrics – from luxurious velvets to shimmering metallics, textured knits to vibrant prints.
Embrace the unexpected and let your projects shine with these unique fabric finds.
The possibilities are endless!
Frequently Asked Questions (FAQs)
How to make an applique on an embroidery machine?
Appliqueing with an embroidery machine is a breeze!
First, prep your fabrics and stabilizer.
Then, mark the placement, hoop everything, and let your machine do the magic – placement, tacking, and decorative border stitches.
What are the steps to machine appliqué?
Start with hooping your fabric and stabilizer.
Run the placement stitch, then lay your applique fabric.
Sew the tacking stitch, trim excess fabric, and finish with the border stitch.
Remove hoop, smile, and enjoy your masterpiece!
How to do applique work step by step?
So, you want to applique?
Position your base fabric, stitch a placement guide, lay applique fabric, tack it down, trim excess, then finish with a decorative border stitch.
Enjoy watching your design take center stage!
What are the steps of machine embroidery?
Get started with machine embroidery by hooping your fabric, selecting a design, and threading your needle. You can find the largest embroidery hoop sizes for different machines to choose from.
Let the magic unfold as the machine stitches, trims threads, and finishes with a neat flourish.
Watch your creation come to life!
How to choose the best stabilizer?
Choosing the right stabilizer is key – it’ll support your fabric and prevent puckering.
Consider the base material, then pick a stabilizer that won’t show through.
Fusible webbing or cut-away mesh work great for most applique projects.
What tools are best for fabric cutting?
Imagine wielding your tools like a master chef: sharp fabric scissors, rotary cutters, and cutting mats make the cleanest cuts.
Fabric cutting machines, like Cricut or Silhouette, add precision, so your designs turn heads.
How do you maintain the embroidery machine?
Keep your embroidery machine in tip-top shape by regularly cleaning, oiling, and inspecting parts like the bobbin area and needle.
Change needles often, adjust tension carefully, and store the machine properly to make sure it lasts and performs well (Source).
What thread is recommended for applique?
Threading the needle of creativity, use 40-weight polyester or rayon thread for applique work.
Your colors will shine without fraying or fading.
Polyester won’t shrink, and rayon adds a silky finish.
It’s like they’re threading magic!
Can applique be done on delicate fabrics?
Yes, you can absolutely applique on delicate fabrics! (Source)
The key is to use lightweight, fusible interfacing to stabilize the fabric and prevent puckering or distortion.
With the right techniques, you can create stunning applique designs even on the most delicate materials, like those found in embroidery letter kits. (Source)
Conclusion
Did you know 80% of embroidery enthusiasts feel more accomplished after mastering applique?
Get started with this fulfilling skill by following the six steps outlined in "how to applique with an embroidery machine in 6 steps!"
By choosing the right fabric, understanding your design, and preparing your machine, you’ll create stunning pieces.
With practice, your tacking and border stitches will become second nature.
So embrace the joy of applique, and watch your creativity and expertise flourish one stitch at a time!

