This site is supported by our readers. We may earn a commission, at no cost to you, if you purchase through links.
This versatile sewing technique is your secret weapon for strong seams and eye-catching embroidery.
Start by threading your needle and knotting the end. Then, poke up through the fabric and make a small stitch backward. Next, bring your needle forward, creating a continuous line of stitches. It’s like taking two steps forward, one step back – but way more productive!
Keep your stitches even for a polished look, and soon you’ll be backstitching like a pro.
Whether you’re mending jeans or adding flair to a pillowcase, mastering Backstitch techniques step by step will open up a world of sewing possibilities.
Stick around, and we’ll unravel more stitching secrets!
Table Of Contents
- Key Takeaways
- Essential Tools and Materials for Backstitch Techniques
- Mastering the Basic Backstitch Technique
- Advanced Backstitch Variations and Applications
- Navigating Curves and Corners With Backstitch
- Backstitch for Strength and Durability
- Troubleshooting Common Backstitch Issues
- Combining Backstitch With Other Sewing Techniques
- Backstitch Projects and Practice Exercises
- Frequently Asked Questions (FAQs)
- Conclusion
Key Takeaways
- Master the backstitch dance: two steps forward, one step back. It’s like learning a sewing tango that’ll make your seams stronger than a bodybuilder’s biceps!
- Your toolkit matters: Sharp needles, the right thread, and proper fabric prep are your backstitch best friends. It’s like having the perfect ingredients for a culinary masterpiece, but with thread instead of food.
- Curves and corners are your new playground: With a few tricks up your sleeve, you’ll be navigating tricky shapes like a pro surfer riding the perfect wave.
- Mix it up: Combine backstitch with other techniques for a smorgasbord of stitching possibilities. It’s like being a DJ, but instead of mixing beats, you’re blending stitches to create your own sewing symphony.
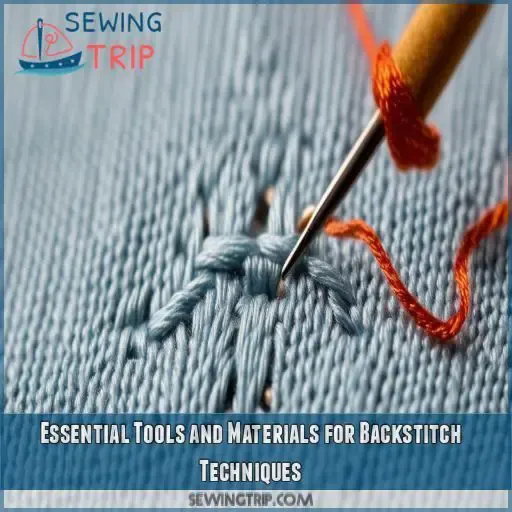
Essential Tools and Materials for Backstitch Techniques
You’re about to start your backstitch journey, but first, let’s gather your sewing arsenal. From the right needles and thread to fabric prep and marking tools, we’ll cover everything you need to become a backstitch pro in no time.
Needles and Thread Selection
Ready to conquer the backstitch? Let’s tackle your toolkit first! Your needle’s the star of the show—choose one that’s sharp and suits your fabric. As for thread, it’s not just about color. Match the weight to your project, and you’ll be stitching like a pro in no time!
Fabric Types and Preparation
Now, let’s tackle fabric types and prep. You’ll want to choose fabric that’s not too slippery or thick for your backstitch adventure. Pre-wash to avoid surprises later, and iron out those wrinkles – trust me, it’s a game-changer. Don’t forget to check the grain direction; it’s your secret weapon for perfect seams.
Marking Tools and Rulers
Now that you’ve got your fabric ready, let’s talk about marking tools and rulers. They’re your secret weapons for nailing those perfect stitches! Grab a water-soluble pen or tailor’s chalk to draw your stitch lines. A clear sewing ruler or seam gauge will be your best friend for keeping things straight and even.
Scissors and Cutting Implements
You’ll need the right tools to snip your way to backstitch success! Sharp fabric scissors are your best friend here. Don’t skimp on quality – a good pair will last you ages. For precise cuts, grab some small embroidery scissors too. They’re perfect for those tricky tight spots and thread trimming.
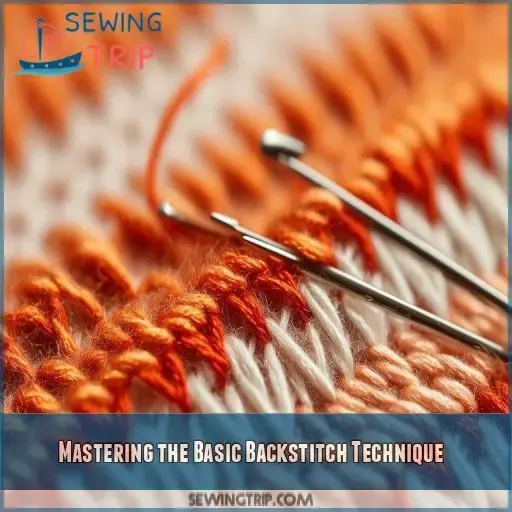
Mastering the Basic Backstitch Technique
Ready to conquer the backstitch? You’re about to learn the ins and outs of this essential sewing technique that’ll make your projects stronger and more professional-looking. From knotting your thread to creating a flawless seam, we’ll guide you through each step so you can stitch with confidence.
Proper Thread Knotting
Ready to conquer the backstitch? Let’s start with the unsung hero: the knot. It’s your stitch’s anchor, so get it right! Double-thread your needle for extra oomph, then tie a sturdy knot. Remember, a secure start means your hard work won’t unravel later.
First Stitch Placement
Now that you’ve knotted your thread, it’s time to make your mark! Find your starting point and take the plunge. Insert your needle from the back, bringing it up through the fabric. You’ve just made your first move in the backstitch dance!
Backward Stitch Motion
Now, let’s take a closer look at the backward stitch motion. You’ll feel like you’re rowing a tiny needle boat! Insert your needle a stitch length behind where it came up, then bring it forward to where your last stitch ended. This creates that signature backstitch strength.
Maintaining Consistent Stitch Length
Now that you’ve got the backward motion down, let’s tackle the next hurdle: keeping your stitches even. It’s like learning to ride a bike – wobbly at first, but with practice, you’ll be cruising along with beautifully consistent stitches before you know it!
Creating a Continuous Seam
Now that you’ve nailed consistent stitch length, let’s tackle creating a continuous seam. Keep your stitches flowing like a well-oiled machine, maintaining tension and direction. Remember, a seamless backstitch line is your ticket to a stronger seam. It’s like connecting the dots, but with thread!
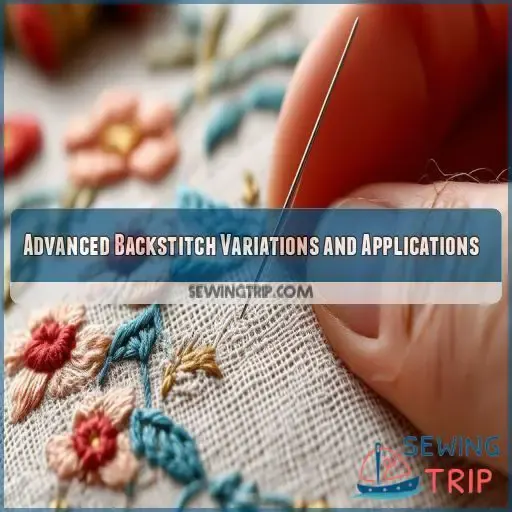
Advanced Backstitch Variations and Applications
You’ve mastered the basic backstitch, but now it’s time to level up your sewing game. In this section, we’ll explore exciting variations like the whipped backstitch and double backstitch, as well as how to use backstitch for eye-catching embroidery and decorative patterns.
Whipped Backstitch
Ready to take your backstitch game up a notch? Meet the whipped backstitch, your new BFF for adding texture and flair. It’s like giving your regular backstitch a stylish makeover! First, create a standard backstitch line. Then, grab a contrasting thread and weave it through those stitches. Voilà! Instant rope-like pizzazz.
Double Backstitch
Ready to level up your backstitch game? Meet the double backstitch, your new best friend for super-strong seams. It’s like giving your fabric a security guard! Just stitch twice in each spot, creating a beefed-up version of the regular backstitch. Perfect for high-stress areas or when you need extra durability.
Decorative Backstitch Patterns
- Zigzag backstitch
- Scalloped backstitch
- Chevron backstitch
- Floral backstitch
These patterns will add flair to your projects!
Backstitch in Embroidery
Ready to take your embroidery game up a notch? Backstitch is your secret weapon! This versatile hand stitch adds crisp lines and bold outlines to your designs. Mix up thread colors and play with stitch lengths for eye-catching effects. Remember, consistency is key – keep those stitches even, and you’ll be stitching like a pro in no time!
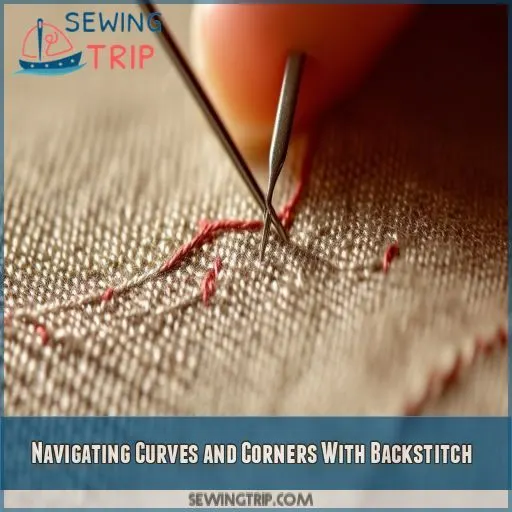
Navigating Curves and Corners With Backstitch
You’ve mastered the basic backstitch, but what happens when you encounter curves and corners? Don’t worry – we’ll show you how to navigate these tricky areas like a pro, ensuring your stitches remain smooth and precise no matter the shape you’re tackling.
Marking Curved Lines
Now that you’ve mastered straight lines, let’s tackle those tricky curves! Marking curved lines accurately is key to achieving smooth, professional-looking results. Here are some nifty tricks to help you conquer those curves:
- Use a flexible curve ruler for precise marking
- Try the "pin and pivot" method for freehand curves
- Experiment with chalk wheels for temporary markings
- Opt for water-soluble pens for easy removal
Adjusting Stitch Length for Curves
Now that you’ve marked your curves, it’s time to tackle them with finesse. As you approach a curve, shorten your stitch length for better control. Think of it like easing off the gas when driving around a bend. This adjustment allows your stitches to flow smoothly, hugging those curvy contours like a glove.
Cornering Techniques
Ready to tackle tricky corners with your backstitch? Don’t sweat it! As you approach a corner, slow down and take smaller stitches. When you hit the angle, poke your needle through, creating a pivot point. Then, simply turn your fabric and continue stitching. It’s like driving a car—brake, turn, accelerate!
Smooth Transitions in Complex Shapes
Now that you’ve mastered corners, let’s tackle smooth changes in complex shapes. It’s like dancing – you’ll need to adjust your steps! When dealing with curves, take smaller stitches to maintain that smooth line. Remember, practice makes perfect. Soon, you’ll be gliding through intricate patterns like a pro!
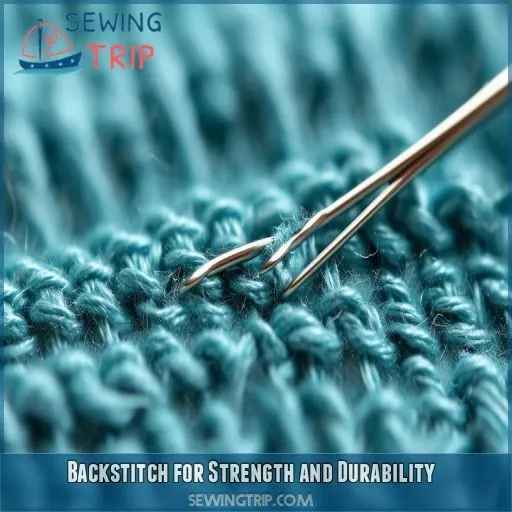
Backstitch for Strength and Durability
You’re about to learn how to make your stitches tougher than a two-dollar steak. With backstitch techniques for strength and durability, you’ll be able to create seams that can withstand the apocalypse (or at least your kids’ rough-and-tumble playtime).
Reinforcing Seams
Now that you’ve mastered curves and corners, let’s beef up those seams! Reinforcing with backstitch is like giving your fabric a superhero cape. It’s your secret weapon for:
- Preventing pesky unraveling
- Tackling high-stress areas
- Creating bulletproof garments
- Impressing your sewing circle
You’ll be stitching with confidence in no time!
Mending and Repair Techniques
Got a tear in your favorite jeans? Don’t toss ’em! Let’s get into mending magic with backstitch. This trusty technique’s your secret weapon for fabric fixes. Check out this handy table for common repairs:
| Repair Type | Backstitch Technique |
|---|---|
| Small Tears | Straight line |
| Patches | Zig-zag pattern |
| Seam Repair | Double reinforced |
| Button Hole | Outline stitch |
| Hem Fix | Invisible stitch |
Now you’re ready to tackle those pesky repairs like a pro!
Heavy-Duty Fabric Applications
When tackling heavy-duty fabrics, your trusty backstitch is your secret weapon. You’ll want to beef up your game by using a triple backstitch for extra oomph. It’s like giving your seams a power boost! This technique’s perfect for denim, canvas, and other tough materials that need a stitch that can take a beating.
Stress Point Reinforcement
You’ve mastered the basics, now let’s tackle those pesky stress points! Reinforcing high-tension areas with backstitch is like giving your fabric a superhero suit. Here’s how to fortify those vulnerable spots:
- Triple stitch at corners and intersections
- Use shorter stitches in high-stress areas
- Backstitch in a zigzag pattern for extra strength
Troubleshooting Common Backstitch Issues
Even the most experienced sewers encounter hiccups with backstitch from time to time. In this section, we’ll tackle common backstitch issues head-on, so you can troubleshoot like a pro and keep your stitches looking neat and tidy.
Uneven Stitch Lengths
Struggling with uneven stitches? Don’t fret! It’s like learning to ride a bike—practice makes perfect. Focus on maintaining consistent hand movement and fabric control. Try marking your fabric for guidance or use a ruler as a visual aid. Remember, even pros had wobbly stitches once. Keep at it, and you’ll be stitching like a pro in no time!
Thread Tension Problems
You’ve conquered uneven stitches, but now thread tension‘s got you in knots? Don’t sweat it! Check your needle size and fabric type. Adjust your stitch length and knot tightness. Remember, both layers should move smoothly. If you’re still struggling, a needle threader might be your new best friend.
Fabric Puckering
Is your fabric puckering like a grumpy toddler? Don’t fret! It’s often caused by uneven tension or pulling too hard as you stitch. Try loosening your grip and letting the fabric glide smoothly. If that doesn’t do the trick, check your needle size and thread tension. With practice, you’ll reach pucker-free perfection!
Knot and Loop Formation
- Check your thread tension
- Make sure you’re tying knots correctly
- Adjust stitch size
- Practice smooth, consistent stitching
Master these steps, and you’ll be stitching like a pro in no time!
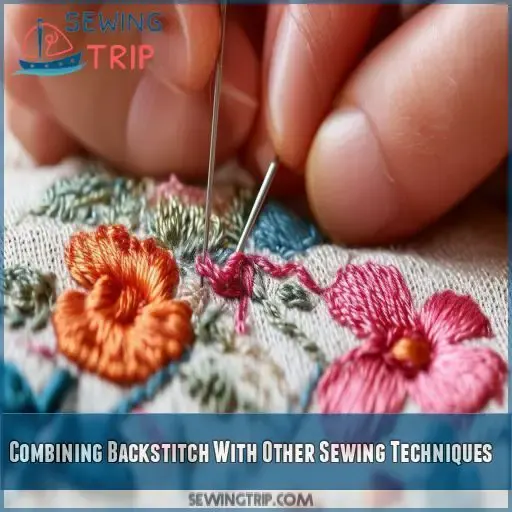
Combining Backstitch With Other Sewing Techniques
You’ve mastered the basics of backstitch, but now it’s time to take your skills to the next level. In this section, we’ll explore how to combine backstitch with other sewing techniques to create stunning and functional results that’ll make your projects stand out.
Backstitch and Running Stitch Combinations
You’ll love combining backstitch with running stitch! This dynamic duo packs a punch, blending strength and simplicity. Use backstitch for reinforcement and running stitch for speed. It’s like having your cake and eating it too! Experiment with alternating patterns to create unique textures that’ll make your projects pop. Let’s get started!
Incorporating Decorative Stitches
Ready to jazz up your backstitch? Let’s add some flair! Incorporating decorative stitches can turn a simple seam into a work of art. Here are three ways to spice things up:
- Embellish with embroidery floss for a pop of color
- Mix in beading for a touch of sparkle
- Combine with cross-stitch for textured patterns
Your creativity’s the limit!
Backstitch in Quilting Projects
Ready to level up your quilting game? Backstitch isn’t just for mending—it’s a secret weapon in your quilting arsenal. Let’s see how this versatile stitch can transform your projects:
| Quilting Application | Backstitch Benefit |
|---|---|
| Piecing | Reinforces seams |
| Appliqué | Secures edges |
| Quilting lines | Adds texture |
Now you’re equipped to stitch with confidence!
Layering Backstitch for Texture
Ready to take your backstitch game up a notch? Let’s jump into layering for some serious texture! You’ll be amazed at how this simple technique can add depth to your projects. Here’s your quick guide to creating eye-catching effects:
- Start with a base layer of backstitch
- Add contrasting thread colors
- Vary stitch lengths for dimension
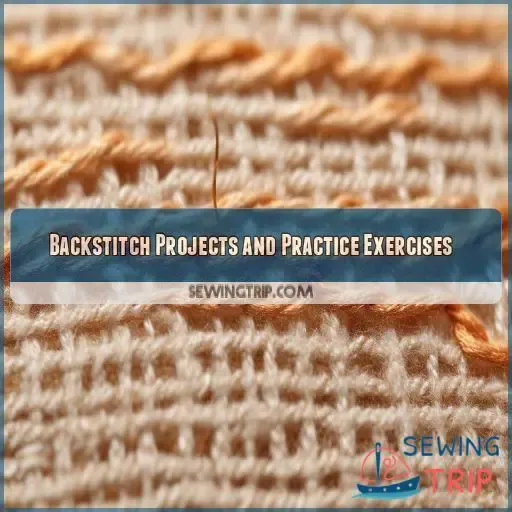
Backstitch Projects and Practice Exercises
Ready to put your backstitch skills to the test? Let’s explore some fun projects and exercises that’ll help you practice this essential sewing technique while creating beautiful, functional items you’ll love to use and show off.
Simple Seam Construction
Now that you’ve mastered combining stitches, let’s tackle simple seam construction. You’ll love how backstitch creates strong, durable seams by hand or machine. Grab your all-purpose thread and aim for consistent stitch lengths. Remember, practice makes perfect! Soon, you’ll be stitching up a storm with really secure seams.
Decorative Borders and Outlines
Ready to level up your stitching game? Let’s get started with decorative borders and outlines! With backstitch, you’ll transform plain fabric into eye-catching designs. Start small—outline a simple shape or add a border to a handkerchief. As you gain confidence, tackle more intricate patterns. Soon, you’ll be stitching up a storm!
Garment Repair Tutorials
- Mend a torn seam
- Reattach a loose button
- Patch a small hole
- Fix a fallen hem
With these sewing tricks up your sleeve, you’ll be a repair wizard in no time!
Backstitch Sampler Creation
Ready to flex your backstitch muscles? Create a sampler that’ll showcase your skills and serve as a handy reference. Grab some fabric, thread in various colors, and let your creativity flow. Design a pattern that includes straight lines, curves, and corners. You’ll be stitching like a pro in no time!
Frequently Asked Questions (FAQs)
How to do a backstitch step by step?
Thread your needle, then weave your way through fabric like a determined ant. Start with a knot, push through, and make a small stitch forward. Loop back, emerge ahead, and repeat. You’ll master this dance in no time!
What are the different types of backstitch?
You’ll find several backstitch variations to spice up your sewing game. There’s the classic backstitch, whipped backstitch for a rope-like effect, and split backstitch for a bolder line. Each adds its own flair to your projects!
How do you hand sew a durable backstitch?
Ready to conquer the art of hand-sewn backstitch? You’ll be a pro in no time! Start by knotting your thread, then stitch backward, overlapping each previous stitch. Keep your stitches small and even for a durable, machine-like seam.
How to backstitch around corners?
When you’re turning a corner, stop with the needle down through the fabric. Lift the presser foot, pivot the fabric, lower the foot, and continue stitching. It’s like steering a car – slow down, turn, then accelerate again!
Can backstitch be used on stretchy fabrics?
Like a nimble dancer, you can use backstitch on stretchy fabrics. You’ll want to use a ballpoint needle and stretch the fabric as you sew. This’ll keep your seams strong and flexible, so your garment moves with you.
How does backstitch compare to machine sewing for strength?
You’ll find backstitch rivals machine sewing in strength. It’s your go-to for durability without a machine. While it takes longer, you’re in control of every stitch. It’s like handcrafting a fortress for your fabric!
Is backstitch suitable for visible mending projects?
Stitching up a storm, you’ll find backstitch is a perfect fit for visible mending projects. It’s strong, versatile, and adds character to your repairs. You can use contrasting thread colors to create eye-catching designs that celebrate imperfections.
Can backstitch be used for basting or temporary stitching?
You can use backstitch for temporary stitching, but it’s not ideal. It’s strong and time-consuming to remove. For basting, you’re better off with a simple running stitch. It’s quicker and easier to undo when you’re done.
Are there any fabrics that shouldnt be backstitched?
Smooth sailing isn’t guaranteed with backstitching on all fabrics. You’ll want to avoid delicate or slippery materials like silk, chiffon, or fine knits. These can pucker or snag easily. Stick to sturdy fabrics for best results.
Conclusion
You’ve stitched, you’ve practiced, and now you’re armed with backstitch techniques step by step.
From reinforcing seams to creating eye-catching designs, your newfound skill is a game-changer.
So thread that needle, grab some scrap fabric, and keep experimenting.
Before you know it, you’ll be backstitching like a pro, tackling projects with confidence, and adding your unique flair to everything you sew.
Stitching is at your fingertips – go forth and create something amazing!

