This site is supported by our readers. We may earn a commission, at no cost to you, if you purchase through links.
This day-to-day sewing machine problem can wrench your creativity, but do not lose hope—a few simple fixes will vanquish this pesky glitch. The article below will help you check the bobbin threading, adjust the bobbin case tension, correct the threading of the needle, positions of the presser foot, and clean parts in your sewing machine—a guide to make many techniques run smooth.
Let’s get started on mastering them!
Table Of Contents
Key Takeaways
- Stop pulling your hair out over bobbin thread bunching up!
- Re-threading and tension adjustments can turn that frown upside down.
- Don’t forget to give your sewing machine some TLC with regular cleaning.
- Follow these steps and say goodbye to thread tangles and hello to a smooth sewing experience.
Checking Bobbin Threading
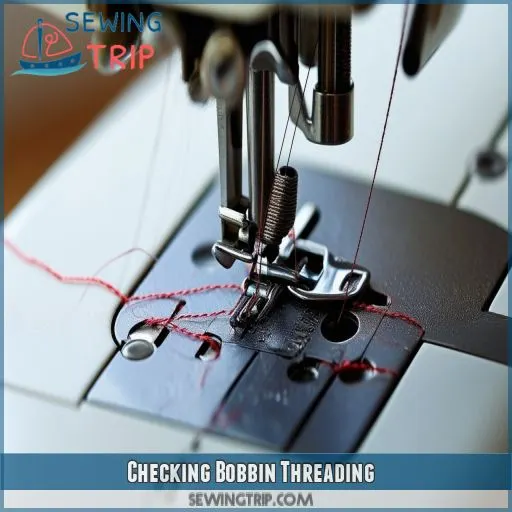
Most of the sewing machine tension and problems associated with thread bunching up can be resolved by ensuring your bobbin is threaded correctly.
First, remove your bobbin case and check if the winding is smooth on the spool and not overfilled. While putting the bobbin into its case, ensure that the thread comes off in the correct direction, as indicated in your machine’s manual.
Feed the thread through the slit and under the tension spring. You should feel a bit of resistance on the thread as you pull it out. If it doesn’t have a little resistance, this can result in the balling up of the bobbin thread.
Replace the case, ensuring it clicks into place. This way, everything will function as designed without unnecessary frustration toward the end of your project.
Adjusting Bobbin Case Tension
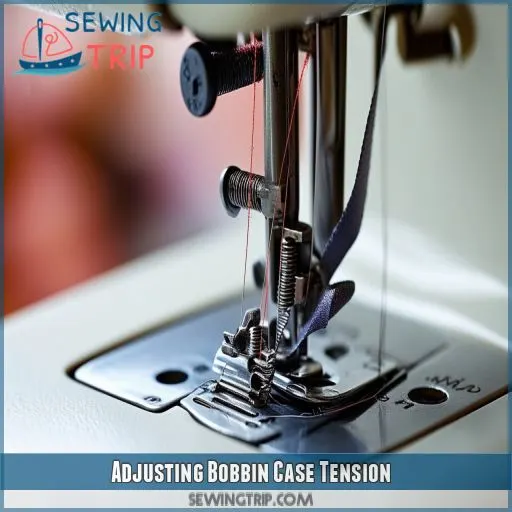
Once you’ve checked that your bobbin is threaded correctly, you can start working on your bobbin case tension. Almost as significant is the tightness of the bobbin case—this is what’ll cause the bobbin thread to group if it’s too loose. You can adjust the tension using the tension screw a little at a time; make sure you don’t displace the tension screw itself. It could cause more problems than fix them. Use a correct-sized bobbin, and check that your thread type matches.
Now, the resistance should be checked with the bobbin held. It shouldn’t just fall free. If so, adjust. An A-type bobbin may not fit into machines designed for another type. Check the needle tension; use a size 22 needle and heavy threads to match. This will create a balance that gives smooth stitching.
Ensuring Needle is Correctly Threaded
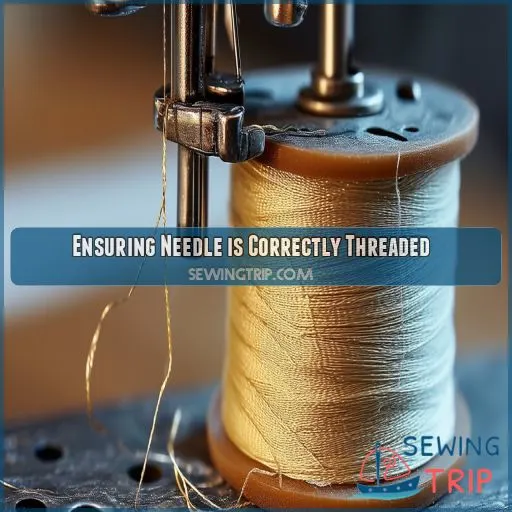
Thread tension problems often arise if the needle isn’t threaded correctly. Start by ensuring your upper thread follows the proper thread path, passing through the threading loop and tension discs accurately.
Misthreading here can lead to needle thread bunching up. An easy way to verify this process involves raising your presser foot, which opens the tension discs, allowing the thread to sit correctly. Slowly thread your sewing machine, ensuring the thread seats properly. Check for a firm, but smooth pull through the needle eye.
Incorrect threading can throw your whole stitch off, impacting your sewing machine’s performance. Utilize your sewing machine’s troubleshooting guide for detailed steps on proper threading and maintaining thread tension.
Verifying Presser Foot Position
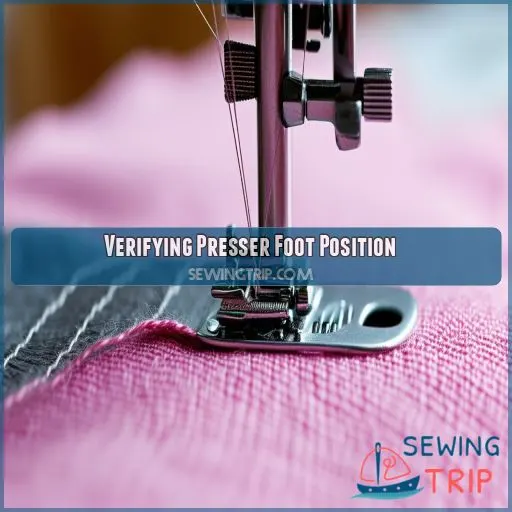
Assuming that your needle is threaded correctly, the next most important thing to check is the position of the presser foot. If the presser foot isn’t correctly positioned, there’s an excellent chance for thread bunching under the fabric. Be sure that the presser foot is down over the project, and then turn on your sewing machine; this will help everything move along with proper thread tension.
- Presser Foot Placement: Check that this is in place correctly and securely.
- Presser Foot Pressure: Adjust according to the thickness of your fabric. If it’s too high, it will then stretch the material; if too low, it will slip.
- Presser Foot Height: It must be adjusted appropriately about the height of the fabric. It may lead to lousy stitching or even jamming if not correctly adjusted.
These steps can be used to avoid thread pooling on either the top or bottom edges of a piece and separate issues with the sewing machine thread becoming tangled.
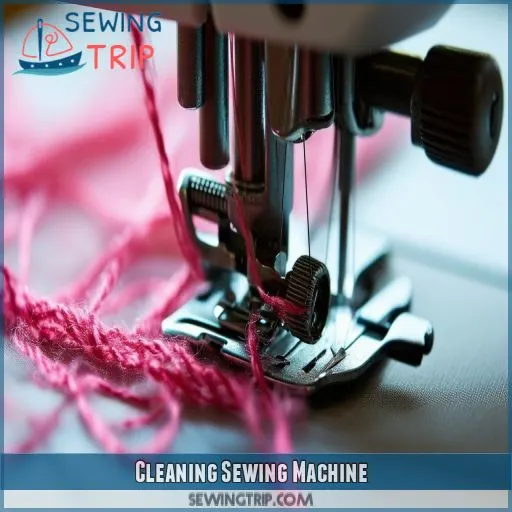
Cleaning Sewing Machine
It’s of vital importance that the presser foot should be placed right, and it’s also not recommended to forget to clean your sewing machine.
The basics of taking care of your machine must include lubricating and dusting regularly; you’ll keep it running well. Dust and lint tend to accumulate over time and may impact your tension settings, in addition to causing thread bunching.
Begin by removing the throat plate, then carefully sweep away debris with a small brush or blow clear out with compressed air. Remember the bobbin area and feed dogs. Apply a multi-purpose lubricant following the manufacturer’s recommendation.
Attention should be paid mainly to the hook race and other moving parts to reduce friction for proper timing adjustment. Provide a schedule for maintenance so that after every big project, or at least every few weeks, you clean your machine.
Cleaning is essential to keep your stitch glitch-free and your machine maintaining its performance.
Frequently Asked Questions (FAQs)
How do I fix bobbin thread bunching up?
These are the steps in fixing the bobbin thread bunching up: checking if it had been threaded correctly, adjusting the tension on the bobbin case, threading the needle, dropping your presser foot, and cleaning your sewing machine regularly.
Why does the thread bunch up underneath?
Well, isn’t it lovely when your thread decides to rebel and bunch up underneath? It’s usually because your upper thread isn’t threaded correctly, the tension is off, or the machine needs a good cleaning.
Why does my sewing machine keep jamming underneath?
Your sewing machine jams underneath because the needle threading isn’t correct, the presser foot is up, or the tension is off. Check those factors and clean the machine to fix it. Consider changing the needle.
Why does my bobbin thread keep tangling in my sewing machine?
Your bobbin thread keeps tangling because it misreads or the tension, in its case, is a bit too loose. Make sure to thread correctly and adjust the tension. Clean your sewing machine to help prevent tangling.
How does thread quality affect bunching?
Poor quality thread can increase friction, which may cause the thread to catch on or fray and then bunch. High-quality thread reduces breakage for a smoother operation and less probability of tangling or bunching.
Can bobbin size impact threading issues?
Using the wrong bobbin size can cause threading issues, like a square peg in a round hole. It affects thread tension and positioning, leading to bunching or tangling, and disrupting smooth sewing. Use the correct bobbin size.
How often should you replace a sewing needle?
You should change a sewing needle after every 8-10 hours of use or after completion of a project. Various reasons need you to replace the needles, including skipped stitches. If you don’t replace your sewing needle regularly, it will lead to damaged fabric and other stitch results that are poor in nature.
What types of thread are best for sewing?
Ironically, the easiest way to mess up your sewing is by using wrong quality thread. High-quality cotton, polyester, or silk thread presents minimal lint and breaks fewer while offering smoother stitching that supports professional results.
How to properly wind a sewing machine bobbin?
First, make sure the bobbin-winding spindle is cleaned before you seat the bobbin. Take out the machine regularly, threaded it, passing it through the bobbin winder tension disc. ENGAGE the bobbin winder, press the pedal foot, and wind evenly.
Conclusion
Don’t be discouraged if your bobbin thread is bunching up—simple tweaks can resolve the issue.
By checking the bobbin threading, adjusting the bobbin case tension, correctly threading the needle, ensuring the presser foot is positioned right, and cleaning your sewing machine, you can tackle this common problem.
These steps will help you keep your creativity flowing and your sewing projects smooth.
Implement these fixes, and enjoy a frustration-free sewing experience.

