This site is supported by our readers. We may earn a commission, at no cost to you, if you purchase through links.
 You’ve poured your heart into crafting the quilt top, now it’s time to complete the Completing Quilt Finishing Guide.
First, carefully trim and square up the layers before basting them together.
Explore machine quilting techniques like straight lines for beginners or free-motion for intricate designs. Or embrace the tranquility of hand quilting with precise, even stitches.
Bind the edges with mitered corners for a polished finish.
Finally, gently wash away any markings, add a personalized label, and display your treasured handmade quilt proudly.
Each step fosters new skills to elevate your quilting journey.
Table Of Contents
Key Takeaways
- Quilting is like a dance, with each step – from basting the layers to stitching the binding – a graceful movement that brings your vision to life. Embrace the rhythm, and let your needle guide you.
- Binding is the elegant frame that showcases your masterpiece. Whether you prefer the classic double-fold technique or explore creative alternatives like couched cords or appliqué trim, this final touch adds that je ne sais quoi to your quilt.
- Patience, dear quilter, is a virtue. Take your time with every stitch, every seam, for it is this dedication that transforms a mere quilt into a cherished heirloom, a tapestry woven with love and memories.
- When it comes to quilting, the possibilities are endless. From the intricate patterns of hand quilting to the modern flair of free-motion machine quilting, your creativity knows no bounds. So let your inner artist soar, and make each quilt a unique reflection of your soul.
Preparing the Quilt Layers
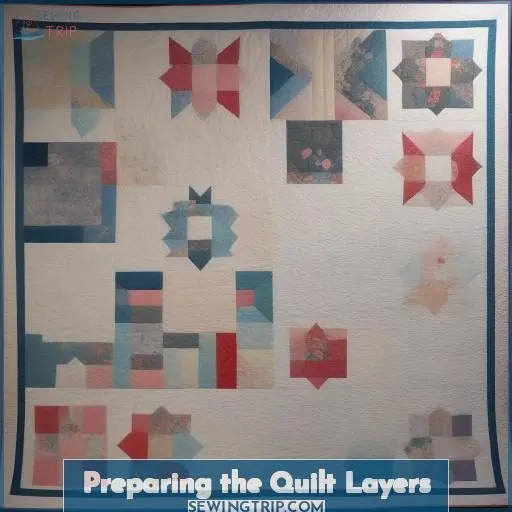
You’ll want to trim the excess batting and backing fabric for nice, clean edges that align with your squared-up quilt top. Once those layers are neatly prepared, baste them together temporarily using safety pins, hand basting, or adhesive spray to keep the sandwich flat and unified as you quilt.
Trimming the Batting and Backing
Trim excess batting and backing to create a clean, professional edge for your quilt. Use sharp scissors and a rotary cutter for precision. Make sure batting and backing are at least 4 inches larger than the quilt top on all sides. Carefully trim away excess fabric, taking care not to cut through the quilt top.
Squaring Up the Quilt Top
Squaring up your quilt top guarantees precise edges for flawless binding. Trim excess fabric, aligning raw edges and squaring corners at perfect 90-degree angles. Measure carefully, cut accurately, and press seams flat for a professional finish. Squaring up your quilt top sets the stage for successful basting and binding.
Basting the Layers Together
Baste the quilt layers together using a sewing machine, safety pins, or adhesive spray. Consider fabric types and batting materials. Secure the quilt sandwich with even stitches or pins, ensuring all layers are smooth and taut. Proper basting is key for successful hand or machine quilting.
Machine Quilting Techniques
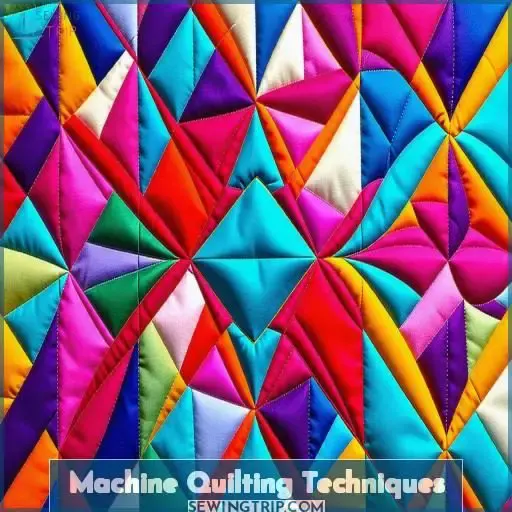
For machine quilting, you’ll want to use a walking foot, which evenly feeds the layers through the machine for even stitches. Free motion quilting allows you to quilt designs freehand, but requires coordination; straight line quilting makes an easy, modern look; and decorative stitches add textural interest when used judiciously.
Using a Walking Foot
A walking foot is essential for machine quilting, providing even needle guidance and fabric feeding. Its unique design grips the quilt layers, preventing puckering and guaranteeing a smooth, professional finish. Pair it with a sharp needle and quality thread for best results.
- Grips quilt layers to prevent puckering
- Ensures even stitch length and tension
- Ideal for straight-line and stippling quilting
- Pairs well with a sharp needle and quality thread
Free Motion Quilting
Free motion quilting allows you to create intricate designs, but it requires practice and coordination. Use a walking foot for even stitches, and experiment with decorative stitches for added interest. Mastering free motion quilting takes time, but the results are worth it.
Straight Line Quilting
Straight line quilting is a beginner-friendly machine quilting technique that creates even stitches. Use a walking foot and follow marked lines for perfect results. Experiment with decorative stitches for added interest, or opt for a long arm quilter for large quilts.
Decorative Stitches
Unfold your creativity with decorative stitches! Experiment with various quilting motifs, thread weights, and needle types to add flair to your quilts. Adjust machine settings for ideal results on suitable fabrics. Enhance your quilting game with these finishing touches before binding and hand or machine stitching.
Hand Quilting Methods
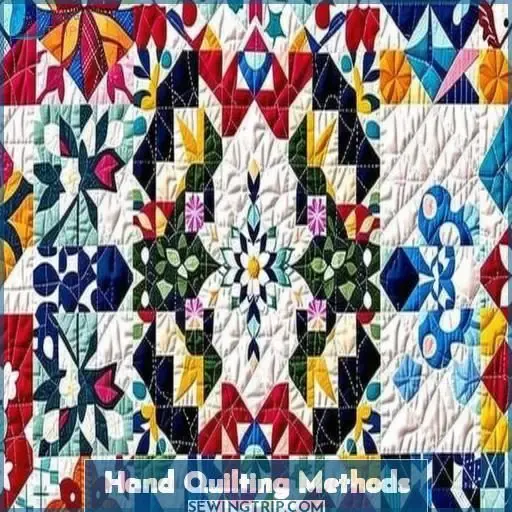
To start hand quilting, you’ll want to carefully choose a quilting pattern that complements your quilt top’s design and meets your skill level. Using a thimble protects your finger as you stitch through all three layers, helping achieve even stitches for a beautifully handcrafted finish.
Choosing a Quilting Pattern
When hand quilting, choose a pattern that complements your quilt’s design. Consider symmetry, colors, and texture. Popular motifs include feathers, stars, and hearts. Experiment with different patterns to find one that showcases your quilt’s unique beauty.
- Symmetry enhances visual appeal.
- Colors should harmonize with the quilt.
- Patterns add visual interest.
- Texture creates depth and dimension.
Using a Thimble
Protect your fingers with a thimble while hand quilting. Choose a comfortable, well-fitting thimble. Clean and store your thimble properly to maintain its condition. Thimbles have a rich history, and some quilters collect unique or antique thimbles as a hobby.
Stitching Through All Layers
Stitching through all quilt layers requires careful needle selection, proper thread tension, and a consistent stitch length. Choose a fabric-appropriate needle and thread, maintain even tension, and stitch along your quilt design for a professional finish.
Achieving Even Stitches
To achieve even stitches when hand quilting, choose a sharp needle, high-quality thread, and maintain consistent tension. Stitch through all layers, following your marked quilting design. With practice, your stitches will become more uniform and your quilting will shine.
Binding the Quilt
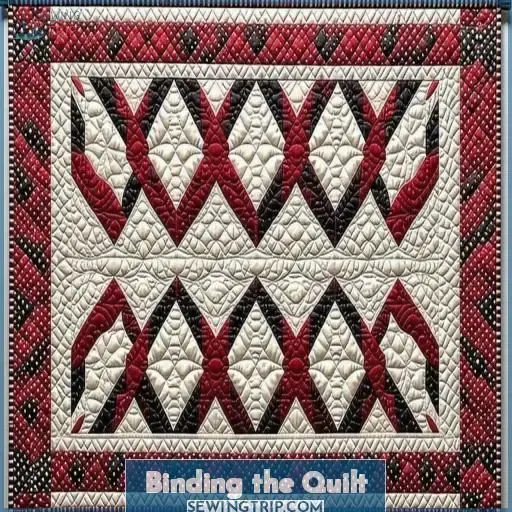
Cut binding strips 2 1/2 wide across the width of fabric or on the bias, ensuring selvage edges align before cutting. Then join the strips end-to-end with a 1/4 seam allowance to create one continuous binding strip long enough to encircle your quilt.
Cutting Binding Strips
Cut binding strips 2 ½ wide, aligning selvages and squaring corners. Trim excess fabric and sew strips end-to-end with a ¼ seam allowance, following the grain line.
Joining the Strips
Joining the binding strips is a breeze! Cut strips to desired width, align ends, sew with ¼ seam allowance, and press seams open for a smooth finish.
- Cut strips to desired width:
- Double binding requires 2 ½ wide strips
- Single binding uses 2 ¼ wide strips
- Align strip ends right sides together:
- Make sure edges are even
- Sew with ¼ seam allowance
- Press seams open:
- For a flat, smooth finish
- Trim excess fabric if needed
- Trim strip ends square:
- For a clean, professional look
- Align with ruler and rotary cutter
Attaching the Binding
Attach binding to quilt front using ¼ seam allowance. Use walking foot and 100% cotton thread for durability. Sew mitered corners by lifting needle, rotating quilt, and continuing seam.
| Step | Action |
|---|---|
| 1 | Pin raw edges of binding to raw outside edges of quilt front |
| 2 | Sew binding to quilt front using ¼ seam allowance |
| 3 | Use walking foot and 100% cotton thread for durability |
| 4 | Sew mitered corners by lifting needle, rotating quilt, and continuing seam |
Mitering the Corners
Miter corners by folding binding at 45°, trimming excess, rotating needle, flipping flap, and sewing next seam at edge for a professional corner seam.
Hand Stitching the Binding
Blind stitch the binding’s folded edge to the quilt’s back using a needle and thread. Tack down mitered corners for durability. Experiment with stitching patterns for aesthetic appeal.
Alternative Quilt Edging Techniques
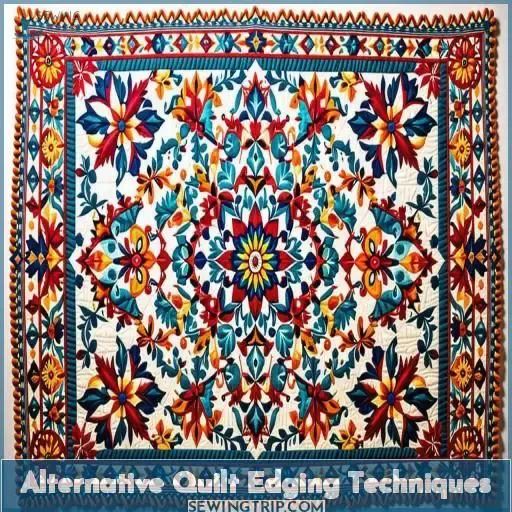
While traditional binding provides a neat finish to a quilt, you might want to explore alternative edging techniques for a unique look. Facing, pillowcase finishes, appliqué trim, and couched cords offer creative ways to complete your quilt while showcasing your artistic flair.
Facing
Facing provides a clean, professional edge without bulky binding. Cut facing fabric 1 wider than desired facing width. Stitch facing to quilt front, fold to back, and blind stitch in place. Experiment with facing designs like mitered corners or decorative stitching.
Pillowcase Finish
The pillowcase finish is a quick and easy way to complete your quilt. Choose fabrics that complement your design, add decorative trim or custom embellishments, and use a French seam for a professional finish. It’s perfect for beginners or when time is limited.
Appliqué Trim
Appliqué trim adds a decorative touch to your quilt. Fuse scraps of fabric onto the quilt top using fusible tape. Stitch around the edges with decorative thread for a polished look. Finish with a fringe for a fun, bohemian vibe.
Couched Cord
Couched cord adds a unique, textural edge to quilts. Gather materials like yarn, cording, or ribbon. Couch the cord along the quilt’s edge using a zigzag stitch. Experiment with patterns and colors for endless inspiration. Couched cord elevates any quilt’s finish.
Finishing Touches
You’ve spent countless hours carefully constructing your quilt top, diligently machine or hand quilting the layers, and attentively binding the edges. As the final step, wash your quilt on a gentle cycle to release any residual sizing or oils, then tumble dry on low heat or line dry, lightly shaking and smoothing it periodically for the best texture.
Washing and Drying the Quilt
Washing your quilt is the final step before gifting or displaying your masterpiece. Choose a mild soap, avoid fabric softener, and select gentle temperature settings. Dry on low heat for the recommended cycle duration. Fold carefully to preserve the intricate stitches and vibrant colors you’ve lovingly created.
Adding a Label
After washing and drying your masterpiece, commemorate your achievement with a custom label. Design a label that reflects your style, using fabric scraps or embroidery. Place it in the bottom right corner, sharing your name, date, and quilt details. Personalize your label to make your quilt truly one-of-a-kind.
| Label Design | Label Placement |
|---|---|
| Fabric Scraps | Bottom Right Corner |
| Embroidery | Quilt Details |
| Appliqué | Name and Date |
| Printed Fabric | Personalization |
Gifting or Displaying the Quilt
Showcase your masterpiece with pride! Display options abound – hang it proudly, drape it elegantly, or gift it with joy. Preserve your quilt’s beauty with proper storage and care. Wrap a loved one in your handiwork, or donate it to a worthy cause. Your quilt’s story continues – share it with the world!
Frequently Asked Questions (FAQs)
How do you finish the edge of a quilt?
Finish the quilt’s edge with double-fold binding. Sew the binding edge with a 1/4 seam to the quilt front, fold over to the back, then blind-stitch in place by hand. Mitered corners give a professional finish.
What is the final stage of quilting?
As your quilt nears completion, the binding – a delicate frame around your masterpiece – awaits. With careful stitches, you’ll transform loose edges into polished perfection.
How to finish quilt edges without binding?
For binding-free edges, turn under raw edges and machine stitch. You can also finish with decorative stitches, prairie points, or fringe for texture and dimension. Get creative – quilts are personal works of art!
What is the finished edge of a quilt called?
Akin to braiding streams of silk into a tapestry, the finished quilt edge is referred to as the binding – a ribbon of color encircling your creation, securing memories within its threads.
How do I choose the right batting for my quilt?
For warmer quilts, go with cotton or wool batting – cotton’s lightweight yet insulating, while wool resists compression. For lighter quilts ideal for summer use, try bamboo or polyester battings that are cooler and breathable.
What is the best way to store a finished quilt?
Gently fold your finished quilt, avoiding sharp creases, and store it in an acid-free box or cotton pillowcase in a cool, dry area away from direct sunlight or moisture. This preserves the fabric and batting.
Can I use a sewing machine to attach the binding?
But attaching the binding by machine is no picnic! You’ll be dancing a delicate tango with your needle and thread, carefully guiding the quilt through tight turns. Why not embrace the tradition of hand-stitching for that perfect finish? The extra effort will be worth the gorgeous, heirloom-quality result.
How do I remove stubborn stains from a quilt?
To remove stubborn stains, sponge the area with a mix of warm water and mild detergent. For set-in stains, try an oxygen-based bleach solution. Dabbing the stain with a solvent-based cleaner carefully might also do the trick.
What are some creative ways to label my quilt?
Did you know 20% of quilters label every quilt? Embroider your signature, add a charming label, or get creative with stencils and fabric pens. Incorporate meaningful details like the recipient’s name or project inspiration. Let your quilt’s story shine through a personalized label.
Conclusion
Patience reaps a perfect quilt. With your completed Completing Quilt Finishing Guide, you’ll finesse binding miters, achieve even hand or machine quilting, and thoughtfully add labels. Absorb each technique thoroughly; mastering quilt finishing elevates your skills. Confidently bind edges, quilt patterns, and lovingly craft heirlooms showcasing your artistry through this extensive completing quilt finishing guide.

