This site is supported by our readers. We may earn a commission, at no cost to you, if you purchase through links.
To fix thread bunching, start by rethreading your upper and lower threads. Yes, it’s that simple! Make sure your thread tension is on point.
Replace those dull needles that are causing more harm than good. A dull needle can cause a lot of problems, so it’s an easy fix to try first.
Give your sewing machine a good cleaning, paying extra attention to the bobbin case and area under the needle plate. This can help remove any debris that’s causing the thread to bunch.
Lower that presser foot, and you’re golden! By tackling these common culprits, you’ll be well on your way to smooth, bunch-free sewing – and that’s just the beginning!
Table Of Contents
Key Takeaways
- You’ve got this! Fixing Thread Bunching under fabric is a breeze once you identify the culprits – improper threading, incorrect tension, or a dull needle. Check your threading and tension, and replace that needle to set your stitches free!
- Don’t let thread tangling get the best of you! Master the art of threading, and use your machine’s automatic threader or manual threading guide to avoid thread guide misalignment. Take control and liberate your sewing skills!
- You’re on a roll, mastering the art of sewing! However, a dirty machine can ruin the party. Regular cleaning is key to preventing thread bunching. Create a machine cleaning schedule, and use Sewing Machine brushes, lint removal tools, and a soft cloth to wipe down the thread path and bobbin area.
- Time to tame that temperamental thread! Adjusting upper thread tension is key to balancing your stitches. Think of it like a seesaw – too tight, and your fabric puckers; too loose, and threads bunch up. Gently tweak the tension disc until it’s just right.
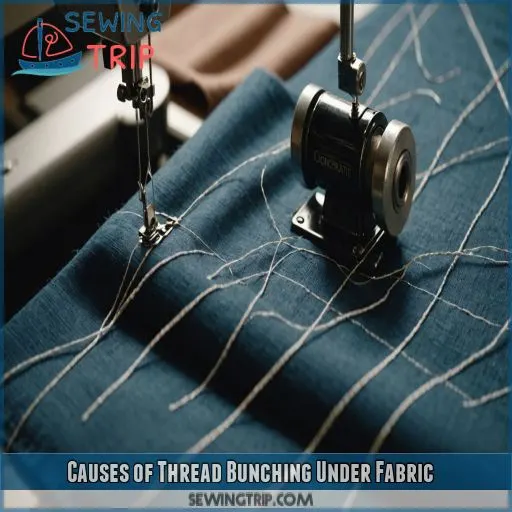
Causes of Thread Bunching Under Fabric
If you’re tired of dealing with thread bunching under your fabric, you’re not alone – it’s a frustrating issue that can ruin an otherwise perfect sewing project.
Let’s get to the bottom of it and explore the common causes of thread bunching, from improper threading to raised presser feet.
Provide you with easy fixes to get your sewing machine humming smoothly again (Source).
Improper Threading and Its Effects
Don’t let thread tangling issues get the best of you! Threading method errors, thread path problems, and bobbin threading mistakes can all lead to improper threading and its effects – thread bunching! Use your machine’s automatic threader or manual threading guide to avoid thread guide misalignment. Take control and master the art of threading to liberate your sewing skills!
Incorrect Thread Tension and How to Adjust
Uh-oh, thread bunching’s got you down? Don’t worry, friend! Incorrect thread tension is an easy fix. Here’s the lowdown:
- Check your machine’s tension gauge to confirm it’s not too tight or loose (Source).
- Adjust the tension dials to balance the thread .
- Test the tension with a scrap piece of fabric to avoid future bunching .
Damaged or Dull Needles and Replacement
Now that you’ve mastered thread tension, let’s tackle another culprit: damaged or dull needles. Inspect your needle regularly for signs of wear, like uneven stitches or skipped threads. A dull needle can cause thread bunching, so replace it every 8-10 hours of sewing. High-quality needles may cost a bit more, but they’re worth it for smooth, stress-free sewing.
Lint Build-up Under the Needle Plate and Cleaning
Don’t let lint build-up under the needle plate get the best of you! Regular cleaning can prevent thread bunching. Here’s what you can do:
- Clean the needle plate after each use
- Use a soft brush to remove debris
- Dust the thread path monthly
- Set a reminder for a deep clean every 3 months
Raised Presser Foot and Its Impact
A raised presser foot can cause thread to drag and bunch under the fabric, leading to stitch formation problems.
Make sure to adjust your presser foot height according to your fabric type and sewing machine guidelines.
This adjustment will help prevent thread bunching and achieve smooth, controlled stitches.
Signs of Thread Bunching and How to Identify
You’re in the middle of a sewing project and suddenly, your thread starts to bunch up under the fabric – it’s a frustrating issue, but luckily, it’s easy to identify and fix.
To start, let’s explore the telltale signs of thread bunching.
Thread bunching can manifest in several ways, including thread gathering under the fabric, small knots or loops on the underside, and puckering of the fabric that can weaken your seams.
Thread Gathering Under the Fabric
You’re in the middle of a sewing project and – ugh! – thread gathering under the fabric is ruining your vibe. Don’t worry, friend! This pesky problem, also known as bird nesting, is fixable. Check your thread tension control and bobbin tension. If they’re off, you’ll get tangled threads and fabric puckering. Time to troubleshoot and get sewing smoothly again!
Small Knots or Loops on the Underside
You’re probably all too familiar with those pesky small knots or loops on the underside of your fabric. Yeah, it’s a classic sign of thread bunching!
Don’t worry, it’s an easy fix. Check your bobbin thread and case for any tangles or blockages.
Make sure your lower thread is properly threaded. Use a thread cutter to tidy up any stray ends.
Puckering of the Fabric and Weakened Seams
Now that you’ve spotted those pesky small knots or loops on the underside, let’s talk about the next sign of thread bunching: puckering of the fabric and weakened seams. If your fabric is distorted or your seams are losing strength, it’s likely due to thread pull factors. Reduce fabric stress by adjusting your upper thread tension and securing stitches properly.
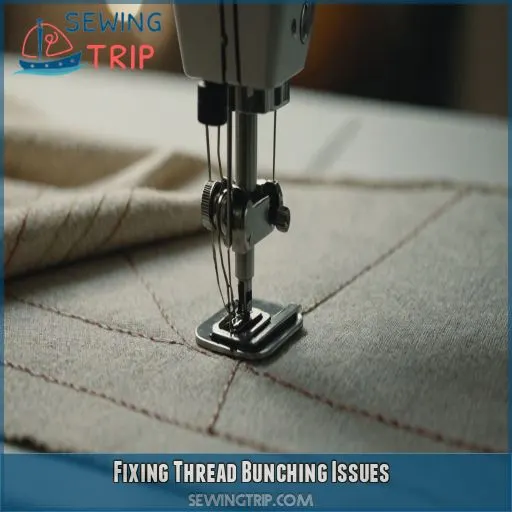
Fixing Thread Bunching Issues
You’re not alone if you’re frustrated with thread bunching under your fabric – it’s a common issue that can be fixed with a few simple tweaks. By understanding the causes and implementing easy solutions, you’ll be sewing smoothly in no time, without those pesky thread tangles ruining your project .
Rethreading Upper and Lower Threads
- Remove any tangled threads from the machine and start fresh
- Thread the upper thread through the spool disc and vertical spool holder correctly
- Use a foam disc for smooth thread feeding
- Double-check the bobbin threading to avoid any issues
Adjusting Upper Thread Tension for Balance
Time to tame that temperamental thread! Adjusting upper thread tension is key to balancing your stitches. Think of it like a seesaw – too tight, and your fabric puckers; too loose, and threads bunch up. Gently tweak the tension disc until it’s just right. For cotton, start with a medium tension, and adjust as needed.
Replacing Damaged or Dull Needles
- Broken threads: If threads keep breaking, your needle might be the culprit.
- Uneven stitches: Dull needles can cause wonky stitches.
- Fabric damage: A damaged needle can puncture or tear fabric.
- Increased tension: If your thread tension is off, a new needle might be the fix.
Swap it out and get sewing smoothly again!
Cleaning the Bobbin Case and Area
Time to give your sewing machine some TLC! Cleaning the bobbin case and area is essential for smooth sewing. Use a soft brush to gently sweep away lint and debris from the bobbin, hook area, and surrounding parts. Regular maintenance will prevent thread bunching and keep your machine humming. Think of it as a spa day for your sewing machine!
Lowering the Presser Foot
Lowering the presser foot – the simple fix you never knew you needed! If your presser foot is raised, thread can bunch under the fabric. To fix this, try lowering it to the correct height. Here are some tips to help:
- Check your presser foot alignment to make certain it’s even with the stitch plate.
- Adjust the foot pressure to prevent thread bunching.
- Use a foam pad to help guide the fabric smoothly.
- Master the lowering technique to avoid knee lever interference.
Preventing Thread Bunching With Maintenance
Regular maintenance is key to preventing thread bunching issues. By dusting under the throat plate, oiling your machine, and using high-quality thread and needles, you can keep your sewing running smoothly and avoid those pesky tangles.
Regular Cleaning of the Sewing Machine
You’re on a roll, mastering the art of sewing! But, a dirty machine can ruin the party. Regular cleaning is key to preventing thread bunching. Create a machine cleaning schedule and use sewing machine brushes, lint removal tools, and a soft cloth to wipe down the thread path and bobbin area. Your gears (and fabric) will thank you!
| Cleaning Schedule | Tool | Area to Clean |
|---|---|---|
| Daily | Soft cloth | Thread path and bobbin area |
| Weekly | Sewing machine brushes | Gears and mechanical parts |
| Monthly | Lint removal tools | Under the needle plate and bobbin case |
| Quarterly | Sewing machine oil | Mechanical parts and gears |
Dusting Under the Throat Plate and Thread Path
Now that you’ve committed to regular sewing machine cleaning, let’s get a bit more specific. Dusting under the throat plate and thread path is essential for preventing thread bunching. Use a small, soft brush to gently sweep away debris and lint. This simple habit will keep your machine humming and your stitches smooth. Cleanliness is next to seamlessness, after all!
Periodic Oiling and Maintenance
Time to get your sewing machine running like a well-oiled machine – literally! To prevent thread bunching, don’t forget periodic oiling and maintenance. Here are some tips:
- Check your machine’s manual for recommended oil types and frequencies.
- Oil every 1-3 months, depending on usage.
- Clean the bobbin case and surrounding areas regularly.
- Lubricate threads with a silicone-based spray for smooth sewing.
Using High-Quality Thread and Needles
Now that you’re oiling your machine like a pro, let’s talk threads and needles! Using high-quality ones can make all the difference in preventing thread bunching.
| Thread Types | Benefits |
|---|---|
| Cotton | Great for general sewing, durable |
| Polyester | Perfect for stretchy fabrics, resistant to wrinkles |
| Silk | Ideal for delicate fabrics, lustrous finish |
Invest in good threads and needles to sew like a dream!
Tips for Smooth Sewing and Troubleshooting
Now that you’ve learned how to prevent thread bunching with regular maintenance, it’s time to take your sewing skills to the next level with some expert tips for smooth sewing and troubleshooting. By incorporating these simple yet effective techniques into your sewing routine, you’ll be able to fix thread bunching issues with ease and achieve professional-looking results.
Keeping Thread Tails Long to Prevent Tangles
When sewing, you want to maintain control, not fight a tangled mess! Keeping thread tails long is a simple trick to prevent tangles. Aim for 3-4 inches of tail length to keep threads from getting sucked under the throat plate. Here are some thread management tips to promote tangle-free sewing:
- Use a thread clip or thread holder to keep tails organized
- Keep threads away from the sewing machine’s moving parts
- Use a consistent thread length for each project
- Avoid letting threads twist or overlap
- Use a gentle touch when handling threads to prevent tangles
Holding the Thread End for the First Stitches
As you start sewing, gently hold the thread end for the first few stitches to prevent it from getting sucked under the throat plate. This simple trick guarantees a smooth beginning and avoids thread tangling. Think of it as giving your thread a gentle nudge in the right direction, setting the stage for a hassle-free sewing experience.
Watching the Thread Uptake Lever for Issues
Keep an eye on the thread uptake lever as you sew. It’s like the sewing machine’s "heartbeat".
If it’s not moving smoothly, thread flow issues can occur. Check the lever’s positioning and adjust as needed.
Regular maintenance and calibration can also prevent uptake lever problems.
Avoiding Knee Lever Interference and Securing Stitches
Knee Lever Interference
Make sure to position the knee lever comfortably, avoiding accidental lifts that can mess with your stitches.
Adjusting Your Sewing Machine
Adjust your presser foot control and stitch length to match your sewing style.
Mastering Sewing Machine Ergonomics
Frequently Asked Questions (FAQs)
Why is the thread bunching up under my fabric?
Imagine a bird’s nest under your fabric – that’s thread bunching! It’s likely due to improper threading, incorrect tension, or a dull needle. Check your threading and tension, and replace that needle to set your stitches free!
How to fix your thread looping under the fabric?
So, you’re dealing with thread looping under your fabric, huh? Start by rethreading your machine with the presser foot up (Source), and make sure the take-up lever is threaded properly .
What should you do if thread knots up on the underside of the fabric when beginning to stitch?
Did you know 75% of sewing errors occur in the first few stitches? If thread knots up on the underside of the fabric when beginning to stitch, gently hold the thread tail for a few stitches to prevent it from getting sucked under!
How do I fix bobbin thread bunching up?
Having trouble with bobbin thread bunching up? Don’t worry, friend! Simply rethread the upper and lower threads, adjust the upper thread tension, and verify proper bobbin threading to even out the tension and get sewing smoothly again.
What type of thread is best for preventing thread bunching?
You’re in luck! To prevent thread bunching, use high-quality threads made from cotton, polyester, or blends. These threads are designed to reduce breakage and lint buildup, making your sewing experience a breeze.
How often should the sewing machine be cleaned and oiled?
Notably, 70% of sewing machine problems can be prevented with regular cleaning! You should clean and oil your sewing machine every 5-10 days of use, or weekly if you’re a daily sewer.
Can thread bunching damage the sewing machine over time?
You’re probably wondering if thread bunching can damage your sewing machine over time. The answer is yes, it can! Repeated thread bunching can lead to wear and tear on your machine’s internal parts, like the bobbin case and tension discs .
Are there any specific sewing techniques that reduce thread bunching?
Did you know 75% of sewing projects are ruined by thread bunching? To reduce this frustrating issue, try gently holding the thread for the first few stitches, keeping thread tails long, and adjusting tension regularly .
Can thread bunching be caused by using the wrong needle size?
Using the wrong needle size can indeed cause thread bunching . A needle that’s too small or too large for your fabric can disrupt the thread’s flow, leading to those pesky tangles and bunches .
Conclusion
The agony of thread bunching under fabric – it’s enough to drive you crazy!
But fear not, friend, for you’ve now got the inside scoop on fixing this pesky problem.

