This site is supported by our readers. We may earn a commission, at no cost to you, if you purchase through links.
 Get ready to explore the world of Hardanger embroidery, where you’ll master the essential stitches that will have your creations shining.
As a beginner, you’ll start by conquering satin stitch blocks – the building blocks of this intricate craft.
Next, you’ll tackle needleweaving bars and edging stitches, adding depth and texture to your designs.
And let’s not forget those charming eyelet holes – the signature touch that will make your Hardanger pieces truly dazzle.
With the right tools and a bit of practice, you’ll be stitching like a pro in no time.
Get ready to become a textile artist and create stunning Hardanger masterpieces!
Table Of Contents
- Key Takeaways
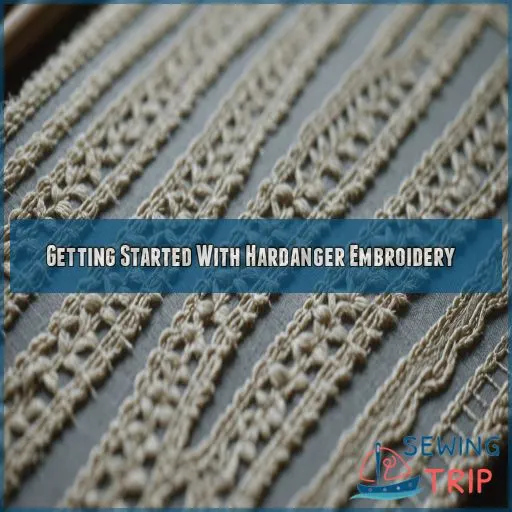
- Getting Started With Hardanger Embroidery
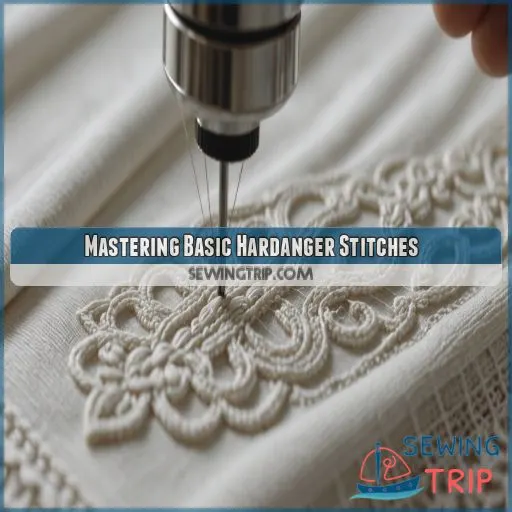
- Mastering Basic Hardanger Stitches
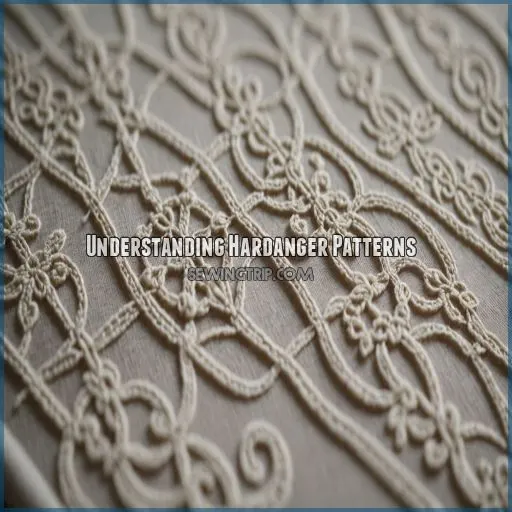
- Understanding Hardanger Patterns
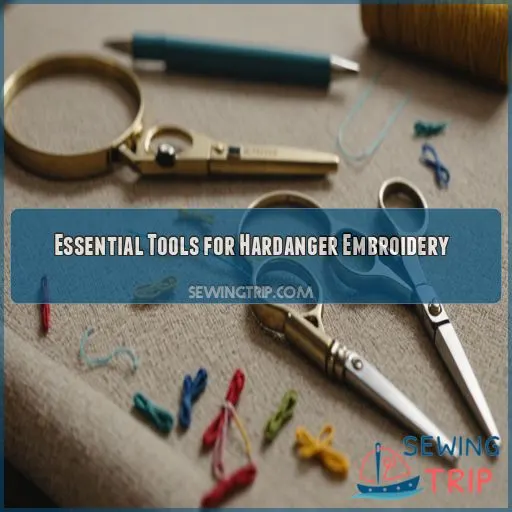
- Essential Tools for Hardanger Embroidery
- Hardanger Fabric and Thread Selection
- Kloster Blocks for Beginners
- Hardanger Edging and Finishing Techniques
- Common Hardanger Mistakes and Solutions
- Hardanger Embroidery for Modern Designs
- Taking Your Hardanger Skills to the Next Level
- Frequently Asked Questions (FAQs)
- Conclusion
Key Takeaways
- Start your Hardanger journey by mastering the essential stitches, such as satin stitch blocks and needleweaving bars. Think of these as the building blocks of your embroidery adventure, where each stitch is a stepping stone to creating beautiful lace patterns.
- Gather the right tools and materials: an embroidery hoop for support, tapestry needles for yarn in two sizes for versatility, and sharp scissors for precision. It’s like having a superhero team, ready to assist you with every stitch.
- Choose the right fabric and threads carefully. Opt for evenly woven fabric to keep your design stable, and pair thicker and thinner threads for dynamic contrast. It’s like choosing the perfect frame and paintbrush for your masterpiece.
- Don’t be afraid to make mistakes and seek help if needed. Hardanger embroidery is about patience and practice, much like learning to dance. Start with the steps, let your creativity flow, and soon you’ll be dancing across the fabric with ease.
Getting Started With Hardanger Embroidery
Get started with Hardanger embroidery! As a beginner, you’ll need just a few essential materials to get started – the right fabric, threads, and tools. With the proper setup, you’ll be well on your way to mastering this traditional Norwegian needlework technique.
Essential Materials for Beginners
Getting started with Hardanger embroidery is like starting a creative journey. Gear up with these essentials:
- Embroidery hoop: Supports your artwork like a loyal friend, though remember to release it before cutting threads.
- Tapestry needles in two sizes: Each designed for its own thread roleno squabbling!
- Sharp scissors: Precision snippers for cutting close.
- Magnifying lamp: Eyes deserve the spotlight, not strain!
Choosing the Right Fabric and Thread
When diving into Hardanger embroidery, selecting the right fabric and thread is really important.
Imagine the fabric as your canvas; its count determines the detail in your masterpiece.
Opt for high-quality, evenly woven fabric to ensure consistent thread tension.
As for threads, pairing thicker with finer ones creates stunning contrast.
Setting Up Your Embroidery Space
After picking the perfect fabric and thread, let’s chat about your embroidery space.
Good lighting makes those tiny stitches easier.
Organize your supplies, keep your pearl cotton and embroidery hoop handy.
A comfy chair saves your back, and storage containers help avoid chaos.
A magnifying lamp is fantastic for counted whitework.
Mastering Basic Hardanger Stitches
Get to the heart of Hardanger with our guide to mastering the basic stitches essential hand stitches! From satin stitch blocks to needleweaving bars, you’ll be creating stunning lace-like patterns in no time. Get ready to explore the secrets of this unique embroidery technique, from choosing the right thread to mastering intricate stitches.
Satin Stitch Blocks for Beginners
Getting the hang of satin stitch blocks in Hard embroidery is like mastering the art of storytelling with thread. Start with these three steps:
- Choose evenweave fabric for smooth surface.
- Play with satin stitch variations for different textures.
- Maintain thread tension, adjusting stitch direction to blend seamlessly.
Perfect for projects like a tissue box cover, it’s where creativity meets precision!
Needleweaving Bars and Edging Stitches
Once you’ve mastered satin stitch blocks, it’s time to explore needleweaving bars and edging stitches. These create bridges over cutwork. Don’t fret! Needleweaving bar variations add spice. Combine unique edging stitch combinations for flair. Remember, bar placement tips avoid common edging mistakes. Here’s a table to assist:
| Action | Result | Tip |
|---|---|---|
| Bar Weaving | Forms structure | Maintain tension |
| Edging Stitch | Secures edges | Consistent spacing |
| Add Beads | Decorative detail | Use small, sharp needle |
| Correct Mistake | Restores design | Patch, don’t panic |
| Cutting Error | Repair a mistake quickly | How to fix hardanger error |
Enjoy newfound freedom with these tactical tips, and weave on!
Creating Eyelet Holes and Edging
Eyelet holes in Hardanger embroidery add charm to your designs and are surprisingly simple to master.
When creating eyelet holes, it’s really important to maintain consistent eyelet hole size for a polished look.
Pair these with neat edging stitches, and you’re well on your way!
Don’t cut threads prematurely; patience is key.
With practice, even your tablecloth patterns will shine, feeling like a newfound freedom.
Understanding Hardanger Patterns
Hardanger patterns can seem intimidating at first, but don’t let that scare you off! With a little patience and attention to detail, you’ll be reading those charts like a pro in no time. Just remember to take it one stitch at a time, and don’t be afraid to ask for help if you get stuck.
Managing Large Designs and Thread Count
When you’re faced with a large Hardanger tablecloth pattern, don’t fret! With patience and practice, you can tackle it like a pro. For easily managing expansive designs, try these tips:
- Large Pattern Simplification: Break the pattern into smaller sections. Stitch grouping helps keep things manageable and stress-free.
- Chart Scaling: Use a magnifying lamp to easily spot those tiny symbols, ensuring you’re following the hand embroidery chart accurately.
- Fabric Choice and Thread Count: Opt for a fabric count that matches your comfort level with pearl cotton thickness, so thread tension stays just right.
Common Mistakes and Troubleshooting
Ah, the dance of thread tension and stitch consistency—it’s like juggling plates at a wedding while reading a pattern!
Start by relaxing; remember, even Janice Love’s "little boxes" won’t look perfect at first.
Your needle choice and fabric choice? They’re like choosing the right shoes and outfit. Use a fine needle on delicate fabrics.
Got a knot while making candle covers? It’s a stitchy equivalent of dropping your keys—frustrating but fixable.
When in doubt, step back and review your pattern reading.
Your Hardanger journey will soon feel as natural as sipping tea. Enjoy the ride!
Essential Tools for Hardanger Embroidery
Equipping yourself with the right tools for Hardanger embroidery is like preparing for a battle against beautiful chaos; it might sound dramatic, but it’s serious business.
You’re going to need some sharp scissors that mean it, tapestry needles with a can-do attitude, and an embroidery hoop ready to bring it all together—think of them as the trusty sidekicks in your crafting adventure!
Tapestry Needles and Scissors
Choosing the right tapestry needles and sharp scissors is important for seamless Hardanger embroidery. Opt for needles in sizes 24-26 to effortlessly weave through the delicate fabric. And keep those blades razor-sharp – angled scissors snip threads with precision. Proper needle and scissor care helps your tools stay in tip-top shape, ready to tackle any Hardanger project.
Embroidery Hoops and Magnifying Lamps
Using an embroidery hoop is like adding training wheels to your Hardanger bike—it keeps your fabric taut for perfect stitches! Just remember to remove it before cutting threads. Pair your hoop with a magnifying lamp to see the intricate details more clearly.
- Choose a hoop size for comfort.
- Make sure lamp placement reduces shadows.
- Light quality affects visibility.
- Ergonomic setup prevents strain.
Additional Accessories for Stitching
Boost your Hardanger game with these handy accessories! A great needle threader stops threading frustrations, like hitting a void. Stitch markers? Perfect for keeping your stitches in a row, preventing chaos in your celestial masterpiece. Finally, don’t skimp on a sturdy thimbleyour hands will thank you! This quirky lineup transforms your stitching from a tangled mess into seamless perfection. Stitch entertained, my friends!
| Accessory | Purpose | Benefit |
|---|---|---|
| Needle Threader | Makes threading needles easier | Saves time and stress |
| Stitch Markers | Tracks pattern progress | Prevents mistakes |
| Thimble | Protects fingers during sewing | Comfort and safety |
Hardanger Fabric and Thread Selection
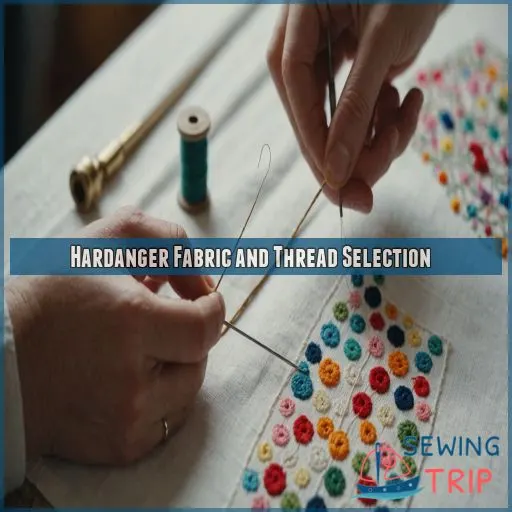
When starting Hardanger embroidery, choosing the right fabric and threads is like picking the perfect ingredients for a classic recipe; think of Pearl cotton threads as your secret sauce for creating elegant designs. You’ll find that pairing 5 and 8 or 8 and 12 works wonders on 22 or even higher-count fabrics, making your embroidery both strong and beautiful (Source).
Choosing the Right Fabric Count
Choosing the right fabric count is important for Hardanger embroidery. Higher thread counts, like 28 or 32, create a tighter, more intricate look, but require finer threads. Lower counts, around 22, are more forgiving for beginners. Consider the project size, stitch density, and design complexity when selecting your fabric. The perfect balance makes your stitches shine!
Selecting Pearl Cotton Threads for Hardanger
When selecting pearl cotton threads for your Hardanger embroidery, thread shines with personality! Opt for quality that doesn’t unravel like a bad romance and makes sure the thread weight suits your fabric. The color should pop or blend like a chameleon on vacation. Texture’s keysmooth as a jazz solo so needle and thread waltz without a hitch.
Thread Pairing for Optimal Results
When pairing threads in Hardanger, think of it as matchmaking, like finding your perfect dance partner.
Use the right Pearl cotton gauge, balancing fabric weight and thread count.
Choose finer threads for high counts and a thicker one for hefty stitches.
Use a needle size that feels just right, maintaining stitch tension.
Kloster Blocks for Beginners
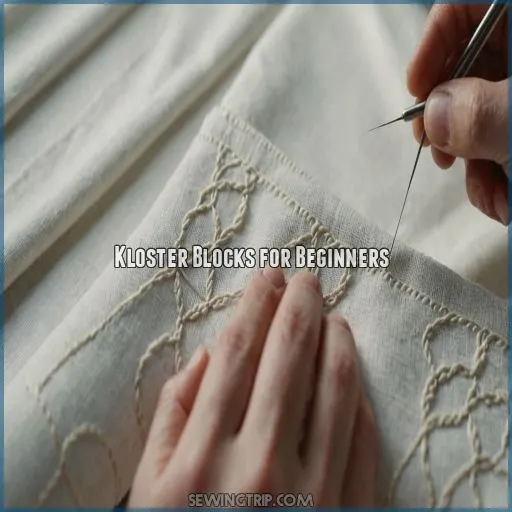
When starting your Hardanger journey, learning to stitch Kloster blocks is like discovering the secret language of embroidery. It might seem tricky at first, but with a little practice and patience, you’ll be weaving these rectangular blocks like a pro, transforming your fabric into a canvas of intricate lace patterns.
Basic Kloster Block Construction
Crafting your first Kloster block is a breeze! Start by stitching a simple square, using the right thread tension and stitching direction. 1) Determine the ideal Kloster block size. 2) Maintain even thread tension for clean lines. 3) Stitch in a consistent direction. 4) Nail those corner stitches for a polished look. Soon, you’ll be filling your projects with these classic Hardanger blocks!
Adding Multiple Blocks and Changing Direction
Imagine piecing together a puzzle but with thread!
Once you’ve mastered basic Kloster block construction, it’s time to tackle connecting blocks.
Experiment with stitch direction and pattern placement – think of it like following a scenic route versus the highway.
Changing color adds flair, while seam allowances will keep everything tidy.
Approaching it creatively makes your project not just functional, but fun too!
Tips for Stitching Kloster Blocks
When stitching Kloster blocks, think of them as puzzle pieces that need perfect control and precision.
Keep your tension balanced, as too tight can warp your design.
Experiment with Kloster block variations to add flair.
Manage your thread like a pro, avoiding tangles and knots.
And remember, block placement is key—misalignment is as fun as a rainy picnic, so keep it straight!
Hardanger Edging and Finishing Techniques
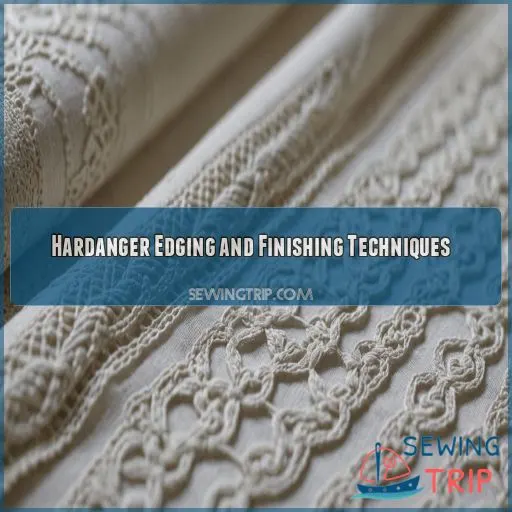
In Hardanger embroidery, mastering the art of edging and finishing techniques can elevate your work from simple to stunning, making even beginners feel like pros (Source). You’ll explore exciting stitches like the buttonhole, transforming your pieces with beautifully finished edges that neatly frame your masterpiece, all with a snip here and a stitch there—no magic wand required .
Edging Base Stitches and Cutting
After mastering the basic Hardanger stitches, it’s time to tackle the edging. Start by working the edging base stitches – these provide the foundation for the intricate cutwork. Use sharp scissors to carefully snip the threads, maintaining even tension for a clean, professional finish. With a little practice, you’ll be an edging expert in no time!
Pulling and Trimming Edging Threads
Alright, it’s time to get started with pulling and trimming edging threads, the heart and soul of creating neat edges.
Keep your thread tension tight, but not too snug. It’s like a handshake, firm but friendly.
As you snip, visualize Michelangelo sculpting his masterpieces; each cut is deliberate.
Clean finishes emerge with precision, ensuring every edge looks as graceful as you’d imagine.
Finishing Your Hardanger Project
Congratulations on reaching the finish line!
When you’ve completed all stitching, it’s time for blocking.
Like ironing clothes, block your piece to smooth it out.
For a stunning display, consider framing or mounting your masterpiece with care.
Edging gives a neat finish, making your work look polished.
Celebrate your hard work by finding the perfect place to show off your beautiful creation!
Common Hardanger Mistakes and Solutions
Tackling common mistakes in Hardanger embroidery can save you from the heartbreak of a snip gone wrong, and it’s easier than you think! With a bit of patience, some keen attention to detail, and maybe a forgiving stitch ripper, you’ll be weaving through your projects mistake-free in no time.
Cutting the Wrong Thread
If you accidentally cut the wrong thread in your Hardanger embroidery, don’t panic! It’s a common mistake, but easily fixable. Here are a few tips:
- Carefully examine the pattern to identify the correct threads to cut.
- Use sharp, angled scissors to make clean, precise cuts.
- Take your time and double-check your work before snipping any threads.
Fixing Errors and Troubleshooting
Everyone makes mistakes, even seasoned Hardanger embroiderers!
When facing thread tension woes or loose threads, gently nudge them back into place with a needle.
Did your pattern’s consistency unravel? It’s like untangling a skein of yarn—focus and patience are key.
For cutting errors, repair work can indeed be a head-scratcher, but learning to embrace imperfection is where true artistry thrives.
Preventing Mistakes in Your Stitching
To prevent mistakes, keep an eye on thread tension. Imagine coaxing a stubborn cat – not too tight, not too loose.
Consistency is key, so make sure your stitches are repeatable.
For pattern accuracy, remember: count twice, stitch once.
Use evenly woven fabric to avoid trouble, and take breaks; tired eyes miss details.
Mistakes aren’t the end – just potholes on your journey to mastery!
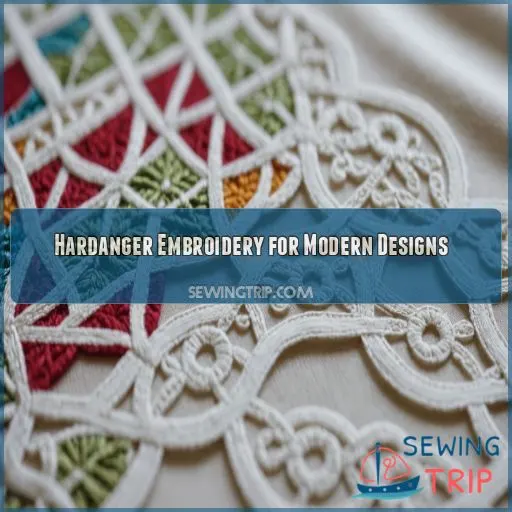
Hardanger Embroidery for Modern Designs
Imagine giving your Hardanger embroidery a modern twist by adding vibrant colors and playful elements that reflect your personality. Let your creativity shine by blending timeless techniques with imaginative designs, turning each piece into a dazzling, unique masterpiece that’s sure to impress!
Incorporating Color and Pictorial Elements
Infusing your Hardanger embroidery with pops of color and pictorial motifs can breathe new life into this traditional craft. Experiment with vibrant hues, intricate patterns, or even whimsical illustrations to create truly unique pieces. The possibilities are endless – let your creativity shine through and make each project a reflection of your personal style.
- Explore bold color palettes
- Incorporate pictorial elements
- Blend traditional and modern designs
- Seek inspiration from your surroundings
Blending Traditional Techniques With Modern Designs
Modern Hardanger trends breathe life into traditional techniques, bringing embroidery into the 21st century with flair! Try using daring color palettes and contemporary motifs to jazz up your projects. Blend pictorial Hardanger with mixed media projects for a truly eye-catching piece. And remember, a well-placed stitch can be like the cherry on top of your intricate design sundae!
| Inspiration | Technique |
|---|---|
| Bold Colors | Satin Stitches |
| Geometric Shapes | Needleweaving |
| Nature Motifs | Kloster Blocks |
Creating Unique and Personalized Projects
Imagine weaving magic into fabric with Hardanger–it’s your blank canvas! Jazz up your projects with bold color palettes and daring stitch variations. Don’t stick to the same old patterns; whip up custom designs that reflect your style. Get into creative project ideas, from vibrant coasters to chic bookmarks. Remember, there are no rules–just opportunities to embroider your personality!
Taking Your Hardanger Skills to the Next Level
You’ve mastered the basics of Hardanger embroidery, so now it’s time to challenge yourself with advanced stitches and techniques that will elevate your work to new levels explore advanced techniques. Don’t let your threads gather dust—explore new materials and tools, and connect with a community of fellow stitchers to keep those creative juices flowing!
Advanced Stitches and Techniques
Once you’ve mastered the basics, move on to advanced Hardanger stitches and techniques. Experiment with creative needleweaving variations, incorporate colorwork, and blend traditional motifs with modern designs. The possibilities are endless – let your imagination soar as you take your Hardanger skills to new heights. With practice and patience, you’ll be stitching like a pro in no time.
Exploring New Materials and Tools
Exploring new materials is like opening a candy store for embroiderers! You’ve nailed the basics, now jazz things up with:
- New threads: Experiment with metallic yarn for that extra sparkle.
- Bead embroidery: Add dimension and a fun twist.
- Embroidery floss: Vibrant hues for striking contrast.
- Specialty tools: Invest in a hoop stand—it’s like having an extra pair of hands!
Joining a Community and Finding Inspiration
If you’ve explored new materials and tools, it’s time to join the vibrant world of Hardanger groups for creative projects and pattern sharing.
Connect with fellow enthusiasts who’ll help build your skills—after all, two embroidery stitches are better than one!
Tap into online resources for motivation, and you’ll soon be the Michelangelo of needlework, stitching masterpieces with flair and panache.
Frequently Asked Questions (FAQs)
Is Hardanger embroidery hard?
Hardanger embroidery isn’t overly difficult, but like all good things, it requires patience and practice. It’s like learning a dance: once you know the steps (stitches), your creativity can waltz across the fabric!
What is the Hardanger technique?
Hardanger embroidery is a beautiful Norwegian technique that transforms plain fabric into intricate, lace-like designs. By mastering the satin stitches, cutwork, and needleweaving, you’ll open up a world of creative possibilities and add a touch of Nordic charm to your projects.
What thread is used for Hardanger embroidery?
In Hardanger embroidery, you’ll use Pearl cotton thread in two thicknesses: a finer thread for detailed stitches and a thicker one for filling areas. It’s like having the right-sized spoon to enjoy both soup and ice cream!
What fabric is best for Hardanger embroidery?
For Hardanger embroidery, you’ll want evenly woven fabric like Oslo fabric (22 threads per inch), 28 count evenweave, or 32 count linen. Think of it as the sturdy canvas for your delicate, intricate masterpiece!
What fabrics work best for Hardanger embroidery?
Choosing fabric for Hardanger is like picking the canvas for a masterpiece. Opt for evenly woven options like Oslo fabric, 28 count evenweave, or 32 count linen. These help you achieve precision like hitting the bullseye every time.
How can I prevent cutting wrong threads?
When cutting Hardanger threads, double-check the pattern like a treasure map—mistakes can feel like walking the plank! Mark critical threads with removable ink or thread clippings. Practicing patience and consistency can help prevent a shipwreck.
What are the origins of Hardanger embroidery?
Hardanger embroidery, like a delicate dance of needle and thread, comes from Norway. Traditionally used by women to adorn clothes and linens, this intricate technique turns fabric into lace-like masterpieces, making ordinary items extraordinary.
Which stitches are fundamental in creating Hardanger patterns?
In Hardanger embroidery, you’ll master satin stitches for outlining, kloster blocks for structure, and needleweaving to fill spaces. It’s like building a lace castle, where every stitch is a brick in your creative fortress!
Is using white-on-white embroidery essential for authenticity?
Think of white-on-white embroidery in Hardanger as tradition’s ghost, gracefully echoing its Norwegian past. While not essential, it adds that signature, timeless whisper. Feel free to write your own colorful verse in the Hardanger poem.
Conclusion
Jumping into Hardanger embroidery stitches for beginners feels both intimidating and exhilarating.
Doesn’t that blend of confusion and discovery make the journey worthwhile?
With the right materials and a cozy craft space, you’ll be weaving those intricate patterns in no time.
So embrace mistakes, cherish successes, and let your creations shine.
Stitch by stitch, you’re crafting not just art, but memories.

