This site is supported by our readers. We may earn a commission, at no cost to you, if you purchase through links.
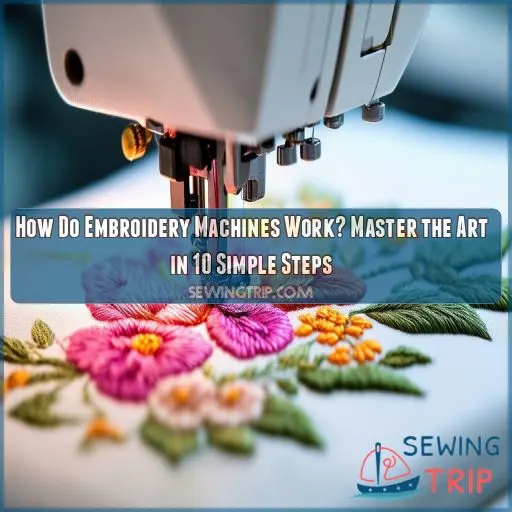
You’ve likely admired their handiwork, but have you ever wondered how these mechanical wizards actually work?
In this guide, we’ll demystify the inner workings of embroidery machines and walk you through 10 simple steps to master this art form.
From fabric hooping to design selection, you’ll soon understand the process that brings your creative visions to life.
Table Of Contents
- Key Takeaways
- How Do Embroidery Machines Work?
- How Embroidery Machines Work
- Types of Embroidery Machines
- Digitizing and Embroidery Thread
- Finding and Preparing an Embroidery Design
- Transferring the Embroidery Design
- Preparing the Fabric
- Stitching
- Finishing
- Supplies for Machine Embroidery
- Understanding Embroidery Machine Designs
- Frequently Asked Questions (FAQs)
- Conclusion
Key Takeaways
- Embroidery machines are like digital artists with needles for paintbrushes, turning plain fabric into jaw-dropping masterpieces. From hooping your fabric just right to selecting the perfect design, it’s a dance of technology and creativity that’ll make your grandma’s cross-stitch look like child’s play.
- These mechanical marvels come in all shapes and sizes, from dedicated embroidery powerhouses to hybrid machines that’ll have you switching from hemming pants to stitching intricate butterflies faster than you can say "bobbin." And for the brave souls out there, free-motion embroidery lets you freestyle like a thread DJ!
- Digitizing designs is where the magic happens – it’s like teaching your machine a new language of loops and stitches. But don’t worry, you won’t need a Ph.D. in computer science. With the right software and a dash of patience, you’ll be turning your doodles into wearable art quicker than you can untangle a nest of thread.
- Like any good relationship, your embroidery machine needs some TLC. Regular maintenance, quality threads, and the right stabilizers are the secret sauce to keeping your stitches tight and your designs popping. And remember, when it comes to embroidery, size does matter – but it’s all about finding the right fit for your project and machine capabilities.
How Do Embroidery Machines Work?
Embroidery machines work by mechanically stitching designs onto fabric.
You’ll start by hooping your fabric tightly and selecting a design. The machine guides a needle along a programmed path, creating intricate patterns with precision. It’s like a robotic artist, carefully placing each stitch.
You’ll need to monitor thread tension and make color changes as needed.
Different types of machines exist, from dedicated embroidery units to hybrid sewing-embroidery models.
The process involves digitizing designs, choosing the right threads, and preparing your fabric with stabilizers.
Mastering these basics will set you on the path to creating stunning embroidered pieces.
There’s a whole world of techniques waiting to be explored.
How Embroidery Machines Work
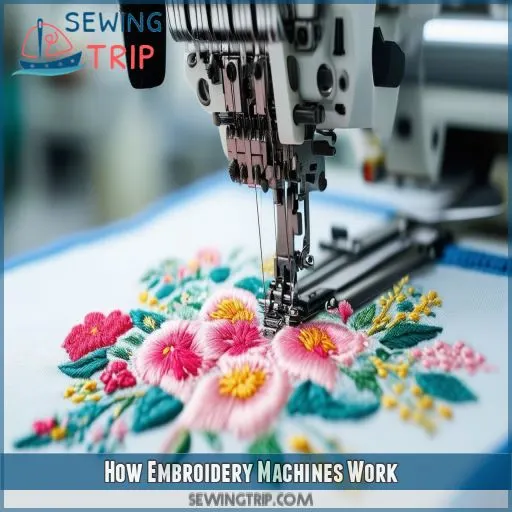
Embroidery machines work by precisely guiding a needle along a predetermined path to create intricate designs on fabric. You’ll start by hooping your fabric to keep it taut, selecting your desired design, and then letting the machine execute the embroidery process, which may involve changing thread colors as needed.
Fabric Hooping
You’ll start by hooping your fabric, an essential step in machine embroidery for beginners.
Choose the right hoop type and size for your project.
Make sure the hoop tension is correct to keep your fabric taut without stretching it.
Consider fabric shrinkage and select a suitable stabilizer to support your material.
For tricky fabrics, try floating them outside the hoop.
Design Selection
After hooping your fabric, it’s time to select your design. Embroidery machines offer a variety of options, from pre-programmed patterns to custom creations. You’ll need to:
- Design complexity and your machine’s capabilities
- Inspiration sources, like nature or geometric shapes
- Design sharing platforms for unique ideas
- Color combinations that complement your fabric
- Software compatibility with your machine
Embroidery Process
Once you’ve selected your design, the embroidery process begins.
Your machine’s frame moves the hooped fabric beneath the needle, following a pre-programmed path.
Proper hoop tension is essential for smooth stitching.
As the needle pierces the fabric, it creates intricate patterns, one stitch at a time.
You’ll need to monitor thread tension and make color changes as needed.
Types of Embroidery Machines
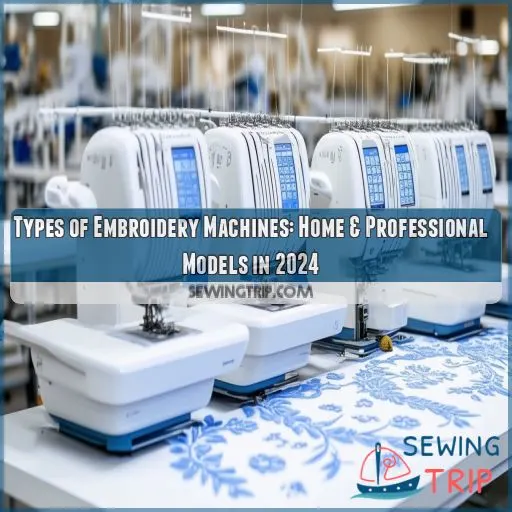
You’ll find several types of embroidery machines to suit your needs, including dedicated machines designed solely for embroidery, hybrid machines that combine sewing and embroidery functions, and multi-needle machines for advanced work. For those seeking a more hands-on approach, free motion embroidery can be achieved using a regular sewing machine with the right techniques and attachments.
Dedicated Machines
Dedicated embroidery machines are specialized powerhouses designed solely for embroidery work. Unlike their versatile cousins, these machines focus on perfecting intricate designs. With advanced capabilities, they’re ideal for commercial use or serious hobbyists. You’ll find they boast specific functions and additional features that streamline the embroidery process, making your creative journey smoother.
Hybrid Machines
If you’re torn between dedicated and multi-needle machines, hybrid models offer a sweet spot. These versatile embroidery machines combine sewing and embroidery capabilities, giving you more bang for your buck. With USB stick compatibility and automatic design selection, they’re perfect for upgrading your craft. Just remember to maintain your embroidery needle for excellent results.
Multi-Needle Machines
Multi-needle embroidery machines are powerhouses for special applications and advanced techniques. You’ll find these machines equipped with multiple needles and thread spools, allowing quick color changes without rethreading. They’re ideal for custom designs and business potential, handling complex projects on various embroidery blanks. Hooping becomes a breeze, and you’ll speed through digitized embroidery with ease.
Free Motion Embroidery
While multi-needle machines excel at complex designs, you can explore free motion embroidery on regular sewing machines. This technique bridges the gap between machine and hand embroidery. You’ll drop the feed dogs, use a darning foot, and guide the fabric manually. It’s like drawing with thread, offering creative freedom and unique results.
Digitizing and Embroidery Thread
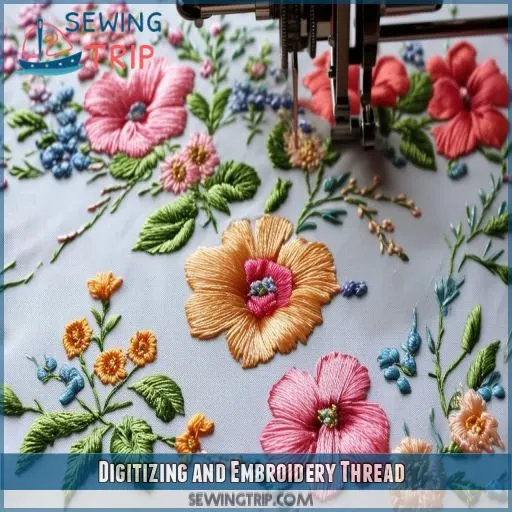
You’ll need to convert your images or artwork into embroidery file formats that your machine can understand, which is called digitizing. This process involves selecting stitch types (such as straight, satin, or fill) and determining thread characteristics to achieve the desired aesthetic and texture in your embroidery project.
File Conversion
You’ll need to convert your designs into embroidery-friendly file formats. This process, called digitizing, transforms your cross-stitch patterns into a language your machine understands. Here’s a quick rundown:
- Choose compatible software
- Import your design
- Set stitch parameters
- Export in the correct file format
Digital embroidery opens up a world of creative possibilities!
Stitch Types
Once your design’s digitized, it’s time to understand stitch types. They’ll affect your embroidery’s appearance and durability. Straight stitches create outlines, while satin stitches fill small areas. For larger spaces, you’ll use fill stitches. Adjust stitch density, needle size, and tension settings based on fabric weight and design complexity.
Thread Characteristics
Now that you understand stitch types, let’s explore thread characteristics. Your embroidery’s quality hinges on the thread you choose. Consider these key factors:
- Thread properties: strength and durability
- Thread quality: consistency and smoothness
- Thread sheen: matte to high-gloss finish
- Thread weight: thickness and coverage
Select threads that complement your design and fabric for stunning results.
Scissor Usage
When trimming embroidery threads, you’ll need sharp, ergonomic scissors. Choose high-quality embroidery thread and the right needle for your project. Special scissors, like curved or duck-billed types, can help you get close to the fabric without damaging it. Remember, the sharper your blades, the cleaner your cuts will be.
Finding and Preparing an Embroidery Design
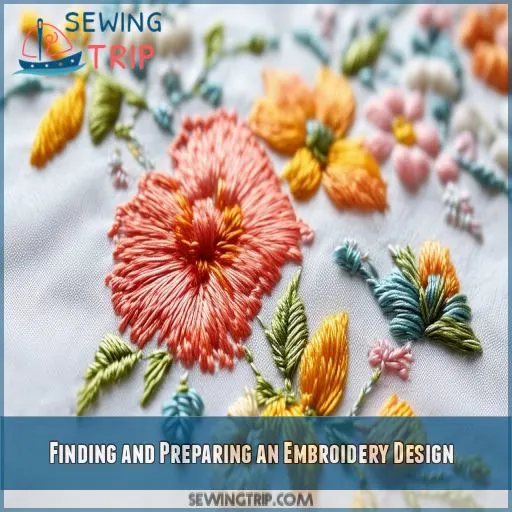
You’ll need to select a unique embroidery design that’s compatible with your machine’s capabilities and digitized in the correct file format. Once you’ve chosen your design, transfer it from your computer to your embroidery machine using a USB stick or other supported method.
Unique Designs
When beginning your embroidery journey, you’ll quickly discover the endless possibilities of unique designs.
Each project is a canvas for your creative expression, allowing you to personalize your work with custom designs that reflect your artistic inspiration.
You’re not limited to pre-made patterns; instead, you can craft one-of-a-kind masterpieces that tell your story.
Whether you’re digitizing your own sketches or modifying existing designs, the key is to let your imagination run wild.
Embrace the challenge of creating something truly special, and you’ll find that design uniqueness becomes second nature.
File Transfer
Once you’ve found your unique design, it’s time to transfer it to your embroidery machine.
You’ll need to make certain the file format is compatible with your machine and software. Common formats include.PES, .DST, and.JEF. Check your machine’s manual for supported file types.
Transfer methods vary, but USB drives are popular. Some machines even accept wireless transfers.
If you’re sharing files with other embroiderers, make sure they’re using compatible software. Remember, not all designs work on every machine, so double-check size limitations and stitch counts.
With the right file in hand, you’re one step closer to bringing your embroidery vision to life.
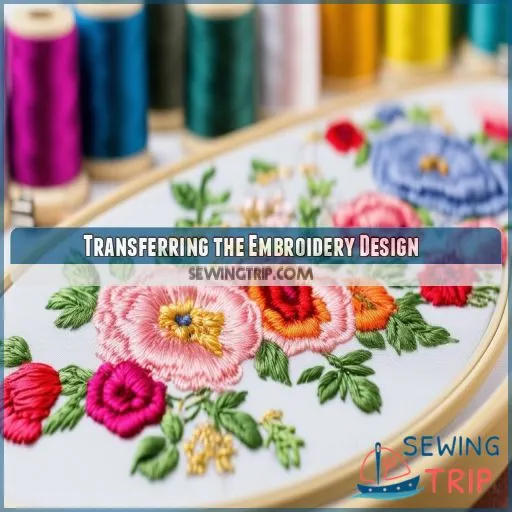
Transferring the Embroidery Design
To transfer your embroidery design, you’ll typically use a USB stick to move the file from your computer to your machine. Once the design is on your embroidery machine, you’ll need to prepare it for stitching by adjusting size, orientation, and any other necessary settings.
USB Transfer
Now that you’ve found your design, it’s time to transfer it to your embroidery machine. Most modern machines offer USB compatibility, making this process a breeze. Here’s how to do it:
- Save your design in a compatible file format (e.g., .pes, .dst, or.jef)
- Insert a USB drive into your computer and copy the design file onto it
- Plug the USB into your embroidery machine and follow the on-screen prompts
Some machines also support wireless transfer or cloud storage options, adding convenience and design security. Remember to check your machine’s manual for specific instructions, as USB ports and file formats can vary between models. With your design transferred, you’re one step closer to bringing your embroidery vision to life.
Design Preparation
After transferring your design via USB, it’s time to prep it for stitching. Your machine’s software will guide you through the process, but here’s a quick rundown:
| Step | Action |
|---|---|
| 1 | Select design |
| 2 | Check compatibility |
| 3 | Adjust size |
| 4 | Choose colors |
| 5 | Preview final look |
You’ll want to confirm your design’s compatibility with your machine’s capabilities. Don’t hesitate to tweak it – resize, rotate, or even combine elements for a custom touch. Remember, what you see on screen is what you’ll get on fabric, so take your time. It’s like being a digital tailor, fitting your design perfectly to your project’s needs.
Preparing the Fabric
To prepare your fabric for embroidery, select a suitable material and thread that complement your chosen design. Next, secure the fabric in an appropriately sized hoop, ensuring it’s taut but not stretched, and apply a stabilizer to provide necessary support during the stitching process.
Fabric and Thread Selection
Now that you’ve transferred your design, it’s time to select the perfect fabric and thread. Your choice will make or break your embroidery project, so choose wisely! Consider these factors:
- Fabric type: Stable, woven fabrics are your best bet
- Thread texture: Match it to your fabric’s weight
- Color matching: Complement or contrast, it’s your call
- Stabilizer selection: Pick the right support for your fabric
Hooping Technique
To properly hoop your fabric, start by selecting the right size hoop for your design.
Place the fabric between the inner and outer rings, ensuring it’s taut but not stretched.
Tighten the hoop’s screw gradually, adjusting the fabric as you go.
For tricky materials, try hooping workarounds like using adhesive stabilizer or floating techniques.
Common hooping mistakes include over-tightening or leaving wrinkles.
Stabilizer Usage
You’ll need a stabilizer to support your fabric during embroidery.
There are several types to choose from, each with specific uses. Cut-away stabilizers offer permanent support, while tear-away ones are easily removed.
For delicate fabrics, try heat-away or wash-away stabilizers.
Place the stabilizer beneath your fabric before hooping, ensuring it’s taut. This essential step prevents puckering and distortion, allowing your design to shine.
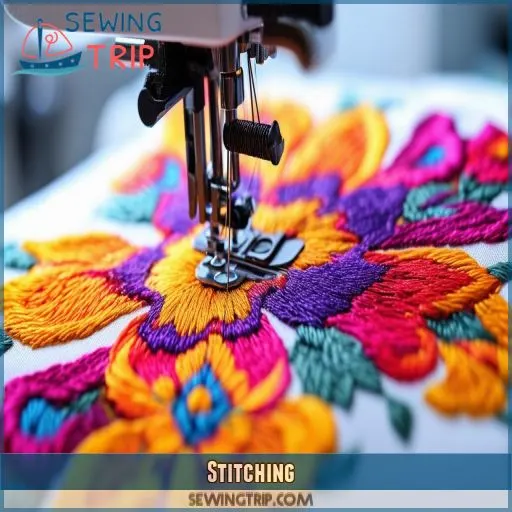
Stitching
Once you’ve set up your embroidery machine with the correct thread and selected your design, it’s time to start stitching. You’ll need to monitor the process closely, making color changes as needed and watching for any issues like thread breaks or tension problems that might affect the final result.
Machine Setup
Now that your fabric’s hooped and stabilized, it’s time to set up your machine.
Start by calibrating it to guarantee precision.
Select the appropriate needle for your project—ballpoint for knits, sharp for wovens.
Adjust the hoop tension, making sure it’s snug but not distorting the fabric.
Fine-tune your thread tension; it should be balanced, not too tight or loose.
With these steps, you’re ready to bring your design to life!
Color Changes
Once you’ve set up your machine, it’s time to tackle color changes.
You’ll need to match threads to your design, considering color blending for a seamless appearance.
Different needle types may be needed for various threads.
Keep an eye on tension adjustments to prevent thread breakage.
As you switch colors, make sure smooth transitions by carefully trimming and rethreading.
Monitoring and Techniques
As your machine stitches, keep a watchful eye on its progress.
Verify proper hoop tension throughout the process to maintain design integrity.
Watch for any snags in the bobbin thread, which can cause puckering or thread breaks.
Be prepared to trim jump stitches between color changes.
Different embroidery hoops may be needed for various design files.
Stay alert and make adjustments as necessary to achieve the best results from your embroidery machine.
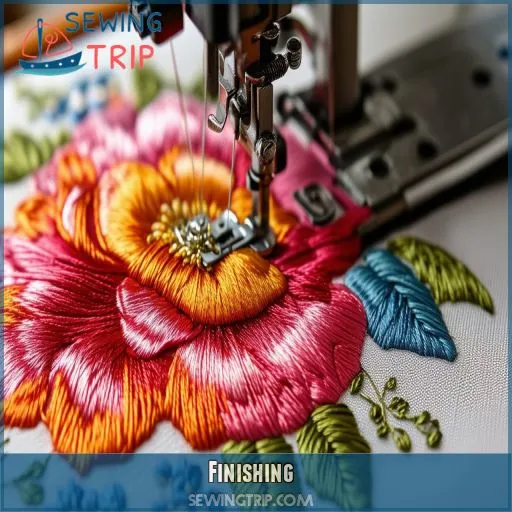
Finishing
After completing the embroidery process, you’ll need to trim excess threads and remove any stabilizer material carefully. Finish by pressing the embroidered area with an iron on the appropriate setting for your fabric, and protect your work by following proper care instructions for the specific type of embroidery and fabric used.
Trim and Removal
Once you’ve completed stitching, it’s time to clean up your masterpiece.
Start by carefully trimming any excess threads, paying close attention to jump stitches.
Next, tackle stabilizer removal.
For tear-away stabilizers, gently peel them off.
Water-soluble stabilizers dissolve with a light misting or soak.
Cut-away stabilizers need trimming close to the stitching.
Heat-away stabilizers require a quick pass with an iron.
Be patient and precise—your embroidery’s final appearance depends on this essential step.
Pressing
After trimming excess threads, it’s time to press your embroidery.
This essential step enhances the final appearance and sets the stitches.
Use a clean, flat pressing surface and cover your embroidery with a pressing cloth to protect delicate stitches.
Apply gentle pressure with an iron set to the appropriate temperature for your fabric.
Be cautious with dimensional designs, and avoid pressing directly on raised elements.
Troubleshoot any stubborn wrinkles by adjusting heat and pressure gradually.
Protection
After pressing, it’s essential to preserve your completed embroidery. You’ve invested your time and effort, now let’s guarantee its longevity. Here are three key steps for safeguarding your creation:
- Apply a protective spray to shield against dirt and moisture.
- Store your embroidered items flat to prevent fabric distortion.
- Keep your supplies organized in airtight containers to maintain thread quality.
Supplies for Machine Embroidery
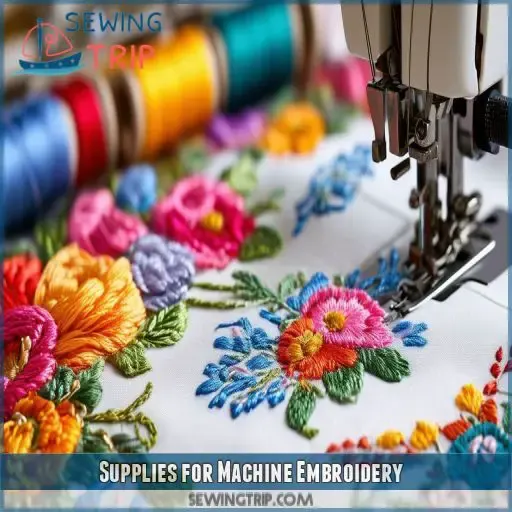
To operate an embroidery machine effectively, you’ll need essential supplies including stabilizers, specialized needles, appropriate thread, and suitable blanks. Each of these components plays a(n) vital role in the embroidery process, with stabilizers providing support, needles designed for precision, threads offering various textures and colors, and blanks serving as the canvas for your designs.
Stabilizer Types
After finishing your embroidery, you’ll need to understand stabilizers. These essential supplies come in four main types: cut-away, tear-away, wash-away, and heat-away. Each has unique properties and uses. Cut-away remains on the project, tear-away is easily removed, wash-away dissolves in water, and heat-away is perfect for delicate fabrics. Choose wisely!
Embroidery Needles
Moving from stabilizers to needles, you’ll find that embroidery needles are essential for your machine’s performance. They’re designed with specific features to handle embroidery thread and fabric:
- Larger eye for easy threading
- Widened groove to protect delicate threads
- Elongated scarf to reduce friction
- Special coatings for smoother penetration
Choose the right needle type for your project’s success.
Thread Types
You’ll need to choose the right thread for your embroidery project. Consider thread weights, colors, sheen, durability, and availability. Lighter weights work for delicate designs, while heavier threads create bold statements. Polyester threads offer durability, while rayon provides a beautiful sheen. Match your thread to your fabric and design for best results.
Blanks
When choosing embroidery blanks, consider fabric thickness and stabilizer compatibility. You’ll want blanks less than 6mm thick that can be hooped as a single layer. Stable, woven fabrics are your best bet. Remember to prewash cotton blanks to prevent shrinkage, but dry clean or skip prewashing for non-washer-safe items.
Understanding Embroidery Machine Designs
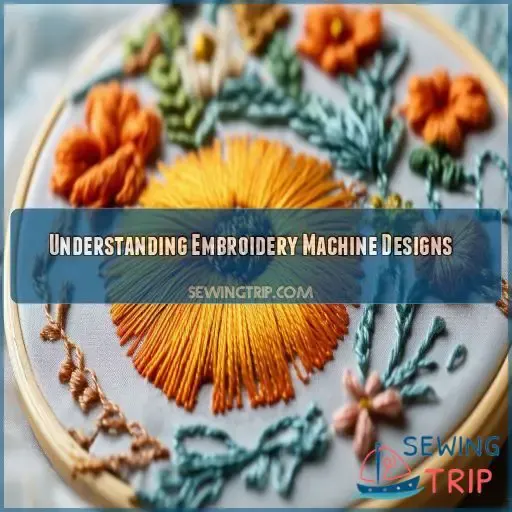
To work with embroidery machines effectively, you’ll need to understand different design types, file formats, and sizing considerations. Familiarize yourself with various embroidery software options, from basic thumbnail viewers to advanced digitizing programs, to manage and create designs for your projects.
Design Types
Now that you’ve got your supplies, let’s explore design types. You’ll encounter fill-stitch designs for traditional looks, applique techniques for fabric attachments, and redwork basics for simple running stitches. Free-standing lace creates intricate patterns, while in-the-hoop projects are completed entirely by your machine. Embroidery digitizing software like Embrilliance Essentials helps you craft unique designs.
File Format
Embroidery machines require specific file formats to interpret designs. You’ll need to convert your artwork into compatible embroidery files for seamless transfer. Manual digitizing offers precision but can be complex for beginners.
Here are key points to remember:
- Common formats include.PES, .DST, and.JEF
- Conversion software streamlines the process
- Some machines accept multiple file types
Sizing Considerations
When sizing your embroidery design, consider your fabric size and hoop dimensions. Design placement is critical – you don’t want to run out of space! Remember, design complexity and stitch density affect sizing too. A larger design might need more stabilizer, while a smaller one could work on delicate fabrics. Always test before committing to the final project.
Software Overview
Now that you’ve mastered sizing, let’s move on to embroidery software. You’ll find various options with different features to streamline your workflow:
- Thumbnail software for quick design previews
- Editing software for resizing and combining designs
- Digitizing software for creating custom designs
Consider the user interface design and compatibility when selecting software to enhance your embroidery efficiency.
Frequently Asked Questions (FAQs)
Are embroidery machines hard to use?
You’ll find embroidery machines relatively user-friendly. They’re not overly complex, but there’s a learning curve. With practice, you’ll master hooping, thread changes, and design selection. Modern machines offer helpful features to streamline the process.
What do I need for machine embroidery?
You’d think machine embroidery‘s a breeze, right? Well, you’ll need an embroidery machine, stabilizer, hoops, thread, needles, and digitized designs. Don’t forget software for editing and creating patterns. It’s a bit of an investment, but worth it!
How does embroidery printing work?
You’ll upload a digitized design to your embroidery machine. It’ll move the fabric under a needle, stitching the pattern. You’ll change thread colors as needed. It’s like printing, but with thread instead of ink.
Can you use an embroidery machine without a computer?
You can use many embroidery machines without a computer. They’ve got built-in designs and controls. You’ll select patterns, adjust settings, and start stitching right on the machine. For custom designs, though, you’ll need a computer connection.
How long does it take to embroider a design?
Time flies when you’re embroidering! The duration varies based on design complexity and size. A simple logo might take 15 minutes, while intricate patterns can take hours. You’ll need to factor in setup time too.
Can embroidery machines work with metallic threads?
Yes, you can use metallic threads in embroidery machines. They’ll add sparkle to your designs, but you’ll need to adjust tension and speed. Use a larger needle and top-coat the thread to prevent breakage. It’s trickier, but doable!
Whats the largest size design embroidery machines can handle?
Like a giant canvas, embroidery machines can tackle designs up to 16×24 inches. You’ll find this size on commercial machines, while home models typically handle 5×7 or 6×10 inch designs. Larger hoops enable grander creations.
How often should embroidery machines be serviced?
You’ll want to service your embroidery machine every 12-18 months, depending on usage. Regular maintenance includes oiling, cleaning, and checking for worn parts. Don’t skip tune-ups – they’ll keep your machine humming along smoothly!
Can embroidery machines create 3D or raised designs?
Imagine this: your embroidery machine’s gone rogue, creating a 3D masterpiece that’s practically leaping off the fabric! Yes, you can create raised designs. They’re achieved through layering stitches, special threads, and foam stabilizers. It’s dimensional embroidery at its finest.
Conclusion
Now that you’ve dipped your toes into the realm of embroidery machines, you’re well-equipped to delve deeper.
You’ve learned how embroidery machines work, from hooping to design selection, and explored various machine types and supplies.
With practice, you’ll soon be creating intricate designs like a pro.
Keep experimenting with different fabrics, threads, and techniques to ignite your creativity and produce stunning embroidered pieces that’ll turn heads.

