This site is supported by our readers. We may earn a commission, at no cost to you, if you purchase through links.
In this step-by-step guide, we will walk you through from setup to stitching in no time. We take you from the setup to placing the bobbin into position and then to thread the needle, offering you a complete overview of the focus keyword in easy-to-understand steps.
Say goodbye to frustration and hello to seamless sewing success. Let’s begin!
Table Of Contents
- Key Takeaways
- How Do You Thread a Sewing Machine?
- Setting Up the Bobbin
- Threading the Top Half of the Machine
- Threading the Needle
- Inserting the Bobbin
- Bringing Up Bobbin Thread
- Joining Threads
- Troubleshooting
- Importance of Proper Threading
- Parts of the Machine
- Tips for Threading
- Frequently Asked Questions (FAQs)
- Conclusion
Key Takeaways
- Threading a sewing machine may seem like a daunting task, but it’s like solving a Rubik’s cube of sewing machines – with our guide, you’ll be a pro in no time!
- Remember, the key to a smooth sewing experience is proper threading. It’s like having a well-oiled engine – everything runs smoothly, and you can create beautiful projects without frustration.
- If you encounter any threading difficulties, don’t despair! Refer to our troubleshooting and tips sections – they’re like your sewing machine’s first aid kit, ready to help you overcome any challenges.
- Happy stitching! May your sewing journey be filled with creativity, precision, and the satisfaction of a perfectly threaded machine
How Do You Thread a Sewing Machine?
The sewing machine is threaded by first winding the bobbin and then placing it.
Take the top thread through tension discs in the sewing machine, then take up the lever. Thread your needle from front to back, and using the handwheel turned toward you, bring up the bobbin thread.
Now, pull both threads under the presser foot and out at the back of the sewing machine; however, make sure that tension is set appropriately for smooth stitching. If you can’t quite see, use a magnifying glass or your machine’s manual.
Proper threading in this process is essential to obtain the best quality stitches and sewing performance. With practice, it will turn out to be one of the most essential sewing skills you will master.
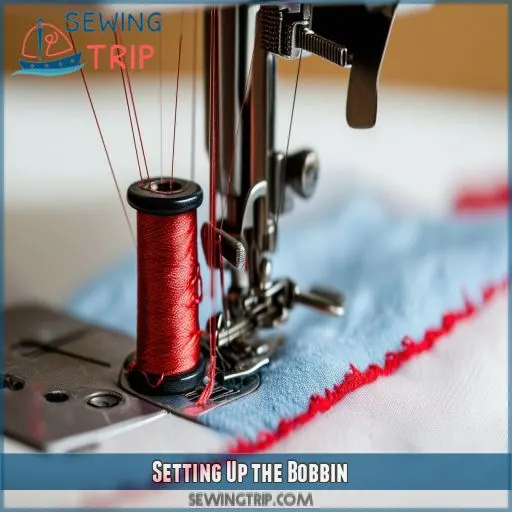
Setting Up the Bobbin
Let’s start by winding your bobbin. Place the spool on the spool pin, guide the thread through the bobbin hole, and secure the bobbin in place by locking the bobbin pin
Winding the Bobbin
To wind the bobbin, first place the spool of thread on the spool pin. Then, guide the thread through the bobbin winder thread guide. Wrap the thread a few times around the empty bobbin and slide the bobbin winder spindle over to lock it in place. Adjust the bobbin winder tension and speed as needed for a tight, even wind
Inserting Thread Through Bobbin Hole
Thread it from the inside toward the outside of your bobbin hole with the correct tension on your bobbin. This may have to be adjusted depending on the different types and thickness of threads you’re using.
Once threaded, take a few turns around the bobbin with your thread just to secure it. This simple step will provide smooth, continuous winding on your sewing machine
Locking Bobbin in Place
Now slide the bobbin pin to the right, which locks the bobbin in place on the bobbin winder. This step is of prime importance so that it winds smooth and even off your bobbin. Depending on your machine, the size of the bobbins and types might vary; hence, it’s always best to check the dimensions in your sewing machine manual.
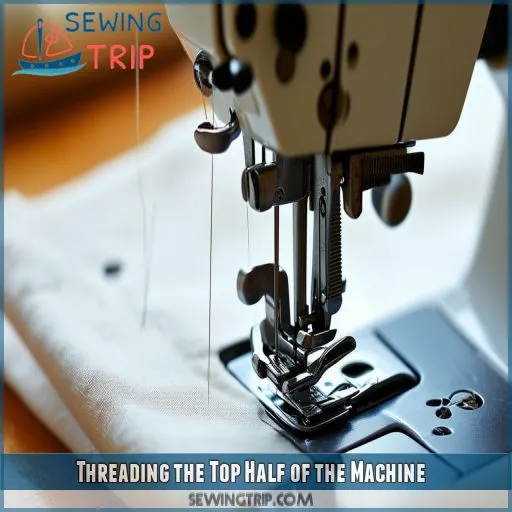
Threading the Top Half of the Machine
First, threading the top half of a sewing machine requires you to put the thread in on the spool pin and pull it through the tension disks. Now, loop the thread around the take-up lever, ensuring sufficient tension to provide smooth stitching.
Placing Thread on Spool Pin
First, thread the top half of the machine by placing the spool of thread onto the spool pin and secure it with a plastic disk, if there’s one, to keep it from wobbling.
- The thread path should be clear of obstructions.
- Make sure to have the right thread type to match your spool size and machine.
- Position the thread for smooth threading.
Now you can thread your needle!
Pulling Thread Through Tension Disks
Next, guide the thread through the tension disks. These disks apply the perfect amount of tension to your thread, ensuring smooth, even stitches. Gently pull the thread between the disks, being careful not to pull too hard and break the thread. Proper tension is key for successful sewing, so take your time with this step
Looping Thread Around Takeup Lever
Guide the thread around the take-up lever. Be sure to seat it snugly in the notch on the lever for the correct sewing machine tension. It will help prevent problems like skipped stitches due to issues with the take-up lever.
Keep checking what the take-up lever is doing and clean or adjust accordingly. There’s no need to replace the take-up lever unnecessarily. Your fabric and size of needle impact tension
Threading the Needle
Threading the needle is straightforward if you follow a few key steps. Guide the thread through the needle’s eye, trim the thread end to keep it neat, and moisten it for easier threading
Guiding Thread Through Needle’s Eye
Once you’ve looped the thread around the takeup lever, it’s time to guide it through the needle’s eye.
- Make sure thread tension is correct.
- Hold the thread steady.
- Push it through the needle from front to back.
- Use the right needle size for your fabric weight and thread type.
Trimming Thread End
Once the thread is through the eye of the needle, trim the end lightly with a thread cutter or scissors to avoid fraying and give you an excellent clean start for quick threading.
Properly trimmed thread helps avoid snagging frustration.
Keep scrap fabric handy to test, and if needed, adjust to make sure of smooth sewing from your machine needle and bobbin winder
Moistening Thread for Easier Threading
This will help moisten the end of the thread so it can easily slide through the eye of a needle. Steps:
- Wet Fingers: Just dampen the ends of your fingers a little.
- Dampen Thread End: Wet the thread tip by wetting your fingers and touching one end of the thread.
- Thread with Eye Needle: Guide the moistened thread easily through the eye of the needle.
This technique provides better thread tension and avoids missing a stitch.
Inserting the Bobbin
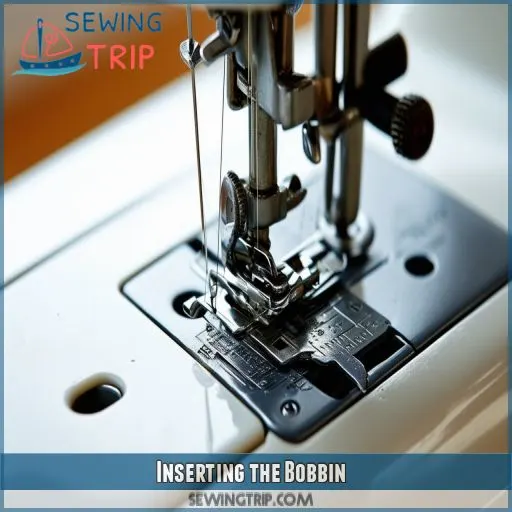
To insert the bobbin, first open the bobbin case compartment, making sure it’s ready for the bobbin. Place the bobbin inside the compartment with the thread going in the correct direction before closing it securely
Opening Bobbin Case Compartment
First, locate the bobbin case compartment—usually under the area where the needle is on your machine. Open the bobbin case latch so that the compartment opens.
Be sure to keep it oriented in the correct position while you’re placing the bobbin so that you thread correctly and don’t have too many problems. Check out any fluff or dirt while at it; a little bobbin case maintenance goes a long way toward excellent stitching
Placing Bobbin in Compartment
To fit the bobbin in the compartment:
- Slide the bobbin case compartment open.
- Insert the bobbin, ensuring the thread goes in the right direction for your bobbin type or size.
- Place the bobbin, ensuring its tension is just suitable for smooth stitching.
Proper storage of the bobbin and its placement relate to good stitch quality.
Bringing Up Bobbin Thread
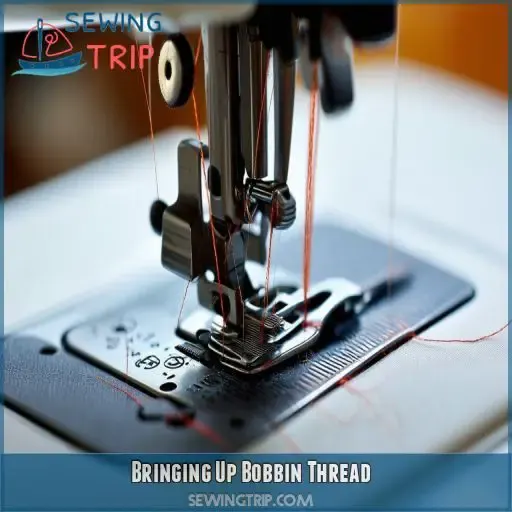
To raise the bobbin thread, turn the handwheel toward you as one controls the upper thread. When the bobbin thread pops out, then pull both threads such that a few inches are exposed.
Turning Handwheel
Slowly turn the handwheel toward you. This action raises the needle with the installed bobbin thread.
Note how, as the needle goes up and down, the direction of the bobbin thread enables it to form a loop.
Smoothly rotate the handwheel to prevent jamming the threads.
If there’s a problem with tension, refer to the troubleshooting guide that will help resolve issues related to adjusting tension
Pulling Out Thread
As you turn the handwheel toward you, the needle will dive down and catch the bobbin thread. Keep turning until you see the loop of thread start to pop out.
Then, use a small hook or even your fingers to pull the loop up, giving you only a few inches of thread.
No more threading problems and tension difficulty—smoother stitching
Joining Threads
To join threads, very gently pull both your upper and bobbin threads toward the back of the machine, with them running freely. Lower the presser foot to hold your fabric in place while sewing.
Pulling Both Threads Back
Now, pull both threads back after bringing up the bobbin thread. This will ensure that threads are available and also appropriately aligned.
Take note of the type of thread used, particularly the color, to obtain a uniformity of appearance.
Using the right size bobbin and using the bobbin winder correctly avoids tangling.
I’m almost ready now to sew this—just check that the threads are correctly aligned
Ensuring Threads Run Freely
Allow the top and bobbin threads to run freely with a slight pull. This will avoid thread breakage and keep the thread tension marker in check.
Check your choice of thread and what kind of fabric it goes well with.
If necessary, lubricate the thread path to avoid tangling.
Proper threading impacts directly on the smoothness and quality of your stitches
Lowering Foot to Stabilize Fabric
Lower the presser foot to stabilize your fabric. This ensures the material doesn’t shift while sewing. Remember:
-Adjust foot pressure according to the thickness of the fabric.
Know the various foot types for different stitches.
Apply these presser foot tips for smooth results.
- Regular presser foot maintenance prevents issues.
Now, you’re ready to join the threads and start sewing!
Troubleshooting
If you’re having trouble threading your sewing machine, start by checking your manual for specific instructions, as each model can be different. Additionally, using extra light or magnifying glasses can help you see tiny details, and regularly cleaning your machine will prevent common issues
Checking Sewing Machine Manual
Always refer to your sewing machine manual for solutions. It could be in the original packaging or online if available. Ensure that the language is one you understand, and from time to time, always look out for updates or other troubleshooting ideas.
Most of the time, this troubleshooting section will get you back on track quickly by following the manual. Prevention will always be better than a cure!
Using Extra Light or Magnifying Glasses
To avoid the occurrence, for instance, of thread breakage, tensioning, or problems related to the size of needles and bobbins, work with extra light or a magnifying lens to see more clearly that the thread follows the right path. This precaution saves one much hassle in working, especially when using fine threads and intricate patterns.
Cleaning Sewing Machine Regularly
Regular cleaning is essential for the life of your sewing machine. Dusting the bobbin case regularly will keep it in good condition, as well as lubricating any moving parts after cleaning and tension springs that collect much fluff.
Keeping up with needle maintenance by replacing them periodically ensures that all runs well. Besides these, replace the worn parts and try to find the tension adjustment to perfection.
This way, you can be assured that your machine will work like a well-oiled engine
Importance of Proper Threading
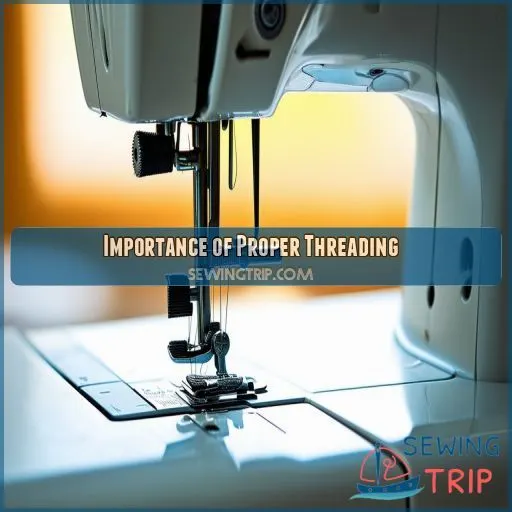
Proper threading of your sewing machine will ensure that the one you have works at its best and prevents many of the problems associated with thread jamming and irregular stitch quality. This also prevents fabric bunching and tiny stitches so that you can work out professional projects.
Ensuring Optimal Machine Performance
Proper threading makes your sewing machine run very smoothly. Ensure all tension is aligned correctly according to fabric type to have continual quality stitches.
Use the correct needle for your fabric to avoid skips and breaks. Engage the tension disks correctly to keep them from bunching.
Keeping these things under control guarantees that your machine works perfectly, hence making it very easy for you to undertake your sewing projects
Preventing Thread Problems
Be sure to avoid thread issues by keeping the proper tension and using the correct needle size, type of bobbin, or thread quality for your particular fabric.
If threaded incorrectly, it may cause tangling, breakage, or skipping stitches. Ensure the thread glides effortlessly through the guides and over or under-tension discs.
Keeping these few factors in mind will shun frustration and ensure smoother sewing sessions
Enhancing Stitch Quality
First and foremost, to ensure good stitch quality, thread correctly.
By using the right fabric type, adjust the thread tension to suit. This will make the stitching process smooth with the correct needle size.
Check settings for stitches; they must all be consistent.
Correctly wind and set the bobbin in place since it affects the bobbin tension that impacts your stitches.
Your threading has to be often checked to avoid any hiccups in this process to deliver professional results at every stitch
Parts of the Machine
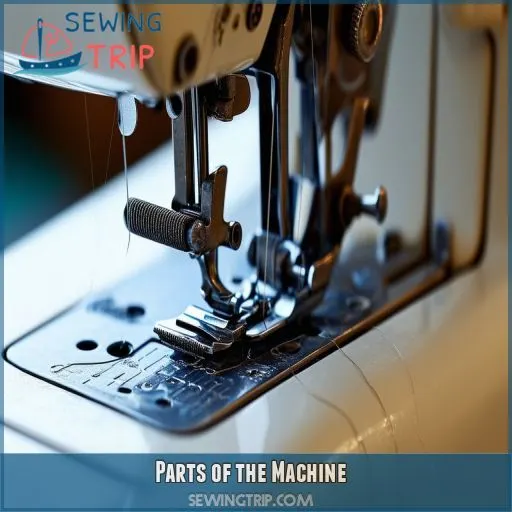
Let us review a few parts of your sewing machine to help you thread it. Besides the hand wheel, power switch, spool pin, and bobbin winder spindle, each part contributes towards the successful threading of your sewing machine so that it will run with ease.
Hand Wheel
The handwheel is crucial in giving one manual control over the up-and-down movements of the needle.
It makes very accurate stitching starts and stops possible.
Most of the time, it will be tangibly made for an easy grip and ergonomically designed to hold well under confined spaces.
Available in several varying sizes, this type ensures better handling with attached accessories such as handwheel covers for comfort and protection while one is using it
Power Switch
First, locate the on/off switch to power your sewing machine.
Then plug your power cord into an electrical outlet, and then plug in the foot pedal through which you’ll control the speed of the machine.
This holds everything in place—the bobbin compartment and bobbin case are really entirely secure—and also be sure that the spool stopper is in place
Spool Pin
Your spool pin holds your thread spool in place. Be sure to pick the correct size spool for the type of pin used. Place your spool onto the pin, making sure it’s secure. Proper pin placement will ensure smoothness in the flow of your thread; you won’t experience any hiccups such as snagging and tangling.
Bobbin Winder Spindle
The bobbin winder spindle is where you’ll wind the bobbin thread. Simply place an empty bobbin on the spindle and guide the thread from the spool through the bobbin winder thread guide. Start winding.
You can control the bobbin winder speed using the bobbin winder knob.
Once the bobbin is full, remove it. You’re ready to insert it into the machine
Tips for Threading
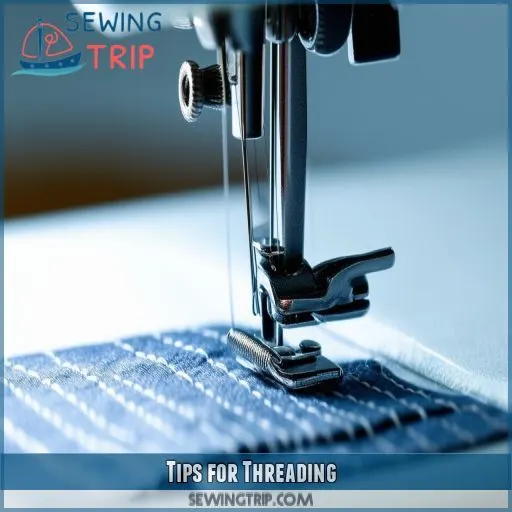
Having understood the main parts of your sewing machine, it’s time to master some handy threading tips that can make your sewing experience smoother and more efficient. Here’s a quick guide for hassle-free threading:
- Mind Your Thread Tension: Ensuring your thread is taut but not overly tight helps in achieving perfect stitches.
- Efficient Bobbin Winding: Wind your bobbin evenly and tightly; a loose wind can cause tangling.
- Choose the Right Needle and Thread: Selecting the appropriate needle size and thread type for your fabric enhances stitch quality and prevents skips
Frequently Asked Questions (FAQs)
How do you thread a sewing machine step by step?
Place the spool on the spool pin, guide the thread through the guides and tension discs, loop it around the take-up lever, thread the needle, load the bobbin, and finally, pull up the bobbin thread
How do you thread a bobbin thread?
Place the thread on the spool pin, and guide it through the thread guide and tension disks. Wind the thread onto the bobbin using the bobbin winder. Trim excess thread, remove the bobbin, and insert it
How do you tie a thread on a sewing machine?
To tie a thread on a sewing machine, thread the needle, pull both the top and bobbin threads to the back of the machine, and hold them under the presser foot to prevent tangling
How do you thread a sewing machine needle easily?
To thread a sewing machine needle easily, moisten the thread end for stiffness, trim it with sharp scissors for a clean cut, and use a needle threader or good light to guide the thread through the needle’s eye
Do you use the same bobbin thread for machine embroidery?
Just like when a knight needs the right armor, use embroidery bobbin thread for machine embroidery. It’s usually finer and designed for smoother stitches, ensuring your designs come out flawless and your machine works efficiently
How do you thread the sewing machine?
Start by placing the thread on the spool pin. Guide it through thread guides and tension discs. Loop it around the take-up lever, then thread it through the needle’s eye. Finally, load and prepare the bobbin
Can you use Serger thread in an embroidery machine?
In a jiffy, yes, you can use serger thread in an embroidery machine. However, it’s not ideal due to its thinner, weaker nature, potentially affecting stitch quality. Stick to embroidery-specific thread for best results
Can you use glazed thread on a sewing machine?
You can use glazed thread on a sewing machine, but it’s best for heavy fabrics due to its strength and resistance to tangling. Just remember to adjust the machine tension and have an appropriate needle size to secure smooth operation.
How do I select the correct needle size?
Select the correct needle size based on your fabric and thread. Use a smaller needle (size 60/8 to 70/10) for lightweight fabrics, medium (size 80/12) for medium fabrics, and larger (size 90/14 to 110/18) for heavy fabrics
How does fabric type affect threading?
This also goes in line with the type of fabric, as proper choices of needles are needed with corresponding thread tensions. Lighter fabrics need finer needles and light threads, while heavier fabrics require sturdier needles and strong threads to avoid damage and have a smooth run.
What thread types are best for beginners?
For beginners, polyester thread is best. It’s strong, versatile, and works with most fabrics. Cotton thread is also good for natural fabrics but less durable. Polyester blends are a safe and forgiving choice
How to adjust stitch length and width appropriately?
To adjust stitch length, turn the stitch length dial, typically found on the machine’s front. For width, use the width dial or lever. Experiment on scrap fabric until you achieve the desired stitch dimensions
What tools help with threading difficulties?
Use tools like needle threaders, magnifying glasses, and proper lighting to overcome threading difficulties. Threading gadgets simplify the process, while bright lighting and magnifiers help you see clearly, ensuring you’re threading accurately
Conclusion
You have just conquered the Rubik’s cube of sewing machines! Armed with our guide, you can confidently field everyone’s question, "How do you thread a sewing machine?"
Setup of bobbin to joining threads; it’s all done so you’re assured of smooth sewing. Remember to refer to the troubleshooting and tips sections should you need them.
Proper threading is essential for optimal performance, so follow these steps every time to avoid frustration in your sewing. Happy stitching!

