This site is supported by our readers. We may earn a commission, at no cost to you, if you purchase through links.
 You know your favorite jeans fit perfectly six months ago, but now the waistband’s uncomfortably snug. Frustrating, right? Nearly 80% of us have experienced ill-fitting clothes due to fluctuating weights.
But you can effortlessly adjust waistbands and cuffs in seconds with dynamic elastic. Mastering how to cut elastic for waistbands lets you reinvent garments, creating a flawlessly tailored fit. Follow a few simple steps like measuring your waist and determining stretch, then let elastic work its liberating magic.
With the power to make any pattern accommodate your shape, elastic grants you unlimited wardrobe freedom. Ditch those jeans that are uncomfortably tight or baggy and customize a perfect fit by learning how long to cut elastic for waist.
You’ll unlock mastery over ready-to-wear clothing and gain total control of your style.
Table Of Contents
- Key Takeaways
- Measuring for Elastic Length
- Cutting Elastic Length
- Calculating Yardage
- Elastic Tips
- Begin With Easy Pattern Changes
- Keep the Fit Comfy
- Finish Like a Pro
- The Easiest Way to Measure Elasticity
- Elastic Waistband Size Chart
- Rule of Thumb for Measuring Elastic
- Frequently Asked Questions (FAQs)
- Conclusion
Key Takeaways
- Measure waist at the fullest part of the hips and compare it to the waistline.
- Cut the elastic 1-2 inches shorter than the waist for a comfortable fit.
- Allow for 10-25% stretch; use 10% for a firm fit and 25% for added comfort.
- Measure the unstretched length first, and then perform a stretch test to determine the percentage.
Measuring for Elastic Length
Measuring and cutting elastic correctly ensures a comfortable, custom fit. Start by wrapping unstretched elastic around your waist or wrist and marking where the ends meet for the needed length. For waistbands, measure your fullest hip area and compare that to your waistline, using the most comfortable measurement.
For wristbands, measure the circumference then subtract 1-2 inches for a snug fit or add for a looser one.
Waist Measurement
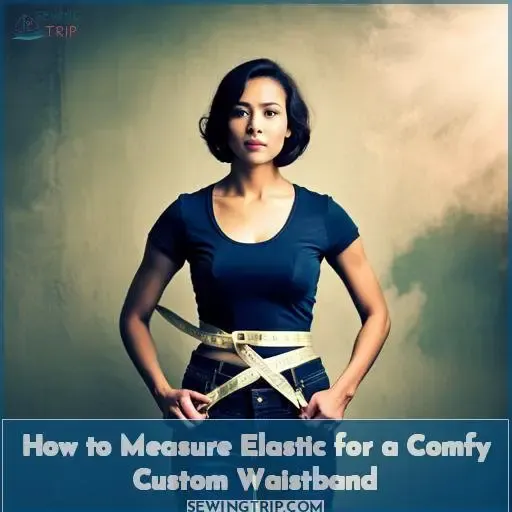
Pull that tape snug around your midsection, hon. We’ll make this skirt fit just right. Measure the widest part of your hips to get the perfectly relaxed waist size. Add a smidge if you want breathing room.
Snug is better to avoid sagging hems. Don’t fret the inches, sugar. Custom fit celebrates your shape.
Wrist Measurement
You’ll first lightly wrap unstretched elastic around your wrist to mark where the ends meet, then measure between the marks for the length you need.
- Measure wrist where the elastic will sit
- Subtract 1-2 inches for a snug fit
- Add inches for a looser, more comfortable fit
Adjust the length as needed for your comfort and style. The key is finding the perfect fit for you.
Leg Hole Measurement
Hike up those trousers and loop a measuring tape around the fullest part of your child’s thigh, then add a couple of inches for wiggle room when cutting elastic for those leg holes. Simply slide that tape up under the leg and get a snug, not tight, fit around those chunky thighs.
Then give about 2 inches more length so those leg holes stretch over feet without pinching. Folding over the fabric edges conceals rough seams and reinforces those holes. A nice wide casing finishes it off while allowing the elastic to slide and stretch.
Cutting Elastic Length
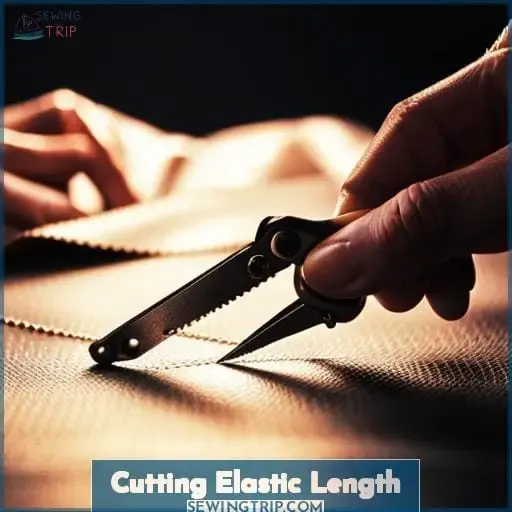
When cutting elastic for the waist, carefully consider comfort and the desired fit. You’ll want to cut the elastic 1-2 inches shorter than the waist measurement – allowing for more shortening with stretchier elastic, and less with less stretch.
Comfort and Fitted Look
Chomp chomp, your waistline’s gonna love this trick.
Cut elastic 1-2 inches shorter than your waist measurement for a comfy fit. Go just 1/2 inch shorter if you want a snug look.
- Measure twice to get the perfect custom fit.
- Play with overlap and see how it changes the fit.
- Try different fabrics—the stretch impacts sizing.
- Fold at the mid-point to keep stitches straight.
- When in doubt, cut longer—you can always trim more.
Getting the elastic sizing right takes some experimenting. But once you find the perfect fit for your pattern and fabric, your waistline will thank you!
Elastic Stretchiness
Stretchier elastic requires far less length reduction, darling. When checking stretchiness, gauge the stretch range to find the optimal tension without exceeding stretch limits for your project. Adjust the cutting length based on these stretch patterns. More give means less reduction needed when sewing and cutting elastic.
Attaching Elastic to Fabric
After folding the casing, pin the elastic to the inside and zigzag stitch it in place, backstitching at both ends for strength.
To get that professional finish, be sure to:
- Use a polyester thread in a color matching your fabric.
- Set your machine to a medium zigzag stitch, like 2.5mm long and 0.5mm wide.
- Stitch slowly, stretching the elastic slightly as you sew.
- Check your tension to avoid puckers. Loosen if needed.
With practice, you’ll get the knack for attaching elastic so it lies flat and feels comfy.
Calculating Yardage
Let’s dive into calculating the elastic length you need for a comfortable and attractive waistline.
To determine the yardage, first measure the circumference of your waist where you want the elastic casing to sit.
Next, measure the width of your elastic flat and note the stretch percentage listed by the manufacturer.
With the casing length and elastic specifics in hand, multiply the waistline length by the flat width of the elastic.
You’ll want to purchase a bit extra to allow for gathering, overlap, and testing as you perfect the waistline fit.
Elastic Width and Casing Length
You’ll have to take the elastic’s width into account when figuring the yardage for the casing length around your waist. To determine the elastic length needed, measure your waist and then subtract 1-2 inches for a comfortable fit.
Next, measure the width of your chosen elastic and multiply it by the length needed. This will give you the total yardage to cut for the casing that will contain the elastic. Consider the stretch of the elastic and adjust the yardage up or down accordingly.
Before cutting the final fabric, it is recommended to test on a muslin first to check the shirring and stretch. Make any necessary adjustments to the casing and overlap to achieve the perfect fit.
Elastic Stretch Percentage and Usage
Consider elastic’s stretch percentage and usage when calculating yardage. Measure the unstretched length, then conduct stretch tests on samples to determine the stretch percentage. Allow for a 15-25% stretch for comfort and a 10% stretch for a firm fit. Measure the stretched length required and calculate the yardage based on the maximum stretch percentage to account for some relaxation.
Keep in mind that calculations can become more complex when dealing with elastic that has varying stretch properties.
Elastic Tips
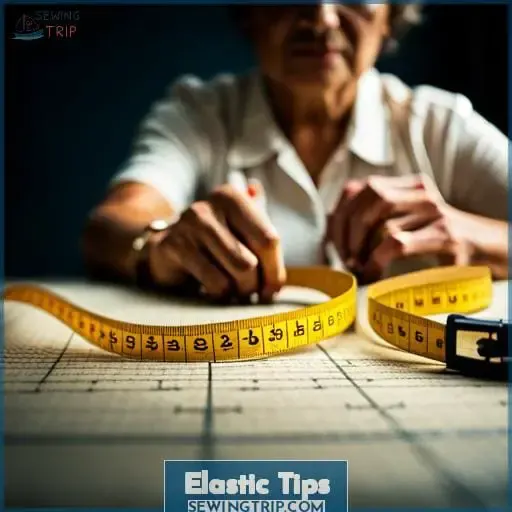
Before cutting elastic for a waistband, test it out first on a muslin mockup to perfect the fit. Mark the elastic at the midpoint and quadrants to keep your stitching straight on the final garment. Fold the elastic at the halfway point as a guide, and use 1/2- to 1-inch wide elastic to avoid bulk when stitching.
Testing on Muslin
There you go, test that elastic length right on the muslin first so you get the fit just right.
- Mark the muslin into quadrants to keep your stitching straight.
- Use a fabric marker to mark the overlap point.
- Fold the elastic at the halfway point for guidance.
- Pin the elastic to the muslin every few inches.
With some testing on a sample garment, you’ll have the elastic length perfect before cutting into that fashion fabric.
Marking Elastic Quadrants
Mark equal sections to ensure your stitches are neat. Divide your elastic into four equal parts to maintain symmetry when stitching it to your garment. Use different markers to color code each quarter of the elastic. This will help you align the elastic as you stitch, preventing twisting or bunching on one side.
Follow the color guides to sew straight and achieve a comfortable and flattering fit.
Folding Elastic for Stitching
You’ll guide your stitching by folding the elastic at its midpoint.
- Fold the elastic in half lengthwise, matching the cut ends.
- Crease the fold with your fingers to create a guide.
- Position the elastic under the presser foot with the fold aligned to the needle.
- Stitch from one end to the other, pivoting at the fold.
When starting out, briefly review key techniques for quality results. Mastering elastic insertion promotes creativity in activewear and beyond.
Recommended Elastic Width
Using bulkier elastic can compromise comfort, so opt for 1/2 to 1-inch widths. When choosing elastic width for waists, consider these factors:
| Person | Recommended Width |
|---|---|
| Child | 1/2 inch |
| Teen | 1/2 – 3/4 inch |
| Adult female | 3/4 – 1 inch |
| Adult male | 1 inch |
Narrower elastic allows for adjustment and customized sizing. Wider bands sag over time.
Begin With Easy Pattern Changes
Get crafty by tweaking that first pattern. Keep things simple as you gather the standard length for attaching elastic. Stitch elastic to a casing to allow some wiggle room for error. Know the types of elastic used for waists versus wrists and their average lengths.
Prewash fabric before calculating exact sizing. Tug and measure the elastic’s stretch percentage. Mark halfway points and quadrants on the elastic as guiding lines for straight stitching. Don’t panic if the ends overlap a bit or leave a gap. Adjust on the next try with a fresh cut of elastic.
Keep the Fit Comfy
Measure your hips snugly for a super smooth fit when sewing elastic in your clothes! A snug, yet comfy fit makes all the difference in elastic waistbands. Cut your elastic an inch or two shorter than your hip measurement to keep it hugging your curves without pinching.
Elastic stretches generously, so err on the short side. You can always let it out if needed.
Aim for a close fit that still allows you to sit and bend with ease. Quality elastic will stretch to accommodate your movements, then bounce back into shape. Don’t skimp here! Choose the good stuff and you’ll be comfortable all day long. The right length and elastic give a flattering silhouette with zero fuss.
Finish Like a Pro
When adding elastic to a waistband, cut the elastic 1-2 inches shorter than your waist measurement for a comfortable, tailored fit. This prevents bulky seams and leaves some stretch for a flexible, lightweight finish.
With the right length and stretch, you’ll achieve the perfect subtly snug silhouette.
Eliminating Seam Bulk
Fold over the extra fabric when attaching elastic to reduce bulk. Pinch the seam allowances together after stitching the elastic in place. Topstitch close to the elastic on the right side to enclose both raw edges. This prevents the typical double-layer bulk inside waistbands and cuffs.
Your garments will have a professional finish without uncomfortable rolls or bumps on the outside.
Lightweight Finish
Figure out your perfect fit. Then opt for a lightweight, minimal bulk finish inside the waistband. Machine zigzag stitch edges or use binding tape to encase them. This prevents fraying while maintaining comfort.
Softly Tailored Look
For your sewn elastic waist, try it around the hips for a comfortable fit. Let the fabric gently skim curves for a tailored yet easygoing style. Match the elastic stretch to the fabric weight. Sew wide bands flat with slight ease.
Stitch a zigzag over the edge. For modest shaping without bulk, opt for soft knits and lightweight elastics in soft hues.
The Easiest Way to Measure Elasticity
You’d think measuring elasticity is easy, but determining the perfect length takes some trial and error. The key is understanding the science behind how different elastics stretch and recover. Natural rubbers offer great elasticity but less durability, while synthetic elastics like spandex maintain their stretch over time.
Measure the un-stretched length first, then carefully stretch and measure again, noting the percentage of increased length. Allow slack for comfort and recovery. Too little, and it will dig in when worn. Too much, and the garment will sag.
For consistent results, invest in a quality tape measure and use the same stretch tension each time. With experience, you’ll learn how much to reduce the length for the perfect fit that satisfies both wearer and designer.
The ideal balance of stretch and recovery for flawless results and happy customers.
Elastic Waistband Size Chart
Measuring yourself for the right elastic waistband length is important for comfort and fit.
- Measure your natural waistline, the narrowest part of your torso.
- For a snug fit, cut the elastic 1-2 inches shorter than the waist size.
- For a comfortable fit, cut 2 inches shorter. For a fitted look, cut just 1/2 inch shorter.
- Highly stretchy elastic needs less length reduction. Less stretchy elastic needs more.
- Mark and pin the elastic into quarters to keep the stretch equal when sewing it to the garment.
With some simple measuring, planning, and testing, you’ll get the perfect custom elastic waistband every time. Knowing the relationship between your body’s dimensions and the stretch characteristics of the elastic is key.
A little trial and error will help refine what reduction amounts work best for your next elastic waistband project.
Rule of Thumb for Measuring Elastic
Typically, your waistline length, minus 1-2 inches, works well for a comfortable elastic fit around the hips. When measuring elastic for a waistband, start by wrapping unstretched elastic around your natural waistline where it meets your body comfortably.
Mark where the ends meet. Then, measure between the marks to determine the waist length. Next, reduce that length by 1-2 inches when cutting your elastic strip. This allows for the perfect stretch when you attach it to the garment.
The amount you shorten depends on the stretchiness and recovery of the elastic used. Very stretchy elastic with good memory can get by with just 1 inch less. For less giving types, cut 1 1/2 – 2 inches shorter than your waist measurement for the best fit.
The right length means your waistband elastic stretches just enough to slide over hips without digging in or sagging. With some trial and error, you’ll find the ideal reduction that suits your figure and the quality of the elastic.
Frequently Asked Questions (FAQs)
How do I attach elastic to fabric that frays easily?
Elastic can be tricky with delicate fabrics! Start by using a zigzag stitch and lightweight thread to allow for stretch. Then, fold over the raw edges twice and topstitch the elastic on. This will encase frays and create a clean finish for tricky waistbands and cuffs.
My elastic is puckering when I sew it, what am I doing wrong?
When sewing elastic, tension causes puckering. Keep the fabric flat, pins perpendicular. Use a zigzag stitch to allow stretch. Backstitch ends securely. Let the feed dogs move layers evenly.
I don’t have a sewing machine, can I hand sew elastic into a waistband?
Yes, you can certainly hand sew elastic into a waistband! Carefully pin the elastic to the wrong side of the fabric, distributing fullness evenly. Use a sturdy needle and thread. Keep stitches small and neat, backstitching at each end.
Go slowly and check the fit frequently. With patience, hand sewing allows precision for a custom, quality finish.
How long does elastic typically last before needing to be replaced?
The elastic in your homemade waistband can last 1-2 years with regular wear before it starts to lose its stretch. To maximize elastic life, hand wash gently and line dry your garment. With proper care, you’ll get plenty of use from your hand-sewn waistband.
What’s the best way to care for elastic in clothing over time?
You should hand wash garments with elastic gently using mild soap, then air dry flat or line dry. Avoid high heat from dryers or irons as it can damage the fibers over time. Store folded in breathable fabric like cotton to prevent overstretching.
Conclusion
So in summary, measuring, cutting, and attaching elastic for a comfortable custom waistband is easy when you follow some key guidelines. Start by circling that waist and jotting down where fabric joins to get your needed span.
Snip lengths a smidge shorter than the circled reading, keeping stretch and fit in mind’s eye. Mark quarters on the elastic to keep straight stitches and fold at the center for a guided pathway.
For our focused keyword on cutting elastic length, reduce 1-2 inches and tailor it to the elastic’s inherent bend. With the right measurements, materials, and techniques, sewing an elastic waistband feels fabulous and fits just right.


