This site is supported by our readers. We may earn a commission, at no cost to you, if you purchase through links.
Awl sewing demands a masterful hand and keen eye.
First, select an awl designed for your project’s material thickness and stitch density. Sharpen its point, making sure it has a comfortable grip.
Carefully prepare the surface – treat leather, mark evenly-spaced holes, then cautiously pierce each one.
With your thread loaded, steady the awl and deftly pierce through, maintaining proper tension.
Alternate stitches in a saddle pattern, enlarging holes as needed for a smooth, consistent finish.
Patience and precision are paramount when plying this age-old craft – persevere, and elevated stitching prowess awaits.
Table Of Contents
Key Takeaways
- Select the appropriate awl based on the material’s thickness and your project’s requirements.
- Sharpen the awl’s point and ensure it has a comfortable grip.
- Prepare the material by treating leather and marking evenly-spaced holes, then carefully pierce each one.
- Maintain proper tension and alternate stitches in a saddle stitch pattern for a smooth, consistent finish.
How to Awl Sewing?
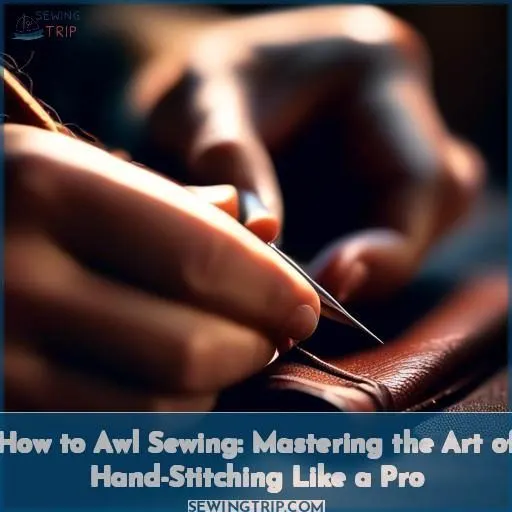
To awl sew, you puncture materials with a stitching awl and use it to manually create lock stitches, similar to a sewing machine. This technique is essential for sewing heavy materials like leather or canvas, where precision and durability are key.
Understanding the Sewing Awl
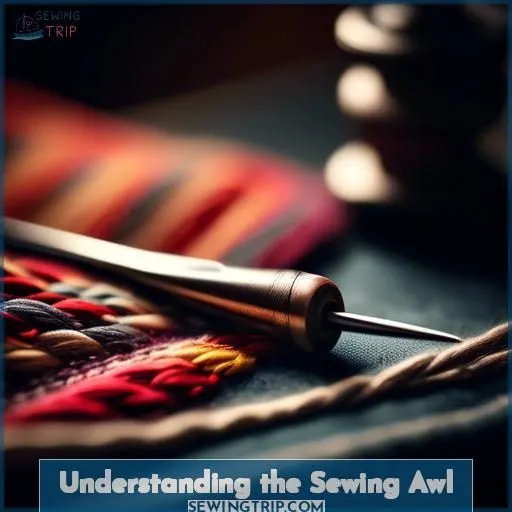
The sewing awl is an essential tool for anyone looking to hand-stitch leather or other materials. Its purpose is to mark or punch holes in the material, preparing it for stitching. To use an awl effectively, you need to select the appropriate one based on the material’s thickness and your project’s requirements. Awl preparation involves sharpening the point and making sure the handle is comfortable to grip.
Saddle stitching, a common technique for leather and other materials, is typically done with a stitching awl. The awl has two needles joined at the top by a metal shaft, allowing for two holes to be made simultaneously with perfect spacing for even stitching.
Preparing the leather is important for successful stitching. Thin leather is ideal for hand sewing, while thicker skins may require an industrial sewing machine. When sewing by hand, keep the smooth sides facing out and the rough sides together to make sure the stitching holes align properly.
Using an awl correctly can determine how easy it will be to sew the material and how neat the final result will appear. Proper use of the awl, overstitch wheel, ruler, leather punch, and mallet will result in clean, uniform holes that are easy to stitch through and look professional.
Remember to use sharp needles for best results, hold the thread taut to prevent loose stitches, and practice on scrap fabric before starting your project. Protect your hands with thimbles or finger protectors, and store your awl safely with the needle removed.
For beginners, online forums and downloadable step-by-step guides can provide assistance and guidance. With practice and patience, mastering the art of hand-stitching with a sewing awl is within reach.
Choosing the Right Awl for Your Project
Selecting the appropriate awl is essential for successful saddle stitching. The awl’s size, shape, and material should be customized to the thickness and type of leather or fabric you’re working with, ensuring accurate hole punching and easy thread passage.
Choosing the Right Awl
Choosing the right awl is like picking the perfect dance partner for the saddle stitch tango. Consider these essentials:
- Awl Types: Match the awl to your project’s rhythm.
- Awl Sizes: Small for precision, large for a bolder step.
- Awl Materials: Durability meets style in the handle.
- Awl Uses: Versatile moves from sewing to piercing, always ready for an encore.
Awl Preparation
To ready your awl for saddle stitching, weigh the handle grip for comfort and control.
Guarantee needle stability with a tight fit in the awl. Adjust thread tension for uniform puncture depth.
Sharpen the needle regularly. Puncture depth is vital for consistent stitching.
Pre-load the thread in the handle for quick setup. Store two needles for convenience.
Watch a quick video for setup instructions.
Saddle Stitching Techniques
To master the art of saddle stitching, it’s essential to comprehend the various techniques and tools involved. Saddle stitching is a hand-sewing method commonly used in bookbinding, saddle and bridle making, leathercraft, and shoemaking. It’s a centuries-old technique that uses two threads in alternating running stitches through a single line of holes. The holes may be created by the sewing needles themselves in lighter materials or by an awl, pricking iron, or stitching iron** in thicker materials, such as leather.
When it comes to thread selection, it’s imperative to choose a thread that’s appropriate for the material thickness and the specific application. For leatherworking and repair techniques, linen thread is often recommended due to its natural resilience and durability. Additionally, beeswax can be used to enhance the thread’s resistance to friction.
The awl is a versatile tool that plays a significant role in saddle stitching. It can be used to mark the stitching line, create stitching holes, and even enlarge the size of stitches for double stitching. When preparing the material, it’s essential to file down the handle to create a smooth surface for stitching. This may involve plugging holes with dowels, widening holes to the required size, sanding the surface flush, and rounding the edges.
To install the needle, mark the center of the handle with the awl, drill a hole for the needle base, and drill holes along the handle’s axis. Once the needle is installed, it’s essential to maintain proper thread tension and hold the thread taut to prevent loose stitches.
When setting up the awl, it’s recommended to use a drill press for even holes, as it can be challenging to achieve consistent results with a Dremel and 1/16th drill bit. Additionally, a stitching pony can be used to create perfectly even stitches, but it may require more practice to master.
Preparing the Material
Preparing the material is a critical step in the saddle stitching process.
Start by preparing the thread, ensuring it’s the appropriate thickness for your project.
If you’re working with leather, consider conditioning it with beeswax to increase its flexibility.
For pre-punched holes, mark the holes with an awl and ensure they’re evenly spaced.
If you’re creating your own holes, use the awl cautiously and evenly to avoid damaging the material.
The foundation for a successful stitch lies in properly preparing the material.
Installing the Needle
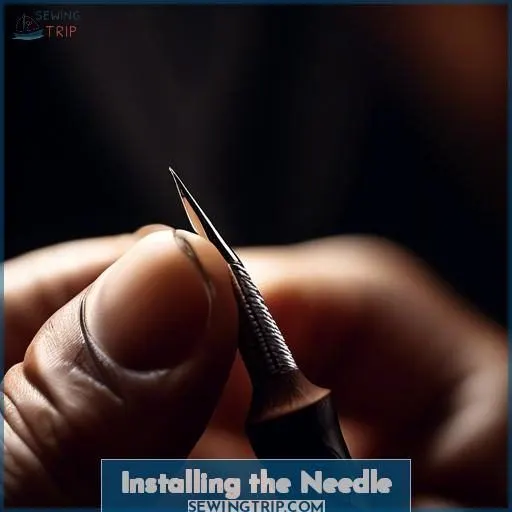
Before you start the saddle stitching process, you need to install the needle properly. Here’s a step-by-step guide on how to do it:
- Mark the Center: Use an awl to mark the center of the handle where the needle will be installed.
- Drill the Holes: Drill a hole for the needle base and another hole along the handle’s axis. Drill a third hole for the screw at the end of the handle.
- Cut the Thread: Cut the threads through the copper collar and wood.
- Glue the Nut: Glue a nut into the recess.
- Drill the Cap: Drill a hole through the cap, nut, and wood.
- Install the Screw: Install a screw to fixate the needle.
- Glue the Dowel: If you’re using a dowel in the handle, glue it into place.
- Sand the Surface: Sand the surface flush and round the edges.
- Wrap with Masking Tape: Wrap the handle with masking tape to protect it during the stitching process.
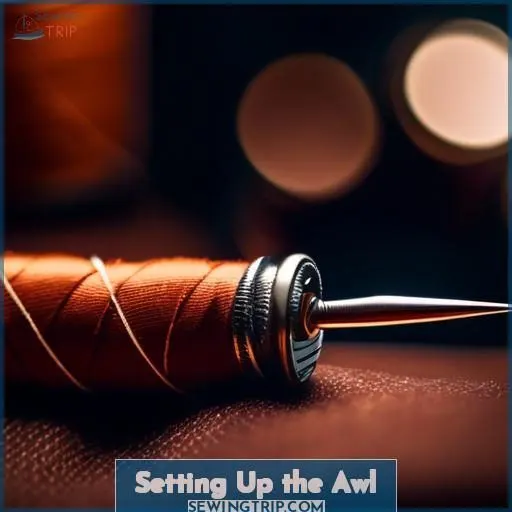
Setting Up the Awl
Preparing your sewing awl is a vital stage in the process of saddle stitching. Here’s a thorough guide on how to set up your awl:
- Bobbin Loading: Your Speedy Stitcher awl comes with a previously-loaded bobbin of thread in the handle. To add more thread, you can wind it over the previously-loaded thread or remove it and replace it.
- Chuck Lock Removal: To remove the chuck lock, simply pull it out.
- Needle Storage: The Speedy Stitcher awl comes with two needles stored under the chuck lock.
- Thread Selection: Select the appropriate thread for your project. Fine thread is suitable for thinner materials, while coarse thread is better for heavy fabrics.
- Feeding Channel: Pass the thread along the groove in the handle and through the hole in the ferrule.
- Threading the Needle: Run the thread along the groove on the post and into the eye of the needle.
- Chuck Lock Replacement: Screw the chuck lock back into place and pull the thread out to the length needed for your project.
Setting up your awl correctly is critical for successful saddle stitching. With these steps, you’ll be ready to start your project.
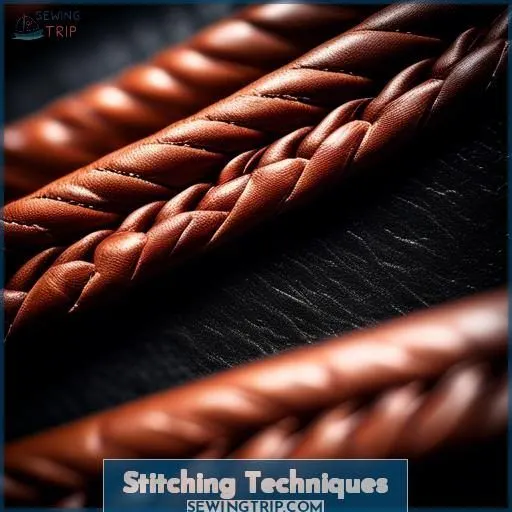
Stitching Techniques
Now that we’ve prepared our awl, it’s time to delve into the craft of stitching. Here are four essential considerations to bear in mind:
- Awl Sharpening: A keenly sharp awl is vital for precise stitches. Periodically sharpen your awl to guarantee it effortlessly penetrates the material.
- Thread Selection: Select a thread that aligns with the material you’re working on. For leather, choose a robust, enduring thread.
- Needle Storage: Maintain your needles organized and readily available. Store them in a secure location when idle.
- Material Preparation: Ensure your material is immaculate, devoid of moisture, and free from dirt. This will contribute to the sturdiness and professional appearance of your stitches.
Finishing the Stitch
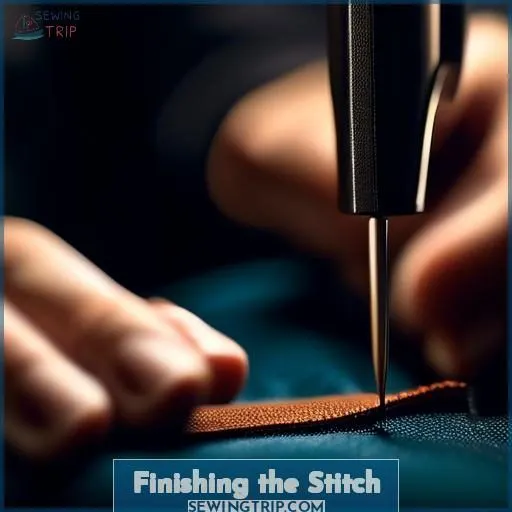
Completing the stitch in saddle stitching is a critical step to guarantee the durability and quality of the overall stitch. There are various methods to finish the stitch, and the choice relies on the particular requirements of your project.
One common finishing technique is to use a knot at the end of the stitch. This involves tying a knot in the center of the thread and pulling it into the first stitch hole. Another approach is to start a few holes from the end and backstitch a few holes, which creates a more consistent finish. The choice between these methods often depends on personal preference and the desired appearance of the finished stitch.
Thread tension and hole spacing are also significant factors to take into account when finishing the stitch. A consistent thread tension ensures that the stitches are evenly spaced and held securely in place. Adjusting the needle tension can help achieve the desired thread tension. Hole spacing should be consistent to maintain the overall appearance and durability of the stitch. In leatherworking, the hole spacing is often determined by the thickness of the leather, with larger items typically sewn at seven stitches per inch and smaller items at nine stitches per inch.
When working with thicker leather, it may be necessary to use a different finishing technique to achieve an attractive line of stitching on the rear side. In such cases, it’s crucial to ensure that the holes are carefully marked with the pricking iron and that the awl passes through the leather at the same angle and level to maintain consistent stitch length and angle.
Tips for Using the Sewing Awl
To truly master hand-stitching with a sewing awl, consider these tips:
- Thread Tension: Keep your thread taut to prevent loose stitches.
- Needle Sharpness: Use sharp needles for best results.
- Hole Spacing: Make sure hole spacing is even for a neat stitch.
- Stitch Length: Adjust stitch length for different materials and projects.
Conclusion
Mastered the art of awl sewing? With diligent practice, your stitches will become smoother, tighter, and more uniform.
Celebrate each incremental improvement as you hone this intricate craft.
Though arduous at first, the satisfaction of creating beautiful, durable work will motivate your journey to awl sewing prowess.
Persist through challenges – the payoff of stitching excellence awaits those who embrace patience and precision.

