This site is supported by our readers. We may earn a commission, at no cost to you, if you purchase through links.
 You’ll find sewing is easy to master with the right approach.
Start with simple projects using beginner-friendly fabrics like flannel or cotton.
Master basic stitches and machine operation, like threading and tension adjustment.
Understanding patterns is essential – decode markings and practice assembly for a perfect fit.
As you progress, experiment with luxurious fabrics like non-flimsy woven silks or warm wool blends.
Stay patient, enjoy the process, and your creations will effortlessly take shape.
Persist, and you’ll soon be constructing garments with elegance.
Table Of Contents
- Key Takeaways
- How Easy is Sewing?
- Start With Easy Projects
- Gather Your Supplies
- Choose the Right Fabric
- Learn How to Thread Your Sewing Machine
- Press Your Fabric
- Understand Sewing Patterns
- Learn Basic Stitches
- Practice Sewing Techniques
- Learn How to Use a Sewing Machine
- Learn How to Troubleshoot Common Sewing Issues
- Conclusion
Key Takeaways
- Starting with simple projects and beginner-friendly fabrics like flannel or cotton can make learning to sew more manageable and enjoyable.
- Understanding how to operate a sewing machine, including threading, tension adjustment, and basic stitches, is crucial for successful sewing.
- Mastering the use of patterns is essential for creating well-fitting garments, and practicing with different fabric types and sewing techniques will enhance skills.
- Patience and persistence in learning and practicing sewing will lead to the ability to work with more luxurious fabrics and create elegant, custom garments.
How Easy is Sewing?
Sewing can be easy to learn with the right guidance and practice.
The process involves using a needle and thread or a sewing machine to join two pieces of fabric together.
For beginners, starting with hand sewing** can be a good way to build skills before moving on to machine sewing.
There are many resources available to help new sewers, such as tutorials, classes, and online communities.
With patience and practice, sewing can be a rewarding and enjoyable hobby.
Start With Easy Projects
Embark on the sewing journey seamlessly by initiating with novice ventures.
Investigate sewing concepts tailored to your proficiency, such as sewing for beginners with uncomplicated fabric selections and accessible sewing endeavors.
Select patterns showcasing elementary stitches and uncomplicated methods.
Embrace the learning curve by experimenting with diverse fabric varieties and sewing patterns.
By mastering the fundamentals, you’ll be well on your way to crafting effortless creations.
Gather Your Supplies
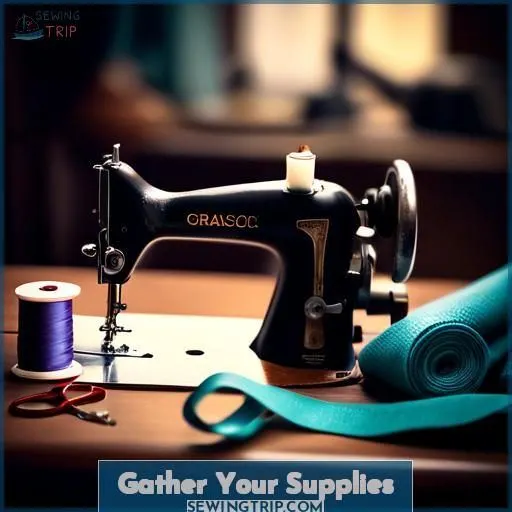
Gathering your sewing supplies is an essential part of starting your sewing journey. Here’s what you’ll need:
- Sewing Machine: Choose one based on your budget, features, and purpose.
- Fabric Scissors: For cutting fabric.
- Pins: To hold fabric pieces together.
- Ruler or Measuring Tape: For measuring fabric and patterns.
- Stitch Un-Picker: To remove stitches when necessary.
- Patterns: From big companies like Butterick, McCall’s, Simplicity, and Vogue, or independent designers like Anna Allen, Sew House Seven, and Wiksten.
- Fabric: Choose woven fabrics for beginners, such as linen or cotton.
- Thread: Matching the color of your fabric.
- Iron and Ironing Board: For pressing fabric.
- Fabric Glue: For attaching lightweight fabrics.
- Iron-On Hemming Tape: For quick hemming.
Remember to read through the entire pattern before starting, try on your garment as you go, and go slowly to enjoy the process. Happy sewing!
Choose the Right Fabric
When choosing fabric for your sewing projects, consider fabrics like flannel, non-flimsy woven silks, wool, or wool blends – their drape and structure make them beginner-friendly. The fabric’s color should also complement your project’s intended purpose, so take time to browse swatches and imagine how the hues will work with your design.
such as flannel
Selecting the appropriate fabric for your sewing endeavor is critical for attaining the sought-after outcomes. Flannel is a multifaceted fabric that can be employed for various sewing projects, including cloaks and hoods. Here are some guidelines on how to choose the perfect flannel fabric for your needs:
- Fabric Selection: Flannel is available in different materials, such as cotton, wool, or synthetic fibers. Select the one that best aligns with the project’s requirements. For instance, cotton flannel offers better breathability, while wool flannel provides exceptional warmth and insulation.
- Cloak Styles: Consider the style of your cloak. Flannel is suitable for creating a cozy and comfortable cloak, making it an excellent choice for cold weather conditions.
- Hood Design: If you’re designing a hood, flannel can be lined for enhanced comfort and drape. This will assist the hood in sitting well on your head and provide a snug fit.
- Embellishment Options: Flannel can be embellished with various techniques, such as embroidery or applique, to add a personal touch to your cloak.
- Sustainable Materials: Opt for sustainable materials like organic cotton or recycled flannel to minimize your environmental impact.
- Sewing Projects: Flannel is a popular choice for sewing projects, such as blankets, pillows, or burp cloths, due to its softness and warmth.
- Sewing Lessons: If you’re new to sewing with flannel, consider taking sewing lessons to learn the best techniques and practices for working with this fabric.
- How to Shorten Curtains with a Sewing Machine: Flannel can also be used for sewing projects like shortening curtains. Employ a walking foot and all-purpose thread to guarantee a smooth sewing process.
- Sewing Journal: Maintain a sewing journal to document your experiences and progress when working with flannel. This will assist you in enhancing your skills and recalling tips for future projects.
- Hem Curtains with a Sewing Machine: Hemming flannel curtains is a straightforward process that can be executed with a sewing machine. Use a needle size appropriate for the thickness of the fabric and change needles regularly to prevent dulling.
non-flimsy woven silks
Non-flimsy woven silks are perfect for creating elegant, lightweight garments. Choose fabrics with a width of 57-60 inches for drapery options. Consider lining materials for comfort and color coordination. Explore sewing fabric options, sewing techniques, and sewing tutorials for inspiration and motivation.
wool or wool blends
Wool or wool blends are excellent options for sewing endeavors. They offer warmth, durability, and a luxurious texture. Here are three reasons to contemplate using wool for your next sewing project:
- Wool weight: Wool exists in varying weights, making it appropriate for a spectrum of garments.
- Wool origins: Wool can be procured from environmentally conscious and ethical farms, guaranteeing eco-friendly production.
- Wool sustainability: Wool is biodegradable and can be reused, making it a sustainable option for sewing.
When working with wool, be sure to select the appropriate wool weight for your project and adhere to proper care instructions to guarantee the longevity of your garments.
drape
Selecting the most suitable fabric for your sewing venture is essential, particularly in relation to the fabric’s drape. Drape refers to the manner in which a fabric hangs naturally, and it can significantly affect the visual appeal and tactile qualities of your final creation. Here are some guidelines to assist you in choosing the ideal fabric for your project:
- Grasp the fabric’s drape: Different fabrics exhibit distinct draping characteristics. Certain fabrics, such as silk crepe de chine, satin, and chiffon, feature a high drape, implying they’re highly fluid and hang in a flowing, body-contouring manner. Conversely, fabrics like heavy cotton and linen, or silk taffeta and organza, have a low drape, meaning they’re more rigid and maintain their shape well.
- Consider the fabric’s weight: While drape and weight are interconnected, they aren’t synonymous. A lightweight fabric may not necessarily possess good drape, and a heavy fabric may not always exhibit low drape. However, generally speaking, heavier fabrics tend to be stiffer and have less drape, while lighter fabrics are more fluid and have more drape.
- Envision the fabric’s intended purpose: The nature of the project you’re undertaking can influence the type of fabric you select. For instance, if you’re creating a flowing evening gown, you may opt for a fabric with a high drape that conforms to the body and accommodates pleats and gathers well. On the other hand, if you’re making a structured garment, such as a winter coat or a pair of jeans, you may prefer a fabric with a low drape that falls away from the body and maintains its shape well.
- Consider the fabric’s style: The style of your garment can also influence the type of fabric you choose. For example, a fluid drape is ideal for less structured garments where the wearer defines the garment’s shape, such as wrap dresses or flowing dresses. A moderate drape is suitable for a wide range of projects, as it skims the body rather than adhering to every curve. A voluminous drape is ideal for special occasion dresses, as it often creates soft folds and pleats.
- Test the fabric’s drape: To gain an understanding of how a fabric will drape, simply drape it over a flat surface, like your arm or a table, and observe how it falls. This will provide you with an indication of how the fabric will behave when sewn into a garment.
color
In the domain of color, sewing is an art form that surpasses mere fabric selection. Engage with color theory, symbolism, harmony, and psychology to craft a wardrobe that reflects your individual style. By embracing simple living, ethical fashion, and sustainability, you’ll derive pleasure from the environmentally friendly process of creating exclusive, meaningful pieces.
Learn How to Thread Your Sewing Machine
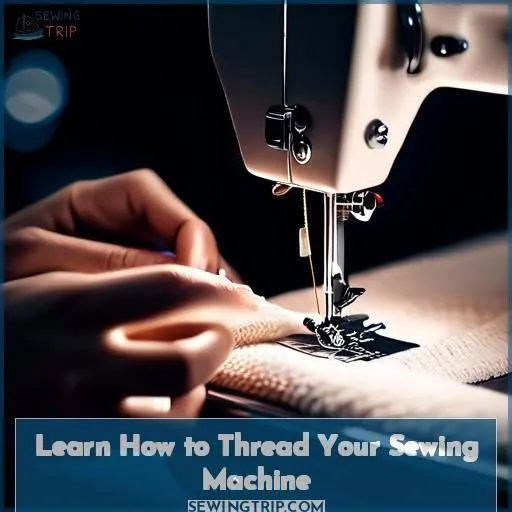
After selecting the appropriate fabric, it’s time to confront threading your sewing machine—a crucial phase in your sewing expedition. Conquering threading methods, tension calibrations, and needle choice can feel like gaining access to a hidden realm of sewing expertise.
- Threading your machine accurately establishes the groundwork for flawless stitches.
- Tension calibrations guarantee that your creations don’t gather or pucker inadvertently.
- Choosing the appropriate needle and bobbin winding can determine the success or failure of your project.
Welcome this phase; it’s where your sewing knowledge evolves into sewing mastery.
Press Your Fabric
Pressing is a crucial component of the sewing process and a skill that can dramatically enhance the quality of your creations. By pressing your fabric, you can guarantee that your seams are flat, your curves are smooth, and your garments have a professional appearance. In this section, we’ll delve into the art of pressing and provide you with some tips and tools to help you master this technique.
The first step in pressing is to select the appropriate iron settings. Different fabrics necessitate different temperatures and steam settings. For instance, nylon generally requires a low heat setting, while linen is typically set to high. It’s imperative to refer to your iron’s user manual or the fabric label for specific temperature and steam recommendations.
Several pressing tools can assist you in achieving professional outcomes. These include:
- Padded Tailor’s Ham: Perfect for pressing curves, darts, and p■ sleeves.
- Sleeve Roll: Useful for pressing sleeves and cuffs.
- Sleeve Board: Aids in pressing sleeves and other curved areas.
- Mini Iron: A smaller version of your regular iron, ideal for reaching into tight spaces.
- Clapper Board: Helps to establish the crease in your fabric by applying pressure.
Steam ironing can be especially beneficial when working with fabrics like cotton, which require moisture to loosen the polymer molecules. Steam can also assist in removing wrinkles and creases from your fabric.
When pressing your fabric, consider the type of fabric you’re working with. Different fabrics possess distinct properties, such as drape and color, which can influence how you press them. For example, rigid fabrics may not be suitable for cloaks, while lining the hood of a cloak can improve its comfort and drape.
A pressing board is an essential tool for sewing. It offers a flat, stable surface for pressing your fabric and helps to ensure that your seams are straight and your curves are smooth.
Pressing is an integral part of sewing perfection. By taking the time to press your fabric properly, you can enhance the overall quality of your garments and achieve a professional look.
Pressing isn’t merely about removing wrinkles; it’s also about showcasing your sewing artistry and craftsmanship. By paying attention to the details and taking the time to press your fabric correctly, you can create garments that aren’t only functional but also visually appealing.
Innovation and passion are at the heart of sewing. By mastering the art of pressing, you can continue to explore new techniques and express your creativity through your sewing projects.
In the next section, we’ll discuss interpreting sewing patterns.
Understand Sewing Patterns
After pressing your fabric, it’s time to delve into the core of sewing: deciphering patterns. Here’s how to master pattern comprehension:
- Decode pattern markings—they’re your guide to impeccable creations.
- Welcome pattern modifications; they’re not hindrances but paths to a tailored fit.
- Plan your fabric arrangement like a chess prodigy devising a triumphant tactic.
Pattern assembly is a puzzle where each component is crucial. With a touch of practice, you’ll traverse patterns effortlessly like a veteran couturier.
Learn Basic Stitches
Now that you’ve understood sewing patterns, it’s time to master the art of stitching.
Start with the running stitch, a simple and versatile stitch used for gathering and basting.
Next, learn the backstitch, a strong stitch used for seams and hems.
Don’t forget about the hand stitch, a classic technique for finishing and mending.
For machine stitches, practice the zigzag stitch for decorative work and the straight stitch for basic seams.
Practice Sewing Techniques
Now that you’ve mastered the basics, it’s time to practice sewing techniques.
Start with fabric selection, choosing a variety of materials like flannel, non-flimsy woven silks, and wool or wool blends.
Practice frequently to improve your skills, focusing on seam allowances and pattern alterations.
Learn fabric manipulation, such as gathering or pleating, and try different sewing techniques like hemming.
Don’t forget to experiment with curtains and shorten garments to fit your style.
The more you practice, the better you’ll become.
Learn How to Use a Sewing Machine
Step 5: Learn How to Use a Sewing Machine
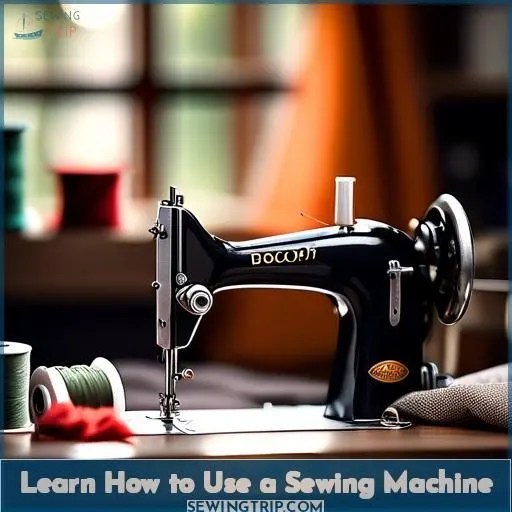
To master sewing, you must first understand how to use your sewing machine. Here are three key points to get you started:
- Sewing Terminology: Familiarize yourself with sewing terminology such as tension adjustment, needle selection, and presser feet. This will help you navigate the machine’s settings and make the right choices for your project.
- Bobbin Winding: Learn how to wind a bobbin correctly. This is an essential step in ensuring smooth sewing and preventing thread breaks.
- Shortening Curtains: Once you’re comfortable with the basics, you can start using your sewing machine for tasks like shortening curtains. With a few simple adjustments, you can transform your curtains to fit your windows perfectly.
Learn How to Troubleshoot Common Sewing Issues
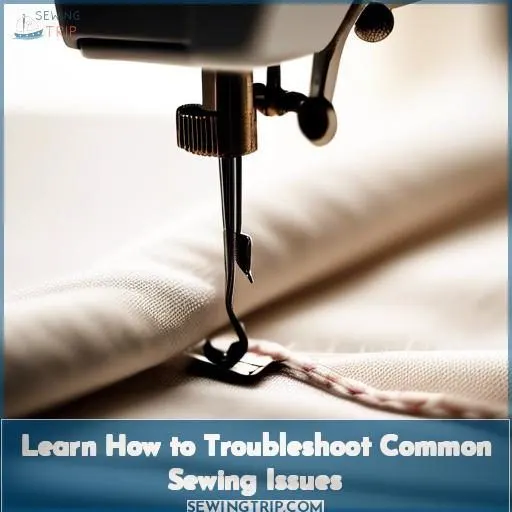
Once you’ve got the hang of using your sewing machine, it’s time to tackle the inevitable hiccups with sewing ingenuity. Here’s how to keep your sewing brilliance shining, even when snags hit:
- Sewing Needle Sizes: Match the needle to your fabric weight; it’s key to avoiding skipped stitches.
- Tension Adjustment: If seams are puckering, a little tweak here can smooth things out.
- Bobbin Winding: Make sure it’s even for consistent stitch quality.
- Skipped Stitches: Re-thread your machine; sometimes it’s just that simple!
Conclusion
Indeed, you’ll be astonished at how effortlessly sewing can be once you’ve mastered the basics.
As demonstrated by the 21 million active sewers in the U.S., engaging in this art form empowers you to showcase your creativity while crafting useful garments customized to your tastes.
By adhering to the ten simple steps outlined, you’ll effortlessly create stylish pieces, releasing your latent designer.

