This site is supported by our readers. We may earn a commission, at no cost to you, if you purchase through links.
To fix a torn backpack strap, you’ll need a large-eyed needle, high-tensile thread, and nylon or canvas patching material. First, identify the damage – look for worn straps, ripped seams, and abrasion areas.
Prepare your sewing kit with nylon thread, replacement webbing, and a sewing awl. When reattaching the straps, make sure to create sturdy stitches and evenly distribute the weight. Use matching thread color and adhesive tape for a seamless repair.
Maintain the leather with a conditioner, clean it with a damp cloth, and store it properly. If your backpack needs more extensive repairs, keep reading for a step-by-step guide.
Table Of Contents
Key Takeaways
- Choose the appropriate needle and thread for the fabric type and stitch selection.
- Identify and assess the damage on the backpack straps, such as worn-out straps, ripped seams, and abrasion areas.
- Prepare for the repair by gathering necessary materials and tools, including a sewing kit, needle, thread, and fabric patching material.
- Use sturdy stitches and evenly distribute the weight when reattaching the straps, ensuring they can handle heavy use.
How to Fix a Backpack Strap Sewing?
To fix a torn backpack strap, you can follow these steps:
- Turn the backpack inside out and examine the strap. If the frayed edges are still sewn, try to open the seam with scissors to pull the straps back through.
- Apply superglue to the frayed edges of the shoulder straps to prevent further fraying.
- Use a needle and thread to stitch the strap back together, making sure to keep the seam continuity across the top.
- If you don’t have a sewing machine, hand stitch the repair. Use nylon thread for added strength.
- If the strap is completely ripped off and you’re not confident in your sewing skills, consider seeking professional help.
Remember to be patient and take your time with the repair. With the right tools and techniques, you can restore your backpack to its former functionality.
Prepare the Materials
To prepare for the repair of torn backpack straps, you’ll need a variety of materials and tools. Here’s a list of what you’ll need:
- Needle Size: Choose a needle that matches the thread strength and fabric type. For heavy-duty materials like leather or canvas, a large-eyed sewing needle is recommended.
- Thread Strength: Select a thread with high tensile strength, such as dental floss or a heavy-duty nylon or polyester thread.
- Material Type: Depending on the fabric of your backpack, you may need different types of thread. For example, use a bonded nylon thread for nylon fabric, or a polyester thread for polyester fabric.
- Stitch Selection: Choose the appropriate stitch for the repair. For heavy-duty straps, a base-ball stitch or a ladder stitch may be suitable.
- Seam Sealant: If sealing seams, use a urethane or vinyl cement to create a waterproof seal.
- Fabric: Depending on the damage, you may need to patch the fabric with a similar material, such as nylon or canvas.
- Tape: For abrasion protection, use adhesive tent-patch tape or iron-on tape.
- Sewing Machine: If using a sewing machine, make sure it can handle the material and thread you’re using.
Remember to consult a cobbler for thread advice and consider using a leather conditioner to protect and soften leather straps. Always clean leather regularly with a damp cloth and avoid harsh chemicals or excessive heat. Store leather in a cool, dry place to ensure its longevity.
Identify the Damage
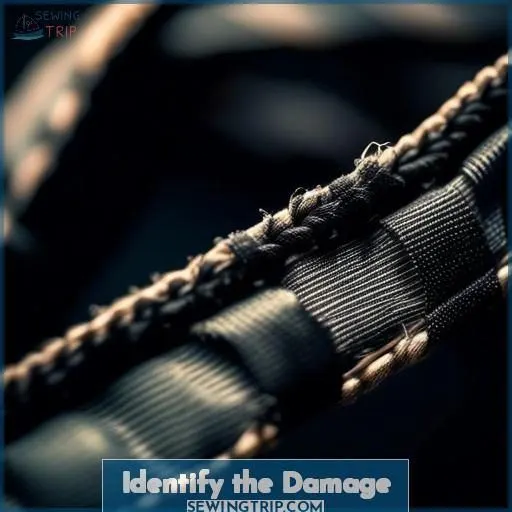
Identifying wear and tear on backpack straps is essential for their repair. Here are some signs you should look out for:
- Leather straps: These can experience wear and tear with use. Worn-out straps may be thin or starting to rip. Cut out worn-out sections of leather straps for repair.
- Ripped seams: If the seam is torn, it may need to be reinforced before sewing.
- Abrasion protection: Look for areas likely to pull loose or where the fabric is thin. These areas may require additional protection, such as adhesive tent-patch tape or iron-on tape.
- Fabric thickness: Thicker fabrics may require a larger needle and heavier thread.
- Needle size: Choose a needle that’s appropriate for the fabric thickness and the type of stitch you’ll be using.
Prepare for Repair
Before embarking on the process of mending your backpack straps, it’s essential to make preparations for the task ahead. This entails gathering the necessary supplies and tools, as well as comprehending the nature of the damage you’re confronting. Here’s a step-by-step guide on how to prepare for backpack strap repair:
- Gather your materials: You’ll need a sewing kit, which includes needles, thread, and a thimble. For the straps themselves, choose nylon thread or upholstery thread, as these materials are robust enough to withstand the weight you’ll place on your bag. If the straps are completely torn off, you may need to acquire replacement nylon webbing.
- Assess the damage: Inspect the straps to determine the severity of the damage. If the straps are torn, you’ll need to stitch them back together. If they’re frayed, you can use a stop-furring adhesive to prevent further unraveling.
- Make needle holes: Before sewing, create needle holes in the straps using a straight tailor’s awl or a hand-awl. This will facilitate the sewing process and prevent damage to the straps.
- Use sturdy stitches: When stitching the straps back together, employ strong, closely spaced stitches to ensure durability. If you’re uncertain about your sewing abilities, consider seeking professional assistance.
- Repair both straps: To guarantee even weight distribution, repair both straps, not simply the one that’s damaged. This will help prevent additional damage to the backpack.
Reattach Straps
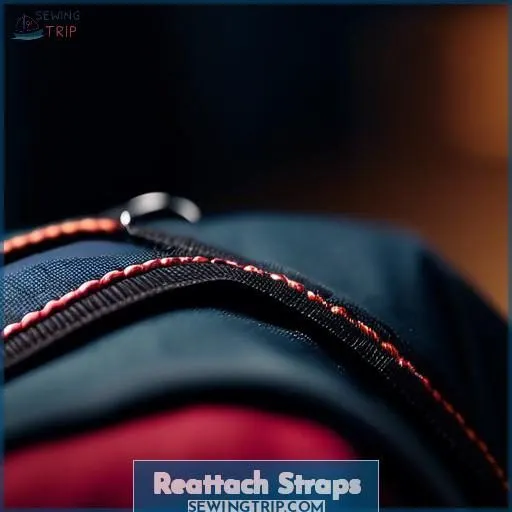
Before sewing, be sure to pierce needle holes in the leather straps using a sewing awl. Once the holes are ready, use durable, straight stitches like those from a sewing machine to securely reattach the straps – this will guarantee they can handle heavy use.
Make Needle Holes Prior to Sewing
Before diving into backpack strap sewing, grab your sewing awl and thick thread. It’s time to pre-punch needle holes, ensuring your strong stitches glide through without a hitch. Think of it as laying down a breadcrumb trail for your needle to follow, a path that leads to a backpack ready to shoulder life’s loads once more.
Use Sturdy Stitches to Ensure Durability
To guarantee your backpack straps endure, employ robust stitches. Select a needle with ample strength and thick waxed thread for sewing. Consider stitch patterns like baseball stitch or X-box stitch for reinforcement. Test the durability of your sewing by pulling on the straps. By emphasizing stitch strength and reinforcement, you’ll have backpack straps that can withstand wear and tear.
Repair Both Straps for Even Weight Distribution
To maintain balanced weight distribution during backpack strap repairs, it’s imperative to repair both straps concurrently. Here’s the process:
- Matching Thread Color: Utilize a thread hue that complements the backpack’s fabric for an unnoticeable repair.
- Adhesive Tent-Patch Tape: Affix adhesive tent-patch tape or heat-activated tape to the damaged area for enhanced durability.
- Sturdy Needle Thread: Employ a durable needle and sewing awl to manually sew the straps, forming a robust connection.
Care for Leather
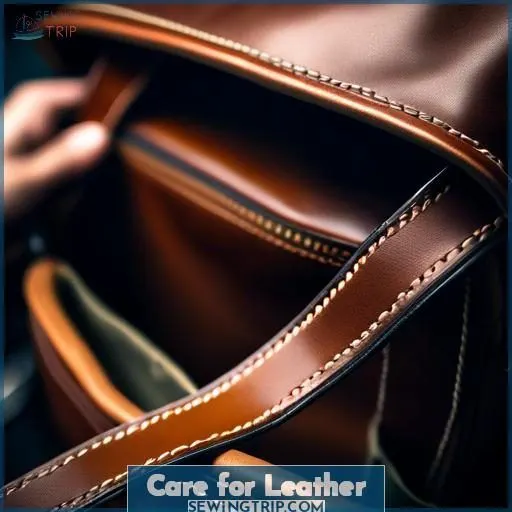
To keep your leather backpack straps in top shape, use a leather conditioner regularly. Avoid harsh chemicals and excessive heat, and store the leather in a cool, dry place to extend its lifespan.
Use Leather Conditioner to Protect and Soften Leather
To safeguard and soften your leather backpack straps, utilize a leather conditioner. This conditioner aids in maintaining the leather’s characteristics, boosting its longevity. Leather care techniques encompass employing leather conditioning products, obtainable in backpack strap sewing supplies and materials. Regularly treating your straps guarantees they stay pliable and resilient to wear.
Clean Leather Regularly With a Damp Cloth
Cleaning leather regularly with a damp cloth is an essential part of leather care and maintenance. This process helps to remove dirt, dust, and other impurities that can damage the leather over time.
To clean leather, use a soft cloth dampened with warm water, making sure to avoid over-saturation. Gently wipe the entire surface of the item, using a circular motion to make sure it’s thoroughly cleaned.
After cleaning, allow the leather to air dry naturally, away from direct sunlight or heat, for at least 10 to 12 hours. This will help prevent any damage caused by moisture or excessive heat.
Avoid Harsh Chemicals or Excessive Heat
Just like you wouldn’t fry an egg on the sidewalk in mid-July, don’t subject your leather to harsh chemicals or excessive heat. These are the archenemies of leather preservation.
When tackling backpack strap sewing projects, remember the mantra of temperature sensitivity and material compatibility.
Choose cleaning methods that are as gentle as a lamb, ensuring your sewing designs outlive the seasons.
Store Leather in a Cool, Dry Place
Store your leather backpack straps in a cool, dry place to protect them from damage. This will help prevent mildew and guarantee the longevity of your straps. Here are four tips for storing your leather straps:
- Use leather conditioners: Regularly apply leather conditioners to keep your straps soft and supple.
- Choose the right storage location: Keep your straps away from direct sunlight and extreme temperatures.
- Protect from moisture: Store your straps in a moisture-proof container or bag to prevent water damage.
- Clean regularly: Dust and dirt can damage your straps, so clean them regularly with a damp cloth.
Avoidances
Don’t sew torn fabric together without reinforcement – it won’t last. Cutting away damaged fabric unnecessarily only creates more work, so be mindful. Acting quickly when fabric damage occurs is key, and avoid sewing the same area multiple times, as it can weaken the material.
Avoid Sewing Torn Fabric Together Without Reinforcement
To reinforce a backpack strap, you can employ various techniques such as a box stitch or a series of bartacks. These methods assist in bolstering the stitching and hindering it from tearing out of the bag fabric.
Moreover, you can duplicate or triplicate the fabric in the area where the straps are fastened to the bag, or create a separate piece to attach the straps to that can be sutured to the bag along the entire width instead of solely at the strap attachment points.
Utilizing a generous seam allowance and a heavy-duty needle with thick waxed thread can also help guarantee the resilience of the repair.
Avoid Cutting Away Damaged Fabric Unnecessarily
Avoid unnecessarily removing damaged fabric. This is a vital step in backpack strap repairs. When evaluating the damage, consider the following:
- Fabric Reinforcement: Make sure the damaged area is reinforced to prevent further wear and tear.
- Damage Assessment: Evaluate the extent of the damage to determine the appropriate repair method.
- Repair Assessment: Assess the overall condition of the strap before deciding on a repair strategy.
- Stitching Techniques: Choose stitching techniques that provide strength and durability.
- Material Selection: Select materials that are appropriate for the repair, such as nylon or upholstery thread for lightweight fabrics and heavy thread for heavy materials like leather.
Avoid Acting Slowly When Fabric Damage Occurs
Responding promptly when fabric damage arises is essential to avert further damage and extend the useful life of your backpack. Postponing repairs can escalate the damage, inflate repair expenses, and potentially necessitate a replacement.
By being vigilant and resolving issues swiftly, you can lessen the impact of the damage and guarantee your backpack remains in optimal condition. Routine maintenance and early detection can help sidestep more serious repercussions in the future.
Avoid Sewing Multiple Times in the Same Area
After promptly addressing fabric damage, it’s imperative to avoid excessive stitching in one location. Consider your needle and thread as a collaborative force; their sturdiness and gauge are your strengths. Overlapping stitches may appear to bolster the seam, but it’s a delicate balance. Excessive stitching can compromise the edge’s integrity. Strive for even stitching to ensure robust edge protection.
Frequently Asked Questions (FAQs)
What type of thread should I use for repairing a backpack strap?
Ah, the thread-weaving puzzle – the key to your backpack’s survival! Choose a sturdy, heavy-duty thread, my friend, like the kind used for shoe repair or upholstery. This thread will outlast the wear and tear, keeping your pack together.
Can I use duct tape to temporarily fix a ripped backpack strap?
Sure, duct tape can temporarily patch up that ripped backpack strap, but it won’t hold up long-term. For a more durable fix, grab some heavy-duty thread and a sewing needle – that’ll keep your pack in tip-top shape.
How do I reattach a backpack strap to the bag without sewing?
Don’t fret, pal – reattaching that backpack strap is a cinch! Grab some sturdy adhesive and a strap keeper, and you’ll have that puppy back on in a jiffy. No needle and thread needed – just a little elbow grease.
What is the best stitch to use for repairing a backpack strap?
The baseball stitch is the go-to for repairing backpack straps. It’s sturdy, flat, and disappears into the fabric. Just weave it through the strap, pulling tight, and you’ll have that baby looking good as new in no time.
How can I prevent future damage to my backpack straps?
To prevent future backpack strap damage, reinforce high-wear areas with rubberized patches. Rotate heavy items and distribute weight evenly. Inspect straps regularly and address issues promptly. A little TLC will keep your pack sturdy for the long haul.
Conclusion
With the battle-tested tips in this guide, you’ll be sewing up torn backpack straps like a seasoned pro. From procuring the right materials to acing the stitching technique, each step will have your beloved backpack looking brand new.
So don’t let a torn strap catch you off guard; sew up that backpack and get back on the trail!

