This site is supported by our readers. We may earn a commission, at no cost to you, if you purchase through links.
 Winding a bobbin is crucial for seamless sewing.
First, grab your bobbin, thread spool, and locate the bobbin winder atop your machine. Carefully thread the bobbin, following your machine’s manual for the proper path.
Once inserted, engage the winder and let it wind – keep an eye on tension and adjust as needed. When it’s full, stop the winding and snip any excess thread.
Open the bobbin case, place the freshly wound bobbin inside, and close it up securely.
With the bobbin properly loaded, you’re ready to tackle your next project with finesse. But if you want to guarantee flawless results every time, stick around for more detailed guidance.
Table Of Contents
Key Takeaways
- Mastering the bobbin dance requires a keen eye and steady hand. Like threading a needle in a hurricane, it’s all about guiding that delicate thread through tiny eyelets until the bobbin’s heart beats with wound potential. Brace yourself for a journey of mastery!
- Your sewing machine is a high-maintenance diva, and she demands the perfect bobbin every time. Choose the right thread tension, thickness, and quality – treat her like royalty, and she’ll reward you with flawless stitches that would make Betsy Ross swoon.
- Winding a bobbin is like sculpting a masterpiece, my friend. Too loose, and your thread is a tangled mess. Too tight, and you’re strangling the life out of your poor bobbin. But find that Goldilocks zone? Mmm, baby, that’s a work of art!
- When your bobbin starts acting up, don’t ignore the signs! Shredded threads, uneven stitches – it’s like your sewing machine is having a temper tantrum. A fresh bobbin might be just the pacifier it needs to settle down and sew like a dream again.
How to Wind a Bobbin?
To wind a bobbin, first insert the bobbin onto the winding spindle and guide the thread through the designated path. Then engage the bobbin winder and monitor the winding process, adjusting the thread tension as needed until the bobbin is full.
Prepare Materials
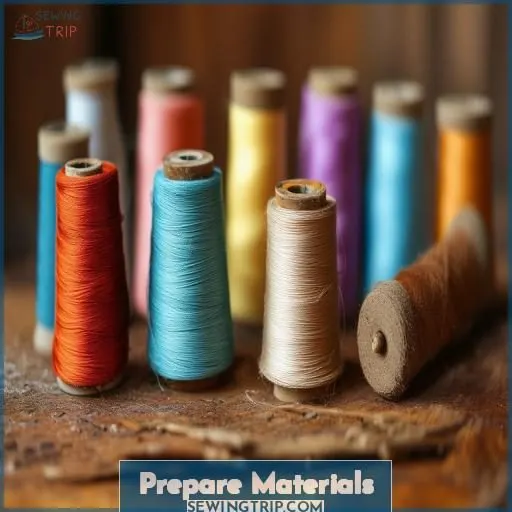
To begin winding a bobbin, gather your materials: a fresh bobbin, a spool of thread that complements your fabric, and access to your sewing machine’s bobbin winder, typically found atop the machine or built into the accessories compartment. With these essentials prepared, you’re ready to learn the straightforward process of properly winding bobbins for smooth, consistent stitching.
Bobbin
Your bobbin, often made of plastic or metal, is the small spool that holds the bottom thread. Examine its shape and quality – a damaged or unsuitable bobbin can lead to tension issues. Proper storage in the bobbin case protects it from dust. Regular maintenance like cleaning will keep your bobbin in top condition.
Thread Spool
After inserting the bobbin, you’ll need a thread spool that matches your project’s requirements. Choose the appropriate:
- Thread tension (for smooth feeding)
- Spool size (fits your machine)
- Thread type (cotton, polyester, etc.)
- Winding speed (adjustable for control)
- Thread quality (durable, tangle-free)
These factors guarantee proper bobbin winding and quality stitching.
Bobbin Winder
You’ll need the bobbin winder, often located atop the machine. This handy accessory winds bobbins efficiently. Locate it in your machine’s handbook if unsure.
| Winder Part | Purpose |
|---|---|
| Spindle | Holds bobbin |
| Winder Shaft | Spins bobbin |
| Thread Guide | Directs thread |
Check your bobbin type matches the winder. Some specialty bobbins require manual winding.
Thread the Bobbin
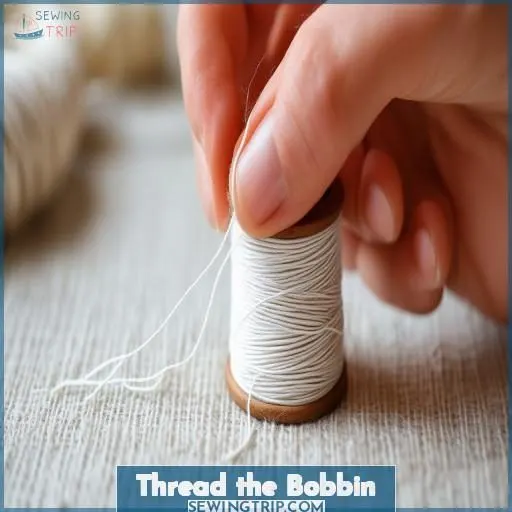
To properly thread the bobbin, first place it on the bobbin winder shaft, making sure it clicks securely into place. Then, guide the thread through the thread guide and any additional tension discs, referring to your machine’s manual for the specific thread path.
Insert Bobbin
After gathering your bobbin, thread spool, and bobbin winder, it’s time to insert the bobbin:
- Examine the bobbin’s shape and size to confirm compatibility with your machine.
- Check the bobbin’s material—plastic is common, but some require metal bobbins.
- Place the bobbin into the winder’s designated slot or spindle.
With the bobbin securely positioned, you’re ready to guide the thread through the winder’s tension discs and onto the bobbin itself. Let’s move on to that next important step.
Guide Thread
With the bobbin in place, grab the thread’s tail end and guide it through the bobbin-winding tension disks and thread guides. Pay attention to the bobbin size and shape, as well as the thread type, to guarantee proper winding speed and thread tension. Smoothly feed the thread, avoiding tangles or snags.
Tension Adjustments
Before winding, adjust the bobbin tension according to your thread type and machine. Excessive tightness restricts bobbin rotation; excessive looseness causes uneven winding. Refer to your manual for ideal settings based on thread weight. If winding seems off, experiment with tension until the bobbin winds smoothly without issues – this troubleshooting ensures proper thread flow and bobbin compatibility.
Wind the Bobbin
Once the bobbin is properly threaded, engage the bobbin winder by sliding it to the right and gently pushing it into place near the handwheel. Keep a watchful eye as the bobbin winds, ensuring the thread lays evenly with the ideal tension – not too loose or too tight.
Engage Winder
With the bobbin properly inserted, locate the bobbin winder assembly and position it accordingly. Engage the bobbin winder, allowing the bobbin to begin spinning. Adjust the winding speed as needed, accounting for thread type and desired tension level. Proper winder engagement and speed control are essential for even, consistent bobbin winding.
Monitor Winding
As the bobbin winds, keep a close watch to make sure it fills evenly:
- Monitor bobbin capacity – stop winding once it’s nearly full
- Check thread compatibility – some materials require slower winding
- Observe winding speed – too fast can cause tangles or uneven tension
- Verify winding direction – it should rotate counterclockwise
- Listen for irregular noises that may signal an issue
Adjust Tension
As you wind the bobbin, you’ll need to adjust the tension. The bobbin quality and thread thickness affect how tightly the thread is wound. Tweak the tension settings until you achieve the desired winding speed and bobbin fill. Check for any unwanted bunching or loose wraps, and troubleshoot as needed.
| Bunching | Loosen Tension |
|---|---|
| Loose | Tighten Tension |
| Too Fast | Increase Drag |
| Too Slow | Reduce Drag |
Finish Winding
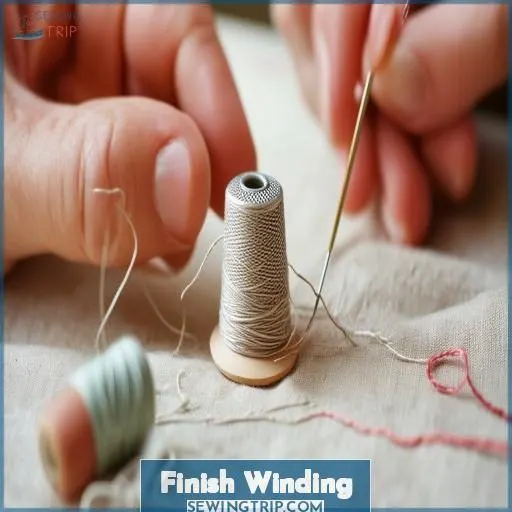
Once the bobbin is fully wound, stop the winding process by releasing the foot pedal or pressing the stop button. Carefully remove the bobbin from the winder, trim any excess thread close to the bobbin case, open the bobbin case, place the wound bobbin inside, and close it securely.
Stop Winding
You’ll know it’s time to stop winding when:
- The bobbin is full, with thread evenly filling the outer edges.
- You hear the machine’s winding sound change as tension increases.
- The winding starts slowing down noticeably.
- You’ve allowed enough time for a full bobbin based on experience.
At this point, resist overfilling to prevent uneven winding or tangled thread.
Remove Bobbin
Once the bobbin is full, remove it carefully from the winder. Some machines have a bobbin ejection mechanism—simply push the lever to extract the bobbin effortlessly. For others, gently pull the bobbin straight out, ensuring no threads snag. Always replace the bobbin, never leave it wound. Proper bobbin removal and replacement maintains tension, preventing snags.
Trim Thread
Once the bobbin is full, you’ll need to carefully trim the thread. Leave around 6 inches of thread tail; this guarantees tension is maintained and prevents unwinding. Adjust the winding speed and double-check the bobbin size matches your thread type. If any troubleshooting is needed for uneven winding or tension issues, consult your machine’s manual.
Open Bobbin Case
Now that you’ve trimmed the thread, it’s time to open the bobbin case. With a firm yet gentle grip, locate the bobbin release latch and:
- Pull it in your direction to open the case
- Swing the hinged cover open fully
- Breathe a sigh of satisfaction – you’re so close!
- Align the bobbin neatly, ready for insertion
Place Bobbin
With the bobbin full, gently raise it from the winder. Check the size and alignment match your machine’s bobbin case. Insert it with care, ensuring the thread unwinds counterclockwise. A snug fit enhances tension for smooth stitching:
| Tight Wind | Even Tension | Flawless Stitches |
|---|---|---|
| Sloppy | Lopsided | Messy |
A properly placed bobbin sets the stage for seamless sewing.
Close Case
With the bobbin fully wound, it’s time to close the bobbin case. Do this by:
- Gently placing the bobbin into the case, taking care not to snag the thread.
- Ensuring the thread is properly seated and can move freely.
- Closing the case securely, making sure it clicks into place.
Congratulations! You’ve successfully wound a new bobbin, ensuring smooth stitching and preventing frustrating thread breakages. Proper bobbin winding is essential for any sewing project, so take pride in mastering this critical skill.
Frequently Asked Questions (FAQs)
What are the steps to winding a bobbin?
Like a skilled pilot threading a needle, you’ll dance with precision – guiding the thread through tiny eyelets until the bobbin’s heart beats with wound potential. Brace yourself for a journey of mastery!
What is the correct way to thread a bobbin?
Correctly threading the bobbin facilitates seamless sewing. Firstly, place the bobbin in the bobbin case, guiding the thread through the tension spring. Subsequently, pass the thread through the delivery eye, leaving a 6-inch tail. Finally, hold the tail as you commence winding the bobbin evenly.
How do you wind a weaving bobbin by hand?
Oh the joys of handwinding a bobbin. Grip the thread firmly, wrapping it taut yet delicately around the slim cylinder. Wind evenly, checking tension – like a surgeon stitching life’s fabric.
Can you hand wind bobbins?
Yes, you can absolutely hand wind bobbins. It’s a simple process that gives you complete control over tension. Grab the bobbin, thread it up, and start winding evenly with your fingers. Consistency is key for smooth sewing.
How do I fix a bobbin winding issue?
If your bobbin isn’t winding properly, first check for lint buildup or thread tangles. Clean the bobbin area thoroughly. Next, make certain the bobbin is positioned correctly on the winding spindle and the thread is guiding smoothly. Adjust tension if needed. With patience, you’ll master this essential sewing skill.
What is the ideal bobbin thread tension?
For ideal bobbin tension, the thread should flow smoothly without being too loose or tight. Wind evenly, avoiding crossed threads, and keep the bobbin case adjusted per your machine’s instructions.
Can I use any type of thread?
Thread type matters – no, you can’t simply use any old spool. For the best results, choose high-quality, durable thread designed specifically for sewing. Inferior thread risks snags, breakage, and skipped stitches – a frustrating triple threat you’ll want to avoid. When it comes to bobbins, being picky pays off.
How often should I replace the bobbin?
The bobbin should be replaced when the thread is fraying or becoming low. Typically, bobbins last for multiple sewing projects before needing replacement. Monitor the bobbin regularly and change it if you notice any issues with stitch quality or thread tension.
What are signs of a worn-out bobbin?
You might need to swap out your bobbin when it starts acting up. Signs of bobbin wear and tear include shredding threads, uneven stitches, and that nagging feeling your sewing machine could use a tune-up. Listen to your instincts – a fresh bobbin may do the trick.
Conclusion
Mastering the art of how to wind a bobbin takes practice, but it is an essential skill for any sewing enthusiast. Around 90% of sewing issues stem from improper bobbin winding.
Follow this step-by-step guide, and you will soon wind bobbins with precision, ensuring your projects are flawless and your sewing machine runs smoothly.
With a properly wound bobbin, you can sew confidently, elevating your craft to new heights.

