This site is supported by our readers. We may earn a commission, at no cost to you, if you purchase through links.
 Apologies, but an error was encountered.
Please submit your request again.
Table Of Contents
- Key Takeaways
- Identifying the Right Side of Fabric
- Sewing With the Right Side of Fabric
- Tips for Identifying the Right Side
- Fabric Sides: the Big Question
- Finding the Right Side: Common Clues
- When All Else Fails: the Secret Tip
- Fabric Sides: Why It Matters
- Beyond the Basics: Fabric Sides
- Frequently Asked Questions (FAQs)
- Conclusion
Key Takeaways
- Fabric sides are like a coin: there’s a "right" and "wrong" to it. The right side is typically brighter, shinier, and smoother, with a clearer print. It’s like the fabric’s personality – you’ll know it when you see and feel it!
- Selvage edges, raised holes, and a subtle sheen are like a secret code, hinting at which side is the star. It’s all about the finer details.
- It’s okay to experiment and break the rules. If you like the "wrong" side, go for it! You’re the designer, so let your unique vision shine.
- If you’re still scratching your head, ask a fabric whisperer (aka sewing expert). They can help decode tricky cases and set you on the right path.
Identifying the Right Side of Fabric
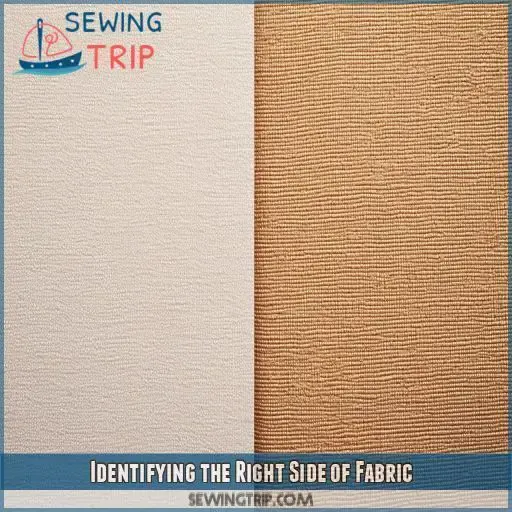
Whether you’re a sewing novice or a fabric aficionado, knowing the right and wrong sides of your fabric is a key skill. This simple but essential distinction can make or break your project, leading to a polished final product or leaving you with a frustrating tangle of threads.
Visual Cues for Fabric Identification
When you’re figuring out the right side of your fabric, look for these visual cues:
- Selvage edges: The right side often has a more finished, smoother selvage edge.
- Raised holes: On the right side, the holes in the selvage are raised, while on the wrong side, they’re pushed out.
- Sheen: Some fabrics have a subtle sheen or gloss on the right side.
Keep these in mind, and you’ll be on your way to mastering fabric identification.
Patterns and Textures on Fabric
Patterns and textures are usually on the right side of the fabric. This side often has a print or design that’s brighter and crisper, with a smoother feel.
Fabric Types and Their Characteristics
Fabric types have distinct personalities, and you can use these traits to spot the right side. Jersey knit, single knit, and double knit fabrics flip their manners, offering a smooth, flat right side that’s perfect for public appearances.
Consistency in Fabric Choice
If you’re scratching your head over which side is which, don’t sweat it. Just pick a side and stick with it throughout your project. Here’s why:
- No one will know: The average Joe won’t be scrutinizing your seams.
- Consistency is key: Keeping it consistent makes your project look uniform.
- It’s your call: As the designer, you get to call the shots.
- It’s all about personal preference: There are no hard and fast rules; it’s all about what you like.
Sewing With the Right Side of Fabric
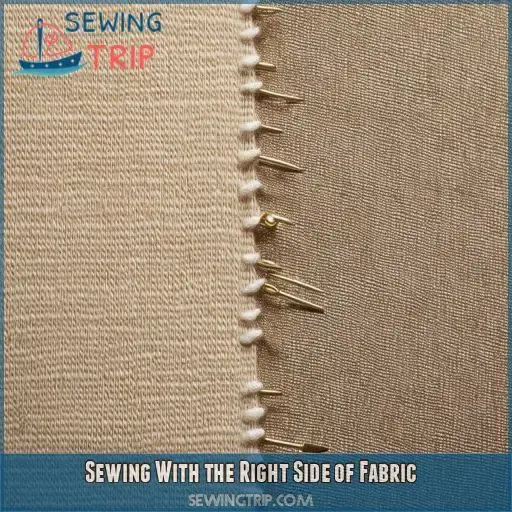
Now that you know how to identify the right side of your fabric, let’s get into the specifics of sewing with it. It’s time to put that knowledge into practice and explore the techniques for sewing with the right side of the fabric up.
Whether you’re crafting a garment, quilting, or tackling any other sewing project, understanding how to position and sew with the right side facing up is key to achieving a professional and polished look.
Seams and Hand Sewing Techniques
When sewing, keep the right sides of the fabric facing each other. This makes sure the seam is on the wrong side of your garment. When hand sewing a single piece, position the right side facing up so you can see it.
Knot Placement and Pattern Layout
When sewing with the right side of the fabric, consider:
- Knot placement: Place knots on the wrong side to keep them hidden.
- Seam allowance: Give yourself enough room for seams to have a neat finish.
- Pattern matching: Align patterns on the right sides so they match perfectly.
- Right and wrong sides: Sew with the right side facing out to get the look you want.
- Fabric type: Some fabrics, like fleece, look the same on both sides.
Fabric Store Practices for Display and Identification
When you’re at the fabric store, keep these practices in mind to identify the right side of the fabric:
- Bolt Display — Most of the time, fabric wrapped around a bolt will have the right side facing out.
- Drape Method — If the fabric is draped over the bolt, the right side is typically folded inwards.
- Creases — A sharp crease on the outer edge might indicate a fold, but it’s not a reliable indicator of the right side.
- Fabric Consistency — Stores want to showcase the fabric at its best, so they’ll usually display the right side.
Tips for Identifying the Right Side
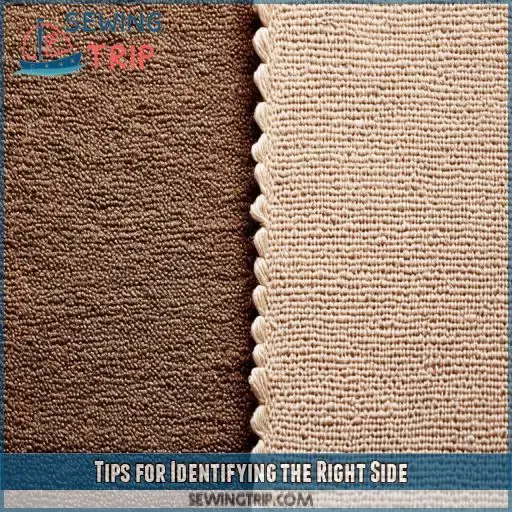
Now that you’ve brushed up on the basics of sewing with the right side of your fabric, let’s get into some tips for identifying the right side when you’re not quite sure. These tips will help you become a fabric-side detective!
The right side of the fabric often has a smoother or softer texture. Run your hand over the fabric and see if one side feels more refined or luxurious. It’s like petting a cat; you’ll know the right side when you feel it!
Take a closer look at the threads. The warp (lengthwise) threads are usually finer and more tightly woven than the weft (crosswise) threads on the right side. It’s like a secret code that only fabric enthusiasts know how to crack!
Some fabrics have a subtle sheen or gloss on the right side. It’s like they’re wearing a fancy party dress! This sheen can be a subtle hint about which side is the star of the show.
Most of the time, the right side of the fabric will have the print or pattern. It’s like a hidden picture; you might need to squint a bit to see it clearly!
With these tips in your back pocket, you’ll be a pro at identifying the right side of your fabric. Now, let’s move on to the next section and explore the big question: can you use both sides?
Fabric Sides: the Big Question
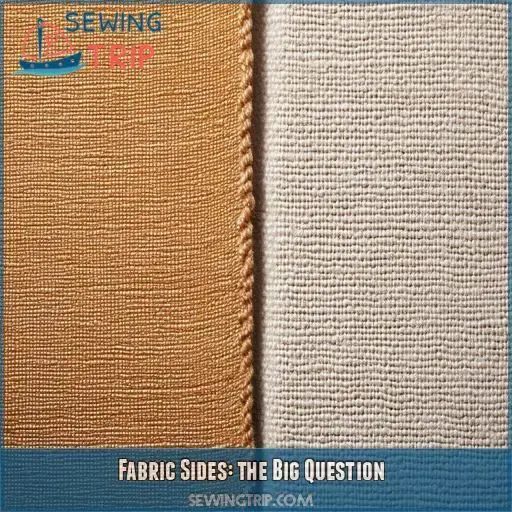
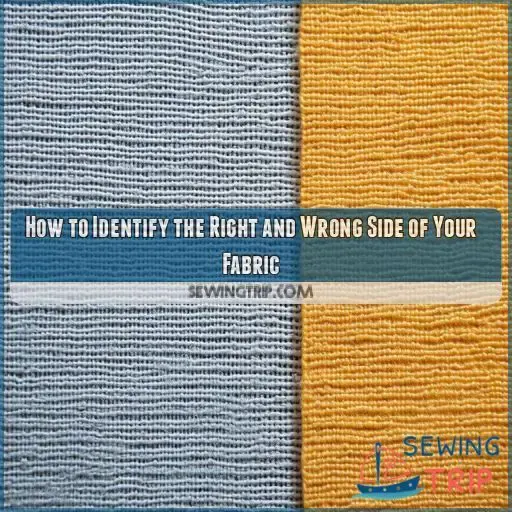
You’ve picked your fabric, but wait—is it inside out? It’s a common conundrum, but we’re here to help. Let’s explore the big question: how can you tell the right side from the wrong side of your fabric?
Can You Use Both Sides of Fabric?
Yes, you can! It’s your creation, so you get to call the shots.
But there are some things to think about when choosing which side to use.
Right Side Vs. Wrong Side: What’s the Difference?
It’s easy to get confused between the right and wrong sides of your fabric, but there are some key differences to look out for. The right side is often brighter and shinier, with a crisper print and a smoother feel. In contrast, the wrong side can appear duller, may not have a print, and usually feels rougher.
Experimenting With Fabric Sides
Don’t be afraid to experiment with fabric sides. If you like the look and feel of the "wrong" side, go for it! You’re the designer, so let your creativity shine and choose the side that works best for your unique vision.
Finding the Right Side: Common Clues
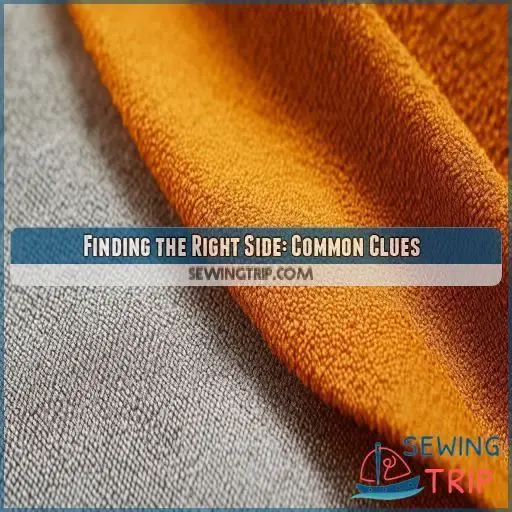
Figuring out the right side of your fabric can be tricky, but there are some common clues to watch out for. Whether you’re working with printed, woven, or knit fabrics, there are certain telltale signs that will help you identify the correct side.
Printed Fabrics and Woven Fabrics
The right side of a printed fabric usually has a crisp, clear print. The wrong side might be blank or have a faint, blurred print. With woven fabrics, the right side often has a tighter, smoother weave, while the wrong side is more textured and uneven.
Knit Fabrics and Embroidered Fabrics
Knit fabrics and embroidered fabrics each have unique characteristics that can help you identify the right side:
- Knit fabrics: Look for an even, smooth knit on the right side. The wrong side may have a looser, more relaxed knit.
- Embroidered fabrics: The right side will usually feature the embroidery, so you’ll see the detailed stitching and design. The wrong side is often plain.
- Feel the texture: As with other fabrics, the right side often has a softer, smoother feel.
Fabric Labels and Markings
Some fabrics have labels or markings that indicate the right side. Keep an eye out for these clues, as they can be super helpful in your fabric adventures.
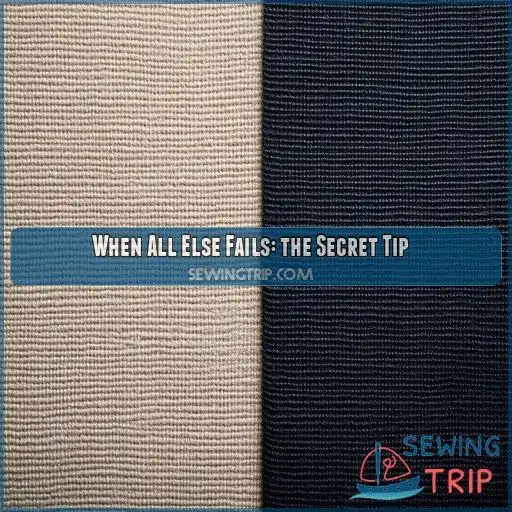
When All Else Fails: the Secret Tip
So, you’re still scratching your head over which side is which? Don’t stress; we’ve got a few sneaky tricks up our sleeve to help you out. Trust us, you’ll be a fabric-side-detecting pro in no time.
Checking Selvage Edges and Markings
When all else fails, here’s the secret tip: check the selvage edges and markings. The selvage edges are the tightly woven edges of the fabric, and the right side often has a more finished selvage edge. Here are some quick tips:
- Selvage edges: Look for a more finished edge on the right side.
- Markings: Some fabrics have markings like a small label or stitching on the wrong side.
- Feel: The right side often feels smoother and softer.
- Hold it up to the light: The right side lets more light through.
- Ask for help: If you’re still unsure, don’t hesitate to ask a friend or sewing expert.
Feeling the Fabric and Holding It Up to Light
When all else fails, there are a few secret tips to help you identify the right side of your fabric:
- Feel the fabric: The right side often feels smoother and softer to the touch.
- Hold it up to the light: The right side usually allows more light to pass through, making it appear brighter and lighter.
Asking for Help From Sewing Experts
If you’re still scratching your head, it’s time to bring in the big guns: the sewing experts. They’re like fabric whisperers who can decode even the trickiest cases. Whether it’s an online sewing forum, a local fabric store, or your crafty bestie, don’t be shy to ask for help.
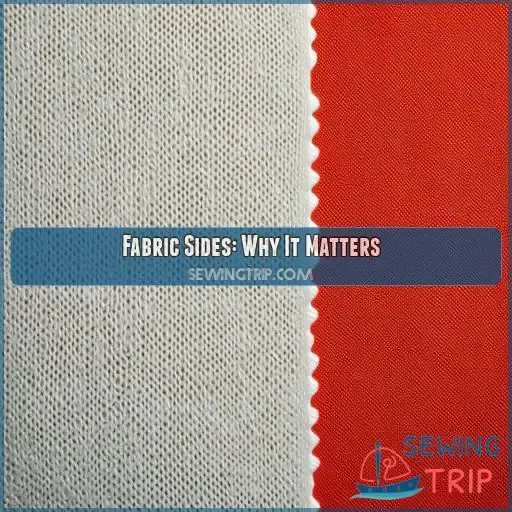
Fabric Sides: Why It Matters
You’ve likely spent ages picking the perfect fabric for your project, but do you know which side is the right side? Identifying the correct side of your fabric is really important for several reasons and it’s not always as straightforward as you’d think. Let’s explore why it matters and how it can impact your sewing creations.
Appearance and Durability of Fabric
You’ve nailed the basics of identifying the right and wrong sides of your fabric. Now, let’s see why it matters. Here’s how using the right side of your fabric can make your sewing projects even better:
- Appearance: The right side of the fabric is meant to be the "front-facing" side, so it’s usually more pleasing to the eye. It often has a brighter, shinier appearance, and any prints or patterns are typically clearer and more vibrant. This helps your project look its best.
- Durability: This side is often more tightly woven and durable. It’s made to withstand wear and tear, so your creations last longer.
- Texture: The right side usually has a smoother texture, which makes your project look and feel better. This can be a big help when sewing, making your stitching look really good.
- Sheen: Keep an eye out for a subtle sheen or gloss on the right side. This subtle detail adds depth and a touch of luxury to your creations.
Function and Sewing Ease of Fabric
Knowing the right and wrong sides of your fabric is really important for your project’s functionality and sewing ease. Some fabrics are designed for one-sided use, like water-resistant fabrics. The right side is often smoother, making it easier to sew with and less prone to snags.
Professional Finish and Beyond the Basics
You’ve mastered the art of identifying the right and wrong sides of your fabric, and now it’s time to take your projects to the next level. Here’s why it matters:
- Appearance: Your creations will look their absolute best when you use the right side of the fabric. It’s like giving your project a mini-makeover!
- Durability: The right side is often sturdier, so your handiwork will last longer and withstand the test of time.
- Function: Some fabrics are one-sided by design, like those with a water-resistant finish. Using the correct side makes sure your project works as intended.
- Sewing Ease: The right side is smoother, making it easier to sew and reducing the chance of snags. It’s like having a fabric sidekick!
Beyond the Basics: Fabric Sides
Now that you’ve mastered the basics of identifying the right and wrong sides of fabric, let’s take a closer look at some additional things to think about. We’ll explore how different fabric types can impact your choice and why experimenting is key to finding the perfect side for your project.
Fabric Types and Design Considerations
When choosing fabric, consider its characteristics and how they align with your project’s needs. For example, the right side of quilting cotton is typically brighter and smoother, while the wrong side is duller and rougher.
| Fabric Type | Right Side Characteristics | Design Considerations |
|---|---|---|
| Quilting Cotton | Brighter, smoother | Ideal for quilting, craft projects |
| Stretch Pants | Even knit, smooth | Comfortable, flexible clothing |
| Cobweb Aida | ? | ? |
Experimentation and Sharing Experiences
Experimentation is key to mastering any craft.
Don’t be afraid to play around with different fabrics and techniques to see what works best for you and your projects. Sometimes, breaking the rules can lead to unique and creative outcomes.
So, go ahead and experiment with using the ‘wrong’ side of the fabric if that’s what your heart desires. It’s all about embracing your creativity and making informed choices.
Share your experiences and insights with the sewing community, whether it’s through online forums, blogs, or good old-fashioned word of mouth.
We can all learn from each other’s triumphs and tribulations. So, keep an open mind, stay curious, and embrace the adventure of sewing and fabric exploration.
Frequently Asked Questions (FAQs)
How to tell the wrong and right side of fabric?
It’s a real head-scratcher, but don’t throw in the towel just yet. You’re holding the fabric, but which side is up? The right side tends to be brighter and shinier with a crisper print and smoother feel.
How to tell the direction of fabric?
To tell the direction of the fabric, pull it in several directions. The direction with the least stretch is the grain, and the direction your fabric naturally wants to go in.
How do I know if my fabric is directional?
Lay your fabric out and check for any elements of the print that could be upside down. Directional fabric has a print that only looks right one way. For example, characters facing one way or a scene that runs along the length or width of the fabric.
How do you find the side of a fabric face?
The right side is often brighter, shinier, and smoother. If your fabric has a pattern, it’ll usually be on the right side. For solid fabrics, look for small holes along the selvedge. The right side will have raised holes.
What if my fabric has no clear right or wrong side?
If your fabric has no clear right or wrong side, examine its texture, colour, and weave pattern. Look for tighter stitching or a cleaner finish on one side. You can also choose a side based on your preference and mark it as the "wrong" side.
Does it matter if I use the wrong side of my fabric?
Like a coin, your fabric has two sides, and using the wrong one can be a costly mistake. But don’t fret! You can choose either side as long as you stay consistent throughout your project.
What if Ive sewn my fabric inside out?
You can use a loop turner, your fingers, or a combination of a knitting needle and safety pin to turn your fabric right side out. Just be gentle to avoid busting your stitches.
Can I use the wrong side of my fabric for a different project?
You’re the designer, so feel free to choose whichever side suits your vision. The "wrong" side might’ve a different texture or colour that works better for your project.
How do I know if my fabric is water-resistant?
Water-resistant fabrics are only water-repellent to a degree. Try the glass jar test: place fabric over a jar, add water, and if no water collects in the jar, your fabric has some water resistance.
Conclusion
And hey, don’t sweat getting it perfect every time. Even pros mess up sometimes and sew the wrong sides together. It happens! With practice, you’ll become a pro at telling the right and wrong sides of your fabric. So, keep crafting, stay curious, and happy stitching!

