This site is supported by our readers. We may earn a commission, at no cost to you, if you purchase through links.
Sewing on snaps can be a great way to finish off any garment. But if you want the perfect look, you need to make sure that your snaps are lined up properly!
With a few simple steps and some practice, sewing on snap fasteners will soon become second nature. In this article, we’ll show you how to line up sew-on snaps correctly so that they give your garment the finishing touch it deserves.
We’ll also provide tips for troubleshooting common problems when sewing these types of fasteners and suggest an easy alternative for those who don’t have time or patience for traditional methods of attaching them.
So let’s get started – read on to learn how easily and quickly you can add professional-looking closures with sew-on snap fasteners!
Table Of Contents
Key Takeaways
- Proper alignment of snaps is crucial for a perfect finish.
- Practice makes perfect when lining up snaps.
- Consider the thickness of the fabric when selecting snap size.
- Double backstitch when starting off with Sew On Snaps or use Buttonhole Stitches for Sewing Snaps onto heavier fabrics like denim.
Parts of a Snap
You already know the basics of sewing snaps, so let’s talk about the two parts that make up each snap.
The first part is called the ball-sided piece, and it goes on the bottom layer of fabric. To accurately mark where to place this piece, use a pin or a fabric pen or pencil.
Next comes the socket side, which sits on the top layer of fabric. Be sure to use pins here as well for precise placement! When you’re ready, sew through each hole around the edge of the snap with a needle and thread until securely fastened together.
Don’t forget that there are different sizes, colors, and materials available when aligning snaps too.
With proper stitching techniques in mind (and maybe even watching a video tutorial), you’ll have perfectly aligned snaps in no time at all!
Types of Sew on Snaps
Different types of sew-on snaps can help you achieve the perfect look for your garment. Snap selection, fabric choice, and placement are all important factors when choosing a snap type. Magnetic snaps require no sewing, but if you’re looking for a more secure fastening, then sew-on snaps may be the better option.
The ball side is sewn on the overlap side of the fabric with a knot or double backstitch, while the socket piece is placed and secured onto the top layer of the underside flap using five loops through each hole across it.
Sew-on snap tape provides an easy alternative to sewing individual pieces as both parts are held together in one strip, making installation much easier than with traditional methods by simply pressing into place along the desired area without requiring any other steps such as stitching around them to secure them properly.
With proper guidance from tutorials available online, such as videos demonstrating step-by-step instructions for attaching these fasteners correctly, you’ll be sure to find success in achieving perfectly lined up sew-on snaps!
Things You’ll Need
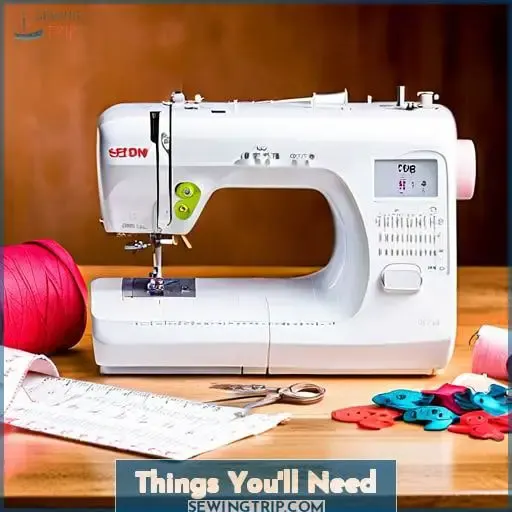
To complete your sew-on snap project, you’ll need a few supplies: a fabric pen or pencil, a sewing pin, a needle and thread, scissors, snaps, and fabric. It’s important to choose a sharp needle appropriate for the type of material to ensure that it easily pierces through both layers of fabric without damaging them.
The right thread choice will also ensure that all stitches are secure at the end of your sewing project. When selecting snaps, be aware that bigger sizes are better suited for heavier materials, while smaller ones should be used with lightweight fabrics such as silk.
Marking tips include accurately marking each layer where you want to place both parts of the snap, then poking in pins on either side before beginning stitching around each hole.
How to Sew on Snaps
If you’re looking to learn how to sew on snaps, then look no further! The first step is to separate and mark the fabric where the snap will be placed. Then, using a needle and thread, sew through both holes of the snap. Move on to the next set of holes in order for each piece of fabric to line up properly with one another before repeating these steps for all pieces.
Step 1 – Separate and Mark
Before starting your sewing project, carefully separate the ball and socket pieces of the snap to ensure a perfect fit. Mark both layers of fabric correctly with a fabric pen or pencil where you want to place each part of the snap.
Place one piece on top while holding the ball-sided piece on the bottom, then sew 5 loops through each hole across it. Position the second side, then use a pin to keep it in place before stitching around each hole for secure alignment.
For an alternative, use snap tape which has already attached snaps–just make sure they are suited for weight and material type! If done properly, your sew-on snaps will stay put until pulled apart manually – no need for extra knots at the back like with regular stitching!
Step 2 – Sew Through Holes
Now, take your needle and thread through the holes of both pieces. Stitch five loops around each one to ensure a secure alignment. To position the socket piece correctly, mark the fabric with tailor’s chalk or pins before piercing holes.
Place the ball side of the snap button on top and tie a knot in the back after sewing it into place. To attach the upper layer correctly, position the fabric over the socket side and then push the pin through.
Sew five loops around each hole for added security too! If desired, snap tape is an alternative option. Just remember to use bigger snaps on heavier fabrics like denim, while smaller ones are better suited for lightweight materials such as silk.
Step 3 – Next Holes
Secure your snap by stitching five loops around each hole for added strength. Accurately align the front edge of the shirt with a sharp sewing pin. Place pins to mark where both parts of the snap will be positioned, and make sure they match up perfectly or it won’t look right! Consider the size of the snap when positioning your fabric layers; bigger snaps require more room than smaller ones.
When threading knots into place, ensure they are tight but not too tight to avoid tearing through any fabric layers beneath them. If adding quilting stitches along lines between snaps, use even pressure on a short stitch length to keep everything lined up properly – practice makes perfect here! If attaching tape rather than individual snaps, always start at one end and work down towards the other side, ensuring that all pieces line up correctly before beginning the stitch process again from the opposite end.
Step 4 – Repeat
Once you’ve completed the stitching process, repeat it on all remaining snaps to ensure a secure and lined-up finish. When selecting fabric for snap placement, consider its thickness and match your chosen size of snap accordingly.
To ensure accurate marking of fabric, use a pen or pencil according to the needle type. Knotting methods vary depending on the material, but always double backstitch when starting off with Sew On Snaps or Buttonhole Stitches for Sewing Snaps onto heavier fabrics like denim.
If in doubt about any sewing techniques used with Press Studs, watch craft videos as they are particularly helpful before attempting this project yourself! Don’t give up after one attempt; with practice, you’ll be able to place snaps accurately every time.
How to Line Up a Snap
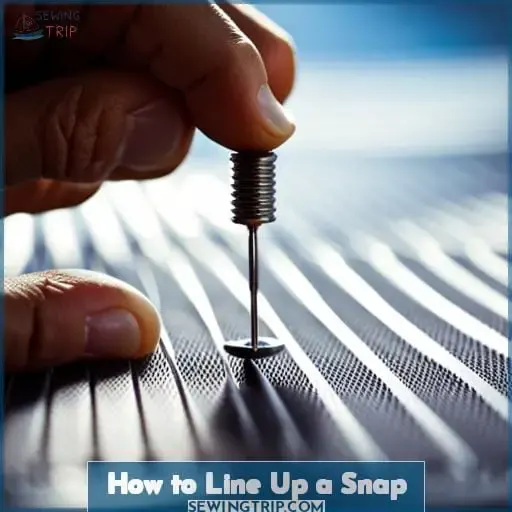
Carefully place the ball side piece on the bottom fabric and exaggerate your accuracy to ensure a perfect snap! Aligning snaps correctly is essential for attaching them properly, so start by measuring where you’d like to place it.
Choose a snap that’s appropriate in size for your needle and fabric type. Fun, more detailed snaps can be used with heavier materials, while small delicate ones work best for lightweight fabrics.
When sewing on the overlap side of the garment, make sure that all four holes are sewn firmly before tying off with a knot or double backstitch. To complete this process, position the socket piece of your chosen snap onto its designated mark at an accurate angle, then pin through each hole before stitching around five times securely per section.
Easy Alternative to Sew on Snaps
If you’re looking for an easy alternative to sew-on snaps, then magnetic snaps may be the solution. Magnetic closures are ideal for lightweight fabrics like silk and come in different sizes and colors that can add a stylish touch to your garments.
They are also much easier than buttonholes, which require precise measurements and intricate sewing techniques.
Sewing with snaps is a great way to make feel-good connections between fabric pieces without struggling with complicated stitching or tedious measuring methods.
So, if you want something quick yet secure, grab some magnetically fastened closures today!
Additional Tips for Sewing Snaps
To achieve perfect snaps, remember to stitch through each hole of the socket piece and tie a knot on the back.
When sewing snaps, it is essential to pay attention to alignment and positioning. Accurately mark where you want both parts of your snap with a fabric pen or pencil so that they line up correctly when sewn together.
For heavier fabrics such as denim, use bigger snaps, while for lighter materials like silk, opt for smaller ones.
Be sure to use the right material for each type of snap: metal should be used if you’re using regular sew-on snaps, while plastic or nylon is ideal if you are opting for magnetic fasteners instead.
Lastly, don’t forget about snap tape, which can make things much easier. Simply pin a row onto your fabric along its top edge, then pleat accordingly!
With these tips in mind, it will be easy to create flawless garments secured by perfectly placed sew-on snaps every time.
Troubleshooting Common Snap Sewing Issues
Sewing snaps can be a little tricky, yet over 31,000 people have mastered it! To make sure your snap is placed in the exact spot and create a perfect match, you must take into account several factors such as fabric choice, needle size, and stitch type.
Here are some tips to help troubleshoot any common issues when sewing sew-on snap fasteners:
- Aligning seams properly is key for successful placement of the snaps. Make sure that all layers line up perfectly before sewing on each part of the fastener.
- The right needle size will depend on your fabric thickness – use smaller sizes with lightweight fabrics like silk or larger sized needles for heavier materials like denim or suede.
- Different types of stitches may be used depending on what look you’re going for – opt for an overstitch if you want something more visible while using weekly stitching gives a subtle finish without being too bulky looking.
With careful attention to detail and practice, anyone can easily learn how to master this skill!
Frequently Asked Questions (FAQs)
What type of thread should I use for sewing snaps?
For sewing snaps, it is recommended to use strong thread, such as polyester or cotton-wrapped polyester. These threads are ideal since they can handle the stress from pulling and tugging on garments, and have a high tensile strength that will help ensure the snaps stay secure.
How do I line up a snap on a curved surface?
To line up a snap on a curved surface, begin by marking the area with an exaggerated X. Make sure to place both parts of the snap with accuracy and precision. Pin them in place to secure before sewing.
How can I make sure my snaps are securely attached?
To ensure that your snaps are securely attached, accurately mark each spot and sew through all holes with strong knots. Carefully place the socket pieces on top and stitch five loops for a secure fit. Finally, double-check that all parts are properly lined up before cutting any excess thread.
Can I use snaps on thick fabrics?
Yes, you can use snaps on thick fabrics. For optimal results, select a larger snap size and sew with additional loops to ensure a secure attachment.
How do I keep my snaps from coming undone?
For a secure hold, make sure to accurately mark the placement of the snap, sew loops around each hole, and tie knots in the back. To prevent your snaps from coming undone, use heavier materials for larger snaps and pay close attention to detail when stitching them on.
Conclusion
Your sewing project can be transformed with the addition of a snap. It’s like an exclamation point at the end of a sentence. With the right materials and a few steps, you can create a closure that will last for years.
Just mark, sew, and secure the snap, and you’ll have a professional-looking fastener. With the correct alignment and a few stitches, you’ll be able to click the two pieces together and know that they will stay in place.
Sewing snaps may seem intimidating, but with a few tips and tricks, you’ll be creating secure closures in no time.

