This site is supported by our readers. We may earn a commission, at no cost to you, if you purchase through links.
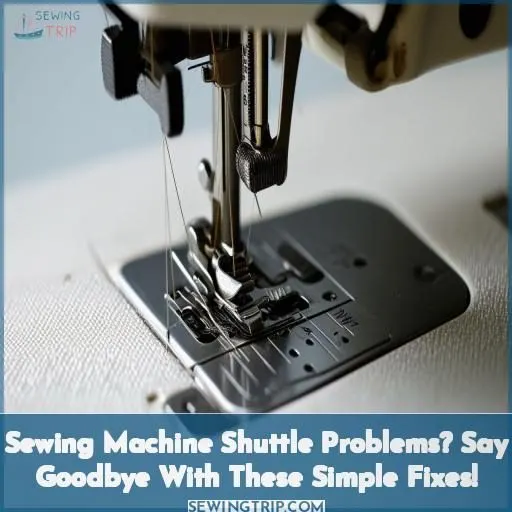 Sewing machine shuttle problems slowing you down? Don’t sweat it!
With some quick troubleshooting, you can banish pesky issues like early shuttle reversing, late thread formation, or threads wedging between the race and cover.
Start by checking for lint buildup, improper tensions, and lubrication – simple fixes that get things running smoothly again.
But there’s more to tackle if needed – bobbin carrier alignment, tension tweaks for looping threads, and polishing nicked or obstructed shuttle races.
Follow along to uncover the straightforward maintenance techniques and adjustments that’ll leave those shuttle snags in the dust.
Table Of Contents
Key Takeaways
- Don’t let pesky shuttle snags tangle you in a web of frustration. With some eagle-eyed inspection and a little elbow grease, those issues will be history before you can say "bobbin ballet."
- Keep your sewing machine’s little dancer (the shuttle) in tip-top shape with regular polishing and maintenance. A well-oiled, finely-tuned shuttle is a happy shuttle, prancing through stitches like a prima ballerina.
- Pay attention to the little details that can throw off your shuttle’s groove – thread tension, bobbin alignment, and timing all need to be in perfect harmony for smooth sailing.
- When all else fails, sometimes you just need to strip it down and give your machine a deep clean. A lint-free shuttle race and pristine hook are the keys to preventing those dreaded thread tangles and jams that can leave you feeling like you’re sewing with your toes.
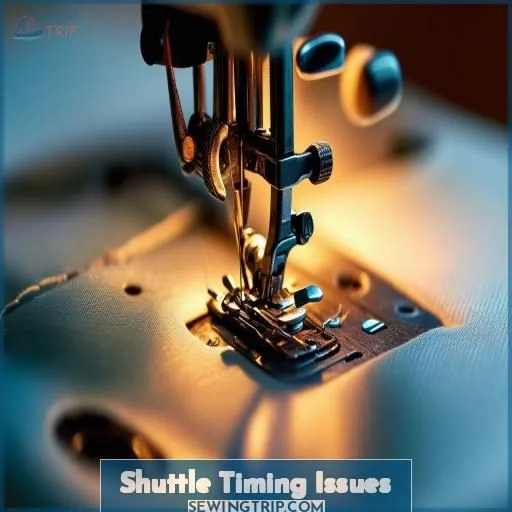
Shuttle Timing Issues
Is your sewing machine’s shuttle reversing too early or the thread coming up late? You might also find the thread wedged between the shuttle race and cover plate, causing timing issues and jams.
Shuttle Reversing Too Early
Is your sewing machine’s shuttle reversing too soon?
Check that lint hasn’t built up, causing the hook to wear down and fail to align properly.
Incorrect spring tension could also make the shuttle reverse prematurely.
Lubricate the shuttle race and adjust the shuttle driver’s gap to get that timing just right.
With some tweaking, you’ll have your bobbin dancing harmoniously again!
Thread Coming Up Late
Thread coming up late could signal excessive thread tension, incorrect timing, or an improper thread path.
Check if your bobbin case is aligned and the upper thread isn’t getting hung up on the center shaft or hook assembly.
Inspect the thread grooves for nicks or burrs that may cause snagging.
Verify that your needle is tight—a loose one can cause vibrating shuttle timing issues.
Thread Wedged Between Race and Cover
You cringe when thread wedges itself between the shuttle race and cover. But don’t fret—a simple fix is here! Check if the screws on your cover plate are loose and tighten them. And while you’re at it, give your shuttle hook a good polish for smooth sailing. With proper timing and tension, your machine will purr like a kitten.
Bobbin Carrier Problems
If your bobbin carrier doesn’t have the proper slack, you’ll run into issues with the shuttle. Too much in/out slack or not enough forward/backward slack can prevent the bobbin thread from moving smoothly, causing jams and uneven stitches.
Insufficient Forward/Backward Slack
Check if your bobbin carrier has insufficient forward/backward slack. Improper bobbin alignment and installation often restrict its movement, causing the thread to get stuck or the carrier to bind. Regularly maintaining the right amount of slack tension is essential for smooth stitching. If you notice thread troubles or shuttle problems, inspect the bobbin carrier’s placement and adjust as needed.
Excessive In/Out Slack
You’ve addressed the forward/backward play, but that pesky in/out bobbin movement persists.
Excessive bobbin play can cause tension problems, with the needle snagging the bobbin case or thread catching on the hook.
Check for a loose bobbin carrier fit or bobbin case damage allowing too much side-to-side movement.
Alignment issues may require a replacement part to restore proper tension.
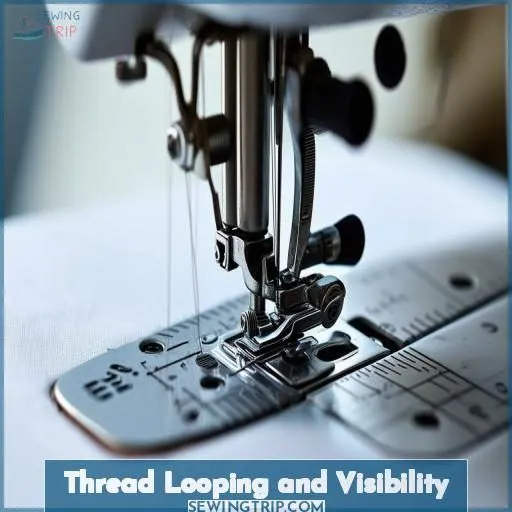
Thread Looping and Visibility
You might encounter an issue where the thread gets stuck in a loop, failing to make it around the shuttle completely. Additionally, the color of the thread and the sewing speed can sometimes make it difficult to see the problem clearly.
Thread Stuck in Loops
You’ve encountered the dreaded thread loops? Typically, improper thread tension or thickness is the culprit. Using an inadequate thread type for your fabric or running your vintage Pfaff 30-31 too quickly can also cause loops. Before reaching for the oil can, check that the thread isn’t snagging and adjust tension based on fabric thickness.
Thread Color and Speed Affecting Visibility
Another issue you might face is poor thread visibility due to its color or the machine’s speed. Contrasting thread colors against the fabric and proper lighting can help. Consider using magnification aids or filming in slow motion to better observe the thread’s movement around the shuttle area.
Shuttle Race Obstructions
A grimy, lint-filled shuttle race can obstruct the shuttle’s smooth movement and prevent proper stitch formation. You should regularly inspect the shuttle race for stuck thread pieces, dings, or scratches that may impede the shuttle hook’s travel.
Grunge Buildup
Let’s say your vintage sewing machine‘s stuck shuttle is caused by grunge buildup—old oil and lint clogging the shuttle race. Don’t panic! Grab your service manual and dismantle the shuttle race. Carefully clean any grime, dings, or hardened deposits with a lint-free cloth before reassembly. Proper maintenance prevents future grunge buildup.
Stuck Thread Pieces
Don’t let stuck thread pieces cripple your sewing machine! Carefully inspect the shuttle hook area for any pesky thread remnants trapped under the cover plate. These sneaky thread bits can wreak havoc on your bobbin tension and top thread tension, causing erratic stitching on vertical bobbin machines. Stay vigilant, remove those stubborn thread pieces, and keep your shuttle spinning smoothly.
Dings or Scratches
Check your shuttle race carefully for any dings or scratches. Even slight damage can cause friction, preventing the shuttle from moving smoothly.
Over time, this wear and tear leads to thread breakage, skipped stitches, and frustrating jams.
Disassemble the shuttle race. Clean away built-up gunk or varnish. Lightly polish out any imperfections for a silky-smooth operation on your trusty industrial machine.
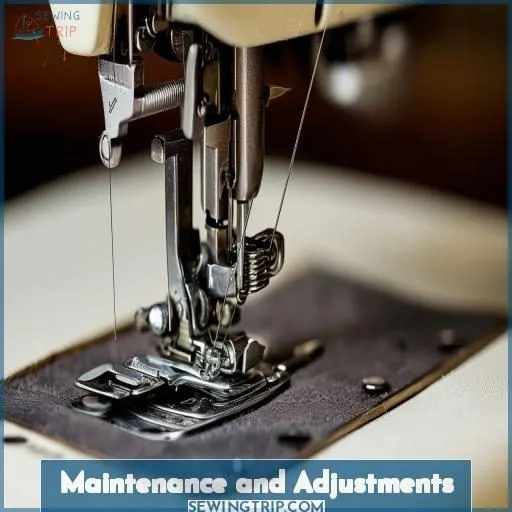
Maintenance and Adjustments
To maintain your sewing machine’s shuttle, regularly clean the shuttle race and polish the shuttle hook; this will prevent buildup and guarantee smooth operation. You’ll also want to adjust the shuttle driver gap for proper thread clearance and tighten any loose cover plate screws that could contribute to shuttle issues.
Cleaning Shuttle Race
You’ll need the right tools to keep that shuttle race pristine. A good solvent, some brushes, and a pick will clear out grunge and thread buildup. Don’t forget to lubricate afterwards – a well-oiled machine is a happy machine. Cleaning frequency depends on use, but do it regularly, especially for heavy-duty jobs like upholstery work.
Polishing Shuttle Hook
With the shuttle race now clean, you’ll want to polish that shuttle hook for smooth operation. Here’s how:
- Use fine-grit sandpaper to remove any dings or burrs
- Treat the hook with metal polish and a soft cloth
- Gently buff to a bright, smooth finish
- Consider plating or electropolishing for a durable surface
Taking these simple polishing steps guarantees your shuttle hook glides effortlessly through each stitch.
Adjusting Shuttle Driver Gap
After polishing the shuttle hook, you’ll want to adjust the shuttle driver gap. Spread the arms slightly to widen it—just enough for your thickest thread. A proper gap allows smooth operation while maintaining proper tension. Don’t forget to lubricate those arms before reassembling for best results. Regular gap adjustment and maintenance are key.
Tightening Cover Plate Screws
Don’t overlook the importance of plate screw tightness. If those cover plate screws are loose, it could be the root of your sewing woes. Secure those screws tightly, ensuring the cover plate has zero play. A firmly fastened cover plate eliminates potential thread-snagging culprits and keeps your machine stitching smoothly.
Frequently Asked Questions (FAQs)
Why is my sewing machine not picking thread from the shuttle?
Like a diver trapped in a net, your thread seems entangled in the shuttle’s maze. But fear not, this tangle can be untied with a little finesse – check for trapped threads, proper shuttle timing, and bobbin carrier slack to get that thread dancing again.
Why is my sewing machine not moving the fabric forward?
If your sewing machine isn’t moving fabric forward, first check for thread tangled in the feed dogs. Make sure the feed dogs are up and not stuck down. You may need to adjust the presser foot pressure or lubricate moving parts for smooth fabric feeding.
What are the 7 common sewing machine troubles?
The 7 most common sewing machine troubles are: tangled threads, skipped stitches, needle breaking, jamming, fabric not feeding properly, tension issues, and bobbin-related problems. A few quick fixes can often resolve these headaches, getting you back to sewing smoothly.
What is the function of the shuttle in a sewing machine?
Hey there, essentially, the shuttle is the heart of your sewing machine. It’s a little bobbin case that zips back and forth, interlocking the top and bottom threads to create those flawless stitches you desire. Treat it with care, and it’ll keep your projects running smoothly.
How do I replace a worn shuttle hook?
To replace a worn shuttle hook, first purchase a compatible shuttle hook for your machine model. Carefully disassemble the components, remove the old hook, and install the new one according to the manufacturer’s instructions. Verify proper alignment and tension before reassembling the sewing machine.
What causes bobbin thread shredding?
Bobbin thread can shred due to rough bobbin case surfaces, improper threading, dull needles piercing the thread, or excessive upper thread tension. Inspect the bobbin case for burrs, rethread properly, replace the needle if needed, and adjust the upper tension to resolve shredding issues.
How often should I oil the shuttle race?
Picture a pristine shuttle race, glistening with oil – that’s the aim. Oil it after 8 hours of sewing to maintain its smooth motion and prevent dreaded thread shreds. A well-lubricated race guarantees your stitches stay consistent and strong.
Can different thread types affect shuttle timing?
Yes, different thread types can affect shuttle timing. Thicker threads may require adjusting the shuttle race gap or loosening tension to prevent the thread from getting trapped. Regularly cleaning the shuttle area and using quality thread is also important for ideal timing.
Is a noisy shuttle normal or a concern?
A noisy shuttle is an indication that something isn’t running smoothly. It could be caused by lint buildup, lack of lubrication, or misalignment. While some noise is normal, excessive rattling warrants further inspection to prevent potential damage.
Conclusion
So there you have it – with proper maintenance, adjustments, and tackling sewing machine shuttle problems, you’ll wave goodbye to those pesky snags. Vigilantly clear lint buildup, polish nicks, adjust timings and tensions – leave no stone unturned in your quest for flawless stitching. Leverage these straightforward techniques to wrangle those shuttle issues and achieve seamless fabric feeding.

