This site is supported by our readers. We may earn a commission, at no cost to you, if you purchase through links.
 You may be surprised to learn that very nearly 75% of mistakes by beginning sewers are the result of improper threading.
It is fundamental, but how to put thread in a sewing machine is necessary for utterly glitch-free sewing.
This step-by-step guide will take you through everything from threading your upper thread to troubleshooting possible problems.
If you’re just starting to sew or simply need a refresher course on techniques, these instructions will help you master your sewing machine and start stitching confidently.
Let’s get started!
Table Of Contents
- Key Takeaways
- How to Put Thread in Sewing Machine?
- Threading the Upper Thread
- Loading the Bobbin With Thread
- Inserting the Bobbin
- Threading the Top Spool
- Threading the Needle
- Threading the Bobbin
- Troubleshooting Threading Issues
- Sewing Machine Safety Precautions
- Using the Thread to Stitch
- Ready to Start Sewing
- Frequently Asked Questions (FAQs)
- Conclusion
Key Takeaways
- Threading your sewing machine is like a dance – it requires precision and a smooth flow of movements. Just like a graceful waltz, every step matters.
- Don’t be afraid to ask for help if you get stuck. Remember, even the most experienced seamstresses have had their fair share of tangled threads.
- Practice makes perfect. The more you thread your sewing machine, the easier it will become. Just like learning to ride a bike, with a little practice, you’ll be threading like a pro in no time.
- Don’t sweat the small stuff. If you make a mistake, don’t worry about it. Just take a deep breath and start again. After all, even the most beautiful quilts are made up of a lot of little stitches, and not all of them are perfect.
How to Put Thread in Sewing Machine?
Threading a sewing machine might seem tricky, but it’s pretty simple. First, you set a spool of thread on the spool pin with its appropriate color and size.
The thread is pulled through the thread guides and tension discs, then through the take-up lever, and the needle is threaded front to back.
For the bobbin, you mount it onto the winding spindle and engage it to wind the thread. Place the bobbin into the case, ensure it unwinds in a ‘9’ shape, and check the tension.
Provided everything is hitched up correctly, you are pretty near ready just to go ahead and sew like a professional.
Ready to dive in for more details?
Threading the Upper Thread
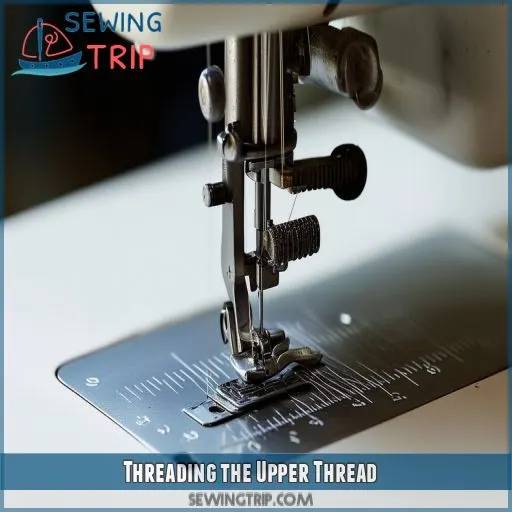
First, put the spool of thread onto the spool pin; the spool stopper will keep it in its place.
Use the appropriate color and size of your thread according to the type of fabric you’re going to sew; note that proper thread tension will ensure smooth stitches.
Next, pull the upper thread through the thread way, then through the thread guides and tension discs. The thread would move smoothly without tangling.
Pass the thread through the take-up lever, always holding it with steady tension. Then, further it down towards the needle.
Thread the Needle Front to back using a needle threader if necessary for convenience. Once threaded, pull several inches of thread through the needle so that it’s ready for sewing.
Set up will ensure you get optimal performance from your sewing machine.
Loading the Bobbin With Thread
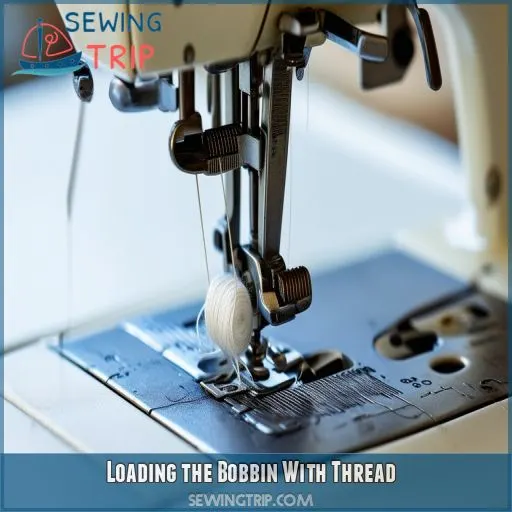
After threading the upper thread, it’s time to load the bobbin with thread.
Start by placing your chosen bobbin on the bobbin winding spindle, ensuring it matches your machine’s bobbin size and bobbin type.
Wrap your bobbin thread around the bobbin winder thread guide as directed by your machine’s manual.
Engage your bobbin winder and start the winding process. Your machine will either automatically stop or you can manually halt when the bobbin is full.
Cut the bobbin thread close to the bobbin to avoid tangling.
Always check the bobbin tension; it should be firm but not overly tight.
Inserting the Bobbin
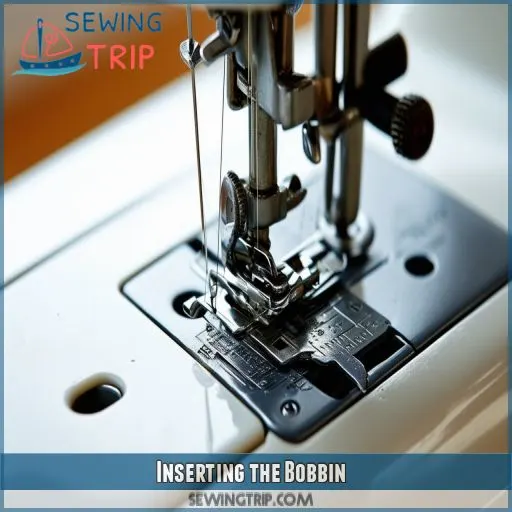
First and foremost, the insertion of the bobbin is very important for smooth stitching. Here are the steps:
- Put the bobbin in the case, and let the thread coming off it unwind in the shape of a ‘9’ or ‘6.’.
- Push the bobbin case with the thread inside it into the bobbin area.
- Draw the bobbin thread through the slit in the bobbin case; this will form one small loop.
- Gently tug on your thread; the bobbin tension should be correct, and it should move freely.
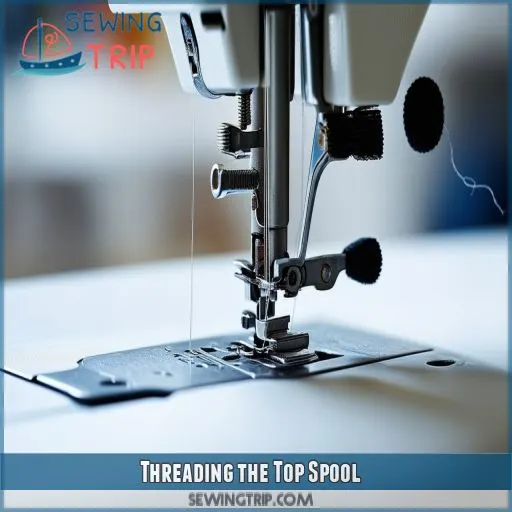
Threading the Top Spool
Now that your bobbin is firmly in place, you must focus on threading your top spool.
First, put your thread onto the spool pin. Then, take your thread through the thread guide, making sure this is seated.
Next, pass the thread around the tension discs; this is important for proper threading tension. Finally, pull the thread up and loop it around the takeup lever. Make sure that it clicks into position. Keep the thread taut but not tight, and then guide it through the following thread guide to continue. This journey through the sewing machine’s labyrinth ensures smooth stitching.
Now that your thread is in place, you’re nearly ready to sew. Let’s move on to the step of threading your needle!
Threading the Needle
Threading of the needle is very critical to achieve smooth sewing. Here’s how:
- Wrap Thread: Take the thread from the tension discs, then loop it around the take-up lever and guide it down towards the needle docking station.
- Thread the needle: Take the thread from front to back through the needle; use a needle threader when necessary.
- Check your work: The thread should feed easily through a sewing machine thread guide and the eye of a needle.
Threading the Bobbin
First, be sure you have the correct type and size of bobbin for your sewing machine.
Some machines use different sizes which are made from various materials.
Place a wound bobbin in the bobbin compartment.
Be sure that the thread feeds off of the bobbin counterclockwise.
This will be explained in the guide within your sewing machine manual as you pull the thread through the slot and up toward the take-up lever.
Pull the bobbin thread while turning the handwheel toward you to raise the needle.
Catch the bobbin thread and bring it up through the throat plate.
Do this until you can see both threads.
With the bobbin thread up, you have just gotten closer to a perfect stitch—proper tension on your bobbin and smooth operations.
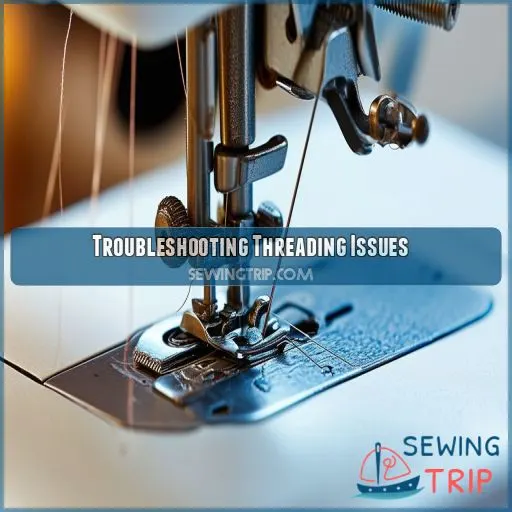
Troubleshooting Threading Issues
Threading issues are very frustrating, but sometimes, they’re very quickly resolved. First, check your threading path—make sure the thread is correctly passing through all the thread guides and tension discs.
If your fabric has skipped stitches, then consider the size of the needle and the type of thread, and make sure it’s appropriate to your material. If the thread continues to break, the tension may be too tight; adjust this with a sewing machine tension dial accordingly.
Also, check the bobbin tension; it shouldn’t be too tight or loose. Remember to raise the presser foot while threading the machine since that opens the tension disks.
Knowing all these tips on troubleshooting a sewing machine can help make your sewing experience smoother and will teach you how to thread your machine with ease.
Sewing Machine Safety Precautions
Always switch off your sewing machine when threading it to avoid accidents.
The area should always be well-lit to distinguish all the parts.
Keep your fingers away from the needle as you move it up and down.
Ensure that the cord of the sewing machine and the pedal are clear from obstruction.
Use good thread; use the proper needle size for your material. It will reduce breaks and snags.
Ensure its thread tension and compatible thread weight and type. This compartment is closed before starting to sew.
Use safety glasses if necessary.
Of course, do remember that it’s a focused mind that leads to smooth operation; hence, avoid the distortion while doing it.
These precautions help you stay safe and have an enjoyable sewing experience.
Using the Thread to Stitch
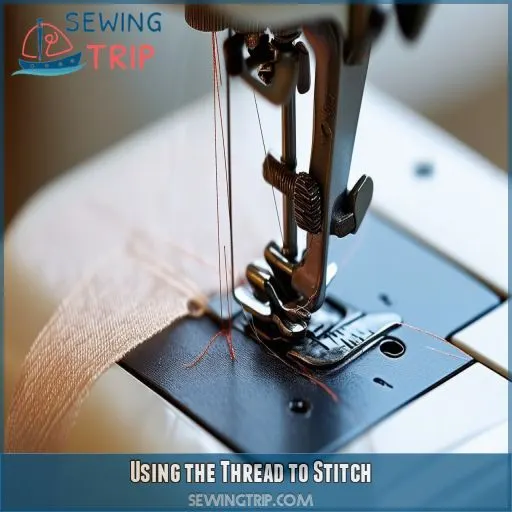
Your machine is now threaded so that you can start sewing.
First, select the type of stitch used on your fabric. Make sure that your thread length is appropriate and that the tension of your bobbin is also adjusted correctly.
Lower the presser foot to hold your fabric in; place the needle at the start of your seamline.
Holding both thread ends lightly to avoid tangled messes, hit the foot pedal, and begin sewing.
Keep steady; the machine will feed out the material.
If there are skipped stitches or the material is bunched, stop immediately and assess what went wrong. Perhaps your threads were misaligned, or the tensions are off.
With practice, you’d work through and get smooth, even stitches with any fabric that comes your way.
Ready to Start Sewing
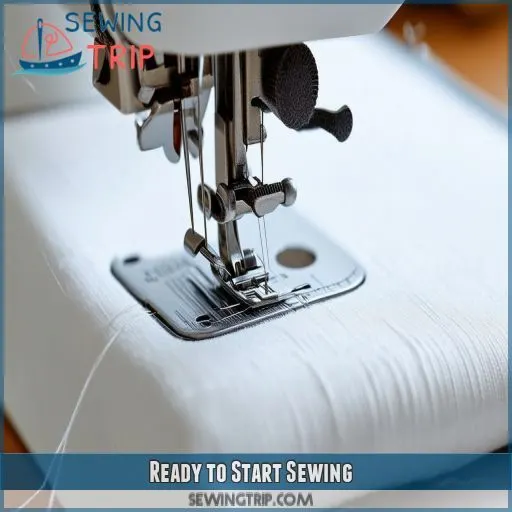
Now that your machine is threaded and ready, it’s time to sew. Place your fabric under the presser foot, aligned with the seam guide. Lower the presser foot lever to hold your fabric in place. Start sewing using the foot pedal; don’t worry, you can overshoot!
Remember to:
- Trim excess thread for excellent clean start using your thread cutting tool.
- Use slow, even pressure to avoid bunching of the fabric or breaking of the thread.
- Check your stitches at intervals to maintain correct tension.
Keep your machine maintenance current, and only use high-quality threads from trusted thread manufacturers for peak performance. Now, unlock your creativity and get started on that project!
Frequently Asked Questions (FAQs)
How do you add thread to a stitch?
To add thread to a stitch, stop the machine, cut the existing thread, and tie the new thread to it. Pull the new thread through to the needle eye, ensuring it’s snug and ready to continue sewing.
How to put the thread in a portable sewing machine?
Imagine threading a needle quick as lightning: place the thread on the spool pin, guide it through the tension discs and take-up lever, down to the eye of the needle. Finish by loading and threading the bobbin.
How to thread a Singer sewing machine step by step?
Place the spool on the spool pin, guide thread through thread guides and tension discs, then down to the needle. Thread the needle from front to back. Load the bobbin per instructions, and join top and bobbin threads.
How do you connect threads when sewing?
Did you know that sewing boosts creativity by 60%? To connect threads, hold the ends of the top and bobbin threads, pull them gently to the back of the machine, and start your stitching!
How do you use a threading machine?
To use a threading machine, place the spool on the spool pin, guide the thread through the thread path, wind the bobbin, thread the needle, and pull both top and bobbin threads to the back.
How do you use a sewing machine?
To use a sewing machine, set it up on a sturdy surface, thread the needle following your manual’s instructions, load the bobbin, adjust tension, select a stitch, and use the foot pedal to start sewing.
How do you thread a sewing machine?
Threading a sewing machine is a breeze: place the spool on the pin, guide the thread through the thread guides, loop around the tension discs, and thread the needle. Finally, load and wind the bobbin.
How do you use a bobbin threaded sewing machine?
To use a bobbin threaded sewing machine, insert the bobbin, thread the upper needle per instructions, pull both threads to the back, lower the presser foot, and gently start sewing, ensuring tension and stitches are correct.
How do I clean my sewing machine?
clean your sewing machine by first unplugging it. Remove lint and dust with a small brush or compressed air. Oil the moving parts with a few drops of sewing machine oil, and wipe exterior surfaces with a soft cloth.
What is the best thread for jeans?
For jeans, use a polyester or cotton-wrapped polyester thread. It offers strength and durability suitable for heavy fabrics, ensuring your stitches hold up through wear and washing. Look for brands like Gutermann or Coats for reliability.
How do I maintain proper needle alignment?
Place the needle with the flat side to the back, ensuring that it’s pushed right into the holder with the screw tightened going well and that it’s straight. It should be regularly inspected for bends or dullness to maintain alignment.
What causes skipped stitches on denim?
Trying to sew denim with skipped stitches can feel like running a marathon in flip-flops. Skipped stitches usually happen because the needle isn’t heavy-duty enough, it’s dull, or the thread tension is incorrect.
How do I switch between stitch patterns?
Changing Stitch Patterns: Select the required pattern using the stitch dial or digital panel on your machine. Always raise the presser foot lifter before changing. Consult your manual for specific settings and adjustment instructions.
Conclusion
Now you’ve learned how to put thread in a sewing machine—the backbone of flawless sewing.
Every step, from threading the upper thread to troubleshooting methods, is essential for its smooth functioning.
Now that you have these techniques, you’re good to go with your sewing projects. Remember very clearly that precision while threading is essential, so refer back to this guide anytime.
Happy stitching!

