This site is supported by our readers. We may earn a commission, at no cost to you, if you purchase through links.
This beginner’s guide breaks down everything you need to know about reading sewing patterns, from choosing the right size to navigating all those mysterious lines and markings.
We’ll cover how to decipher the hieroglyphics of pattern symbols, assemble the puzzle pieces of the pattern itself, and select fabrics and notions to bring your creation to life. With some guidance on following pattern instructions, you’ll gain the skills and confidence to unleash your inner clothing designer.
Reading a sewing pattern is your first step toward the thrill of making your own clothes with care and creativity.
Table Of Contents
Key Takeaways
- Notches, clips, circles, and triangles are marking symbols for alignment.
- Dashed lines represent stitching lines and solid lines represent cutting lines.
- Arrows indicate the grainline and curves indicate the width of the seam allowance.
- Follow the instructions in the given order for proper construction.
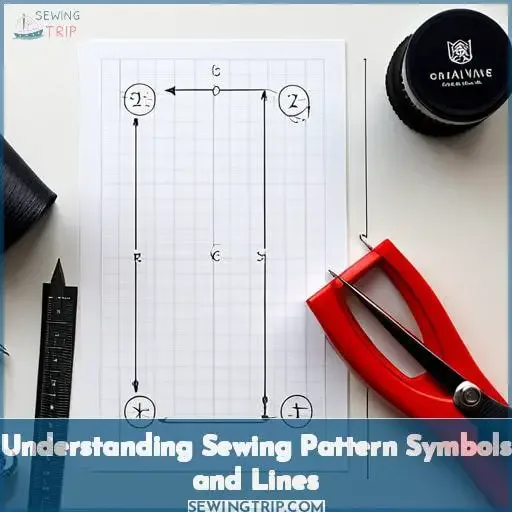
Understanding Sewing Pattern Symbols and Lines
You’ve made it to an exciting milestone – it’s time to start reading and understanding the cryptic language of sewing patterns! This new skill will unlock the ability to transform flat paper into three-dimensional garments.
As you gaze at the geometric shapes peppered with puzzling symbols, take a deep breath and know that with some guidance, it will all start to make sense. The abstract shapes represent pattern pieces waiting to become recognizable garment components.
Those lines indicate important details like grain, darts, and dots called notches. Notches are little road maps guiding you to perfectly match up seams. Don’t let it intimidate you. Like learning any new language, reading a sewing pattern just takes a bit of knowledge, patience, and practice.
Meaning of Symbols on a Sewing Pattern
You’ll notice various symbols and lines on the pattern pieces depicting details like darts, notches, and grainlines for proper alignment and construction.
- Cutting lines show where to cut out the pattern pieces.
- Marking symbols like circles or triangles match between pieces for alignment.
- Grainline arrows must be parallel to the fabric grain for proper hanging and stability.
The markings bring the flat pattern to life in 3D on your body. Carefully transferring them to fabric is crucial for constructing the garment correctly.
Interpretation of Pattern Lines and Symbols
Curious minds, glimpse between the lines to unveil the secrets of fit, style, and construction. Markings show the path to precision. Arrows guide the grain. Dashed lines beg snipping to match notches. Seam guides frame the structure. Measurements check ease. Symbols cue construction steps.
Pieces hold the shape. Together, they empower you to manifest the magic of fashion.
Importance of Notches on a Pattern
Marking notches helps keep the pieces aligned as you sew.
- Notches indicate matching points.
- Clip inward curves and corners.
- Transfer all notches from paper to fabric.
- Stitch directly over snip or chalk marks.
- Secure loose seam allowances.
Carefully transferring and matching notches is crucial for proper pattern alignment and fit.
Key Elements of a Sewing Pattern
Let’s familiarize ourselves with the key parts of a sewing pattern. First, let’s check out the pieces: the front, back, sleeves, and more. These shapes are cut and sewn together. Next, let’s examine the solid and dotted lines that show cutting, stitching, and seam allowances.
Finally, let’s note details like grainlines for positioning on fabric, and darts, gathers, and pleats for shaping.
Overview of Pattern Pieces
You’d be surprised how many pieces make up a pattern. A single garment may have six or more pattern pieces, such as fronts, backs, sleeves, collars, and pockets. Some patterns include variations too, like shorts and pants from the same base pattern piece.
Carefully check your pattern guide to confirm you have all the required pieces for your desired view. Don’t forget to match up notches when sewing! Sizes use an adjustable measuring guide, so one pattern includes many options.
Layout diagrams show ideal fabric usage. For beginners, choosing interfacing and fabric is key.
Explaining Cutting Lines
Snip along those tissue edges where the cut lines are shown. Transfer all those key markings – darts, pleats, pockets – onto your fabric pieces before cutting. Lay out your fabric as shown in the layout plan and cut pieces in order. Allow generous seam allowances; remember to add hem allowances too.
By following the cutting lines precisely, you’ll end up with perfectly matched seams and professional finishes. Master these skills now, and you’ll be on your way to designing your own patterns someday.
Importance of Grainlines
Follow the grainline arrows as if your sanity depends on it! Properly aligning pattern pieces along the grain ensures a smooth flow over curves and helps garments maintain their shape. Test different orientations and you will immediately notice unwanted effects such as sagging, twisting, and straining.
Without proper application of the grainline, finished garments can distort, ride up, or pull across the waist and bust point. Follow the lengthen/shorten lines, style lines, and grainlines, and you will achieve stitching success.
Understanding Darts, Gathers, and Pleats
Mark darts by pinching the fabric together at the dart point, creating a small nipple shape, and bring the seam to the inside. Darts shape the fabric to fit your curves. Mark pleats by folding the fabric along scored lines – pleats add stylish fullness.
Mark gathers by stroking two rows of long stitches within the seam allowances, then pull the threads to gather the fabric – gathers evenly distribute the fullness. Follow pattern guides precisely to achieve the intended fit and drape. Master darts, pleats, and gathers to embrace the art of garment construction.
Choosing the Right Sewing Pattern
Before picking out your first pattern, there are a few things to consider. You’ll want to evaluate the sewing level and complexity indicated on the pattern envelope to make sure it matches your skills.
Also, look for tips on choosing beginner-friendly options – simpler designs, fewer pattern pieces, and easier closures like zippers rather than buttons.
Factors to Consider When Selecting a Sewing Pattern
You’d be wise to choose easier patterns with fewer pieces and simpler construction when starting out.
- Look for simple silhouettes like A-line dresses or boxy tops.
- Stick to basic closures like back zippers instead of button plackets.
- Avoid collars, cuffs, pockets, and other details at first.
- Prioritize woven fabrics over tricky knits that can stretch and distort.
- Focus on getting comfortable with the basics before attempting more advanced techniques.
Evaluating Sewing Level and Complexity
Look for fewer pattern pieces, uncomplicated closures like zippers, and simpler silhouettes as you start sewing. Examine each pattern element – the lines will reveal complexities. Choose man-made or natural fabrics suggested for beginners.
Ensure your figure measurements match the size chart. With practice, you’ll develop skills to handle intricate designs.
Tips for Choosing Beginner-Friendly Patterns
When starting out, choose uncomplicated patterns with few pieces and simple construction – it’ll boost your confidence and set you up for sewing success. Shockingly, over 90% of beginners are intimidated by commercial patterns! Look for simple styles like gathered skirts.
Before cutting, check the size chart and grade between sizes if needed. Make a test version first in cheap fabric to perfect the fit. Follow all pattern preparation steps like tracing adjustments or fabric preparation.
Selecting the Correct Size
First things first, grab that tape measure and assess your vital statistics. Check the pattern’s size chart to identify which size aligns with your measurements. Now, note the difference between your body’s dimensions and the finished garment measurements listed – that’s wearing ease, or how the garment will skim your body.
If your measurements fall between two sizes, feel free to split the difference by grading – carefully blending pattern lines to customize the fit.
How to Determine Your Size Using the Size Guide
Help yourself to success by taking honest measurements and double-checking the pattern’s finished garment measurements before cutting that first stitch. Compare your bust, waist, hip, and any other key body measurements to the size chart.
Adjust the pattern up or down a size if your measurements are between two options. To be sure of fit before cutting good fabric, test with a muslin mockup based on your actual body measurements, not just the size chart.
Then tweak the fit by adjusting seam allowances and adding length or width as needed.
Understanding Wearing Ease and Finished Measurements
Measure the widest part of your bust and compare it to the finished garment bust on the pattern to understand the wearing ease built into that size. Finished measurements indicate the actual dimensions of the garment, so compare them to determine the fit.
Grading between sizes provides more room through the bust and hips. Larger seam allowances allow you to tailor the garment to fit by altering the seams.
Adjusting Between Sizes for a Custom Fit
You’re going to have a better fit if you size between two pattern sizes based on your own measurements. Statistics show that over 60% of sewers tweak the sizing for an ideal custom fit. Take accurate bust, waist, and hip measurements, then compare them to the size chart.
If you are falling between sizes, blend by cutting each pattern piece between the two sizes. Do a test version first to check, and then alter the pattern as needed for an ideal personalized fit.
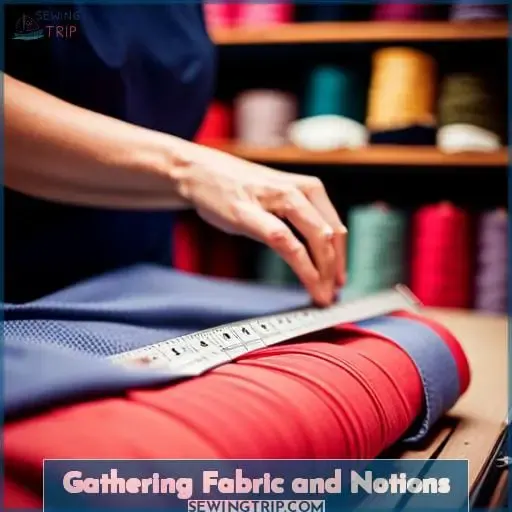
Gathering Fabric and Notions
Let’s discuss how to prepare your fabrics, purchase your notions, and get ready to sew your first pattern. You’ll need to check the recommended fabrics and yardages, gather everything on the notions list, properly prepare your fabric, understand the pattern symbols, and carefully follow the instructions.
With some guidance on interpreting the pattern guidesheets, you’ll gather everything needed to start sewing your garment successfully.
Recommended Fabrics and Modifications
Check the fabric suggestions on the pattern envelope before buying, but don’t be afraid to substitute if you understand the reasons.
- Test different fabrics first.
- Understand fiber content and drape.
- Match weight and structure.
- Consider care instructions.
While the pattern recommends certain fabrics, you can get creative with substitutions. Just educate yourself on why those fabrics are suggested so you can make informed fabric choices.
Interpreting the Notions List
Y’all better grab those interfacings, zippers, and buttons before cutting any fabric, lest your garment ends up more raggedy than a scarecrow’s Sunday best. Match your materials to the pattern’s suggestions, but don’t be afraid to swap them out based on your project’s needs and style.
Educate yourself on how to prep fabrics and experiment with techniques so you can make it work.
Preparing Fabric for Sewing
After gathering your notions, pre-treat the fabric by washing, drying, and pressing it before cutting to prevent shrinking and distortion later.
- Check fabric suggestions on the pattern for prewashing.
- Wash and dry using cool water and delicate cycle.
- Steam press (do not iron) to pre-shrink.
- Mark with tailor’s chalk or pens on the wrong side.
- Straighten edges using the selvedge as a guide.
Interpreting Style Lines and Markings
You’ll figure out the style lines and markings easily enough by taking your time and being meticulous. Pay close attention to the shape lines on the pattern pieces as they indicate darts, pleats, and other styling details.
Consult the pattern guide for explanations of the various markings and symbols. Be methodical in transferring key points like notches onto your fabric with the appropriate colored threads or tailor’s chalk.
Precision in following the markings is crucial for achieving the desired shape and fit.
Tips for Following Pattern Instructions
Walk through those instructions section by section to see the garment come together in your mind’s eye.
- Check the layout plan for cutting requirements.
- Note sleeve markings for upper and lower pieces.
- Examine finishing steps for the back neckline.
- Review fabric preparation like prewashing before starting.
- Tailor’s chalk, fabric pens, and pins all help with marking techniques.
Follow each step carefully to achieve the style you want. Skipping ahead risks mistakes.
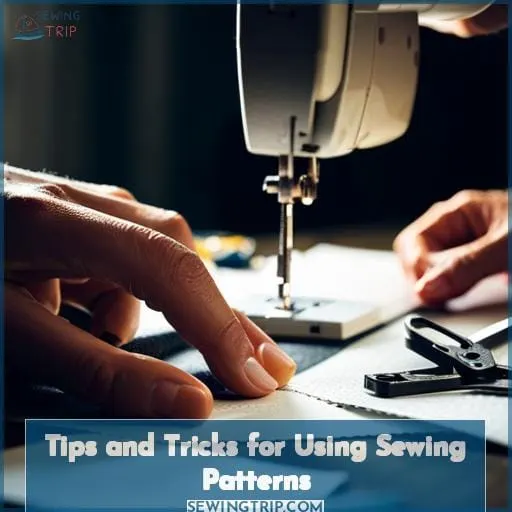
Tips and Tricks for Using Sewing Patterns
When working with sewing patterns, there are a few key tips to make the process go smoothly. First, assemble PDF patterns carefully by printing, trimming, and taping pattern sheets precisely. Next, trace traditional paper patterns onto sturdy paper is a must to preserve the original.
Finally, maximize your fabric yardage by arranging pattern pieces like a game of Tetris.
Printing and Assembling PDF Patterns
| Print test sheet | Align grain lines | Watch tutorials |
| Use good paper | Overlap pieces | Be precise |
| Check margins | Use interfacing tape | Take your time |
With proper preparation and patience, those PDF patterns will come together beautifully.
Tracing Traditional Paper Patterns
Leave the pattern tissue untouched – tracing a traditional paper pattern is your next quest. Transfer all markings onto heavier paper using a tracing wheel and dressmaker’s carbon. Pinning this to fabric requires less rote – just bust out those bastings, offsets, and pivots.
Now you’ve got a custom dressmaker’s copy that’ll last through countless imaginative creations.
Maximizing Fabric Usage With Tetris Method
Puzzle your pattern pieces together like a game of Tetris to maximize every inch of fabric. Strategically place the pattern pieces to efficiently use your yardage. Consider the fabric grain and layout diagram.
Prepare your fabric properly before cutting. When matching prints or plaids, take care to align the motifs accurately. With some clever spatial thinking, you can engineer the patterns to achieve maximum usage from the yardage you purchased.
Frequently Asked Questions (FAQs)
What tools do I need to work with sewing patterns?
Only the sharpest shears, handiest tape measure, and trustiest tailor’s chalk will do, along with top-tier tracing paper and wheel, pins galore, bodacious fabric scraps, shining needles, and brilliant thread.
How do I make adjustments if I need to alter the pattern to fit my body shape?
1 in 5 women report needing to adjust sewing patterns for a proper fit. Patterning bodies uniquely, trace yours from a tight fit to transfer; trace key points such as the bust apex, waist, hip apex, and across the back/front.
Then, use these new guides to adjust the sewing pattern pieces for curve differences.
What’s the best way to store tissue paper patterns so they don’t get damaged?
Fold tissue paper patterns neatly and store them flat in large ziplock bags. This will protect the tissue from rips, creases, and humidity. When using them again, refold along the original creases so that the pieces align properly.
Where can I find sewing patterns for men’s or children’s clothing?
Check both commercial pattern companies and independent designers for men’s and children’s patterns. Independent designers often focus more on niche categories like menswear, so browse sites such as Etsy and Spoonflower.
Are there any apps or software to help me digitize and modify paper patterns?
Yes, there are software programs like PatternMaker that allow you to digitize paper patterns, modify them on-screen, print altered versions, and output digital files. Scan tissue pattern pieces, input your measurements, grade between sizes, adjust length and width, and customize designs before printing or exporting files to use with a projector or cutter.
Conclusion
You’re at the starting line of an exciting sewing journey! With some guidance and practice, you’ll soon be whipping up stylish garments. Begin with simple patterns, follow instructions diligently, and don’t be deterred by mistakes.
They’re part of the learning process. Take it step-by-step, be patient, and you’ll master reading any sewing pattern.
With a few projects under your belt, you’ll gain experience, skill, and confidence. Before you know it, you’ll be able to look at any pattern and know exactly how to bring it to life in fabric. So grab those scissors, thread your needle, and let’s get sewing! How to read a sewing pattern will quickly become second nature.

