This site is supported by our readers. We may earn a commission, at no cost to you, if you purchase through links.
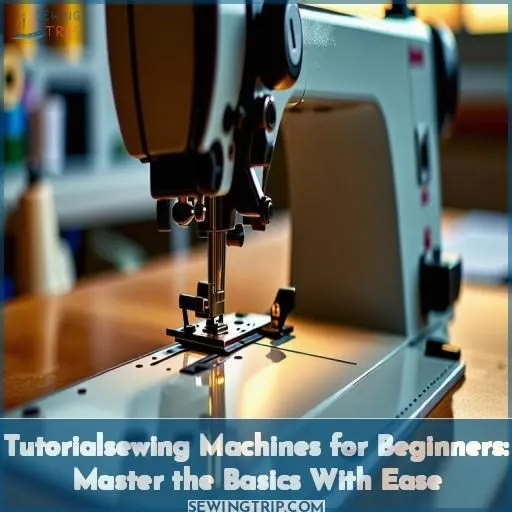 Are you a sewing novice determined to master the machine? Don’t worry!
Tutorials on sewing machines for beginners will guide you through this exciting journey. We’ll cover everything from selecting the perfect beginner-friendly model to threading like a pro.
You’ll learn about essential stitches, needle and thread selection, and maintenance tips to keep your machine in top shape.
With step-by-step instructions and hands-on projects, you’ll gain the confidence to tackle any sewing adventure.
And who knows? By the end, you might just be the one doling out sewing wisdom to fellow enthusiasts!
Table Of Contents
- Key Takeaways
- Sewing Machines for Beginners: Where to Start
- Basic Sewing Machine Anatomy
- Sewing Machine Stitches for Beginners
- Sewing Machine Needles and Thread
- Sewing Machine Maintenance
- Sewing Machine Feet and Accessories
- Sewing Machine Stitching Techniques
- Sewing Machine Speed Control
- Sewing Machine Safety
- Sewing Machine Projects for Beginners
- Frequently Asked Questions (FAQs)
- Conclusion
Key Takeaways
- Choosing the right beginner-friendly sewing machine with essential features like easy bobbin winding, adjustable thread tension, and simple stitch selection is crucial for success.
- Mastering basic sewing machine stitches like the straight stitch, zigzag stitch, and buttonhole stitch provides a strong foundation for tackling more advanced projects.
- Proper maintenance, including regular cleaning, oiling, and tension adjustments, keeps the sewing machine running smoothly and ensures consistent stitch quality.
- Starting with simple projects like a tote bag, pillowcase, or drawstring bag allows beginners to practice essential techniques and build confidence in their sewing skills.
Sewing Machines for Beginners: Where to Start
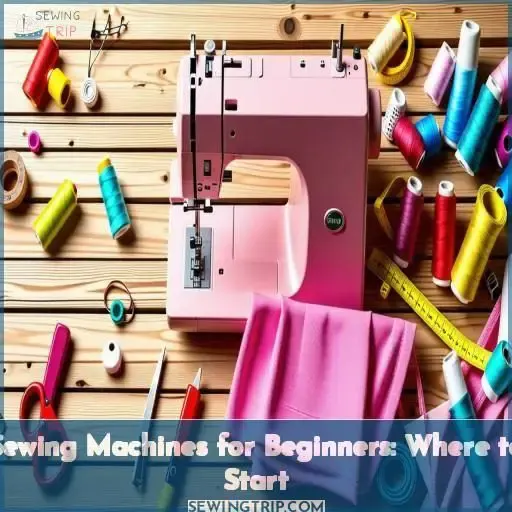
Beginning with the appropriate sewing machine is fundamental for beginners. You should opt for a user-friendly model with essential features such as built-in stitches, top loading bobbin, automatic needle threader, and adjustable stitch length and width.
Choosing Your First Sewing Machine
When choosing your first sewing machine, consider factors like price, brand reputation, portability, warranty options, and special features. Research models designed for beginners, prioritizing ease of use and durability. Compare prices across retailers to find the best deal. With the right machine, you’ll be driving the fabric with confidence, never worrying about it getting sucked down.
Essential Sewing Machine Features for Beginners
As a beginner, look for a sewing machine with these essential features: 1) Easy bobbin winding, 2) Adjustable thread tension, and 3) Simple stitch selection. Choose a machine with a range of needle sizes to handle various fabrics. Regular maintenance is key, so pick a model that’s user-friendly and durable. With the right machine, you’ll be sewing like a pro in no time!
How to Set Up Your Sewing Machine
To set up your sewing machine, choose a suitable fabric, thread the machine properly, adjust tension, and practice straight stitching. Troubleshoot any issues and prioritize safety. With patience and persistence, you’ll master the basics and be ready to tackle more advanced sewing projects. Let’s begin our journey and get started!
Basic Sewing Machine Anatomy
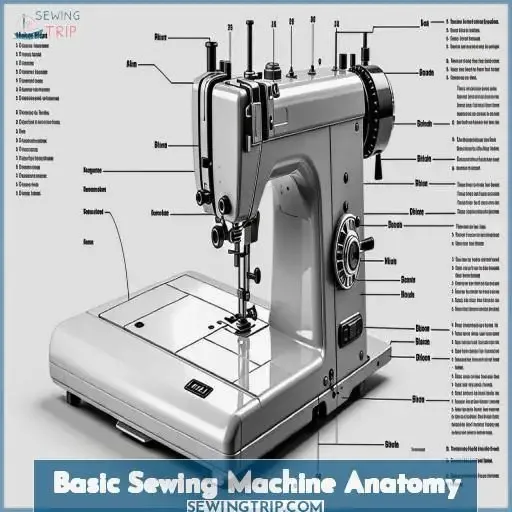
To start sewing with your machine, you’ll need to familiarize yourself with its anatomy—the different parts that make up the whole. Knowing the functions of the spool pin, thread guides, bobbin winder, presser foot, feed dogs, and other components will give you a solid foundation for properly threading the machine and winding the bobbin.
Parts of a Sewing Machine
When delving into the basic anatomy of a sewing machine, it’s imperative to apprehend the key components that form the foundation of its operation.
These include the power cord, foot pedal for controlling speed, and hand wheel for manual needle movement.
The critical elements like thread tension, bobbin winding, feed dogs, and the throat plate also play a crucial role.
Each of these components ensures a smooth and precise sewing experience.
Threading the Machine
Threading your sewing machine is a breeze once you get the hang of it. Start by placing your thread spool on the spindle and guiding the thread through the tension discs. Next, thread the needle, ensuring the thread passes through the take-up lever. With a few simple steps, you’ll be sewing like a pro in no time!
Bobbin Winding and Insertion
To wind the bobbin, place thread on spool pin, feed through thread guide, wrap clockwise around bobbin, and insert bobbin into bobbin winder.
Press needle down button to keep needle in place while winding. Adjust bobbin tension as needed.
For insertion, place bobbin in bobbin case, pull thread through slot, and close bobbin cover.
Mastering bobbin management is key for successful sewing!
Sewing Machine Stitches for Beginners
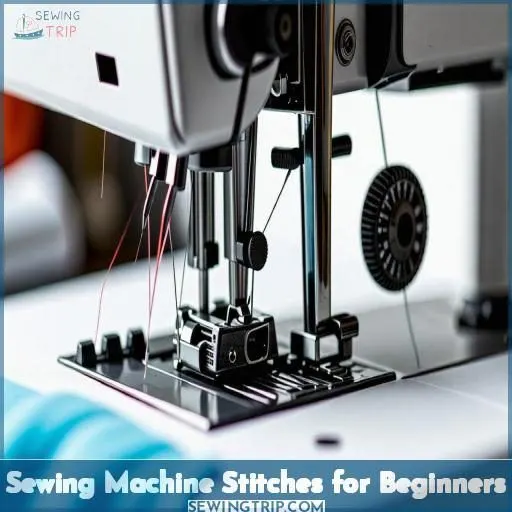
You’ll want to start by mastering the straight stitch – it’s the foundation for most sewing projects.
The zig-zag stitch is also versatile, allowing you to finish edges and sew stretchy fabrics; master both for a strong foundation.
Once you’ve got those down, move on to the buttonhole stitch – an essential skill for creating functional closures on garments and accessories.
Straight Stitch
When exploring the world of straight stitch practice, it’s key to balance stitch length and thread tension for ideal seam allowance and stitch quality.
Beginner projects benefit greatly from proper alignment of the stitch length and seam allowance.
Also, the type of fabric has a major impact on the outcome when working on straight stitch projects.
Mastering these elements creates a strong foundation for successful sewing endeavors.
Zig-Zag Stitch
The zig-zag stitch is a versatile option for beginners. Adjust the stitch width and length to create various patterns. Use it for seam finishes, appliqué, and decorative stitching. Troubleshoot tension issues if needed. With practice, you’ll master this essential stitch for hand sewing and sewing projects. Don’t forget to use the reverse button for secure starts and stops.
Buttonhole Stitch
The buttonhole stitch is a versatile technique that allows you to create secure, decorative openings for buttons. Adjust your machine’s settings, use the buttonhole foot, and follow the on-screen guides. Experiment with different buttonhole patterns, shapes, and decorative stitches. Take your time, use straight pins for stability, and backstitch at the start and end for a professional finish.
Sewing Machine Needles and Thread
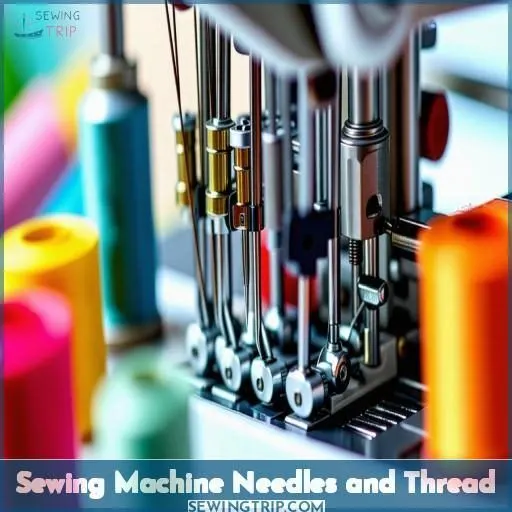
You’ll need to choose the right needle size and thread type for your sewing project. Needle size corresponds to fabric weight, while thread should complement the needle size and match your fabric’s fiber content for exceptional stitch quality.
Choosing the Right Needle Size
Selecting the appropriate needle size is critical for seamless sewing.
Align the needle gauge with the weight of your fabric – a finer needle for lightweight fabrics and a thicker needle for heavier fabrics.
Verify that the needle is sharp and that its shape is compatible with your project.
With the correct needle, your sewing machine will operate smoothly, producing professional-looking results consistently.
Selecting Thread for Your Project
When selecting thread for your sewing project, consider factors such as thread types, strength, color, and tension.
Different fabrics require different thread types, such as cotton, polyester, silk, or metallic.
The thread’s strength should complement the fabric’s weight and the amount of stress the seams will endure.
Choose a thread color that complements or contrasts with the fabric, and adjust thread tension for satisfactory stitching results.
Specialty threads are available for specific projects.
Needle and Thread Compatibility
To achieve perfect stitches, match your needle and thread. Choose a needle size slightly larger than your thread. For lightweight fabrics, use a fine needle and thread. For heavyweight fabrics, use a larger needle and thicker thread. Adjust tension to prevent thread breakage or looping. Experiment to find the ideal needle-thread combination for your project and machine.
Sewing Machine Maintenance
To keep your sewing machine running smoothly, it’s vital to maintain it properly. Regular cleaning and oiling will prevent lint buildup and guarantee all moving parts function seamlessly, while adjusting the tension as needed will help you achieve professional-looking stitches every time.
Cleaning and Oiling Your Machine
To keep your sewing machine running smoothly, regularly clean and oil it. Use a soft brush and compressed air to remove lint. Apply a drop of sewing machine oil to the moving parts, following the oiling schedule in your manual. Avoid over-oiling. With proper maintenance, your machine will stitch like new for years to come.
Adjusting Tension
When adjusting tension on a sewing machine, maintain equilibrium between the top and bobbin thread tension to prevent problems.
Properly set the tension for various thread types to preserve stitch quality.
Imbalance in thread tension can lead to stitching issues.
Adjusting both the top thread and bobbin thread tensions accordingly is critical for smooth sewing with different thread types and avoiding thread-related problems.
Troubleshooting Common Issues
Troubleshooting your sewing machine is a breeze! If your stitches are inconsistent, let the foot pedal control the speed. If fabric gets sucked in, gently pull and jiggle the hand wheel. When threads break, check the path or replace the thread. For poor stitch quality, refer to the handy Thread Bunching Solution Guide. With practice, you’ll sew like a pro!
Sewing Machine Feet and Accessories
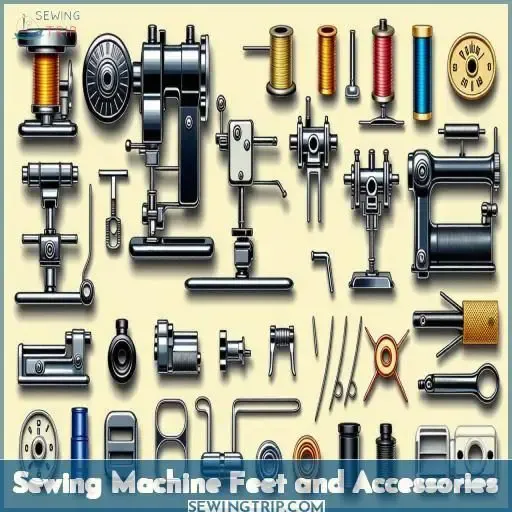
As a beginner sewing machine user, you’ll want to familiarize yourself with the essential presser feet that come standard with most machines:
The standard presser foot for basic stitching.
The zipper foot for inserting zippers with ease.
The buttonhole foot for creating perfectly sized buttonholes.
With these versatile accessories at your disposal, you’ll be equipped to tackle a wide variety of sewing projects right from the start.
Standard Presser Foot
The standard presser foot is the most versatile foot for your sewing machine. It allows you to sew straight seams, adjust presser foot tension for different fabrics, and control the fabric feed for consistent stitches. Keep the foot pedal steady to maintain even stitch quality and seam allowance. Mastering the standard foot is key to sewing success.
Zipper Foot
The zipper foot allows you to sew close to zippers, making it perfect for zipper installation, invisible zippers, and zipper replacement. It comes in different types:
- Standard zipper foot
- Concealed zipper foot
- Invisible zipper foot
To use, simply attach the foot and guide the zipper teeth under the center groove as you sew. This foot is a must-have for zipper repair and adding zippers to any project.
Buttonhole Foot
The buttonhole foot is essential for creating professional-looking buttonholes on your sewing projects.
It features a groove that guides the fabric as you sew, ensuring even stitches and a consistent size.
Use it on lightweight to medium-weight fabrics like cotton, linen, or polyester.
Adjust the stitch length and density for the best results.
With practice, you’ll master buttonholes in no time!
Sewing Machine Stitching Techniques
You’ve mastered the basics, now it’s time to explore sewing machine stitching techniques. Perfecting straight stitching, turning corners, and pivoting will enable you to create professional-looking projects with ease.
Straight Stitching
To master straight stitching on your sewing machine, verify proper presser foot tension, adjust reverse stitch length for security, manage needle thread tension, maintain stitch length consistency, and control fabric feeding speed for smooth lines and neat seams. These techniques are essential for achieving professional-looking straight stitches effortlessly.
Turning Corners
To turn corners neatly, align the raw edges and stitch to the corner. Backstitch a few stitches, then pivot the fabric 90 degrees, keeping the needle down. Adjust seam allowances as needed. For sharp turns, stop stitching 1/4 from the edge, pivot, then stitch off the corner. Master cornering techniques for professional-looking results.
Pivoting
Pivoting is a technique that allows you to change direction while sewing. To pivot, stop with the needle down, lift the presser foot, and rotate the fabric around the needle. Lower the presser foot and continue sewing in the new direction. Practice pivoting on scraps to master machine movement, needle control, and fabric manipulation. Adjust tension as needed for smooth pivots.
- Lift presser foot with needle down
- Rotate fabric around needle
- Lower presser foot and continue sewing
- Adjust tension for clean pivots
Sewing Machine Speed Control
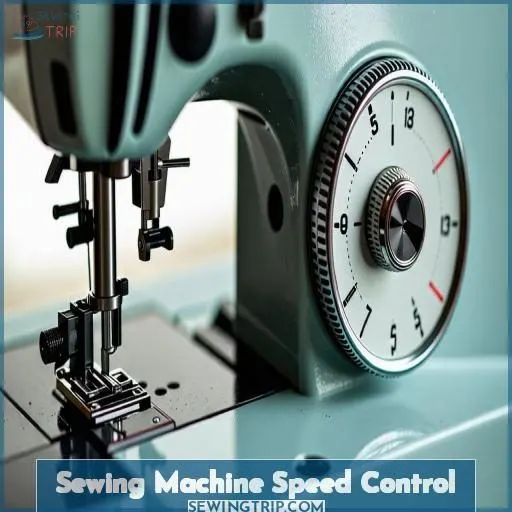
You’ll want to pay close attention to the foot pedal and stitch length controls on your sewing machine. Using the foot pedal smoothly allows you to maintain an even stitching speed, while adjusting the stitch length setting helps you sew precise, consistent stitches.
Using the Foot Pedal
The foot pedal is your speed control. Apply gentle pressure for slow, precise stitching. Increase pressure for faster sewing. Experiment with foot pressure to find your ideal speed. The pedal’s weight and resistance affect control. Adjust pedal position for comfort. With practice, you’ll master foot speed and pressure for perfect stitches every time.
Adjusting Stitch Length
Adjusting stitch length is essential for sewing success.
Experiment with different settings to find the perfect match for your fabric and thread.
Thicker fabrics and threads require longer stitches, while delicate materials call for shorter stitches.
Troubleshoot inconsistent stitches by ensuring your needle size corresponds to the thread weight.
With practice, you’ll master stitch length control for professional-looking results every time.
Sewing at Consistent Speed
To master consistent speed control with your sewing machine, practice using the foot pedal to adjust the speed according to your needs.
Additionally, adjusting the stitch length can help maintain a consistent sewing speed.
With patience and practice, you can achieve a consistent and controlled sewing speed.
Sewing Machine Safety
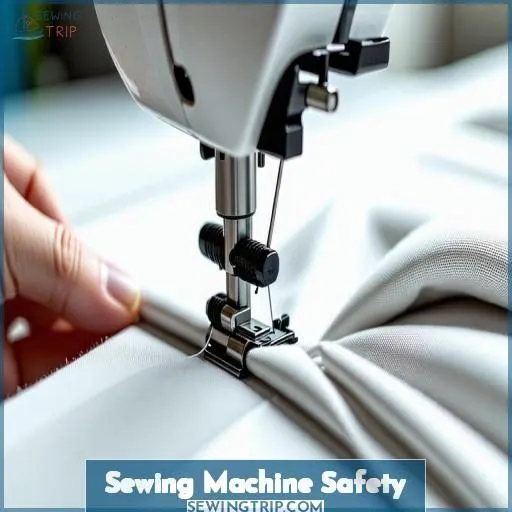
When operating a sewing machine, it’s vital to maintain proper posture and positioning to guarantee your comfort and safety. Avoid distractions and keep your fingers away from the needle area to prevent potential injuries.
Proper Posture and Positioning
Sit up straight with your back supported and feet flat on the floor.
Position the machine at a comfortable height, with the needle directly in front of your eyes.
Adjust your chair to maintain a 90-degree angle at the elbows.
Take breaks to stretch and avoid eye strain by looking away from the machine periodically.
Keep your workspace organized to minimize distractions and maximize efficiency.
Avoiding Distractions
Avoid distractions to maintain focus while sewing. Create a dedicated sewing space free from clutter and interruptions. Turn off notifications on your devices. If you have pets or children, make sure they’re supervised and can’t interfere with your sewing. Concentration is key to producing high-quality results and staying safe at the machine.
Keeping Fingers Away From Needle
When using a sewing machine, always make sure your fingers are kept away from the needle to prevent injuries.
Proper hand placement and finger positioning are essential for safe sewing.
Remember to maintain a safe distance from the needle while guiding the fabric.
Accidents can occur if fingers get too close.
Always prioritize needle safety and practice injury prevention by being aware of your hand placement.
Sewing Machine Projects for Beginners
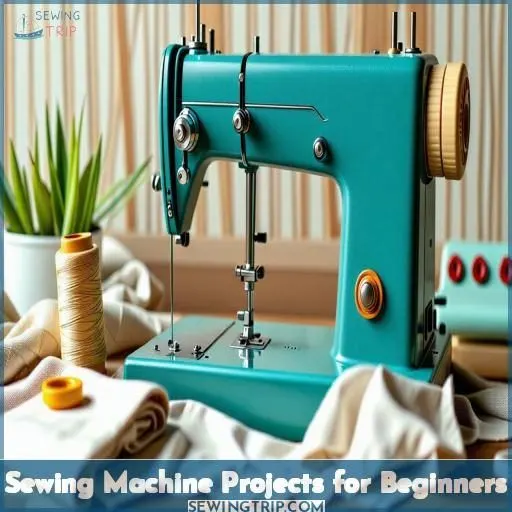
You’ve learned the basics of operating a sewing machine, so why not put your skills to the test? Easy projects like a simple tote bag, pillowcase, or drawstring bag are perfect for beginners to practice essential techniques like straight stitching, corner turning, and working with different fabrics.
Simple Tote Bag
Craft a stylish tote bag with ease! Choose a sturdy fabric, match patterns, and finish seams neatly. Fuse interfacing for structure, then get creative with embellishments like appliqués or embroidery. Sew a simple rectangle, add handles, and voila – a chic, functional bag perfect for everyday use. Customize it to suit your style and needs.
Pillowcase
Sewing a pillowcase is a quick and easy project that adds a personal touch to your bedding. Choose a fun fabric that reflects your style, then cut it to size. Finish the open end with a simple hem or get creative with a zipper closure. Add embellishments like appliqués or embroidery for a unique look. Sweet dreams await!
Drawstring Bag
When making a drawstring bag, choose a durable fabric like cotton for longevity. Consider the drawstring length based on bag size. Cording options vary from ribbon to paracord. For a lined bag, pick a complementary fabric like cotton or satin. Add flair with embellishments like beads or tassels for a unique touch and personalization.
Frequently Asked Questions (FAQs)
What is the first thing a beginner should sew?
You’ll want to start simple by practicing straight lines on some scrap fabric. Getting a feel for guiding the fabric will build confidence before tackling more complex projects.
What is the easiest sewing machine to learn on?
You’ll want a basic, user-friendly machine to start. Look for simple stitch options, top-loading bobbins, automatic needle threaders, and clear instruction manuals. Many affordable models from trusted brands fit the bill for learning the fundamentals.
Can I teach myself to use a sewing machine?
Sailing smoothly into sewing skills self-taught is simple. Strategic online tutorials, extensive guides, and patient practice provide the pathway for proficient progress.
How can a beginner start operating the sewing machine?
Set up your machine by winding the bobbin, threading the needle, and adjusting tension. Practice on scrap fabric by sewing straight lines while controlling speed with the foot pedal. Keep fabric taut, watch the needle, and guide fabric gently for smooth stitching.
How do I wind the bobbin properly?
To wind that darnmachine’s bobbin properly, put your bobbin in the holder and keep the thread’s end taut while the bobbin spins, filling it evenly.
What is the purpose of the feed dogs?
The feed dogs help move the fabric evenly through the machine as you sew. They grab the underside of the fabric and control the stitch length.
How do I adjust the thread tension?
Don’t fret – adjusting tension isn’t as intimidating as it appears. Simply rotate the tension dial in the direction of a higher number for tighter stitches, or lower for looser ones. Test on scraps first until you achieve the desired tension.
Can I sew over pins without breaking the needle?
You can sew over pins, but be cautious. Pins can nick or dull the needle if hit directly. Simply remove pins as you approach them while sewing. Avoiding sewing over pins prevents needle damage or broken pins getting caught in the fabric.
How do I clean and oil my machine?
Clean lint from moving parts with compressed air or soft brush. Apply machine-approved oil to lubrication points indicated in manual. Following these simple maintenance steps keeps your machine running smoothly.
Conclusion
Mastering sewing machines for beginners is an achievable goal with the right tutorials. From selecting the ideal machine to perfecting essential stitches, you’ve gained invaluable knowledge. Now, put those skills into practice with beginner-friendly projects that allow you to experiment and build confidence. Embrace this rewarding craft, and soon you’ll be the one inspiring others to begin their sewing journeys.

