This site is supported by our readers. We may earn a commission, at no cost to you, if you purchase through links.
 To unlock the secret of releasing the clutch on your sewing machine, consider this: Did you know that understanding the clutch mechanism is key to regaining control over your machine?
Begin by removing components carefully, then clean and lubricate for smooth operation. Apply penetrating oil and use heat techniques to release the clutch.
Reassemble with precision, ensuring correct positioning. Prevent future issues through regular maintenance.
Master the art of clutch release for seamless sewing experiences.
Table Of Contents
Key Takeaways
- Carefully remove components: Before attempting to release the clutch on a sewing machine, it is essential to remove any components that may be obstructing the clutch mechanism. This includes the needle, needle bar, and any screws or parts that may be in the way.
- Clean clutch parts thoroughly: Dried-up or varnished oil can act like glue and jam things up. Soak the clutch parts in penetrating oil, such as Tri-Flow, to loosen any stuck parts.
- Lubricate clutch components adequately: Ensure that all clutch components are properly lubricated with clear sewing machine oil to maintain smooth operation.
- Apply penetrating oil to loosen stuck parts: Use penetrating oil to lubricate and loosen any parts that may be stuck or difficult to move.
How to Release Clutch on Sewing Machine ?
To release the clutch on a sewing machine, you can try the following steps:
- Remove the needle and presser foot, and drop the feed dogs.
- Place a wooden block underneath the needle bar.
- With a large pipe wrench, padded with cloth to prevent scratching, turn the needle disengagement knob. This may be difficult, but with patience, it should loosen.
Additionally, you can try heating the shaft area to free up the dried oil that may be keeping the wheel stuck. If heating doesn’t work, you can try turning the machine wheel end up and dropping a little oil in the area where the wheel meets the top hat thingy on the shaft. If it’s still not loose after soaking and heating, turn the wheel wheel side down and use a rubber mallet to gently bang it as you turn it, being careful not to bend the shaft.
Remember to work carefully and patiently to avoid damaging the machine.
Identifying a Stuck Clutch
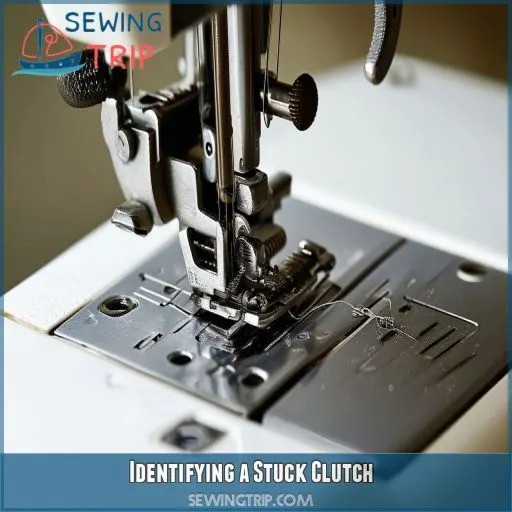
Identifying a stuck clutch on your sewing machine involves recognizing signs like the machine acting as if the timing is off, needle thread getting wrapped into the hook, or hearing a snapping sound.
These indicators point to potential issues with the safety clutch mechanism. When the clutch is stuck, it disengages the hook drive, causing the machine to spin backward without locking into place.
To reset it, press the silver button on the machine bed and rotate the hand wheel backward. This action will click the clutch back into place, restoring normal operation.
Understanding these signs and how to reset the safety clutch can help prevent damage and ensure smooth sewing machine operation.
Preparing for Clutch Release
To prepare for releasing the clutch on your sewing machine, start by removing the components carefully and then proceed to clean and lubricate the clutch parts thoroughly. This process will help ensure a smooth and successful release of the stuck clutch, allowing you to resume sewing without any issues.
Removing Components
Before tackling that stubborn clutch, let’s roll up our sleeves for some dismantling action.
Loosen the little screw on the clutch’s center knob—lefty loosey, right? Gently twist it off and set it aside.
Pop open the top lid or side panel to get a good look at the inner workings.
You’re on your way to cleaning parts and banishing that pesky dried oil.
Cleaning and Lubrication
Cleaning and lubricating your sewing machine’s clutch components is crucial for preventing future issues. Here’s a step-by-step guide to prepare for clutch release:
- Apply solvent to remove old oil from the shaft: Use a solvent that’s safe for your sewing machine.
- Wipe out excess solvent: Avoid leaving residue, as it can attract dirt and dust.
- Apply 2 drops of oil to the shaft: Choose a suitable oil type for your machine.
Releasing the Clutch
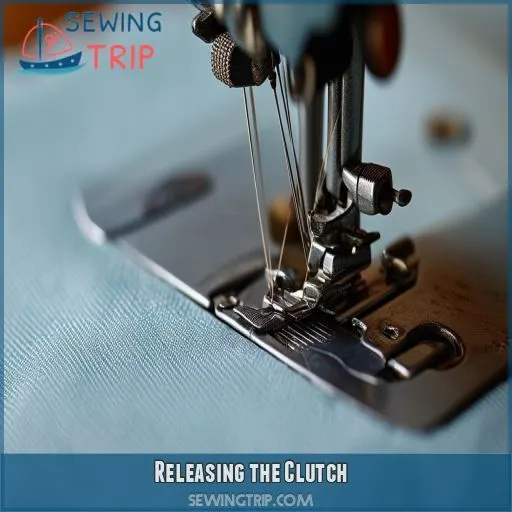
To release a stuck clutch on a sewing machine, you can follow these steps:
- Prepare for Clutch Release: Remove the metal ring from the center shaft and loosen the small screw on the center knob.
- Apply Penetrating Oil: Spray a good amount of Liquid Wrench around the needle disengagement knob and let it soak in for 10-30 minutes.
- Use Heat and Tapping Techniques: Set the machine back on its base, remove the needle and presser foot, and drop the feed dogs. Place a wooden block underneath the needle bar. With a large pipe wrench, padded with cloth to prevent scratching, turn the needle disengagement knob. It may be difficult, and you’ll probably have to work on it for a while.
- Reassemble: After the clutch has been released, reassemble the machine by screwing the center knob back on and tightening the little screw.
Remember to test any new chemicals on a small area first and avoid tapping on painted surfaces. Be careful when using heat, as it can damage the machine. Avoid using excessive force, as this can also damage the machine. Regular maintenance and avoiding common mistakes can help prevent future clutch issues.
Applying Penetrating Oil
To release a stuck clutch on a sewing machine, start by applying penetrating oil like Kroil or Liquid Wrench to the affected area. Allow the oil to penetrate for a while, then use heat to further loosen the clutch.
After waiting overnight, try tapping on the clutch cap with a plastic hammer or using channel locks with a shoe leather to twist the clutch knob. Remember to test any new chemicals on a small area first and avoid damaging the machine with excessive force or heat.
Using Heat and Tapping Techniques
To release a stuck clutch on a sewing machine, it’s essential to use heat and tapping techniques. Here’s a step-by-step guide:
- Apply penetrating oil to the area where the hand wheel meets the shaft.
- Heat the oil and tapping area.
- Turn the machine so the wheel side is down.
- Use a rubber mallet to tap on the hand wheel.
- Wait overnight after applying penetrating oil or lubricant.
- Use a plastic hammer to tap on the clutch cap.
- Use channel locks with a shoe leather to twist the clutch knob.
- Test any new chemicals on a small area first.
- Avoid tapping on painted surfaces.
- Be careful when using heat, as it can damage the machine.
- Avoid using excessive force, as this can also damage the machine.
Reassembling the Machine
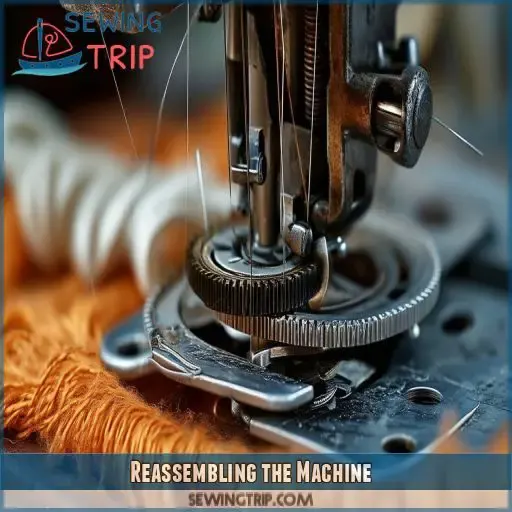
Once you’ve successfully released the clutch on your sewing machine, it’s crucial to reassemble it correctly. Ensure the metal ring is positioned with the nubs facing outward and tightly screw the center knob back on.
Positioning the Ring Correctly
Sure thing! When reassembling your sewing machine, it’s crucial to position the ring correctly under the clutch for a successful release. Here’s a handy table to guide you:
| Step | Action |
|---|---|
| 1 | Place the metal ring with nubs facing outward |
| 2 | Screw the center knob back on |
| 3 | Tighten the little screw |
| 4 | Adjust the ring position if necessary |
Tightening Components
Sure thing! Now that you’ve correctly positioned the ring under the clutch, it’s time to tighten the components and reassemble the machine. Here are the steps:
- Screw the center knob back on, making sure it’s tight.
- Adjust the ring position if necessary.
- Tighten the little screw to secure the center knob.
- Check the oil quantity on the shaft and add more if needed.
- Make sure the bobbin winder and the top hat thingy are properly aligned.
Preventing Future Clutch Issues
To prevent future clutch issues on your sewing machine, focus on regular maintenance and avoiding common mistakes. By cleaning your machine regularly and being mindful of how you wind bobbins and handle the needle thread, you can significantly reduce the risk of a stuck clutch.
Regular Maintenance
To prevent clutch issues, it is essential to establish a maintenance schedule and adhere to it.
Regularly clean your machine using the right tools.
Don’t forget to lubricate it using appropriate techniques.
Be gentle when handling painted surfaces.
Use channel locks or a plastic hammer with a light touch.
Needle care and winding techniques are also crucial.
By being proactive with maintenance, you can ensure your sewing machine’s longevity and performance.
Avoiding Common Mistakes
To dodge a stuck clutch debacle in your Kenmore, remember:
- Ease up on the muscle; the risks of using excessive force can turn your cap and hand wheel into a pick-up lever puzzle.
- Heat with care; improper application is like inviting a bull into a china shop—especially near painted surfaces.
- Chemical test run; always give new potions a trial before the main event, ensuring you’re not waiting on a miracle after oil application.
Frequently Asked Questions (FAQs)
How can I tell if my sewing machine’s clutch is stuck?
To determine if your sewing machine’s clutch is stuck, you can observe the machine’s behavior. If the machine acts like the timing is off, the needle thread gets wrapped into the hook, you hear a snapping sound, or the machine is difficult to get operating again, these may be indicators that the safety clutch has been triggered.
What should I do if I can’t remove the hand wheel from the shaft?
If you’re experiencing difficulty removing the hand wheel from the shaft of your sewing machine, there are several steps you can take to resolve the issue:
- Check the Clutch: Ensure that the clutch isn’t engaged. If the clutch is engaged, it can prevent the hand wheel from turning. To check, press the silver button on the machine bed and rotate the hand wheel backwards. This should allow the clutch to click back into place and restore normal operation.
- Lubricate the Hand Wheel: Apply sewing machine oil to the hand wheel and other moving parts of the machine to ensure smooth operation.
- Adjust the Tension: If the upper thread tension is too tight, it can make the hand wheel difficult to turn. Adjust the tension as needed to ensure that it isn’t too tight or too loose.
- Loosen the Clutch: If the clutch that controls the hand wheel is too tight, it can make it difficult to turn. Loosen the clutch by turning it counterclockwise to make it easier to turn the hand wheel.
- Clean the Machine: Regularly clean and oil the sewing machine to prevent dust and lint buildup, which can cause the hand wheel to stick.
- Replace the Bobbin Case: If the bobbin case is jammed, it can prevent the hand wheel from turning. Remove the bobbin case and ensure that it isn’t tangled or damaged.
- Remove the Hand Wheel: If the hand wheel is stuck, you may need to remove it to access the underlying components. To do this, you’ll likely need to remove the outer panels, loosen the hand wheel, and then remove the hand wheel itself.
Remember to follow the manufacturer’s instructions for your specific sewing machine model, as the steps may vary slightly. If you’re still having trouble, it may be best to consult a professional technician for assistance.
Can I use a rubber mallet to tap on the clutch cap?
Just like cracking a safe, sometimes a gentle tap is all it takes. Yes, you can use a rubber mallet to tap on the clutch cap, ensuring you don’t apply excessive force to avoid damage.
How long should I wait after applying penetrating oil or lubricant before attempting to release the clutch?
After applying penetrating oil or lubricant to the clutch, it’s recommended to wait overnight before attempting to release it. This allows the oil to penetrate and loosen the clutch components effectively.
How can I prevent future clutch issues?
Preventing future clutch issues on your sewing machine is crucial. To ensure smooth operation, clean the machine regularly, avoid winding bobbins too quickly or lazily, and be careful not to wrap the needle thread into the hook. By following these tips, you’ll maintain control and mastery over your machine, and understanding its needs will enhance your sewing experience.
Conclusion
Unlocking the clutch on your sewing machine can be a daunting task, but with the right approach, you can regain control and enjoy seamless sewing experiences.
By following the steps outlined in this article, you’ll be able to identify a stuck clutch, prepare for its release, and perform the necessary steps to release it.

