This site is supported by our readers. We may earn a commission, at no cost to you, if you purchase through links.
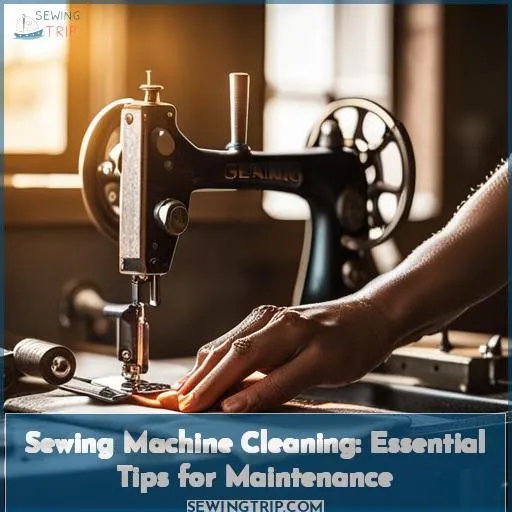 You know your sewing machine is the heart of your craft room. Keeping it in tip-top shape is so important for smooth and easy sewing. Let’s walk through cleaning and maintenance basics to keep your machine purring.
First, unplug your machine from power. Just like tuning up your car, you don’t want the engine running for safety. Work in a well-lit area to see each nook and cranny clearly. Never use household cleaners or oils – stick to what your manual recommends.
Removing lint, wiping dust, and oiling regularly keeps everything moving smoothly. Your machine will hum along happily after a cleaning. Taking good care extends its life too.
When done, do test stitches on a scrap. Your next project will turn out perfectly with a clean machine.
Table Of Contents
Key Takeaways
- Use soft bristle brushes, lint-free cloths, and compressed air to remove lint and debris from crevices.
- Oil moving parts like the needle bar and tension disks monthly with sewing machine oil.
- Get an annual service for deep cleaning of hard to reach areas and tension adjustment.
- Cover the machine when not in use and replace worn parts to protect your investment.
Supplies Needed
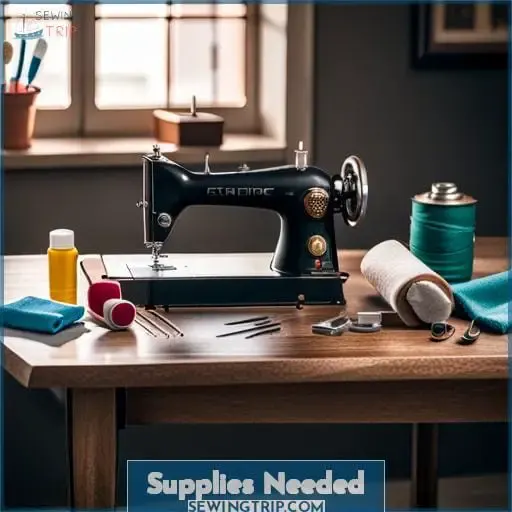
You’ll need good cleaning tools like a brush and screwdrivers to properly care for your machine, friend.
Start by gathering a soft bristle brush, toothbrush, or pipe cleaners to loosen debris in tight areas. Have a few different sized Phillips and flat head screwdrivers on hand to remove housing panels and parts.
Pick up a can of compressed air to blow dust away. Keep cotton swabs handy for wiping and cleaning small spaces.
You’ll need sewing machine oil like Tri-Flow or Singer brand oil designed specifically to lubricate the internal metal parts. An old toothbrush dipped in rubbing alcohol works nicely to scrub built-up grease and oil.
And it doesn’t hurt to have a small vacuum handy to suck up dirt and fuzz. Just be sure to use the soft brush attachment to avoid scratching surfaces.
Proper tools make the cleaning process safer and more effective. With a little effort and the right supplies, you can keep your sewing machine running smoothly for years to come.
Remove Lint
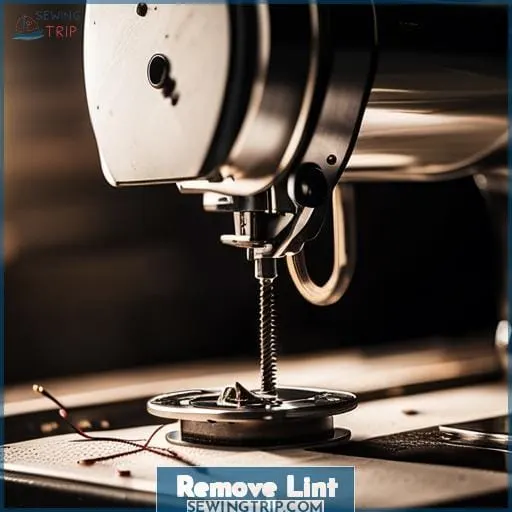
Greetings! Lint can really accumulate in a sewing machine, so it’s crucial to remove it regularly. After each use, thoroughly brush your machine to wipe away any surface lint. You should also occasionally blow compressed air into the tight spaces under the feed dogs and tension disks to expel hidden fuzz and threads.
Brush After Use
After stitchin’, brush the fluff away to keep her hummin’. A quick brush down keeps lint from cloggin’ up the inner workings.
- Feed dogs underneath the needle plate
- Underneath the presser foot
- Around the bobbin case
- Inside the bobbin area
Dip a soft brush in a bit of cleaning fluid and gently scrub. Rotate the handwheel to access every nook. Remove fuzz and threads that could jam the needle or dull the ol’ blade. Don’t forget to brush out the crevices on the machine’s underside too.
Regular brush downs keep your trusty companion runnin’ smooth as silk. Consistent care brings years of sewin’ enjoyment.
Compressed Air
You ever tried usin’ canned air to blow the cobwebs out? It works a treat for cleanin’ lint from a sewing machine’s hidden spots. Just be careful not to go overboard – too strong a gust’ll send debris flyin’ every which way.
A gentle breeze focused on the right areas keeps things hummin’ without makin’ a mess.
Aim the nozzle at the needle bar, feed dogs, and bobbin case. Short controlled bursts remove fuzz from cracks and crevices. Rotate the handwheel so you can reach every angle. Dab a soft brush in cleaning fluid beforehand to loosen stuck-on gunk.
Avoid blowin’ lint around willy-nilly. Targeted compressed air keeps sensitive mechanisms clean and functional for years of smooth stitchin’.
Clean Bobbin Area
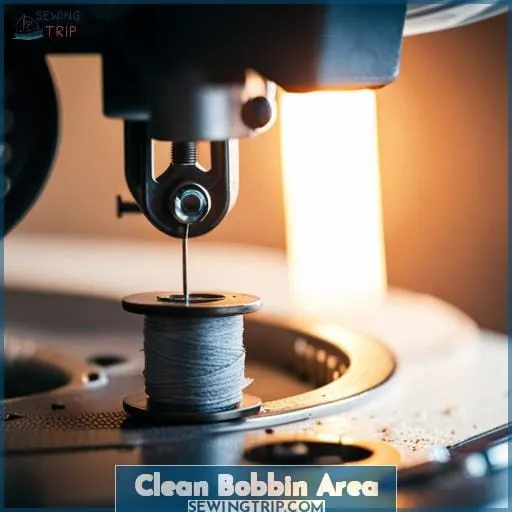
We oughta brush the bobbin area weekly to stop lint buildup. That hidden spot under the needle plate can really collect fuzz and dust over time. This leads to poor stitch formation and tension problems. Give it a good scrubbing to keep things smooth.
Here’s my 5-step list for properly cleaning the bobbin area:
- Remove the needle plate to access underneath.
- Use a small brush to loosen and sweep away lint. Focus on the needle hole and feed dogs.
- Run a lint roller over surfaces to pick up all debris.
- Check the bobbin case for fuzz and wipe it clean.
- Blow compressed air into crevices to force out any remaining lint.
Regular lint removal keeps the upper and lower tensions balanced. Fuzz in the bobbin area interrupts the thread path, causing uneven stitching. By spending a few minutes cleaning this spot every week, you’ll avoid skipped stitches, puckering seams, and thread jams later on.
Oil Monthly
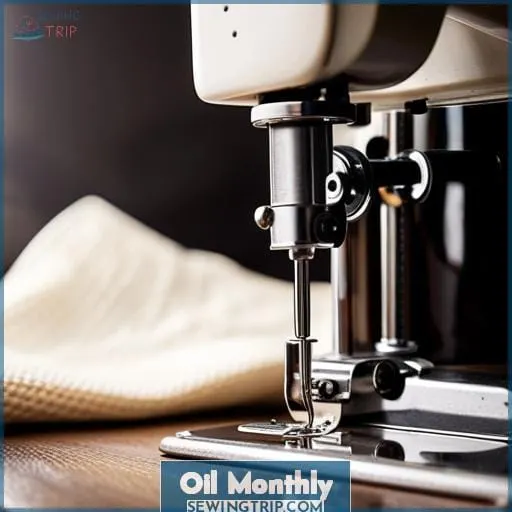
You oughta lubricate the moving parts each month. That old workhorse needs regular care to keep running smooth. I recommend using a high-quality sewing machine oil monthly to prevent friction, squeaking, and excess wear.
Apply just a drop or two to the needle bar, presser foot hinge, and take-up lever. Rotate the handwheel to work oil into the needle bar housing and tension discs. This keeps the upper thread tension silky and prevents skipped stitches.
Don’t forget a dab on the lower tension spring inside the bobbin case too. Proper lubrication helps form the perfect stitch and extends your machine’s life. Treat it right, and it’ll keep sewing strong for years to come. With simple monthly oiling, you’ll keep this steadfast companion running long and singing sweetly.
Annual Service
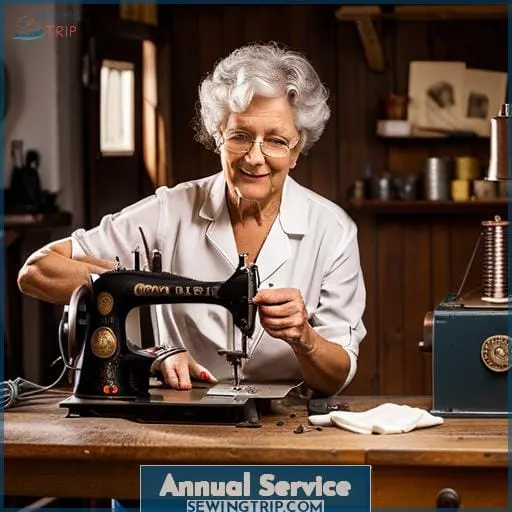
Listen up, you seasoned sewer – it’s time for your tried and true sewing machine’s yearly tune-up. Once annually, bring your device in for professional deep cleaning and adjustments to maintain smooth sewing.
Authorized technicians will access those hard to reach areas, balance tensions, and adjust timing so your apparatus continues stitching for years ahead.
Professional Cleaning
A stitch in time gains nine when your sewing machine gets its yearly professional cleaning.
- Remove the face plate and shuttle area. Scrub with a cleaning brush and fluid.
- Loosen stuck screws with a screwdriver. Flush oil clogs from hidden crevices.
- Wipe and relubricate moving joints. Re-oil the tension disks and needle bar.
The seasoned sewing technician accesses hard-to-reach spots. Adjustments synchronize timing. Proper servicing clears debris, restores smooth performance and prevents premature wear.
Adjustments
Don’t let the pro adjust timing and tension without watchin’ how it’s done. See them remove that bobbin case, swappin’ in some test fabric. Watch them tweak the presser foot pressure, tryin’ on that piece of cloth. The timing’s off, so they’ll tweak the hook to line up proper with the needle.
Maybe they’ll squirt some cleaning fluid in the tension disks while they’re at it. If the cloth don’t feed smooth, they’ll check needle size or swap in a sharp new one.
Trust their expertise and those deft hands. Your machine will hum like new when they’re done fiddlin’ under the hood.
Troubleshooting Tips
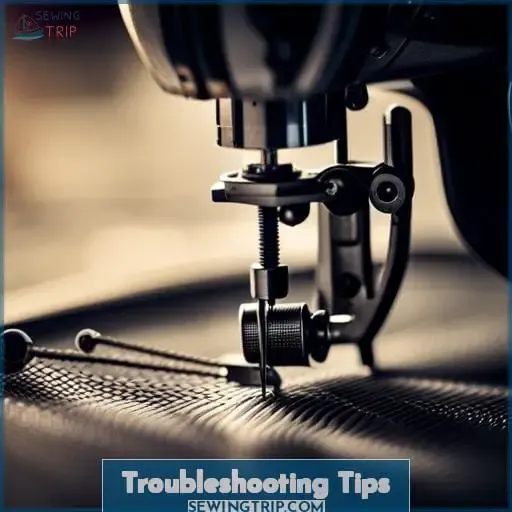
If the pesky machine’s misbehavin’, first rethread the top and bobbin before ya call the repairman.
First things first – change your needle. Dull or bent needles cause skipped stitches and thread breakage. Pop in a new size 12 for wovens or 14 for knits. Your machine’ll sigh with relief.
Next, take out your trusty brush and get scrubbin’. Lint clogs up the works faster than floss knots on fingers. Brush out race, feed dogs and bobbin area. Squirt solvent into moving joints then blow dry with air.
Oil every nook and cranny monthly. A few drops lubricate, prevent overheating and rust.
Lastly, check tension. Re-thread top and bobbin then test on scraps. Top too tight? Loosen up.
With some TLC your sewing sidekick’ll be hummin’ happy tunes again in no time. Don’t give up on it yet – a little love goes a long way!
Protect Your Investment
Keep your sewing machine singing sweetly by giving it proper protection from dust and wear when at rest. Store it in its case or cover when not stitchin’ to prevent dust build up. Dust clogs the inner workings, causin’ skipped stitches and timing issues.
Control exposure by finding it a quiet spot away from heavy traffickin’ areas of your home.
Make it a habit to give your machine some TLC after each use. Wipe it down with a lint-free cloth to remove stray threads and surface dust before puttin’ it away. Keep your paws clean when handlin’ to avoid transfers of dirt and oils. Replace any worn parts like presser feet and needle plates as needed so things move smoothly.
Do your part to take care of this precious partner in stitchin’. With regular cleanin’, lubin’ and protective measures, your sewing compadre will give you years of trouble-free sewin’. Don’t take it for granted; a well-maintained machine is a happy machine. Give yours the care it deserves and it’ll return the love through smooth operation and professional results.
Timing Adjustment
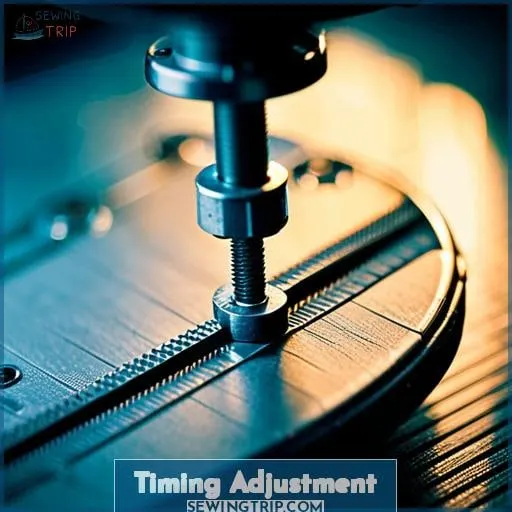
Your timing may need adjustin’ by a professional to keep everything in sync. If stitches are skippin’ or loops form on the underside, it could be a sign your machine’s timing is off. Let an authorized service tech give your machine a tune-up to get its movin’ parts back in harmony.
A few ways they’ll get the timing tuned right:
- Loosen screws to adjust needle bar height
- Regulate hook timing and position
- Balance tensions between top and bottom
- Verify shuttle rotation speed
With everything aligned and movin’ in time again, you’ll have smooth stitchin’ once more. Your fabric friend just needed a little help gettin’ its groove back. Consider an annual servicing to keep your machine singin’ on key.
Tension Balance
You can get your stitchin’ in harmony by havin’ a pro balance the pull between top and bottom threads. If your machine’s stitches are uneven or loopy, it likely needs some tension tinkering.
The top thread from the needle and bottom thread from the bobbin need to interlock just right.
A technician uses special tools to measure and adjust tension discs, springs, and dials. They’ll test different settings to equalize the tug-of-war between threads. With delicate tweaks, the threads will lock stitches snug but not too tight.
Proper tension keeps seams flat and prevents puckering. It also stops skipped stitches so seams stay sturdy.
With tensions tuned up, fabric should glide smoothly under the presser foot. Well-balanced tension helps the needle pierce fabric cleanly. This prevents frayed threads or needle breakage. Your machine will hum along happily with its parts moving in harmony again.
Regular oiling and cleaning keeps tensions tuned for quality stitching every time.
Keep It Covered
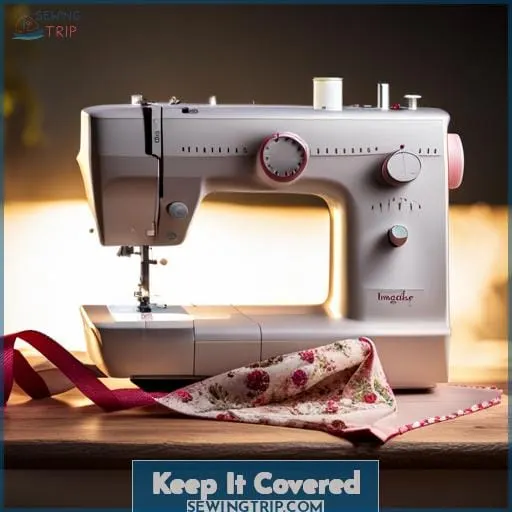
After balancing those tensions, keep your machine humming by protecting it. Treat your sewing sidekick like the instrument it is by keeping it covered.
- Get a sewing machine cover. Whether hard or soft, it creates a dust barrier when not stitching.
- Choose a smooth inner lining. Avoid fabrics that could snag moving parts when placing over machine.
- Ensure a custom fit. Measure your make and model for a tailored cover that won’t shift while stored.
- Select thick fabric. Sturdy materials prevent dents, scratches and impacts while covered.
Like any well-tuned instrument, keep lint and debris away when not in use. A cover protects your machine’s delicate timing and tensions. Guard against dust buildup on race areas and feed dogs. Protect polished surfaces from scratches and nicks during downtime.
Prevent exposure that could send it out of tune. Keep hands clean when operating and wipe down before covering. Cover when changing needles and filling bobbins too. It takes seconds to prevent hours of repairs.
Extend your machine’s life with consistent protection. Show your sewing sidekick some love by keeping it covered.
Frequently Asked Questions (FAQs)
How often should I change the needle on my sewing machine?
Change your sewing machine needle frequently for best results. Ideally, insert a fresh needle before starting any new project. Dull, damaged needles can cause skipped stitches, thread breaks, and snags. They also strain your machine’s motor.
Aim to replace needles after every 8-10 hours of stitching; more for heavy duty projects.
What kind of brushes or cleaning tools work best for cleaning a sewing machine?
Use a small, soft-bristled brush to gently remove lint and debris from hard-to-reach areas. A toothbrush works well for this purpose. Compressed air can blow dust away. A tiny crevice tool cleans in narrow spaces.
Gently wipe surfaces with a soft, lint-free cloth dampened with sewing machine oil. Handle parts carefully to avoid scratching finishes. Regular, gentle cleaning keeps your sewing machine running smoothly.
How do I know when my sewing machine needs a professional servicing?
Look for skipped stitches, uneven tension, improper timing, and frayed threads. These issues signal that your machine needs servicing to restore proper function. Catching problems early allows for minor repairs and keeps your sewing machine running smoothly for years.
Don’t delay service at the first sign of trouble. Small issues can compound over time into more significant problems. Schedule professional maintenance as soon as any mechanical problems arise. Proper care prevents your equipment from deteriorating and extends its usable life.
What are signs that my sewing machine needs repairs or worn part replacements?
If you notice skipped stitches, broken needles, or unusual noises, those can be indications that parts are worn. An authorized dealer can inspect the machine and replace any components needed to get it working properly again.
Proper maintenance keeps your sewing machine investment safe and ensures smooth operation.
Is it safe to use compressed air to blow lint out of my sewing machine?
Using compressed air is generally safe to blow lint out of a sewing machine. However, hold the nozzle about 6 inches away to avoid forcing debris deeper inside. Also, cover nearby parts with a cloth so blown lint doesn’t land elsewhere. Compressed air can effectively remove lint buildup from bobbin areas and feed dogs when used carefully.
Conclusion
Here are essential tips for cleaning and maintaining your sewing machine, ensuring it runs smoothly for years.
An astounding 33% of sewing machine repairs stem from insufficient cleaning and upkeep. Follow these crucial maintenance guidelines, and your sewing machine will enjoy a long, healthy life. Clean the bobbin area weekly, oil monthly, and get annual professional servicing.
Defend your investment through proper maintenance. Keep the bobbin area debris-free by cleaning it every week. Oil your machine monthly to lubricate moving parts. Get professional servicing done yearly to keep everything adjusted and in working order.
Proper care and maintenance will help your sewing machine live a long, healthy life, avoiding costly repairs down the road. Don’t let inadequate cleaning create issues – a well-maintained machine will hum along smoothly for years to come.

