This site is supported by our readers. We may earn a commission, at no cost to you, if you purchase through links.
 Removing sewn on patches from garments can feel daunting, but fear not!
This comprehensive guide empowers you to effortlessly liberate your clothes from unwanted patches.
Immerse yourself in precise instructions and clear explanations as you master the art of patch removal, regaining control over your wardrobe.
Embrace this opportunity to reclaim your sartorial freedom and leave no patch unturned!
Table Of Contents
Key Takeaways
- Essential tools for removing sewn-on patches include a seam ripper, small scissors, a clothing iron, and tweezers.
- To remove a sewn-on patch, fold the fabric away from the patch, cut the stitches with a seam ripper, remove threads with tweezers, and wash the fabric to remove adhesive residue.
- For iron-on patches, test the fabric’s reaction to heat, use wax paper, adjust the iron setting, and be patient when lifting the patch.
- Patch attachment methods include Stitch Witchery, iron-on materials, and sewing, each offering different levels of permanence and customization options.
How to Remove Sewn on Patches ?
To remove sewn-on patches, you can use a seam ripper or small scissors to carefully unpick the stitches holding the patch in place. Turn the garment inside out to access the stitching on the reverse side, and work slowly to avoid damaging the fabric.
Once the stitches are cut, remove the remaining threads with tweezers or your fingers. If the patch is ironed on, you may need to use a hot iron to soften the adhesive before removing it.
Tools Required
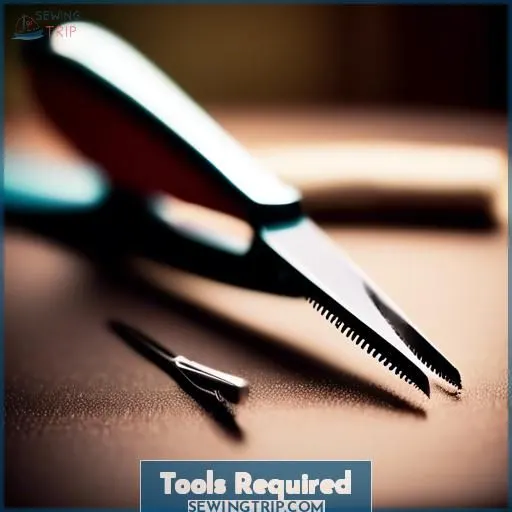
To successfully remove sewn-on patches, you’ll need a few essential tools.
These include a seam ripper, small scissors, clothing iron, and tweezers.
The seam ripper is crucial for cutting the stitches that hold the patch in place.
Small scissors are useful for trimming any remaining threads.
A clothing iron is necessary for removing iron-on patches.
Tweezers help to remove loose threads and debris.
Essential Steps for Removing a Sewn-on Patch
Ready to reclaim your fabric from the clutches of those sewn-on patches?
First, prep your battleground by gently folding the fabric away from the patch, exposing those pesky stitches for what they really are—temporary invaders.
Grab your seam ripper, your sword in this quest, and slide it under a stitch with the precision of a skilled surgeon.
With a confident flick, sever the stitch, repeating this act of liberation across the patch’s border.
As each stitch is cut, use tweezers, your trusty sidekick, to pluck away the freed threads, ensuring not a single one remains to tell the tale.
After your victorious stitch cutting and thread removal, give the fabric a gentle wash to bid farewell to any adhesive residue and stitch holes, leaving your fabric as pristine as the day it met its patchy foe.
Tips for Removing Ironed-on Patches
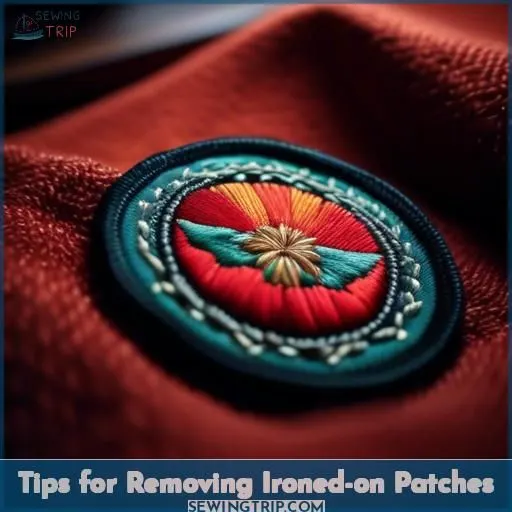
When it comes to removing ironed-on patches, there are a few key tips to ensure a successful and damage-free process.
- Test the fabric: Before applying heat, test your fabric’s reaction to heat exposure. This will help you avoid any potential heat damage.
- Use wax paper: Place a sheet of wax paper over the patch to protect it from the iron’s direct heat.
- Adjust the iron setting: Set your clothing iron to a low or medium heat setting to avoid damaging the fabric.
- Be patient: Allow the iron to sit on the wax paper for about 15 seconds to heat up the adhesive.
- Lift the patch: Use tweezers to carefully lift the patch from the fabric. If the patch is still stuck, try washing the fabric in the washing machine to remove any remaining adhesive residue.
Patch Attachment Methods
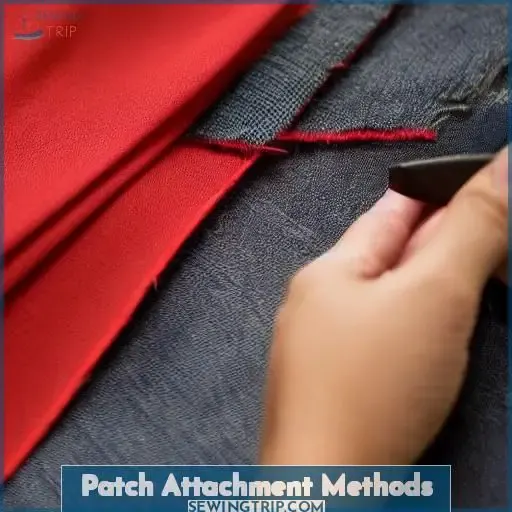
When it comes to patch attachment methods, there are several options available. One popular method is using Stitch Witchery, a gauze-like material that allows you to iron on patches. Another option is using iron-on materials, which are available from BSA for patches.
Sewing is also a common method for attaching patches, providing a more permanent and durable solution.
When removing sewn-on patches, it’s essential to use the right tools and follow proper techniques. Begin by folding the fabric away from the patch to expose the stitches. Use a seam ripper to cut the stitches, and then use tweezers to remove any loose threads.
For ironed-on patches, it’s crucial to test the fabric’s reaction to heat before proceeding. Place wax paper over the patch and press a hot iron over it for 15 seconds. Use tweezers to lift the patch, and then wash the fabric to remove any adhesive residue.
When choosing the ideal size for a custom patch, considerations include patch placement, patch size, patch design, and patch materials. The size of the patch should be large enough to capture people’s attention and should be proportional to the overall design.
Common patch sizes range from 3 inches to 5 inches, with larger sizes being more suitable for back patches.
In the realm of patch attachment methods, there are various options designed to enhance your clothing customization experience. From Stitch Witchery to iron-on materials, sewing, and even custom patches, the world of patch attachment is ever-evolving, offering a range of solutions for your patch needs.
Patch Attachment Issues
How to Remove Sewn-On Patches: A Comprehensive Guide for Effortless Removal
Patch Attachment Issues
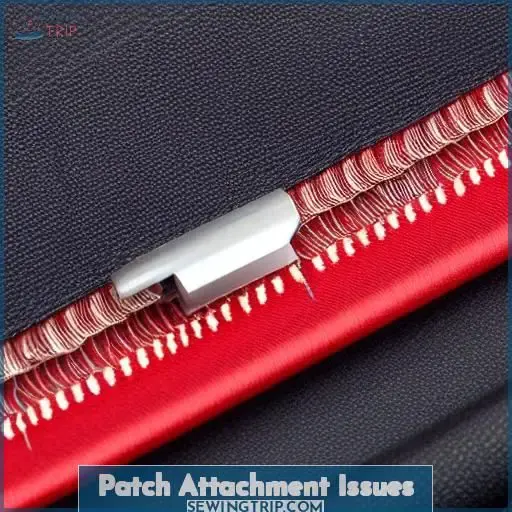
When it comes to removing sewn-on patches, there are a few potential issues you might encounter.
-
Residue Prevention: To prevent any residue from being left behind, ensure that you remove all the threads carefully and completely. This will help maintain the integrity of the fabric and prevent any unwanted marks or stains.
-
Secure Attachment: To ensure that your patches stay in place, consider using a combination of sewing and iron-on methods. Sewing provides a more permanent attachment, while iron-on methods can make the patch more stable before sewing.
-
Kids’ Participation: If you’re working with kids, it’s essential to make the process as engaging and fun as possible. Encourage them to choose their own patches or stickers, and involve them in the sewing or ironing process. This will help them develop valuable skills and foster a sense of pride in their creations.
-
Skill Development: Sewing patches is a great way to teach kids (and adults) important skills like patience, attention to detail, and manual dexterity. By breaking down the process into manageable steps, you can help them master these skills and gain confidence in their abilities.
Frequently Asked Questions (FAQs)
Can I remove a sewn-on patch with a seam ripper?
You bet! A seam ripper is perfect for removing sewn-on patches. Carefully slide it under the stitches, and those pesky patches will be history.
How do I remove an embroidered patch from a garment?
Removing an embroidered patch? Don’t fret! Simply grab a seam ripper and carefully insert it under each stitch. Take your time, snipping every thread until that stubborn patch surrenders to your steady hand’s mastery.
What is the best way to remove iron-on patches from clothing?
Get wax paper ready and crank up the iron’s heat. Place the wax paper over the iron-on patch, then press firmly for 15-20 seconds. Lift a corner carefully – that adhesive should release its stubborn grip, letting you peel off that patch hassle-free.
Can I remove a sewn-on patch without damaging the fabric?
Yes, you can remove sewn-on patches carefully, without damaging the fabric. Use a seam ripper to cut the stitches, then gently pry off the patch with tweezers.
What tools do I need to remove a sewn-on patch?
You’ll need a seam ripper, tweezers, and scissors. Coincidentally, these tools give you precision control over patch removal without fabric damage.
Conclusion
Effortlessly removing sewn on patches empowers you to curate your wardrobe. With precise techniques for detaching iron-on and sewn patches, you’ll gain control over garment aesthetics. Unleash your style by mastering the art of patch removal, resolving attachment issues for a flawless finish.
Reclaim sartorial freedom—how to remove sewn on patches is now within your grasp.

