This site is supported by our readers. We may earn a commission, at no cost to you, if you purchase through links.
Don’t worry—we’ll guide you through, and you’ll be a pro in no time.
Whether you’re a seasoned sewer or a beginner, this article will ensure a smooth and seamless experience.
Continue reading for detailed instructions and helpful troubleshooting tips.
Let’s get started!
Table Of Contents
Key Takeaways
- Threading your sewing machine isn’t rocket science – with the right guidance, you will be a pro in no time!
- Keep an eye on your bobbin – while a full one is desirable, overfilling it might cause issues.
- The thread tension should be just right – not too loose and not too tight.
- If you encounter tangled threads, don’t panic. Cut the thread, then rethread with the presser foot lifted, and the tangle will be easily resolved.
How to Rethread Sewing Machine?
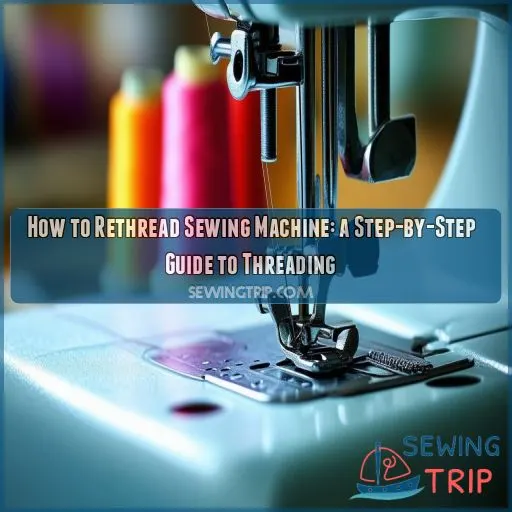
To rethread your sewing machine, first, place the thread on the spool pin and draw it through the bobbin thread guide. Next, engage the thread with the tension disks and bring it to the needle area, inserting it into the needle. You’ll then need to insert the bobbin into the bobbin compartment, secure it, and close the compartment. Finally, adjust the stitch length and tension as needed.
Now that you’ve got the basics down, let’s explore the details of each step to ascertain your sewing machine is properly rethreaded.
Fill the Bobbin
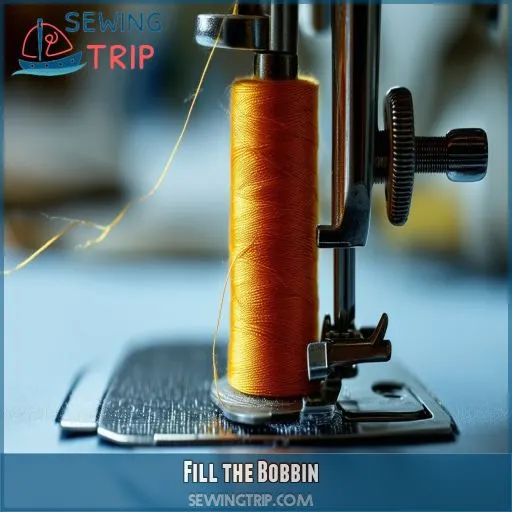
Filling the bobbin is the first step to achieving flawless stitches and avoiding thread-related frustrations. Here’s a simple guide to get you started:
First, place your thread on the spool pin, making sure it’s secure. This is the foundation for your bobbin winding journey. Next, draw the thread through the bobbin thread guide, which keeps your thread tension consistent. Now, it’s time to introduce the star of the show – the bobbin. Place it on the bobbin winder and feed the thread through the hole, creating a path for the bobbin thread. Push the bobbin winder to the right and get ready to witness the magic of bobbin winding.
As the bobbin starts filling up, keep an eye on it to make sure it doesn’t overflow. A full bobbin is desirable, but an overfilled one might cause issues. Once it’s full, clip the thread, and you’re almost done with this step. Remember, bobbin winding is an art, and with practice, you’ll master the perfect amount of thread tension and bobbin case filling.
Thread the Machine
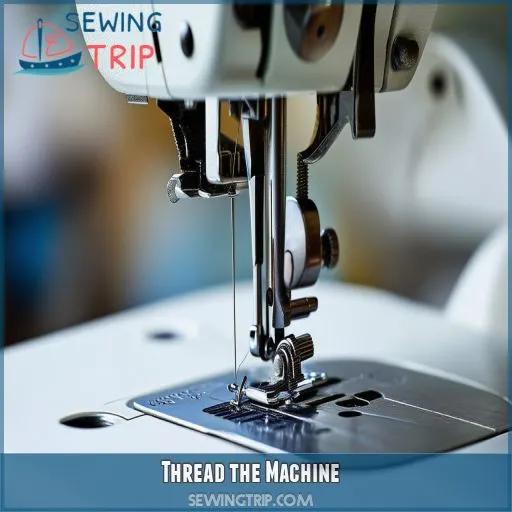
Now that you’ve filled your bobbin, it’s time to thread the machine. This is a key step, as proper threading guarantees seamless stitches and prevents tangles and skipped stitches.
First, bring the thread around the upper thread guide and the U-shaped guide. This guide is essential for maintaining proper tension, so make sure the thread is wrapped securely. Next, hold the thread taut as you engage it with the tension disks. These disks control the thread tension, allowing for smooth stitching.
Then, turn the handwheel to move the take-up lever and draw the thread around it. This lever plays an important role in creating consistent stitches. Continue bringing the thread down to the needle area, carefully guiding it through the thread guides.
Insert the Bobbin
Now that your sewing machine is threaded, it’s time to insert the bobbin. This is a critical step in the rethreading process, as it guarantees that the lower thread is properly positioned to create those seamless stitches. Here’s a step-by-step guide:
- Open the bobbin compartment: Depending on your sewing machine model, you might need to open a small door or remove a cover plate to access the bobbin compartment. This is usually located at the base of your machine, near the needle.
- Place the bobbin: Make sure the bobbin is the correct size for your machine. Align the bobbin inside the compartment, making sure the thread is unwinding in the direction indicated by the arrows or markings on your machine. This is critical for proper tension and stitch formation.
- Unwind the thread: Pull the end of the thread to unwind a few inches. This ensures that the thread is accessible for the next steps and helps prevent tangles.
- Secure the bobbin: Close the bobbin compartment, guaranteeing that the bobbin is secure and properly seated.
With the bobbin inserted, you’re now one step closer to achieving those perfect stitches. The next step will guide you through drawing up the bobbin thread, so stay tuned!
Draw Up the Bobbin Thread
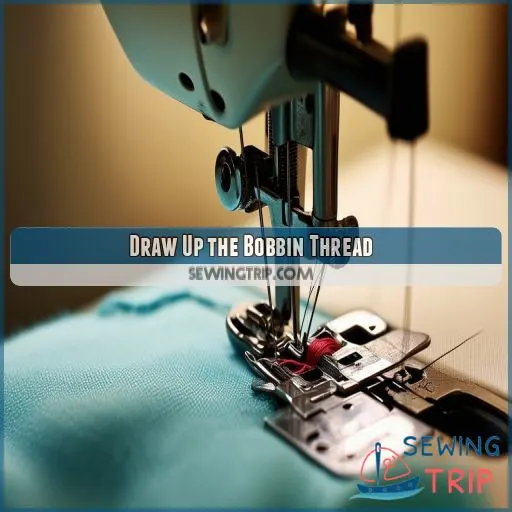
Now that the bobbin is in place, it’s time to draw up the bobbin thread. This step is essential for achieving those seamless stitches and avoiding any tangled messes.
First, confirm that the bobbin is positioned correctly. The thread should be running counter-clockwise, and you should have a nice, long tail of about 6 to 9 inches.
Next, hold the machine thread taut and turn the handwheel. This action will bring up the bobbin thread, which you can then gently pull to bring the entire length up.
At this point, you should have both the machine thread and the bobbin thread ready for action. Pull them both to the back of the machine, under the presser foot, and make sure they’re secure.
Now, you’re almost ready to start sewing. But before you do, let’s make sure your thread tension is just right. The tension settings can be adjusted to suit the weight of your fabric, so test with a scrap piece of fabric first to get it just right.
A Singer sewing machine, for example, will have specific tension discs to help you get the right tension for your thread type. This will ensure your stitches are even and secure, with no skipped stitches or puckered seams.
With the right thread tension and needle alignment, you’re all set to sew with confidence!
Ensuring Seamless Stitches
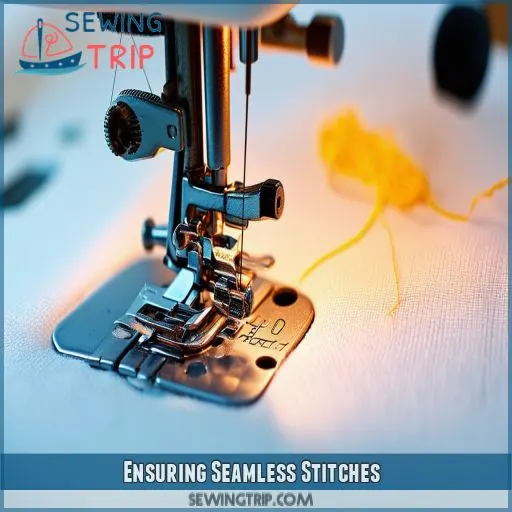
Now that your sewing machine is rethreaded, it’s time to verify that you achieve seamless stitches. This process involves several factors, including bobbin tension, thread type, needle size, stitch length, and fabric type.
First, let’s discuss bobbin tension. It’s important that the bobbin thread tension is correctly adjusted to match the upper thread tension. This balance prevents problems like tangled threads and uneven stitches. Refer to your sewing machine manual to comprehend how to adjust the bobbin tension appropriately.
The type of thread you use also matters. Different threads have varying thicknesses and strengths, so selecting the right one for your fabric is essential. For example, if you’re working with delicate fabric, a lightweight thread is preferable to avoid puckering or bunching. On the other hand, heavier fabrics require stronger threads to create durable seams.
Needle size is another critical factor. Using the wrong needle size can lead to skipped stitches, fabric damage, or thread breakage. Always match the needle size to the fabric type and thread thickness. As a general rule, finer fabrics require smaller needles, while thicker fabrics call for larger needles.
Stitch length also plays a role in achieving seamless stitches. Adjust the stitch length according to the fabric type and the desired look. Smaller stitch lengths create more delicate seams, while longer stitch lengths provide stronger, more visible seams.
Lastly, consider the fabric type. Different fabrics have unique characteristics that affect how they interact with stitches. For instance, stretchy fabrics require a different stitch type and tension setting than woven fabrics. Always test your stitch settings on a scrap of the same fabric before starting your project to verify seamless results.
Preventing Tangled Turmoil
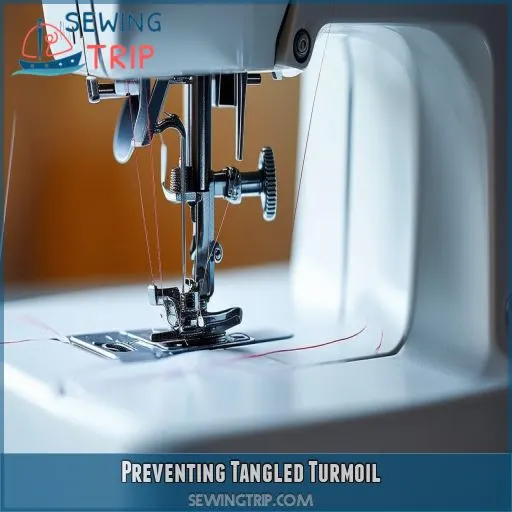
Tangled threads can be a frustrating setback, but with a few simple measures, you can keep your sewing projects running smoothly. Here’s how to avoid that tangled turmoil:
- Thread Tension: Make sure your thread tension is properly adjusted for the fabric weight. Too much tension can cause tangles, so keep it just right by testing on scrap fabric first.
- Bobbin Placement: Always place your bobbin in the correct direction to prevent tangles from the start.
- Needle Type: A damaged or dull needle can cause issues. Replace it if you notice any problems with your stitches.
- Thread Guide: Use the thread guide to maintain a consistent thread path and avoid tangles.
- Thread Path: Double-check your thread’s route. A misdirected thread can lead to tangles, so guarantee it follows the correct path through your machine.
Assembling the Essentials
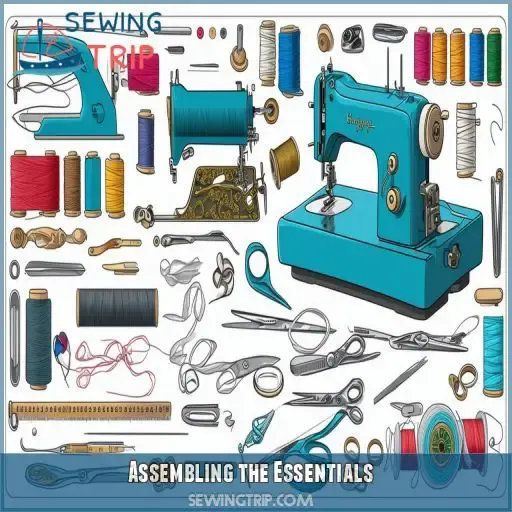
To assemble the essentials for seamless stitching, you’ll need to gather the right tools and materials. Here’s a checklist to guarantee you’re prepared:
- Sewing machine: Choose a reliable machine suitable for the fabric you’ll be working with.
- Thread: Select the appropriate type and color for your project.
- Spool holder: Keep your thread spool secure and maintain smooth thread delivery.
- Bobbin: An empty bobbin is critical for winding the lower thread.
Frequently Asked Questions (FAQs)
How to thread a sewing machine step by step?
- Place the thread spool on the spool pin.
- Pull the thread out and wrap it around the thread guide.
- Pull the thread through the guide and around the tension discs.
- Loop the thread back up towards the second thread guide to create a "U" shape.
- Wrap the thread around the takeup lever.
- Thread the needle.
- Pull the thread through the presser foot.
What is the easiest way to thread a sewing machine needle?
The easiest way to thread a sewing machine needle is to use a needle threader. You can also use a piece of wire or dental floss, but a needle threader is the simplest method.
Which way should thread come off a spool on a sewing?
The way the thread comes off the spool depends on how it’s wound. Cross-wound thread works best when fed from one end, while stacked thread works best when fed from the side.
How do you tie a thread on a sewing machine?
To tie a thread on a sewing machine, push the thread through the needle’s eye. Create a quick knot at the bottom and you’re ready to sew. Leave a 2-3 inch tail to make tying the knot easier.
What are the benefits of rethreading?
Rethreading your sewing machine prevents tangled threads, skipped stitches, and puckered seams. It also guarantees your stitches are seamless and prevents your work from unraveling.
When should I rethread?
You should rethread your sewing machine when you’ve finished a project, and before you start a new one. It’s also a good idea to rethread if you encounter any issues, like tangled threads or skipped stitches.
What is the correct way to thread a needle?
To thread a needle on a sewing machine, bring the thread down around the threader guide, creating tension. Depress the threader knob, place the thread under the hook, and slowly release the knob. A loop will form through the needle’s eye. Pull the thread out.
How do I fix a tangled mess?
It’s a knotty issue, but don’t panic! To untangle the mess, first cut the thread on your fabric and at the spool. Then, unthread your machine and rethread it with the presser foot up. Follow your sewing machine manual for the correct thread path.
What type of thread is best?
The best thread depends on your project. For delicate projects, use cotton thread. For stretchy fabrics, polyester or nylon thread is best. Clear/invisible thread works for light fabrics, and denim thread for denim.
Conclusion
Rethreading your sewing machine is simple with this guide.
Follow the steps to fill the bobbin, thread the machine, and insert the bobbin like a professional.
Troubleshooting tips will help you untangle any thread chaos and seamless stitch issues with ease.
Whether you are a seasoned pro or a beginner, you can now assemble your sewing essentials and begin your next project with confidence, leaving any threading worries behind.
Happy sewing!

