This site is supported by our readers. We may earn a commission, at no cost to you, if you purchase through links.
 Maintaining your sewing machine’s pristine performance is paramount for quality craftsmanship. Learning how to clean a sewing machine properly guarantees smooth operation and prolongs its lifespan.
In this guide, you’ll discover expert tips to keep your machine in optimal condition. From basic cleaning steps to deeper techniques, you’ll master the art of sewing machine maintenance.
Table Of Contents
Key Takeaways
- Keep that lint in check! Regular brushing and cleaning of your sewing machine’s nooks and crannies will prevent it from becoming a dust bunny’s dream home. Your fabric will thank you for the smooth, snag-free stitches.
- Oil is your sewing machine’s best friend, but like chocolate, too much of a good thing can spell disaster. A drop or two in the right spots will keep your machine purring like a contented cat.
- Treat your needles like pop stars – they need regular replacements to stay sharp and on point. A dull needle is about as useful as a chocolate teapot when it comes to creating those picture-perfect stitches.
- Give your trusty stitching sidekick some TLC with annual check-ups from a pro. It’s like sending your machine to a spa day – it’ll come back rejuvenated and ready to tackle your next creative masterpiece!
Basic Cleaning Steps
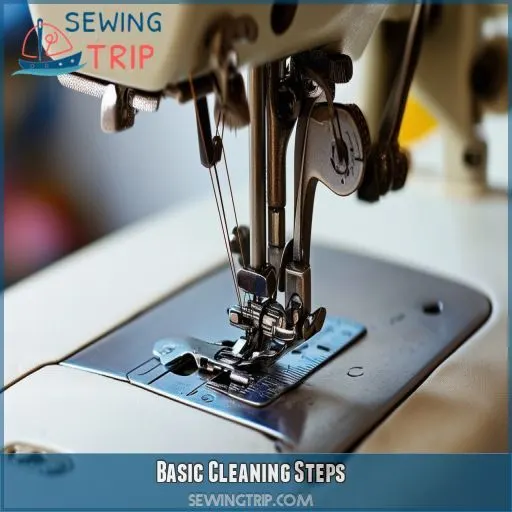
To keep your sewing machine humming along, start with these basic cleaning steps. First, gather your cleaning tools: a lint brush, tweezers, and a soft cloth. Unplug your machine and remove the needle for safety. Open up the bobbin area and remove the bobbin and needle plate.
Now, it’s time to wage war on lint! Use your brush to sweep away those pesky fibers, paying special attention to the feed dogs and tension disks. Tweezers come in handy for stubborn bits of thread.
Once you’ve banished the lint, give the exterior a quick wipe-down with a barely damp cloth. Don’t forget to consult your sewing machine manual for model-specific tips.
regular maintenance like this will keep your trusty machine stitching smoothly, giving you the freedom to create without interruption.
Deeper Cleaning Techniques
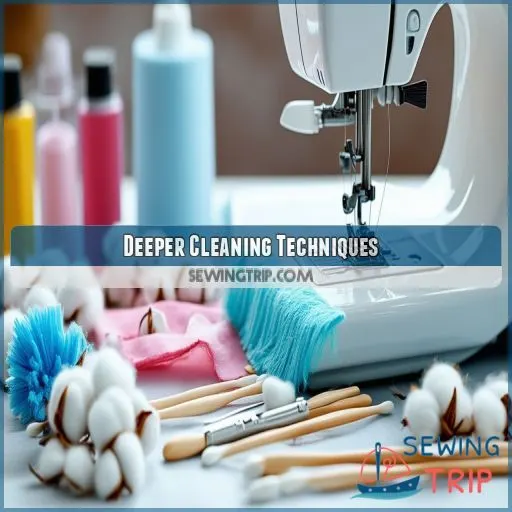
For a deeper clean, use compressed air to blow out dust from hard-to-reach areas of your sewing machine. Consider taking your machine to a professional for annual servicing, which includes a thorough check, advanced maintenance, and adjustments to guarantee satisfactory performance.
Using Compressed Air
For deeper cleaning, you’ll want to use compressed air. But hold on, safety first!
Make certain your sewing machine is unplugged and remove the cover.
Aim the nozzle away from the machine to prevent lint accumulation. Control the air pressure carefully – you’re not trying to launch your bobbin into orbit!
This technique efficiently removes dust from hard-to-reach areas, keeping your trusty stitching companion in tip-top shape.
Professional Servicing
While compressed air can work wonders, sometimes your machine needs an expert’s attention. Annual servicing is essential for optimal performance.
A technician will perform a thorough cleaning, advanced maintenance, and necessary adjustments. They’ll inspect timing, adjust tension, and apply machine oil with precision.
This comprehensive service guarantees your sewing companion runs seamlessly. Don’t neglect professional care – it’s an investment in your craft’s longevity.
Oil Application Guidelines
When it comes to oiling your sewing machine, precision is key. You’ll want to use a high-quality sewing machine oil with the right viscosity for your model. Don’t go overboard – a little goes a long way. Apply just a drop or two to each designated oiling point. These spots are usually marked in your machine’s manual, but they typically include the bobbin case, needle bar, and other moving parts.
Be careful not to over-oil, as excess can attract dust and gum up your machine. Stick to a regular oiling schedule, which might be after every 8-10 hours of use or as recommended by the manufacturer. Before storing your machine, wipe off any excess oil to prevent it from seeping into your fabric during your next sewing session. Remember, proper lubrication is essential for keeping your machine running smoothly and extending its lifespan.
Cleaning Frequency Recommendations
To keep your sewing machine in top shape, you’ll need to tailor your cleaning frequency to your usage. If you’re a daily stitcher, give your machine a weekly once-over to prevent lint build-up. Weekend sewers should aim for monthly maintenance, while occasional crafters can get away with cleaning every six months.
Don’t let dust settle in! A regular maintenance schedule will keep your machine humming along smoothly. By staying on top of cleaning, you’ll avoid costly repairs and guarantee your creative projects always come out looking professional.
Needle Maintenance Tips
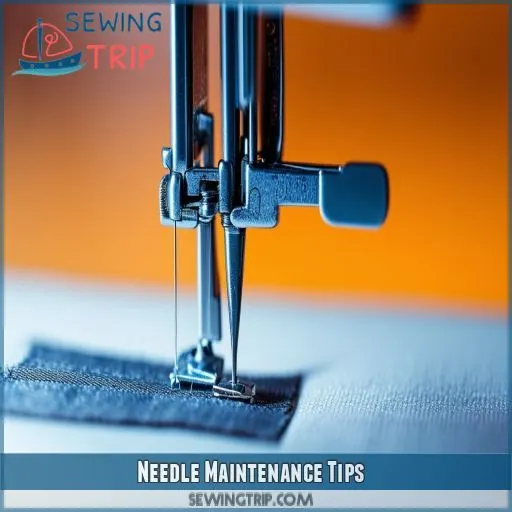
Now that you’ve established a cleaning routine, let’s focus on needle maintenance. Proper needle care is essential for achieving pristine stitches and prolonging your machine’s life. Replace your needle every 2-3 bobbins or after 8-10 hours of sewing. Different fabrics require specific needle types and sizes, so keep a variety on hand. A dull or bent needle can cause skipped stitches and damage your fabric, so inspect it regularly. When threading, make sure the thread flows smoothly through the needle’s eye to prevent tension issues.
Here are some needle maintenance tips to elevate your sewing game:
- Master the art of needle replacement for flawless stitches
- Experiment with various needle types to conquer any fabric
- Fine-tune your tension adjustment skills for professional results
- Learn needle sharpening techniques to extend their lifespan
Bobbin Case Care
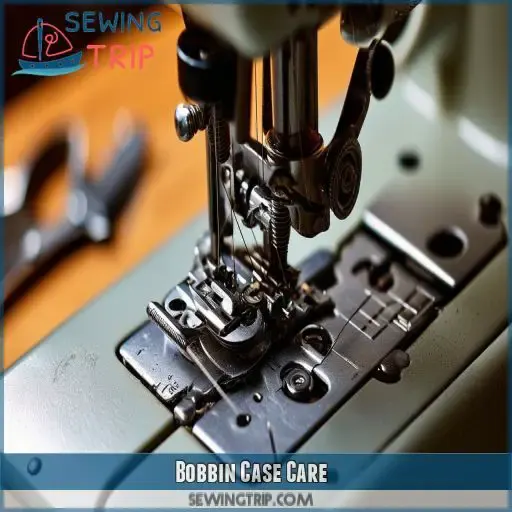
Your bobbin case is the unsung hero of your sewing machine, and proper care can make or break your stitching experience. To keep it in top shape, remove the bobbin case regularly and give it a thorough once-over. Check for lint buildup, thread tangles, and any signs of wear. Here’s a handy guide to bobbin case maintenance:
| Frequency | Action | Troubleshooting |
|---|---|---|
| Weekly | Brush out lint | Skipped stitches |
| Monthly | Deep clean | Thread nests |
| Quarterly | Oil (if needed) | Tension issues |
| Annually | Professional check | Unusual noises |
Thread Management Strategies
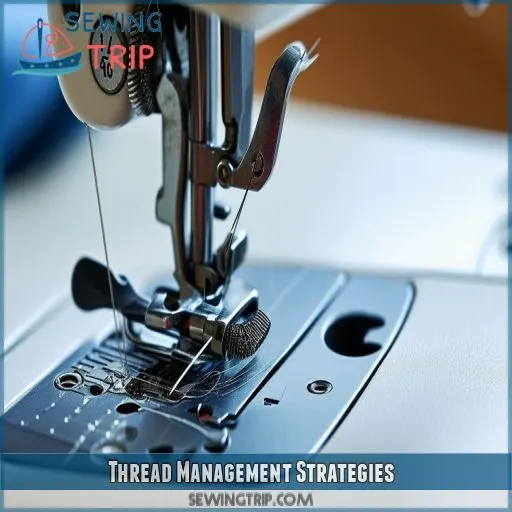
After ensuring your bobbin case is clean and well-maintained, it’s time to tackle thread management. Proper thread care is essential for your sewing machine’s performance. Start by adjusting your thread tension regularly to prevent snags and breaks. You’ll want to store your thread spools in airtight containers to protect them from dust and moisture. This simple step can considerably extend your thread’s lifespan and maintain its quality.
Don’t skimp on thread quality – it directly impacts your stitching results. Invest in high-grade threads that won’t leave lint behind or cause unnecessary tension issues. To keep your sewing area organized, consider a color-coded system for your thread spools. This not only looks neat but also saves time when you’re in the middle of a project.
Proper Machine Storage Practices
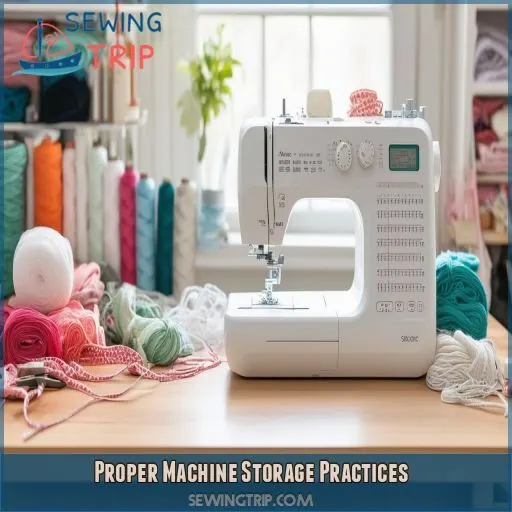
Now that you’ve mastered thread management, let’s discuss safeguarding your trusty sewing companion when it’s not in use. Adequate storage is paramount for your machine’s longevity.
Firstly, invest in a high-quality cover to protect it from dust – it’s like tucking your machine in for a restful night. Keep it in a cool, dry environment to prevent moisture accumulation, which can lead to corrosion. Temperature regulation is essential; extreme heat or cold can damage delicate components.
When you’re not actively sewing, disconnect the machine to avoid electrical issues. Don’t neglect annual servicing – it’s like a rejuvenating spa day for your machine!
Frequently Asked Questions (FAQs)
What are the 7 steps in cleaning the sewing machine?
You’ll need to unplug, disassemble, brush out lint, check for burrs, oil moving parts, reassemble, and test your machine. Don’t forget to wipe down the exterior. Regular cleaning keeps your sewing companion running smoothly for years to come.
What should you use to clean a sewing machine each time it is used?
After each use, you’ll want to brush away lint and loose threads from your sewing machine. Use a small, soft-bristled brush to gently clean the feed dogs, bobbin area, and needle plate. Don’t forget to unplug first!
How to remove stains from a sewing machine?
A stitch in time saves nine! To remove stains from your sewing machine, you’ll want to use a soft cloth dampened with rubbing alcohol. Gently wipe affected areas, avoiding electrical components. For stubborn marks, try a specialized cleaner recommended by the manufacturer.
How often should I clean a sewing machine?
You’ll want to clean your sewing machine regularly. If you’re using it daily, clean weekly. For weekend sewers, monthly cleaning’s fine. If you only sew occasionally, aim for every six months. Don’t forget annual professional servicing!
Can I use rubbing alcohol to clean my sewing machine?
Like a surgeon’s scalpel, your sewing machine requires precision care. Don’t use rubbing alcohol; it’ll dry out delicate parts. Instead, stick to manufacturer-recommended cleaning solutions. You’ll keep your trusty machine humming along, ready for your next creative conquest.
How do I remove rust from sewing machine parts?
To remove rust from sewing machine parts, you’ll need to act quickly. Use fine-grit sandpaper or steel wool to gently scrub the affected areas. For stubborn rust, try a mixture of vinegar and baking soda. Always dry thoroughly afterward.
Is it safe to use compressed air on electronic components?
You can and you can’t, you should and you shouldn’t. While compressed air‘s effective, it’s risky for electronics. Use caution, hold the can upright, and keep a safe distance. Consider alternatives like soft brushes for delicate components.
What should I do if my machine smells musty?
If your machine smells musty, you’ll want to take action quickly. Clean it thoroughly, focusing on hidden nooks where moisture can linger. Air it out in a dry, sunny spot, and consider using a dehumidifier if needed.
Can I clean the machines internal wiring or circuit board?
Like a delicate butterfly, your machine’s internal wiring is fragile. Don’t attempt to clean it yourself. You’ll risk damaging the heart of your trusty companion. Instead, leave this task to professional technicians during annual servicing.
Conclusion
While neglecting your sewing machine can lead to poor results, learning how to clean a sewing machine properly guarantees excellent performance. By following these expert tips, you’ll keep your machine operating smoothly for years to come.
From basic cleaning to deeper techniques, oil application, and proper storage, you now have the knowledge to maintain your sewing companion.

