This site is supported by our readers. We may earn a commission, at no cost to you, if you purchase through links.
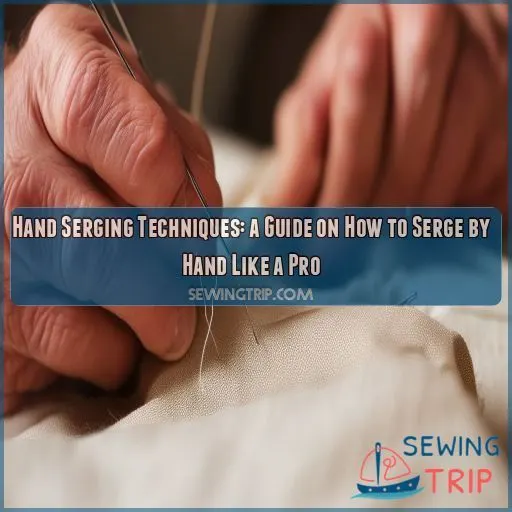 To serge by hand, you’ll need a needle, thread, and fabric. Start by choosing a strong thread and suitable needle for your fabric type.
Hold the fabric firmly and insert the needle from back to front at a slight diagonal. Bring it over the edge and back down through the fabric, forming loops that encase the raw edge. Maintain consistent tension throughout. This overcast stitch prevents fraying and reinforces seams.
For lightweight fabrics, use stabilizers; for heavy fabrics, increase stitch length. Stretchy fabrics require a ballpoint needle and stretchable thread.
With practice, you’ll master this essential technique for professional-looking results. Discover more variations and tips to elevate your hand serging skills.
Table Of Contents
Key Takeaways
- Needle, thread, and a steady hand: that’s your serging superpower trio! No fancy machine needed – just channel your inner seamstress and get ready to conquer those raw edges like a fabric-taming ninja.
- From overcast to blanket stitch, you’ve got options galore. It’s like having a Swiss Army knife for your seams – pick the right stitch for the job, and you’ll be finishing edges smoother than a jazz saxophonist’s solo.
- Fabric whisperer alert! Different materials need different TLC. Treat your delicate silks like a pampered poodle, while giving those sturdy denims a bit more elbow grease. It’s all about reading the room… err, fabric.
- Rome wasn’t built in a day, and neither is serging mastery. Embrace the learning curve, laugh off the wonky stitches, and before you know it, you’ll be hand-serging circles around your sewing machine. Who needs electricity anyway?
How to Serge by Hand?
To serge by hand, you can use an overcast stitch to encase raw fabric edges and prevent fraying. This technique involves repeatedly passing the needle diagonally through the fabric edge while maintaining even tension, creating a durable finish similar to machine serging.
What is Serging?
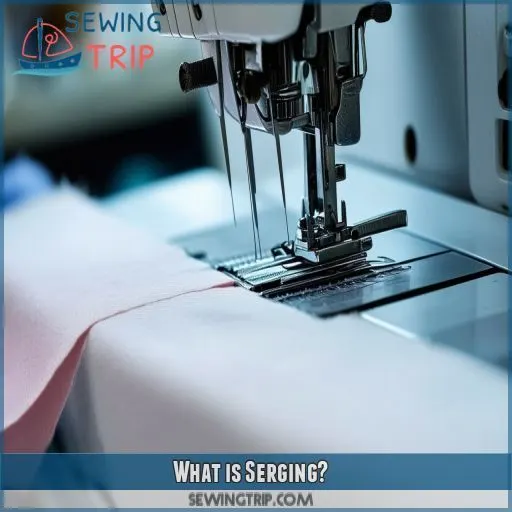
Serging uses a specialized type of sewing machine called a serger or overlocker to sew over the raw edges of fabric, preventing fraying and giving a clean finish (Source). Hand serging mimics these functions with various stitches that encase or lock the fabric edges, offering a professional-looking result even without a serger (Source).
Definition of Serging
Serging, or overlocking, involves using specialized stitches to finish fabric edges, preventing fraying and creating professional seams. With sergers, expect three main benefits:
- Edge Finishing: Keeps edges clean and durable.
- Seam Strengthening: Reinforces seams with robust stitches.
- Time Efficiency: Rapidly sews and trims, simplifying tasks.
Key components include serger needles, thread, and stitching mechanisms.
Purpose of Serging
Serging, an essential sewing technique, involves using types of stitches like overlock to finish seams. Proper needle selection, maintaining thread tension, and careful fabric handling guarantee clean seam finishing, preventing fraying and ravelling. Using a serger or overlock machine simplifies this process, creating double-thread stitches that encase fabric edges seamlessly for a professional result.
Advantages of Serging
Serging, a game-changer in garment construction, offers benefits over conventional sewing. It uses multiple threads to encase seams, preventing fraying and adding durability. With a serger, you can achieve professional finishes like overlock stitches and rolled hems, essential for stretch fabrics. Unlike a regular sewing machine, serging trims fabric while stitching, saving time and enhancing efficiency.
Preparing to Serge by Hand
To start hand serging, you’ll want to choose a suitable thread and select the right needle for your fabric type. Set up a well-lit work area with your materials organized for easy access .
Selecting the Right Needle
Selecting the right needle is important for hand serging. Consider these factors:
- Needle Type: Choose a universal needle for most fabrics or a specialized needle like a jersey or stretch needle for knits (Source).
- Fabric Weight: Use smaller needles for lightweight fabrics, larger for heavier materials .
- Needle Condition: Always use sharp, undamaged needles for clean stitches .
Choosing Thread
Now that you’ve chosen the right needle, it’s time to select your thread.
Thread weight, type, and strength are essential for successful hand serging. Opt for strong, durable threads like polyester or nylon for most fabrics.
Consider thread color for visible stitches like blanket stitch or appliqué work.
Setting Up Your Work Area
To set up your work area for hand serging, start by gathering all your materials. Choose a well-lit spot and organize your thread, needles, and fabric neatly.
Consider using magnification tools for precise stitching. Arrange your space to easily switch between overlocking and flatlock stitches.
Keep border designs handy for inspiration.
Stitching the Overcast Stitch by Hand
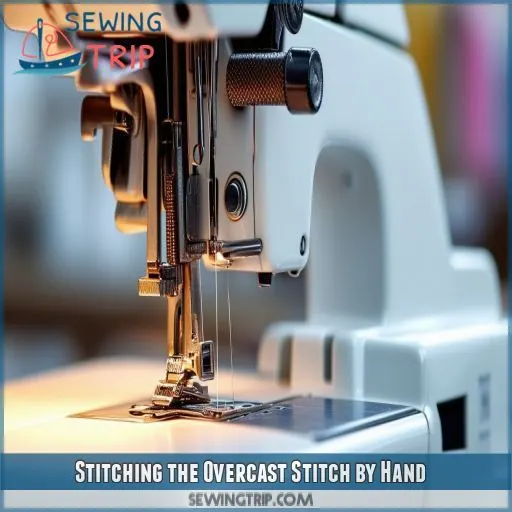
To begin stitching the overcast stitch by hand, hold your fabric firmly with your non-dominant hand, positioning it so the raw edge is facing up. Form the stitch by inserting the needle from back to front at a slight diagonal, then bring it over the edge and back down through the fabric, maintaining consistent tension throughout the process.
Holding the Fabric
When serging by hand, proper fabric alignment is essential. Hold the fabric firmly, maintaining consistent tension throughout. Adjust your needle angle for ideal stitch length and fabric tension. Here’s what to remember:
- Imagine you’re gently guiding a delicate butterfly’s wing
- Picture your fingers as nimble dancers, gracefully maneuvering the cloth
- Envision your hands as steady anchors, keeping the fabric taut
- Think of your grip as a gentle embrace, neither too loose nor too tight
Forming the Stitch
To form the overcast stitch, start by inserting your needle from the underside of the fabric’s edge. Pull the thread through, leaving a small tail.
Next, bring the needle over the edge and back down through the fabric, about 1/4 inch from the edge.
As you pull the thread tight, it’ll create a loop that encases the raw edge, effectively finishing your seam.
Maintaining Tension
Maintaining proper tension while hand serging is essential for a professional finish. Here’s how to master it:
- Adjust tension based on fabric type and needle size
- Keep seam allowance consistent for uniform stitches
- Vary stitch length according to fabric weight
As you work, pay attention to how the thread feels. It should glide smoothly without snags. Remember, practice makes perfect! You’ll soon develop a feel for the right tension, giving your projects that polished look.
Variations of the Overcast Stitch
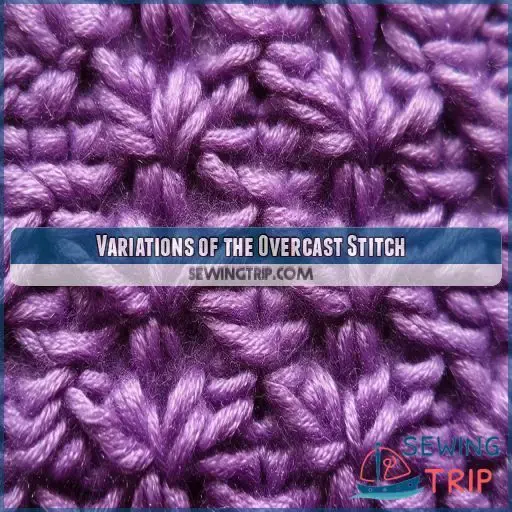
You can expand your hand serging repertoire with variations like the blanket stitch, whip stitch, and buttonhole stitch. These stitches offer different decorative and functional options for finishing your fabric edges, allowing you to choose the best technique for your specific project needs.
Blanket Stitch
Moving from the basic overcast stitch, let’s explore the blanket stitch, a decorative overcasting technique. This versatile stitch is perfect for blanket edging and yarn serging.
To start, choose a larger needle for thicker fabrics. Stabilize your fabric if needed.
Work from left to right, creating loops that catch the fabric’s edge. This method adds a charming finish while securing raw edges effectively.
Whip Stitch
The whip stitch, a versatile variation of the overcast stitch, offers both functionality and creative flair. You’ll find it’s perfect for joining fabric edges or adding decorative touches. Here’s what you need to know:
- Can be used as a blind stitch for hems
- Creates a spiral effect when worked closely
- Ideal for appliqué and visible mending
- Works well on curved edges
- Allows for easy tension adjustment
Master this stitch, and you’ll have a go-to technique for various sewing projects.
Buttonhole Stitch
The buttonhole stitch is a versatile variation of the overcast stitch. You’ll find it useful for finishing edges and decorative work.
To create this stitch, loop your thread around the needle before pulling it through the fabric. This technique forms a knot along the edge, providing extra strength.
Consider fabric thickness when adjusting tension.
If you’re struggling with uneven stitches, practice on scrap fabric first.
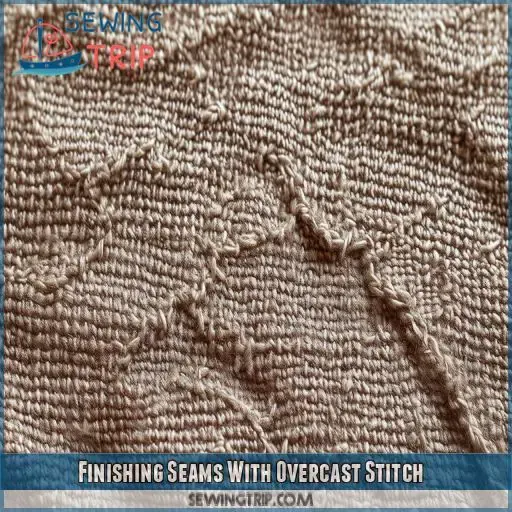
Finishing Seams With Overcast Stitch
When finishing seams with the overcast stitch, you’ll encase raw edges and prevent fraying, giving your project a professional look. You’ll achieve this by carefully working the stitch along the fabric’s edge, ensuring each loop securely wraps around the raw edge to create a neat, durable finish.
Encasing Raw Edges
When encasing raw edges, you’ll master the art of clean finishes. Start by overcasting corners, ensuring neat angles.
For curves, work slowly to maintain smooth lines. Tackle bias edges with care, preventing stretching.
When dealing with multiple layers, align them precisely before stitching.
Want to add flair? Try overcasting with decorative thread.
These techniques will elevate your hand serging, giving your projects a polished, professional look.
Preventing Fraying
After encasing raw edges, preventing fraying is your next vital step.
Adjust your thread tension to suit your fabric choice, ensuring stitches aren’t too loose or tight. Select the right needle for your material – finer for delicates, sturdier for heavy fabrics.
As you work, maintain consistent pressure and spacing.
These finishing touches not only prevent fraying but can also add decorative effects to your project.
Achieving a Professional Look
To achieve a professional look, compare your hand serging to machine serging. Use different thread types for hand serging to match your fabric.
Improve your skills by practicing on scrap materials. Essential tools include sharp scissors and a thimble.
For best results, choose fabrics suitable for hand serging, like cotton or linen.
With practice, you’ll master the art of creating polished, fraying-free seams by hand.
Serging Techniques for Different Fabrics
When serging by hand, you’ll need to adjust your technique based on the fabric type you’re working with. Different fabrics like lightweight, heavyweight, and stretchy materials each require specific approaches to guarantee a clean, professional finish and prevent damage to the fabric.
Lightweight Fabrics
When serging lightweight fabrics by hand, you’ll need to take extra care.
Overcasting knits can be tricky, so consider stabilizing fabrics with spray starch or seam tape.
For delicate materials, try using paper or tissue paper as a temporary backing. This technique helps strengthen seams and prevents puckering.
Once you’ve finished stitching, simply tear away the paper for a clean, professional finish.
Heavyweight Fabrics
When serging heavyweight fabrics, you’ll need to adjust your technique.
Increase your stitch length and use a heavier needle to accommodate the thicker material. Adjust thread tension carefully, as heavyweight fabrics require more tension to create secure seams.
Be mindful of fabric bulk at intersections and corners.
Take your time, guiding the fabric steadily to achieve even stitches and a professional finish.
Stretchy Fabrics
When serging stretchy fabrics by hand, you’ll need to adapt your technique. Use a ballpoint needle to prevent snags and opt for a thread with some give. As you stitch, gently stretch the fabric to allow for movement. Here are key tips for hand serging stretchy materials:
- Use a looser tension to accommodate fabric stretch
- Apply a zigzag variation of the overcast stitch for flexibility
- Consider a double row of stitches for extra durability
Troubleshooting Hand Serging
When hand serging, you might encounter issues like uneven stitches, puckering fabric, or thread breakage. Let’s address these common problems and explore solutions to help you achieve smooth, professional-looking results in your hand serging projects.
Uneven Stitches
When serging different fabrics by hand, you might encounter uneven stitches. This can be frustrating, but don’t worry!
Common culprits include knotted thread, mismatched needle and fabric thickness, or inconsistent tension.
If your needle’s too thick or thin for your fabric, swap it out. Keep your thread smooth and maintain steady tension as you work.
With practice, you’ll master even stitches across various materials.
Puckering Fabric
After addressing uneven stitches, you might encounter fabric puckering. This common issue can stem from improper thread tension or incorrect stitch adjustments.
To prevent puckering, stabilize your fabric with tissue paper or starch spray before serging. Adjust your thread tension gradually, ensuring it’s not too tight. If puckering persists, try changing your stitch length or width.
Thread Breakage
While puckering can be frustrating, thread breakage is another common hurdle in hand serging.
To prevent this, make certain your thread tension isn’t too tight. Use the right needle type for your fabric choice and adjust your stitch length accordingly.
High-quality thread is essential; cheap options can snap easily.
If breakage persists, try switching to a stronger thread or shortening your stitch length slightly.
Frequently Asked Questions (FAQs)
Can you do a serger stitch by hand?
Threading life’s fabric, you can mimic serger stitches by hand. Use a zigzag pattern to encase raw edges, or try a blanket stitch for stability. It’s time-consuming but offers control and a personal touch to your creations.
How do you Serge fabric without a serger?
You can mimic serging without a serger by using your regular sewing machine. Set it to a zigzag stitch, trim your seam allowance, and sew along the edge. This technique will encase the raw edge, preventing fraying.
Can you Serge fabric with a regular sewing machine?
Your trusty sewing machine can be a serging superstar! With a zigzag stitch and the right foot, you’ll tame those raw edges like a pro. It’s not quite a serger, but it’ll get the job done beautifully.
Can you Serge without cutting?
Yes, you can serge without cutting. Use your machine’s overlock or zigzag stitch to finish raw edges without trimming. Adjust stitch width and length for fabric thickness. This technique’s great for delicate fabrics or preserving seam allowances.
Can hand serging replace machine serging entirely?
Practice makes perfect," they say. While hand serging can’t entirely replace machine serging, it’s a valuable skill. You’ll have more control and flexibility, but it’s time-consuming. Machine serging remains faster and more efficient for large projects.
How long does hand serging typically take?
Hand serging typically takes 15-30 minutes per seam, depending on your skill level and the fabric’s complexity. You’ll need patience and practice to master this technique. It’s slower than machine serging but offers more control and flexibility.
Whats the best thread for hand serging?
Did you know 70% of hand-sewers prefer polyester thread? For hand serging, you’ll want strong, durable thread. Opt for all-purpose polyester or nylon. They’re less likely to break and can handle the tension needed for a secure finish.
Are special needles required for hand serging?
You don’t need special needles for hand serging. Regular sewing needles work well. Choose a size that suits your fabric weight. Sharps or universal needles are ideal. They’ll help you create neat, durable seams with ease.
Can hand serging be used on heavyweight fabrics?
You can use hand serging on heavyweight fabrics, but it’ll be challenging. You’ll need strong needles and sturdy thread. Work slowly, using a thimble to protect your fingers. Consider alternatives like flat-felled seams for durability.
Conclusion
Practice makes perfect when learning how to serge by hand. You’ve now got the tools and techniques to create professional-looking seams without a machine.
From selecting the right materials to mastering various stitches, you’re equipped to handle different fabrics and troubleshoot common issues.
Keep practicing, and soon you’ll be serging like a pro, adding that polished finish to all your handmade creations.

