This site is supported by our readers. We may earn a commission, at no cost to you, if you purchase through links.
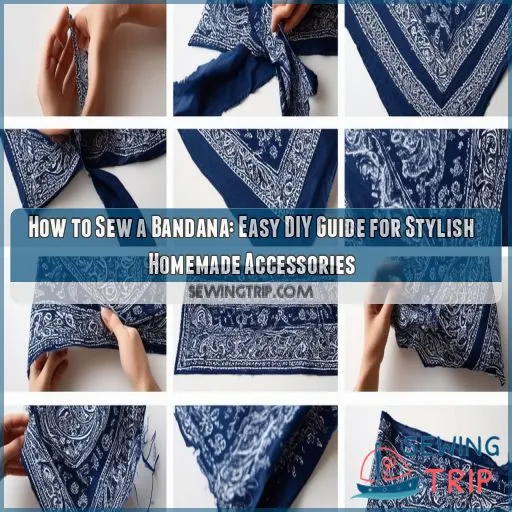
This easy DIY guide will transform you into a bandana-making maestro in no time. You’ll discover the secrets to selecting fabrics, mastering cutting techniques, and perfecting those crisp edges.
With just a few simple steps, you’ll be creating stylish homemade accessories that express your unique flair. Get ready to unleash your creativity and join the ranks of savvy DIY fashionistas!
Table Of Contents
- Key Takeaways
- How to Sew a Bandana?
- Materials Needed for Sewing a Bandana
- Choosing the Right Fabric for Your Bandana
- Measuring and Cutting Your Fabric
- Preparing Your Sewing Machine
- Folding and Pressing the Edges
- Sewing the Hem
- Adding Decorative Elements
- Attaching Snaps or Buttons
- Finishing Touches
- Styling Your Handmade Bandana
- Frequently Asked Questions (FAQs)
- Conclusion
Key Takeaways
- Fabric is your fashion playground! From breezy cotton to dapper linen, choose a material that speaks to your style and lets your skin breathe. Remember, a bandana is like a chameleon – it can change its look with every fold!
- Measure twice, cut once, and you’ll be sewing circles around the competition. A well-cut bandana is half the battle won, so grab your trusty rotary cutter and let those clean lines sing!
- Corners are the make-or-break moment in bandana-making. Treat them like VIPs – give them extra attention, a little pressed TLC, and they’ll reward you with crisp, professional-looking edges that’ll turn heads.
- Your handmade bandana is a blank canvas waiting for your personal touch. Whether you’re into embroidery that tells a story or snaps that make it a quick-change artist, let your creativity run wild. After all, why blend in when you were born to stand out?
How to Sew a Bandana?
To sew a bandana, you’ll need lightweight cotton or linen fabric, a sewing machine, and basic tools. Start by cutting your fabric to size, typically 19" to 28" square, adding a 1/4" seam allowance.
Fold and press the edges twice for a clean hem. Set up your machine with matching thread and adjust tension for balanced stitches. Sew around the edges, taking care at corners.
For a personal touch, consider adding embroidery or decorative elements. Press your finished bandana and trim any loose threads.
With these simple steps, you’ll have a stylish, homemade accessory in no time. Let’s explore some creative ways to style and wear your new creation.
Materials Needed for Sewing a Bandana
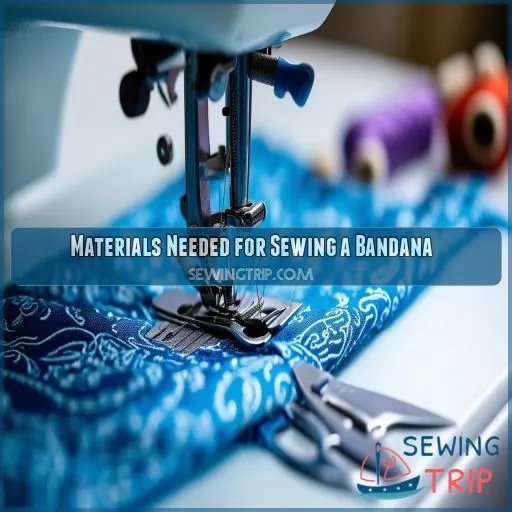
To sew a bandana, you’ll need to start by selecting the right fabric and gathering your tools. Choose a lightweight cotton or linen fabric in your preferred pattern, and make sure you have essentials like a sewing machine, scissors, measuring tape, and an iron on hand.
Fabric Selection
Choose a fabric that makes your bandana stylish and uniquely functional. For this, you’ll want light, breathable fabrics such as cotton or linen. That way, you can be sure to stay cool and comfortable while hiking trails or just add some flair to any outfit.
Take a look at weave patterns and texture differences for added visual interest. Get creative about the color combinations and print placement; bold solids, detailed patterns, or even tie-dye would mean your bandana is uniquely yours.
Think about the selvages—that’s going to have an impact on how easily you can hem your square of cloth. With the suitable fabric, you’re one step closer to bandana bliss!
Tools and Notions
You’ll need only a few essential tools and concepts to get your bandana. Break out your trusty sewing machine and stocking thread that matches your fabric.
Sharp scissors or a rotary cutter are necessary for clean cuts, with a tape measure or ruler for exact dimensions and a cutting mat protecting the work surface. A turning tool can be a lifesaver with corners.
You’ll also need an iron for crisp edges and professional-looking topstitching. If attaching snaps to the article of clothing, a snap tool installer is necessary.
Last but not least, some sewing pins or clips at hand will help keep it all in its place.
With these basics, you’re ready to start creating any custom design your mind desires—yes, even matching outfits!
Choosing the Right Fabric for Your Bandana
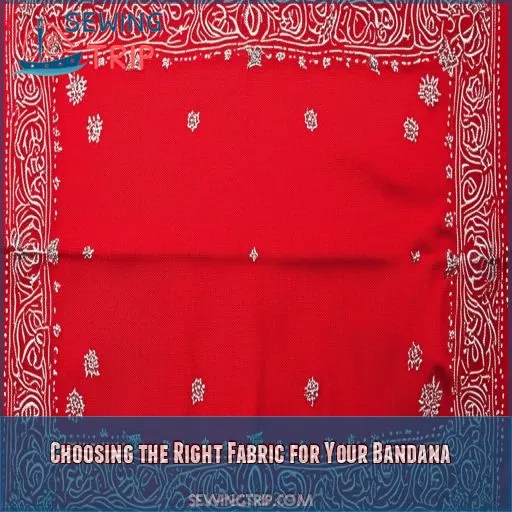
While choosing the fabric for your bandana, there’s a choice between the pros and cons of cotton and of linen. While cotton gives you breathability and a soft feel, linen offers durability with crisp looks; you’ll also want to decide upon the prints or patterns that best work for you, Styled accordingly.
Cotton Vs. Linen
Now that you’ve gathered all your materials, the first thing to decide on is the fabric. Consider the weight and texture of the fabric while comparing cotton versus linen for bandanas.
Lightweight cotton is a fast favorite; its air allowance creates a soft feel. Quilting cotton works well, too, since it gives shape and comes in very saturated colors.
Linen offers a different texture with innate cooling properties. Both cotton and linen are suitable for many print styles and pattern choices.
Don’t forget to scour thrift stores for fabric remnants or repurpose old clothing for a sustainable spin.
Whether you’re choosing cotton or linen, make sure that it will work with your desired style and comfort.
Prints and Patterns
When selecting prints and patterns for your bandana, consider the versatility of reversible fabrics. They’ll give you two looks in one! Opt for color combinations that complement your wardrobe or experiment with bold contrasts.
Geometric patterns can add a modern twist, while floral motifs offer a timeless charm. Don’t shy away from animal prints for a wild touch!
Your sewing machine will handle most patterns with ease, so let your creativity run wild!
Measuring and Cutting Your Fabric
To create your bandana, you’ll need to decide on the size and cut your fabric accurately. Standard bandana sizes typically range from 19" x 19" for children to 28" x 28" for larger styles, but you can customize the dimensions to suit your preferences using precise cutting techniques with scissors or a rotary cutter.
Standard Bandana Sizes
When it comes to bandana sizes, you’ve got options. Standard is typically 22 inches square, but don’t let that limit your creativity. For a more versatile accessory, consider these popular dimensions:
- Classic 22" x 22" – Perfect for neck wear and headbands
- Extra-Large 27" x 27"-Perfect for larger head circumferences or as a fashion shawl
- Compact 18" x 18" – perfect for pets or as a pocket square
Cutting Techniques
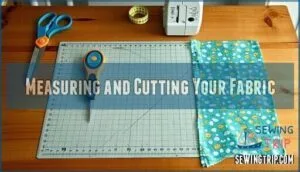
To cut your bandana fabric like a pro, you’ll need a few essential tools. Grab your cutting mat, rotary cutter, and tape measure – they’re your best friends for precision.
Lay out your fabric on the cutting mat, ensuring it’s smooth and wrinkle-free. Measure carefully, adding a 1/4 inch seam allowance around the edges.
Use your rotary cutter for clean, straight lines, or opt for sharp scissors if you prefer. Pay extra attention to corner seams – they’ll make or break your bandana’s look.
Once cut, press your seams for a crisp finish. Remember, a well-cut fabric is half the battle won in creating a stunning bandana!
Preparing Your Sewing Machine
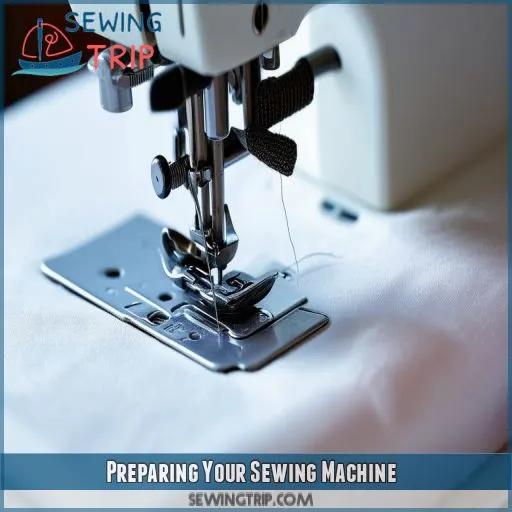
Use the proper color thread, then set the correct tension on your sewing machine. Match your thread color to the fabric color—use a matching or complementary thread color. Check for skipped stitches or tug in tension by running it on a scrap piece of fabric before working on your bandana.
Thread Selection
The proper thread choice for this bandana project makes a difference. You want to consider thread color and weight, quality, type, and finish. Choose a thread that complements or matches your fabric choice.
For sewing the vast majority of bandanas, all-purpose cotton polyester works well, but cotton thread is good on natural fibers. The thread weight will depend on your fabric weight—lightweight for light fabrics, heavyweight for heavy fabrics. High-quality thread provides for smooth stitching and durability.
Remember that your choice of thread affects the look of stitches and the strength of seams. A matte finish is best for most bandanas, but feel free to experiment until you find the perfect one for your taste.
Tension Adjustment
Get the right setting for the designed tension. You want to end up with the perfect bandana, one with your stitches balanced and secure. First, thread your machine using the appropriate type of thread and needle size for your material. Test your stitches on a scrap piece of material by running it through to ensure you get a smooth, even stitch by adjusting the tension dial. Here are three key points to remember:
- Upper tension: Concerns the tightness of the top thread
- Bobbin tension: This will affect the lower thread tension.
- Stitch length: Influences the overall appearance of the stitches
Keep at your side a set of sewing pins, a sewing awl, and thread trimmers. Indeed, with proper tension, you’ll be well on your way to a very stylish bandana, finished professionally with a snap closure.
Folding and Pressing the Edges
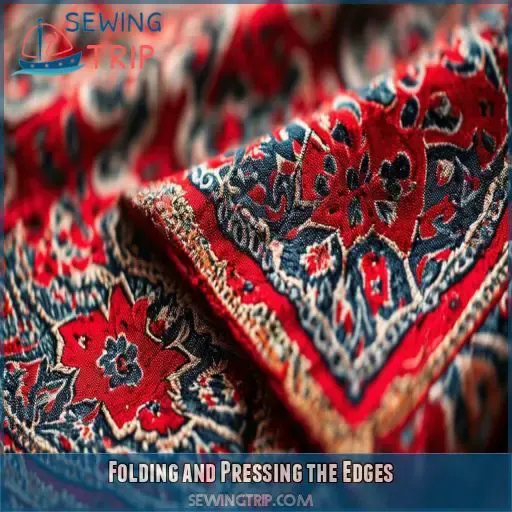
To create clean corners on your bandana, fold each edge twice and press with a hot iron, paying extra attention to the corner points. Use your iron effectively by applying firm pressure and holding it in place for a few seconds on each fold, ensuring crisp edges that’ll make your bandana look professionally finished.
Creating Clean Corners
You will need a bit of accuracy to make corners in squares for your bandana.
START BY FOLDING IN THE CORNERS INWARD WITH A CORNER PRESSER at a diagonal of about 45 degrees. Next, fold over the sides twice, then miter the corners so that they lie flat and professional in your work.
Use a seam guide to make consistent sides and clip with corner clips. As you get to each corner with the sewing machine needle, slow down and pivot carefully through. Ensure that opposite sides match up perfectly.
Keep in mind that a well-made bandana isn’t just for show alone; it’s instead something versatile to be sported with every outfit—from fashionable ensembles to backpacking.
Take your time, and very soon, you’ll have a square masterpiece worthy of any adventure.
Using an Iron Effectively
To achieve crisp edges on your bandana, you’ll need to master ironing techniques. Set your iron to the appropriate heat for your fabric type—cotton loves high heat, while delicate fabrics prefer a cooler touch. Use a pressing surface that’s smooth and firm, like an ironing board or padded table.
For razor-sharp folds, employ starching methods before pressing. As you work, fold the edges over by 1/4 inch, then again for a clean hem. A turning tool or clips can help maintain consistency.
Sewing the Hem
Now it’s time to sew the hem of your bandana using a straight stitch technique. Start at one corner and carefully guide the fabric through your machine, making sure to pivot at each corner for crisp, clean edges.
Straight Stitch Technique
Now that you’ve folded and pressed your edges, it’s time to sew the hem. You’ll use a straight stitch technique to secure those crisp edges. Here’s how to nail it:
- Set your machine to a straight stitch with medium length
- Start at a corner, lowering the needle into the fabric
- Sew along the folded edge, keeping the stitching line straight
- Use the machine’s guide or mark a line to maintain consistency
As you sew, keep the fabric taut to prevent puckering. Remember, you’re not just stitching; you’re crafting a piece of your style. Think of each stitch as a spike securing your creativity. You’re one step closer to rocking your custom bandana!
Dealing With Corners
When you come to a corner, don’t panic! Gradually slow the sewing speed and stop with the needle in the fabric, about 1/4 inch from the edge. Raise the presser foot and turn your bandana a full 90 degrees. Management of corners is handy for clean angles and smooth turns.
For sharp miters, trim the excess fabric at the corners before turning. As you go on to sew more, apply precision to achieve those crisp edges just like a professional would. After all, practice makes perfect.
Pretty soon, you’ll be turning corners like a pro—probably making that classic bandana or attaching plastic snaps on a black cap. This is how one masters sewing with style—an essential component of learning how to sew a bandana.
Adding Decorative Elements
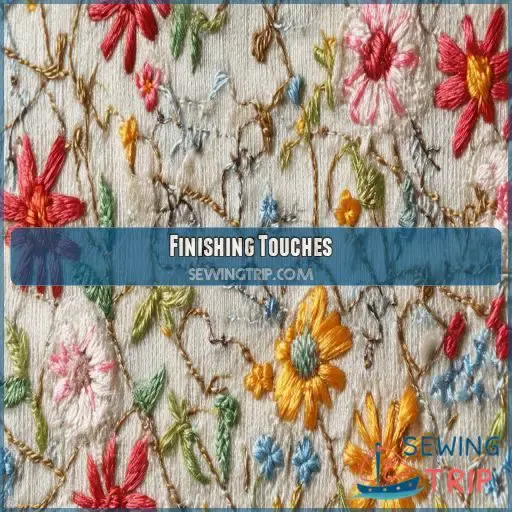
Once you’ve sewn the basic structure of your bandana, you can elevate its style with embroidery. Consider adding simple designs like flowers, geometric patterns, or your initials to personalize your creation and make it stand out.
Embroidery Options
Now that you’ve hemmed your bandana, it’s time to add some personality with embroidery. You’ve got plenty of options to explore!
Choose from simple embroidery stitches like running stitch or backstitch, or go for more intricate embroidery designs. Floral patterns and geometric shapes work well on bandanas.
Don’t forget to gather your embroidery supplies: hoops, needles, and colorful threads.
If you’re new to embroidery, start with basic embroidery patterns and work your way up. Remember, practice makes perfect!
Your unique embroidery will transform your bandana into a one-of-a-kind accessory that’ll make heads turn.
Attaching Snaps or Buttons
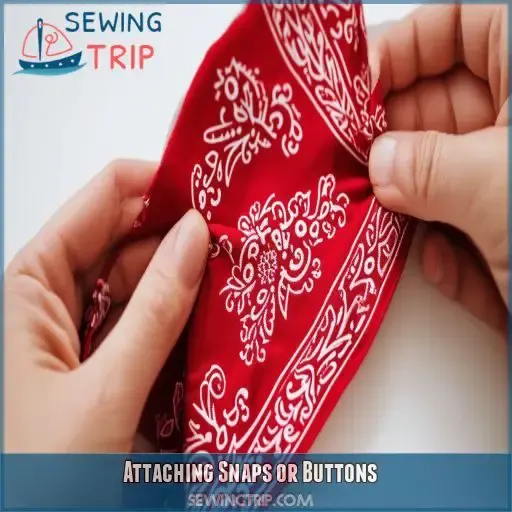
You have to plan snaps or buttons on your bandana correctly about functionality and aesthetics. Attach them firmly, using appropriate tools and techniques so that they can sustain normal usage and several washes.
Placement Tips
Now that you’ve added a bit of flair to your bandana, snap or button placement is in order. This step is essential for ensuring your accessory stays in place while rocking it.
Fold your fabric like you would wear it, then mark where the snaps or buttons are going to sit. Typically, they’ll go about ½ inch from the corners. If you want a decorative touch, space buttons around the edges in a pattern.
Installation Techniques
Now that you’ve chosen the perfect spots for your snaps or buttons, it’s time to secure them. For snap installation, you’ll need a snap setter tool. Place the snap components on either side of the fabric and use the tool to press them together firmly.
If you’re opting for buttons, you can hand sew or machine sew them. For hand sewing, use a double thread and create a sturdy anchor with several stitches. Machine sewing buttons is quicker but requires a special foot attachment.
Finishing Touches
Give your hand bandana a professional finish by ironing it again on the hot setting. Remove any wrinkles or possible creases that follow, and then look out for edges and corners for loose threads, which you can carefully trim off with small scissors to ensure a nice, clean finish.
Pressing the Final Product
Once you’ve sewn your bandana, it’s time to give it that crisp, professional finish. Break out your iron and pressing supplies because these are the magic behind a polished finish.
Begin with a clean and hot iron, and don’t be afraid of using starch if extra crispness is desired. Different fabric choices may entail particular ironing techniques; adjust accordingly.
Press each seam flat, minding the corners. To iron delicate fabrics, place a pressing cloth on top of the fabric. The process shouldn’t be rushed, so take time to ensure every inch is smooth.
These finishing touches will set everything apart and turn your handmade bandana from homemade into boutique-worthy. You’re almost there, and you’re doing great!
Trimming Loose Threads
After pressing your bandana, it’s time to give it that polished finish. Trimming loose threads isn’t just about neatness; it’s the final touch that elevates your creation from homemade to handcrafted. Here’s how to tackle those pesky stragglers:
- Inspect your bandana under good lighting, checking both sides carefully.
- Use sharp scissors to snip threads close to the fabric without nicking it.
- Pay extra attention to corners and embellishment areas where threads tend to cluster.
- Gently brush the bandana to reveal any hidden loose threads.
With your bandana now thread-free, you’ve got a blank canvas for seasonal designs or gift ideas. Consider using fabric scraps for unique embellishment options, and explore clever storage solutions to keep your creation pristine.
Styling Your Handmade Bandana
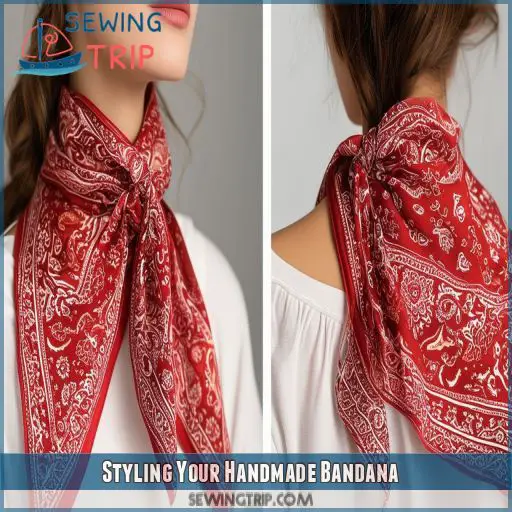
You’ve created a beautiful bandana, and now it’s time to show it off. Explore various ways to wear your handmade accessory, from classic neckerchief styles to headbands and wrist wraps, and learn how to properly care for your bandana to keep it looking fresh and vibrant for years to come.
Wearing Methods
You’ve crafted a beautiful bandana, now let’s explore stylish ways to wear it! Your handmade accessory offers endless possibilities for self-expression. From classic headband styles to neck scarves, your bandana can elevate any outfit. Here’s a quick guide to popular bandana folding and tying techniques:
| Style | Fold | Tie | Occasion |
|---|---|---|---|
| Classic Cowboy | Triangle | Behind neck | Casual |
| Headband | Narrow strip | Top of head | Sporty |
| Neckerchief | Triangle | Front knot | Professional |
| Wristband | Thin strip | Around wrist | Festival |
Experiment with these bandana styles to find your favorite look. Your DIY creation also makes a thoughtful, personalized gift idea for friends and family who appreciate handmade accessories.
Care Instructions
Now that you’ve mastered wearing your handmade bandana, let’s talk about keeping it in tip-top shape. Proper bandana care is key to maintaining its vibrant colors and soft texture.
When it’s time for a wash, toss it in with similar colors on a gentle cycle. For stubborn stains, pre-treat with a mild detergent before washing. Air-drying is best, but if you’re in a hurry, tumble dry on low heat.
To avoid wrinkles, fold and store your bandana flat in a drawer.
Got a creative streak? Use your bandana as a wall hanging or gift wrap when not wearing it.
With these care tips, your DIY accessory will stay fresh and stylish for years to come.
Frequently Asked Questions (FAQs)
How much fabric do you need for a bandana?
You’ll need about ½ to ¾ yard of fabric for a bandana, depending on the size you’re after. For a standard 22-inch square, ⅔ yard will do the trick. Don’t forget to account for hemming!
How to sew a simple bandana?
Want to join the bandana brigade? You’ll need fabric, scissors, and a sewing machine. Cut a square, fold edges, press, and stitch around. Voila! You’re now the proud owner of a DIY neck accessory.
How to finish the edges of a bandana?
To finish your bandana’s edges, fold them twice, press with an iron, and secure with pins or clips. Sew a straight stitch around the perimeter, pivoting at corners. You’ll achieve a clean, professional look that’ll last through many wears.
What are the dimensions of a standard bandana?
You’ll find standard bandanas typically measure 22 inches square. They’re versatile accessories that
Can I use a serger instead of a regular sewing machine?
You can definitely use a serger for your bandana project. It’ll give you neat, professional-looking edges and save time. Just adjust the settings for a rolled hem or narrow overlock stitch. You’ll be whipping up bandanas in no time!
How do I make a reversible bandana with two fabrics?
You’ll be sewing up a storm with this double-sided delight! Cut two fabric squares, place right sides together, sew, leave a gap, turn inside out, press, and topstitch. Voilà! Your reversible bandana‘s ready for double the fun.
Whats the best way to monogram or embroider a bandana?
You’ll want to use stabilizer beneath your fabric for clean embroidery. Hoop your bandana tightly, choose a design that complements its style, and select thread colors that pop. For monogramming, center your initials and keep it simple yet elegant.
Are there any quick no-sew methods for making bandanas?
Like a magician’s quick-change act, you can transform fabric into bandanas without sewing. Use fabric glue or iron-on hemming tape to secure edges. Alternatively, try no-sew fringe techniques or simply cut and tie knots for a rustic look.
How can I make my bandana water-resistant or waterproof?
You can make your bandana water-resistant by applying a fabric waterproofing spray or wax. For a more permanent solution, consider using a waterproof fabric like nylon or polyester when crafting your bandana. Test the water resistance before use.
Conclusion
You’ve now mastered the art of how to sew a bandana. With these newfound skills, you’re ready to create custom accessories that complement your style.
Whether you wear them as headbands, neck scarves, or bag accessories, your handmade bandanas will showcase your creativity and craftsmanship. Embrace this versatile accessory and let your DIY spirit shine!

