This site is supported by our readers. We may earn a commission, at no cost to you, if you purchase through links.
Mark the fabric where you want the button placed.
Double up the thread, tie a knot at one end, and bring the needle up through the fabric and button hole.
Adjust the loop size to fit snugly through the hole.
Wrap the thread tightly around the button shaft 4-5 times.
Bring the needle back through the fabric, forming a shank.
Knot securely underneath.
With the right technique, you’ll have a firmly secured, one-hole button.
For more intricate details to make this process effortless, read on.
Table Of Contents
Key Takeaways
- To sew a button with one hole, you’ll need a needle, thread, scissors, and the button.
- Mark the fabric where you want the button placed, double up the thread, and tie a knot at one end.
- Pass the needle through the button hole and adjust the loop size to fit snugly.
- Wrap the thread tightly around the button shank 4-5 times, bring the needle back through the fabric, and knot securely underneath.
How to Sew a Button With One Hole?
To sew a button with one hole, also known as a shank button, thread your needle and secure the button by stitching in and out of the fabric directly beneath where the button sits, ensuring the stitches are tight and secure. This method creates a sturdy attachment for the button, allowing for easy buttoning and unbuttoning of garments.
Tools and Materials
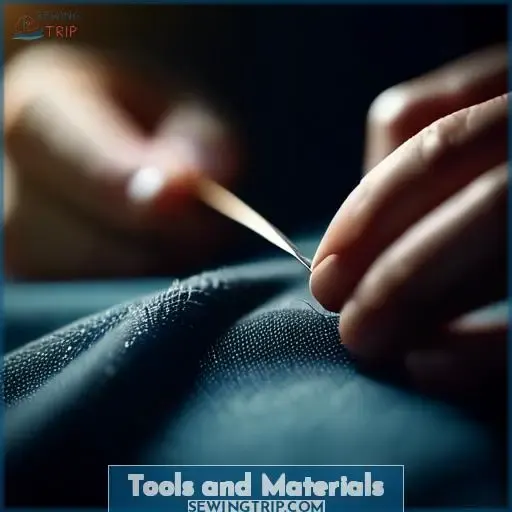
To sew a button with one hole, you’ll need a few tools and materials. Here’s a list of what you’ll need:
- One hole button (also known as a shank button)
- Thread
- Needle
- Scissors
- Fabric marker (optional)
For the button, you can choose from various types such as shank buttons, self-shanks, mushroom buttons, wobblies, coat buttons, and neck buttons. Shank buttons are often used for coats and jackets due to their ability to hold more fabric and allow for thicker fabrics.
When selecting thread, consider the weight and color to match the rest of your garment. For a beginner, it’s recommended to use regular weight thread for most items, but heavier thread may be needed for thicker coats. Choose a needle appropriate for the thread weight and fabric thickness.
If you’re marking the fabric, use a disappearing marking pen to maintain accuracy. Always follow the pattern specifications for button placement and consult the pattern for recommended interfacing to add strength and support to the button.
Marking the Fabric
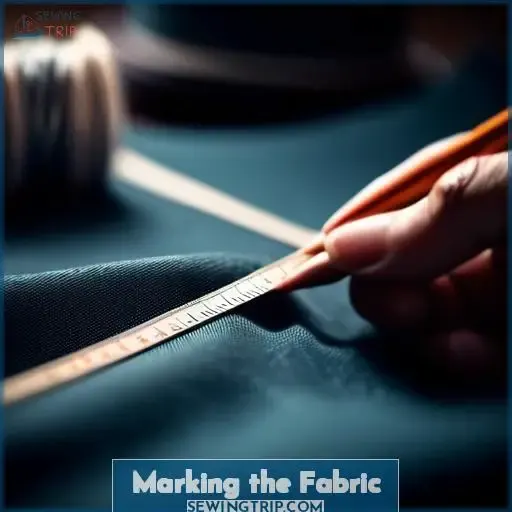
Before you start sewing, it’s essential to mark the location where your one-hole button will be placed. This guarantees that your button is positioned accurately and that your stitching is consistent.
First, consider the hole placement.
For most fabrics, a 1/4-inch distance from the edge is a helpful guideline.
However, if you’re working with a thicker fabric, you may need to adjust this measurement.
Next, select your marking tools.
A fabric marker is a common choice, but you can also use a needle or a pin.
Remember to use a thread color that contrasts with your fabric for improved visibility.
Once you’ve marked the location, you’re prepared to move on to the next step: sewing the button.
Sewing the Button
You’ll want to double up the thread and tie a secure knot at the end. Next, bring the needle up through the fabric where you want to attach the button, then pass it through the hole in the button and back down into the fabric directly below.
Threading the Needle
To thread a needle for sewing a one-hole button, follow these steps:
- Choose the appropriate needle size and type for the thread material and buttonhole. A needle with a good-sized eye is recommended for sewing buttonholes.
- Select a thread color that complements the button and fabric. For a more decorative look, you can use a contrasting thread color.
- Use needle threading techniques to thread the needle. You can use a threader tool or simply use your hand to guide the thread through the eye of the needle.
- Cut the thread tail to a suitable length, leaving about 10-15 inches for working with.
- Knot the thread end to secure it and prevent it from unraveling during the sewing process.
Remember to use embroidery scissors to cut the thread when you’re finished.
Securing the Stitches
To secure the stitches when sewing a one-hole button, follow these steps:
- Thread tension: Make certain the thread tension is appropriate for the fabric thickness and the needle size. A tighter thread tension will make the stitches more secure, while a looser tension may cause the stitches to come undone more easily.
- Loop size: The loop size should be small enough to fit through the buttonhole without being too tight or too loose. Aim for a snug fit that allows the button to move freely but doesn’t allow it to slip through the hole.
- Knot type: Use a secure knot at the end of the thread to prevent the button from coming loose. A double knot or a square knot can provide extra strength and security.
- Fabric thickness: Consider the thickness of the fabric when securing the stitches. Thicker fabrics may require more thread or a stronger knot to make certain the button stays securely in place.
- Needle size: Choose a needle size appropriate for the fabric and thread. A smaller needle for finer fabrics and a larger needle for thicker fabrics can help make certain a secure stitch.
- Shank button: If using a shank button, make certain the shank is properly secured to the fabric by wrapping the thread around the shank and stitching it to the underside of the garment.
- Flat button: For flat buttons, sew through the fabric on the underside of the garment and tie a knot with the excess threads to secure the button.
Remember to follow these guidelines to create a strong and secure attachment for your one-hole button.
Knotting the Thread
Once you’ve secured the stitches, it’s time to knot the thread.
For fabric types like silk or delicate materials, use a sharp needle and high-quality thread.
For thicker fabrics, a stronger thread and a more robust knot may be necessary.
Button material also plays a role in knot tightness.
Always make certain the knot is tight and secure before moving on to the next step.
Finishing Touches
You’ve nearly got it! Now, let’s put the final touches in place to make sure your button stays put and looks impeccable. Remember, it’s all in the details.
- Make sure your thread tension is just right; too tight, and the fabric wrinkles, too loose, and the button shakes like a jelly on a plate.
- Place your knots strategically, hidden yet secure, like a secret agent in a crowd.
- Choose your needle size wisely; it should move through the fabric like a hot knife through butter, without leaving a mark.
- Consider the fabric texture; it’s the canvas to your masterpiece, after all. A smooth finish or a textured intrigue, it’s your choice.
And there you have it, a button sewn so perfectly, it could make a tailor green with envy. Remember, every stitch counts, and with these tips, you’re not just sewing; you’re creating a legacy, one button at a time.
Variations and Tips
You might encounter different types of one-hole buttons – shank buttons with a protruding loop at the back, or flat buttons with a simple hole. The number of holes can also vary; some buttons have two or four holes, which require slightly different stitching techniques. Additionally, you can get creative with decorative stitching around the button for an embellished look.
Shank Vs Flat Buttons
Regarding the selection between shank and flat buttons, take into account the loop shape and shank size.
Shank buttons, featuring a loop made of metal or plastic, provide enhanced durability and can accommodate thicker fabrics. They also possess a more decorative appeal, making them an ideal choice for coats and jackets.
In contrast, flat buttons exhibit a flatter back and are less conspicuous, rendering them suitable for dresses and shirts.
Both varieties offer versatility and functionality, so make your selection based on your specific needs and aesthetic preferences.
Different Hole Counts
Regarding one hole buttons, various variations exist in hole count. Here are five prevalent types of one hole buttons with their distinct traits:
Shank Buttons: These buttons feature a metal or plastic loop on the reverse, which facilitates holding more fabric and anchoring thicker materials. They’re commonly employed for ornamental purposes and may showcase intricate designs.
Mushroom Buttons: These buttons possess a flat reverse and are typically utilized for buttonholes. They exhibit less ornamentation and are less prominent than shank buttons.
Wobblies: These buttons resemble shank buttons but exhibit a subtly different shape. They’re often employed for buttonholes and are available in diverse sizes.
Coat Buttons: These buttons are larger and possess a flatter hole on the reverse, rendering them appropriate for coats and jackets. They’re engineered to hold thicker fabrics and are frequently utilized for functional purposes.
Neck Buttons: These buttons are smaller and feature a self-shank, indicating a protruding loop on the reverse. They’re commonly used for buttonholes on shirts and dresses.
Each of these button types possesses unique characteristics and is suited for distinct applications. When selecting buttons for your project, take into account the fabric type, the garment’s design, and the preferred level of functionality and embellishment.
Decorative Stitching
Now that you’ve mastered the basics of sewing a one-hole button, it’s time to add a touch of personalization.
You can experiment with different stitch patterns, thread colors, and even button embellishments.
The key is to think about the button’s placement on the garment and the overall aesthetic you’re aiming for.
Don’t be afraid to get creative – the possibilities are endless!
Frequently Asked Questions (FAQs)
How do I measure for a one-hole button?
You’ll need to measure the button’s diameter to make sure it fits properly. Just grab a ruler or tape measure and carefully measure across the widest point of the button. Write down that number – it’s important for getting the perfect buttonhole size.
What type of thread should I use for sewing a one-hole button?
For sewing one-hole buttons, use all-purpose thread or button/carpet thread. They’re sturdy, come in matching colors, and tightly secure the button. No need for fancy embroidery floss – simple, strong thread works best.
How do I secure a one-hole button to prevent it from falling off?
To secure that one-hole button, you’ll want to create a Thread Shank. After stitching it on, loop the thread tightly around the base several times, reinforcing that sucker. You’ll sleep easy knowing it won’t abandon ship!
Can I use a sewing machine to sew a one-hole button?
Imagine securing that button with a sturdy sewing machine stitch! While possible, hand-sewing one-hole buttons allows more control and a professional finish.
How do I clean a one-hole button before sewing it on?
Before sewing a one-hole button, give it a quick wipe with a damp cloth to remove any dust or grime. It’s like sprucing up your outfit before hitting the town – a clean button adds that finishing touch of panache!
Conclusion
Even if you’re a complete beginner, sewing a button with one hole is a straightforward task.
By following this step-by-step guide precisely, you’ll master how to sew a button with one hole effortlessly.
Embrace the satisfaction of a firmly secured button, ready to withstand daily wear and tear.
With practice, this essential skill will become second nature, empowering you to tackle more advanced sewing projects confidently.

