This site is supported by our readers. We may earn a commission, at no cost to you, if you purchase through links.
 Ahh, buttonholes! The bane of many a novice sewer’s existence. But don’t worry – with the right tools and some practice, you can easily master how to sew a beautiful buttonhole.
This comprehensive guide will help you understand all the types of buttonholes out there as well as give step-by-step instructions on how to create them using both machine and hand sewing methods.
Whether you’re an experienced seamstress or just starting out on your stitching journey, this article is sure to teach something new about mastering those pesky holes in fabric!
So grab that needle and let’s get started learning how to sew a perfect buttonhole every time!
Table Of Contents
- Key Takeaways
- Types of Buttonholes
- Tips for Better Buttonholes
- How to Sew a One Step Buttonhole Using a Buttonhole Foot
- How to Sew a One Step Buttonhole Using a Vintage Machine Attachment
- How to Sew a Freehand Buttonhole Manually
- How to Hand Sew a Buttonhole
- What You’ll Need to Sew a Buttonhole
- Know Your Basic Buttonholes
- How to Sew an Automatic Buttonhole
- How to Sew a Basic 4-step Buttonhole
- Conclusion
Key Takeaways
- Sewing buttonholes can be challenging for novice sewers, but they can be mastered with practice and the right tools.
- There are different buttonhole types, including rectangular, rounded, keyhole, and stretch buttonholes.
- Stabilizing the fabric with interfacing is important to prevent stretching as you sew the buttonhole.
- Using a buttonhole or textured foot on your sewing machine allows for better results when sewing buttonholes.
Types of Buttonholes
The classic rectangular buttonhole works great for most buttons. Choose an oval or rounded style for shank buttons. Try a keyhole buttonhole for buttons on thicker fabrics. And a stretch buttonhole has zigzag stitches to allow it to open more for bigger buttons.
Tailors have hands-on experience regularly sewing and repairing garments, so we know the right buttonhole style can make all the difference.
I prefer a keyhole buttonhole for coats and jackets made with thicker wool fabrics. The keyhole shape gives more room around the button shank. Stretch buttonholes work well on knit tops or dresses when you need the flexibility for larger buttons.
Whether it’s a classic rectangular, rounded, keyhole or stretch, sewing the perfect buttonhole takes practice. Eyelet buttonholes add decorative detail, while pearl button sized styles match small shank buttons.
Mastering various buttonhole techniques provides more options to finish garments professionally.
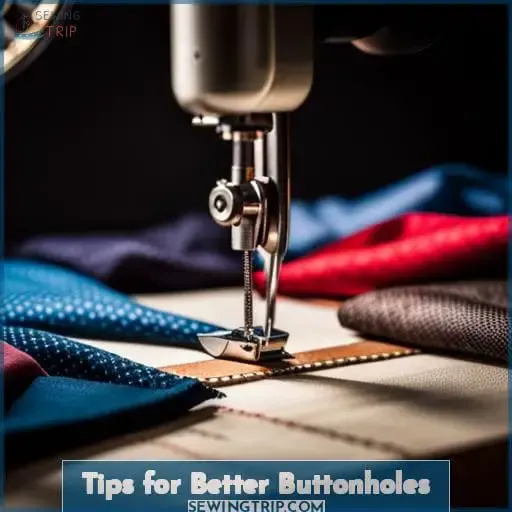
Tips for Better Buttonholes
Using interfacing stabilizes the fabric like armor so your buttonholes don’t stretch outta shape.
- Use interfacing on fabric where you’ll sew buttonholes. This backing keeps the area from stretching and distorting the shape.
- Attach a buttonhole or textured foot to prevent fabric from snagging while sewing.
- After finishing the buttonhole, carefully remove any tissue paper caught in the stitches with tweezers.
Thicker stitching gives durability to hand-sewn and machine buttonholes so they withstand repeated openings. For machine buttonholes, sew around the opening twice for added strength. When hand sewing buttonholes, use heavier thread and sew a second row of blanket stitches for more durability.
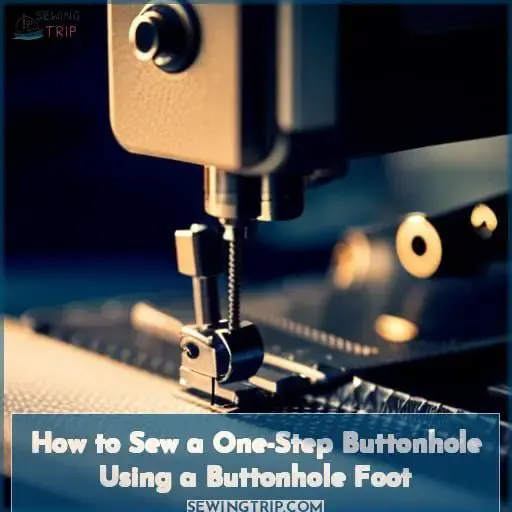
How to Sew a One Step Buttonhole Using a Buttonhole Foot
Mark your buttonhole placement, then let the machine stitch a bar. Adjust the width, sew down one side, stitch the end, and sew the other side.
- Select the buttonhole stitch on your sewing machine. Check your manual to see which one this is.
- Attach the buttonhole foot. It’ll have a center groove for the needle to travel down.
- Mark the starting point with fabric marker or chalk.
- Select your desired stitch length, often nearly 0 for satin stitching.
- Sew forward and back slowly for the bartack.
- Narrow the width and stitch down one side.
- Sew another bartack at the farthest end.
- Widen the width again and stitch up the second side.
- Secure with bartacks if needed. Carefully cut open the buttonhole.
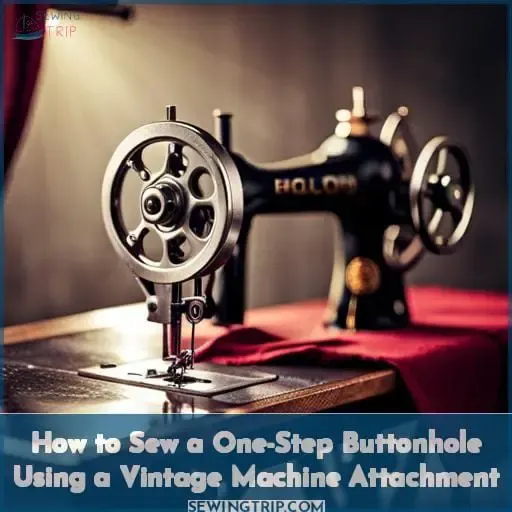
How to Sew a One Step Buttonhole Using a Vintage Machine Attachment
After you’re all set up, girl, choose that button size and let ‘er rip to work that magic on your vintage low shank! Sewing a one-step buttonhole with a vintage machine attachment is a breeze.
- Select the right size attachment for your button.
- Position the fabric under the foot and lower the needle into the starting point.
- Sew slowly and steadily, allowing the machine to stitch the full buttonhole.
- Raise the foot and clip the threads when complete.
- Use a seam ripper to carefully open the buttonhole.
With some practice, you’ll be crankin’ out professional-lookin’ buttonholes on your vintage beauty in no time. The key is takin’ it slow and steady. Don’t rush the stitches or force the fabric. Let the machine do its work. Soon you’ll have mastered this timeless buttonhole technique.
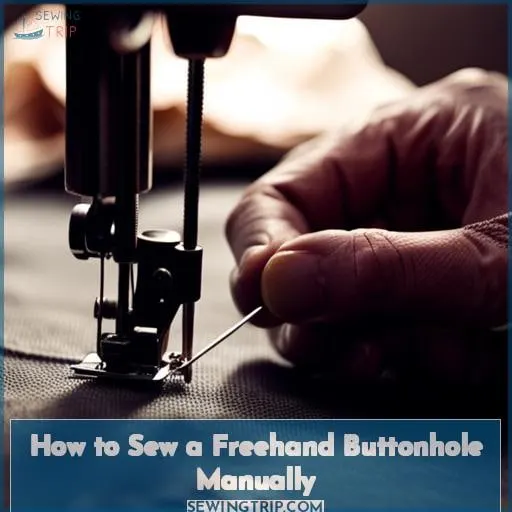
How to Sew a Freehand Buttonhole Manually
Carefully guide your fabric under the needle as you sew a freehand buttonhole.
- Position a garment weight scrap piece under the machine presser foot to practice on.
- Set your sewing machine’s stitch length to a small satin or zigzag stitch.
- Lower the needle into the fabric at the starting point.
- Sew by pivoting the fabric around the needle to create the buttonhole shape.
- Vary the stitch width as you sew for a more finished look.
- Take your time and move slowly, allowing the feed dogs to help guide the fabric.
- When finished, use a seam ripper to open the buttonhole from both ends.
Hand sewing a buttonhole gives you complete control over the shape and stitching. With practice on scraps, you can master this technique and use it when your machine can’t handle thick fabrics or special shapes.
How to Hand Sew a Buttonhole
You’ve gotta be pullin’ my thread if you think hand sewin’ a buttonhole will be quick ‘n easy.
- Mark your buttonhole placement nice n’ straight.
- Make a box o’ short lil’ straight stitches ’round the lines.
- Thread up that needle and knot it secure-like.
- Sew a blanket stitch ’round the buttonhole edge.
- End with long stitches at each corner.
Hand sewin’ takes patience, but with practice you’ll be crankin’ out buttonholes in no time.
What You’ll Need to Sew a Buttonhole
Gather your fabric, thread, buttons, interfacing, scissors, sewing machine, and buttonhole foot before sewing neat buttonholes. Having the right materials and tools on hand ensures quality buttonholes every time.
| Essentials | Details | Uses |
|---|---|---|
| Fabric | Woven, no stretch | Body of garment |
| Interfacing | Cut to size, fused | Stability |
| Marking tool | Chalk, pen, pins | Accurate placement |
| Scissors | Small, sharp | Precise cutting |
| Machine | Maintained, buttonhole foot | Sewing steps |
| Thread | All purpose | Strong, smooth stitches |
| Buttons | Correct size | Test opening |
With quality materials, proper tools, and practice, your skills will develop into expertly sewn, perfectly sized buttonholes worthy of fine garments and craftsmanship. Take your time to prepare and you’ll find confidence grows as you master this useful technique.
Soon it will be second nature to sew buttonholes with ease, adding professional polish to your sewing projects. Soon you’ll find sewing buttonholes to be second nature, adding professional polish to your sewing projects.
Know Your Basic Buttonholes
A common style for a basic buttonhole would be a rectangular one. The most common buttonholes used in garment sewing include:
- Rectangle – Best for medium to large sized flat buttons. It has straight sides and rounded ends.
- Keyhole – Good for shirts with small buttons. It has a rounded end and a narrow opening on one side.
- Round End – Nice for blouses and children’s clothing. It has a narrow straight opening with round ends.
- Tapered Keyhole – Used on coats, jackets, and suits. It has a keyhole shape that is wider at one end.
- Eyelet – Ideal for delicate and lightweight fabrics. It’s just a round opening with no bar tacks.
Practice sewing basic rectangular buttonholes first to master the stitching technique. Adjust the stitch width and length settings as needed for smooth satin stitching. Use interfacing behind the buttonhole area for added stability and to prevent stretching.
How to Sew an Automatic Buttonhole
Press down on the foot pedal and watch in awe as the machine magically stitches the buttonhole for you.
- Use an automatic buttonhole foot to hold the fabric taut. This foot has a gap to allow dense zigzag stitching for durability.
- Set the sewing speed slower. Fast speeds can lead to uneven stitching or fabric shifting.
- Try a test buttonhole first on scrap fabric. Check size, density, shape. Adjust settings as needed before sewing on your project.
- Interface fabric behind the buttonhole area for added stability. This prevents distortion of the stitches.
With practice, you’ll master the automatic buttonhole function on your sewing machine for professional results every time. Experiment with different buttonhole styles and stitch settings until you achieve the look you want.
Pay close attention and troubleshoot any issues that arise to expand your skills.
How to Sew a Basic 4-step Buttonhole
After finishing the automatic buttonhole, use the 4-step buttonhole foot to manually sew a basic buttonhole by setting the stitch selector to straight stitches for sides, zigzag for bartacks, and satin for rounding edges.
Follow these steps to prepare for sewing a 4-step buttonhole:
- Measure and mark the buttonhole placement on fabric with tailor’s chalk.
- Cut a piece of lightweight interfacing the same size as the buttonhole markings and fuse it to the wrong side of fabric. This stabilizes the buttonhole area.
- Attach the 4-step buttonhole foot, aligning the markings on the foot with the chalk lines.
- Set your machine’s stitch length to 0 for straight stitches.
- Thread your machine with all-purpose thread top and bobbin.
With the fabric under the presser foot positioned at the starting chalk line, begin sewing the 4-step process by selecting straight stitches and sewing one side. Rotate the fabric to sew the next side. Switch the stitch selector to zigzag and sew the bartacks.
Lastly, set the stitch to satin and sew around the opening to finish neatly. Sew over the buttonhole twice for a clean professional look.
Conclusion
Sewing a buttonhole may seem like a daunting task, but with a few simple steps, anyone can do it like a pro! Whether you’re a pro tailor, a sewing instructor, or a fashion designer, you’ll be able to create beautiful, sturdy buttonholes with ease.
From one-step buttonholes to hand-sewn ones, and from eyelets to stretch buttonholes, there’s an option for every project.
With a few simple tips and tricks, you’ll be well on your way to mastering the art of buttonholes. So what are you waiting for? Get out that sewing machine and start creating stunning buttonholes today! A shorter sentence structure helps vary the flow.


