This site is supported by our readers. We may earn a commission, at no cost to you, if you purchase through links.
Crafting a striking formal gown begins with selecting the appropriate pattern that complements your silhouette and sewing proficiency. Choose fabrics that drape elegantly and align with your desired aesthetic.
Prepare the fabric meticulously by folding and cutting, then sew the bodice, incorporating darts and interlining for a precise fit. Construct the skirt, attaching it to the bodice, and finish with hems, borders, and other details that enhance your creation.
Add unique features like zippers, buttons, or embellishments to individualize your gown. With meticulous fitting and ironing, you’ll achieve a couture-level final product.
Table Of Contents
- Key Takeaways
- How to Sew a Formal Gown?
- Choosing the Right Pattern
- Fabric Selection and Preparation
- Pattern Pieces and Marking
- Sewing the Bodice
- Creating the Skirt
- Adding Extra Features
- Fitting and Adjustments
- Pressing and Finishing
- Wearing the Gown
- Storing and Preserving the Gown
- Frequently Asked Questions (FAQs)
- Conclusion
Key Takeaways
- Select an appropriate pattern that complements your silhouette and sewing proficiency.
- Choose fabrics that drape elegantly and align with your desired aesthetic.
- Prepare the fabric meticulously by folding and cutting, then sew the bodice, incorporating darts and interfacing for a precise fit.
- Construct the skirt, attaching it to the bodice, and finish with hems, borders, and other details that enhance your creation.
How to Sew a Formal Gown?
To sew a formal gown, choose a pattern that suits your skill level and desired style. For beginners, consider a simple bias-cut dress or a 50s-style dress with a snug bodice and full skirt.
Select a fabric that’s easy to manipulate, such as silk dupioni, shantung, or polyester satin. Avoid fabrics that are slippery, unravel easily, or require special handling.
Use a dress form or live model to ensure proper fitting and hem the dress accordingly for the fabric type.
Choosing the Right Pattern
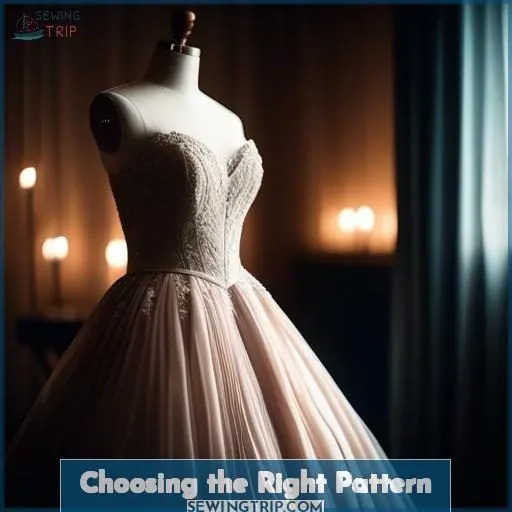
Selecting the appropriate pattern is paramount while constructing a formal gown, as it will define the overall appearance and style of your creation. It’s advisable to meticulously examine the various pattern perspectives and designs available, considering elements such as the dress silhouette, neckline, sleeve length, and adornments to identify a pattern that resonates with your desired vision.
Selecting a Suitable Pattern for Your Formal Gown
Selecting the appropriate pattern is paramount for crafting an exceptional formal gown. Here are four pivotal aspects to keep in mind:
- Pattern Complexity: Select a pattern commensurate with your sewing proficiency. If you’re a novice, favor a more straightforward pattern with fewer components and steps. As your skills progress, you can gradually transition to more intricate patterns.
- Fabric Drape: Take into account the nature of the fabric you intend to use. Different fabrics have varying draping characteristics, which can influence the overall appearance of your gown. For instance, if you’re using an inflexible fabric like satin, choose a pattern that accommodates its attributes.
- Body Measurements: Verify that the pattern is compatible with your body type. Take precise measurements and compare them to the pattern’s sizing chart to determine the optimal fit. Remember, it’s more feasible to modify something by making it smaller than enlarging it, so opt for a pattern that closely aligns with your measurements.
- Design Inspiration: Explore patterns that resonate with your desired style and aesthetic. Whether you’re seeking a classic, refined look or something more contemporary and unconventional, there’s a pattern available to embody your vision.
Furthermore, factor in the cost of the fabric you plan to use. Premium fabrics such as crepe or satin can be costly, so it’s crucial to incorporate this into your budget. Remember, a formal gown is an investment, and the judicious choice of pattern and fabric will ensure a remarkable, enduring piece.
Understanding the Different Views and Styles Available
Regarding formal gown pattern selection, numerous options are available. The gown’s style can significantly influence its overall appearance and ambiance. Here are pivotal factors to contemplate:
- Pattern Fit: Verify that the pattern is compatible with your body type and size. Numerous patterns are available in various sizes, so selecting one that comfortably fits without extensive modifications is crucial.
- Fabric Drape: Different fabrics exhibit distinct drapes, which can impact the gown’s overall appearance and feel. For instance, a lightweight fabric like chiffon drapes differently than a heavier fabric like velvet. Take into account the fabric’s drape when selecting a pattern to optimize the outcome.
- View Differences: Patterns often offer multiple views, each with its unique style. Reflect on the occasion for which you’re crafting the gown and select a view that aligns with the desired aesthetic. For example, a strapless bodice may be more suitable for a formal event, while a halter neckline may be more appropriate for a semi-formal occasion.
- Additional Features: Some patterns may incorporate additional features such as beaded flowers, rolled hems, interior boning, or a corselette. Consider whether these features are desirable for your gown and whether the pattern includes them.
- Customization: Some patterns may offer custom cup sizes or adjustable fit options, facilitating the achievement of a perfect fit.
Fabric Selection and Preparation
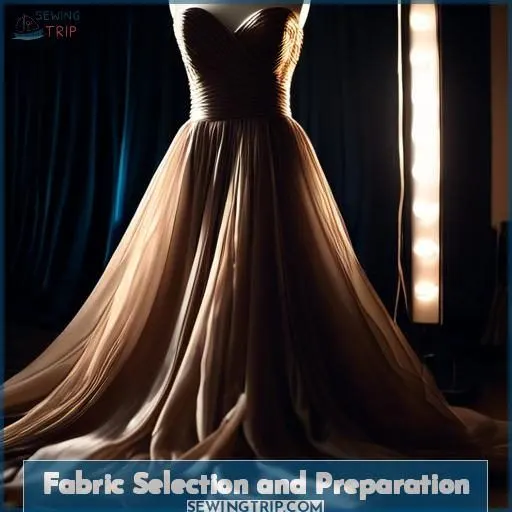
When constructing a formal gown, selecting the appropriate fabric is paramount – it should harmonize with the design, drape gracefully, and befit the event. Diligently examine the fabric’s attributes, including its weight, luster, and flexibility, and prepare it assiduously by folding and cutting it meticulously in accordance with the pattern guidelines to guarantee an impeccable outcome.
Choosing the Right Fabric for Your Gown
Selecting the appropriate fabric for your formal gown is essential for achieving the desired appearance and sensation.
Evaluate the fabric choices, their characteristics, and their appropriateness for your gown.
Seek fabrics that flow gracefully, provide comfort, and align with the style and ambiance of your special occasion.
Popular options include satin, chiffon, organza, tulle, and lace.
For a winter wedding, consider substantial fabrics such as velvet, taffeta, or brocade.
For a spring or summer wedding, choose lighter fabrics such as silk charmeuse, organza, or chiffon.
Bear in mind that the fabric selected can influence the cost of your gown, so take your budget into account when making your choice.
Understanding the Properties of Different Fabrics
As you venture into the realm of gown creation, deciphering fabric qualities is akin to unraveling an enigmatic script.
The fabric’s weight murmurs secrets of fluidity or firmness.
While its drape governs the graceful movement of the dress as it embraces your form.
Texture imparts dimensionality.
And opacity safeguards the desired level of allure.
Make judicious selections.
For your sewing machine eagerly anticipates its rhythmic companion.
Preparing the Fabric for Sewing, Including Folding and Cutting
Preparing the fabric for sewing is an essential step in creating a stunning formal gown. Here’s a 4-item list to guide you:
- Fabric folding: Fold the fabric in half with the fold parallel to the selvage edges.
- Fabric cutting: Cut the fabric using a shirt as a guide, adding seam allowance.
- Pin or clip seams: Pin or clip shoulder and side seams together.
- Sewing: Sew from the underarm to the bottom for no slit, marking where to stop sewing for a slit.
Remember to choose the appropriate fabric for your gown, understanding its properties. Foldover elastic, rotary blade, curved hem, wire pieces – these tools will aid in your fabric preparation.
Ensuring the Fabric is Suitable for the Chosen Pattern
To verify that your fabric aligns with the selected pattern, take into account the following factors:
- Fabric suitability: Select a fabric that aligns with the pattern’s design and style. For formal gowns, consider using lightweight, flowy fabrics such as silk crepe de chine, satin, or chiffon for a fluid drape. More rigid fabrics like heavy cotton or linen can be used for a more defined look.
- Grain direction: Verify that the fabric’s grain direction (the direction in which the fibers run) is consistent with the pattern’s design. For example, if the pattern has a straight grain line, use a fabric with a straight grain direction.
- Fabric weight: Consider the weight of the fabric in relation to the pattern’s design. Lightweight fabrics may not hold pleats or gathers well, while heavier fabrics may be too rigid for some styles.
- Fabric drape: The way a fabric hangs on the body is essential for the overall appearance of the garment. Choose a fabric with the appropriate drape for your pattern. For example, fluid drape is suitable for garments that require a lot of movement, while moderate drape is versatile for various projects.
- Pattern compatibility: Verify that the fabric’s properties, such as stretch or wrinkle resistance, align with the pattern’s design. For example, a pattern that requires a lot of movement may not be suitable for a non-stretch fabric.
- Fabric finish: Consider the finishing treatment of the fabric, as this can affect its drape and overall appearance. For example, a fabric with a smooth finish may drape differently than a fabric with a textured finish.
Pattern Pieces and Marking
To create a stunning formal gown, you’ll need to carefully select and prepare your pattern pieces. Start by choosing a suitable pattern for your gown, considering factors like the occasion, your personal style, and the season. Once you’ve selected a pattern, you’ll need to make any necessary alterations to guarantee a perfect fit. This may involve adjusting the pattern for your custom body measurements or making changes to the bodice for better coverage.
After selecting and altering your pattern, it’s time to prepare your fabric. Choose a fabric that complements your pattern and fits your personal style. Be sure to prepare the fabric properly by folding it correctly and adding seam allowance. Iron your pattern pieces to ensure accuracy and mark the darts and other important features.
Once your pattern pieces are prepared, you can begin sewing. Start by basting the outer edges and darts of your bodice pieces. If you’re using a corselette, you’ll need to cut and prepare the necessary materials, including cotton and ticking for the bodice pieces, ticking strips for the boning casing, and spiral steel for the boning.
When sewing the bodice, be sure to press your muslin pieces to guarantee a smooth finish. Underline the bodice pieces with the appropriate fabric and mark the darts on the underlining. Baste the outer edges and darts to guarantee a secure fit.
For the skirt, you’ll need to cut large pieces and attach them to the bodice. Edge the skirt on bias and use a zig-zag stitch to sew it. Sew horsehair to the lining for added stability.
Remember to press your gown after each step to remove wrinkles and creases. This will guarantee a professional finish for your custom formal dress.
Sewing the Bodice
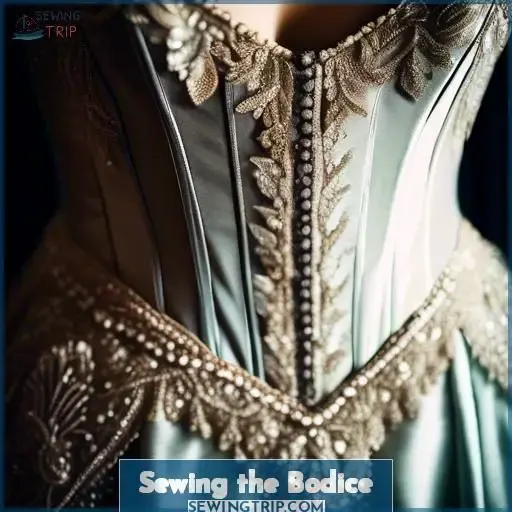
After marking and cutting the bodice pieces according to your pattern, it’s time to start assembling the bodice. First, sew the darts on each bodice piece, following the markings carefully. Then, baste the bodice pieces together at the seams, checking the fit as you go.
Sewing the Bodice Pieces Together, Including Darts and Underlining
Commence by marking darts and distinguishing components.
Press muslin pieces to prepare them for modification.
Reinforce bodice pieces with lining for support and structure.
Mark darts on the lining.
Temporarily join outer edges and darts.
Utilize a zipper to fasten the bodice.
Ensure meticulous seam finishing.
Accuracy is paramount when assembling the bodice, as it establishes the basis for the remainder of your gown.
Attaching the Bodice to the Skirt or Other Components
Attaching the bodice to the skirt transforms your gown from pieces to a masterpiece. Here’s how to nail it:
- Make sure zipper placement aligns perfectly for a seamless closure.
- Match skirt fullness with the bodice for a flattering silhouette.
- Consider fabric drape to maintain elegance through movement.
- Keep seam allowance consistent for smooth construction order.
It’s like piecing together a puzzle – satisfying when every piece fits!
Finishing the Bodice With Hems, Edgings, or Other Details
Finishing the bodice is an essential part of creating a stunning formal gown.
You can choose from various hem options, such as a rolled hem, blind hem, or double-fold hem.
Edging options include bias binding, lace, or ribbon.
For interfacing considerations, use lightweight interfacing for delicate fabrics and heavyweight for sturdier ones.
Darts placement should be adjusted for a perfect fit.
Creating the Skirt
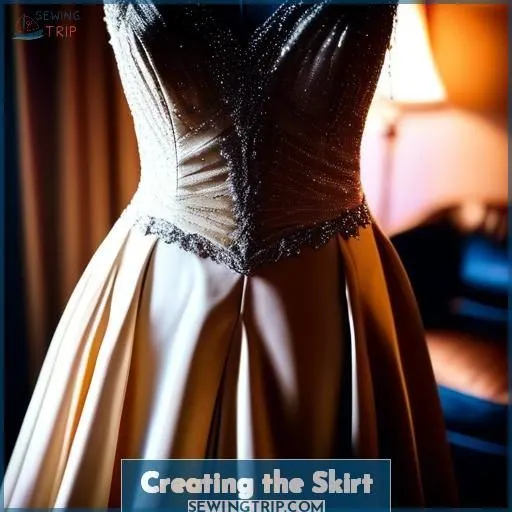
After assembling the bodice, you’ll move on to creating the skirt for your formal gown. Cut the skirt pieces according to your pattern, carefully following the markings for any godets, pleats, or flares. Assemble the skirt pieces, treating any seams or edges as specified by the pattern instructions.
Cutting and Assembling the Skirt Pieces
Now that your bodice is complete, it’s time to focus on the skirt.
First, choose your fabric, considering skirt styles and hem designs.
For trim options, think about pattern matching and the overall look you want to achieve.
Once you’ve selected your fabric, cut the large skirt pieces and attach them to the bodice.
Remember to edge the skirt on bias and use a zigzag stitch to sew it.
Attaching the Skirt to the Bodice or Other Components
Attaching the skirt to the bodice or other components is a critical step in creating a formal gown.
Consider zipper placement, pleating options, waistband design, hemline styling, and train length when attaching the skirt.
Use a 3-column and 5-row table to visualize these elements and make adjustments as necessary.
Remember to iron the skirt pieces before attaching them to the bodice for a smooth finish.
Finishing the Skirt With Hems, Edgings, or Other Details
To finish the skirt, you’ll need to add hems, edgings, or other details. Here’s how:
- Horsehair Lining: Sew horsehair to the lining for added support and stability.
- Bias Edging: Use a zig-zag stitch to sew the skirt on bias, creating a decorative edge.
- Overlocking Edges: Overlock the edges to prevent unraveling and ensure a clean finish.
- Invisible Zipper: Insert an invisible zipper to close the skirt, making it look seamless.
Adding Extra Features
You can enhance the formal gown’s visual appeal by incorporating embellishments like beads, sequins, or intricate embroidery designs. To add a closure, you’ll need to sew in an invisible zipper, sew on hook-and-eye closures, or attach decorative buttons and loops along the back opening.
Adding Zippers, Buttons, or Other Fastenings
Adding zippers, buttons, or other fastenings to your gown isn’t just functional; it’s an art. Perfect zipper placement guarantees smooth closure, while strategic button spacing can transform a simple fastening into a style statement. Opt for hidden closures for a polished look, or choose decorative closures to add a dash of flair. Each choice subtly enhances your gown’s overall elegance.
Incorporating Embellishments or Decorative Elements
Now that you’ve mastered the art of adding fastenings to your formal gown, it’s time to take it to the next level with embellishments.
Consider adding beading, sequins, lace, embroidery, or appliques to create a truly stunning piece.
Remember to choose embellishments that complement your gown’s style and fabric.
With a little creativity and patience, your gown will be the envy of all.
Fitting and Adjustments
After assembling the various components of your formal gown, it’s essential to try it on and make any necessary adjustments to achieve the perfect fit. Depending on the complexities of the pattern and fabric, you may need to modify the seams, darts, or overall dimensions to make sure the gown complements your body shape and meets your desired style.
Making Alterations to the Pattern or Fabric as Needed
To guarantee a flawless fit, you may require modifications to the pattern or fabric. Here are some typical alterations you might ponder:
- Pattern adjustment: Modify the location of the dart to better align with your body’s contour.
- Fabric substitution: Select a fabric with analogous qualities if the original fabric is unsuitable for your design.
- Neckline alteration: Change the neckline style to better match your face shape or personal taste.
- Hemline length: Modify the length of the hemline to suit the occasion or your comfort level.
- Dart placement: Reposition darts to accommodate for fullness or create a more flattering silhouette.
Re-sewing and Re-fitting the Gown Until It is Perfect
To achieve the flawless fit for your formal gown, you’ll need to make adjustments and re-sew the garment until it’s precisely right. This process involves a series of steps, each intended to fine-tune the bodice, skirt, and overall fit of the dress.
First, you’ll need to assess the bodice and make any necessary alterations. This may involve adjusting the shoulder height, shoulder width, or armhole shape to guarantee a comfortable and flattering fit. For larger adjustments, you may need to lengthen or shorten the bodice, as well as the skirt, to maintain the proper ratio between the two.
Next, you’ll need to address any issues with the skirt. This could include adjusting the length of the skirt, either above or below the slit, to guarantee it falls at the desired height on your legs. You may also need to adjust the hip area, adding or removing fabric to accommodate your body shape and guarantee a comfortable fit while sitting.
Once you’ve made these adjustments, you’ll need to re-sew the bodice and skirt pieces together, guaranteeing that the new seam lines align correctly. This may involve re-drawing the side seams and darts, as well as adjusting the underlining and lining as needed.
Pressing and Finishing
After assembling all the pieces, press your gown thoroughly to remove any wrinkles or creases, ensuring a smooth and polished appearance. Once you’ve carefully pressed the gown, add the final touches such as hems, edgings, or embellishments, then give it a final pressing to achieve a truly professional, eye-catching finish.
Pressing the Gown to Remove Wrinkles and Creases
- Ironing Techniques:
- Use a medium heat setting on the iron.
- Iron the fabric from the right side, pulling the opposite end with your free hand.
- For delicate fabrics, use a cool, delicate setting on the iron.
- Iron small sections at a time to avoid overheating the fabric.
- Fabric Care:
- Follow the care instructions on the fabric label.
- Line-dry in the shade to avoid yellowing for white cotton.
- Machine-wash in cold or warm water with all-purpose detergent for most fabrics.
- Hand-wash delicate items like lace or silk.
- Wrinkle Removal and Crease Prevention:
- Iron the fabric while it’s slightly damp.
- Use a pressing cloth between the iron and the fabric to prevent scorching.
- Press the fabric gently, avoiding excessive pressure that can cause permanent creases.
- Garment Maintenance:
- Store the gown on a padded hanger to prevent shoulder sagging.
- Use a garment bag for long-term storage to protect the fabric from dust and damage.
- Avoid hanging the gown in direct sunlight, as this can cause the fabric to fade or discolor.
Adding Final Details, Such as Hems, Edgings, or Embellishments
After smoothing out those pesky creases, it’s time to spruce up your gown with some pizzazz.
Think of embellishment placement as the crowning glory; it’s all about finding that perfect spot.
Whether you’re choosing delicate lace edging, a scattering of sequins, or striking trimming options, each adds a distinctive flair.
Pressing the Gown Again to Ensure a Professional Finish
To guarantee a polished finish for your formal gown, you’ll need to press it again.
Employ the appropriate pressing techniques for your fabric type, such as pressing with a cool iron on a low setting for delicate fabrics.
Exercise caution when pressing to prevent damaging the fabric or introducing new wrinkles.
With perseverance and practice, you’ll attain a dazzling, wrinkle-free gown that’s ready for the limelight.
Wearing the Gown
After all your hard work creating a beautiful formal gown, it’s time to ponder how you’ll style and accessorize it for the occasion. The right shoes, jewelry, hairstyle, and other accessories can uplift your handmade gown and help you feel confident and stylish as you wear your stunning creation.
Styling the Gown for the Occasion
To genuinely make your formal gown stand out, it’s all about the accessories.
Select jewelry that complements the dress without overshadowing it. A pair of striking earrings or a delicate necklace can enhance the appearance.
With regards to shoes, choose a pair that corresponds to the dress’s color or a timeless black or nude pair.
Don’t overlook the significance of the event. If it’s a black-tie occasion, a pair of strappy heels or a clutch can add a touch of refinement.
The accessories should enhance your overall look, not diminish it.
Accessorizing With Shoes, Jewelry, and Other Items
Accessorizing your formal gown is the final touch to complete your stunning look.
Choose accessories that complement your gown’s style and color.
For footwear, consider heels or flats that match the gown’s color or contrast with it.
Jewelry should be elegant and not too flashy, such as a simple necklace or earrings.
Embellishments like flowers or feathers can also be added to your hair or gown for an extra touch of glamour.
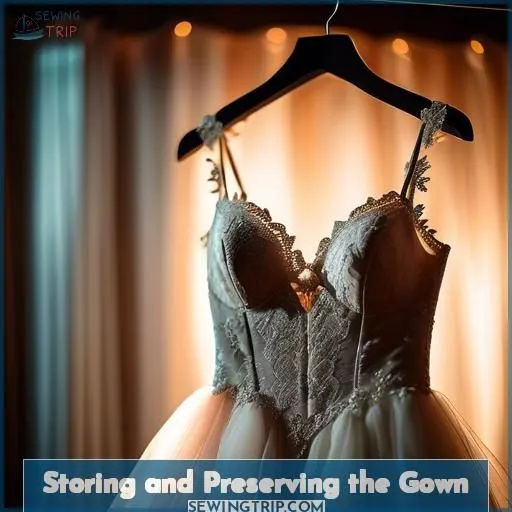
Storing and Preserving the Gown
To safeguard your formal attire’s pristine state for years to come, it’s essential to store it with meticulous care. Here are three cardinal principles to bear in mind:
- Choose the appropriate storage vessel: Select a garment bag crafted from breathable fabrics like natural cotton or linen, permitting air flow while shielding from dust. Alternatively, employ acid-free, archival-grade boxes for delicate garments. Eschew plastic bags or containers that stifle moisture, fostering mold and mildew.
- Store in a temperate, arid, and dim environment: Abrupt temperature shifts and excessive humidity can enfeeble fabric fibers and promote mold and mildew. Choose a storage space that offers a cool, dry, and obscure environment to safeguard your gown from harm.
- Utilize protective measures: Employ sachets filled with natural moth deterrents, such as fragrant lavender or aromatic cedar, within the storage containers to repel pests. Avoid employing mothballs or pungent chemicals that can impart undesirable scents upon your garments.
Frequently Asked Questions (FAQs)
What is the best time to pin the dress for hemming?
The optimal moment to secure the dress for hemming is upon completion of its main construction. This approach guarantees a refined and uniform hem that enhances the outline.
How do you choose the right needle for hemming?
When hemming, choose a sharp, thin needle to zip through delicate fabrics without causing puckering or snagging. A ballpoint or stretch needle works best to navigate the curves and hems of your fancy frock.
What is the recommended hemming technique for a formal gown?
For a formal gown, consider a double-folded hem with an invisible stitch. This elegant technique conceals the raw edge and provides a polished, professional look that’ll have your dress swishing gracefully.
How can I prevent the lining hem from puckering after sewing?
To prevent puckering, carefully hand-baste the lining hem before stitching, allowing it to drape naturally. Gently press the hem with a warm iron, avoiding stretching. This guarantees a smooth, professional finish.
What is the best way to store a formal gown for preservation?
Protect your stunning formal gown in a garment bag to shield it from dust, light, and moths. Carefully fold the dress to avoid wrinkles, and store it in a cool, dry place until your next dazzling event.
Conclusion
Unquestionably, crafting a formal gown from scratch is a labor of passion that demands painstaking precision. However, upon mastering the craft of creating a formal gown, the sense of triumph is truly unmatched. Display your bespoke creation with pride, reveling in the admiration of observers who are astounded by your sewing expertise.
Take solace in your breathtaking handmade gown, a testament to your commitment and proficiency as a seamstress.

