This site is supported by our readers. We may earn a commission, at no cost to you, if you purchase through links.
You yearn for soothing darkness, but no matter how tightly you draw the curtains, sunlight streams in.
Sewing your own blackout curtains is the solution.
With the right fabric and a few basic sewing skills, you can easily make curtains that block light and reduce noise.
Follow this DIY tutorial to learn how to measure, cut, and sew light-blocking curtains that transform your space into a serene haven.
The freedom of restful dark awaits!
Table Of Contents
Key Takeaways
- Use heavyweight, opaque fabrics like cotton, linen, or faux silk for maximum light blocking.
- Carefully measure window dimensions and add extra length before cutting fabric.
- Match and sew blackout lining to curtain panels using long machine stitches and 1/2 seams.
- Install curtain rod high and close to ceiling for best light blocking and visual impact.
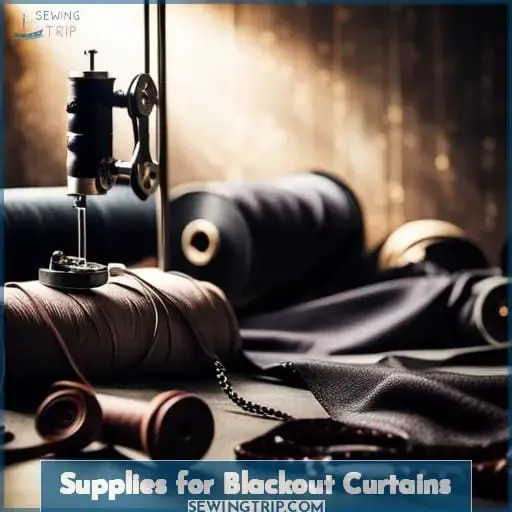
Supplies for Blackout Curtains
When sewing your own blackout curtains, start by gathering these supplies:
- Choose an opaque, tightly woven fabric like heavy cotton, linen, or faux silk to fully block outside light.
- Pair it with a coordinating blackout lining, available by the yard at fabric stores.
- Select attractive fabrics that speak to your design sensibilities, while considering cost and durability.
- For rod pocket curtains, aim for a medium to heavyweight fabric that will hang properly.
- Have at least 1.5 times the window’s width to allow for ample gathering.
- Look for fabrics with texture and sheen to add depth and interest.
Blackout lining is a worthwhile investment for improved light blocking, insulation, and noise reduction.
With the right supplies, creativity, and patience, you’ll have stylish blackout curtains made just for your windows.
Measuring and Cutting Fabric
After gathering your supplies, you’re ready to measure and cut the fabric for your blackout curtains.
Carefully measure window length and width to determine curtain dimensions.
Add extra length for bottom hem and any top treatments.
Use a ruler and fabric marker to draw precise cutting lines on curtain fabric and lining.
For patterned fabrics, match designs using double-sided fusible tape before cutting.
Use sharp shears and cut on a large table for straight edges.
Precise cutting prevents waste and ensures properly fitting curtains.
With accurate measurements and neat cutting, you’ll have the perfectly sized fabric pieces for your custom blackout curtains.
Next comes the fun part – time to start sewing!
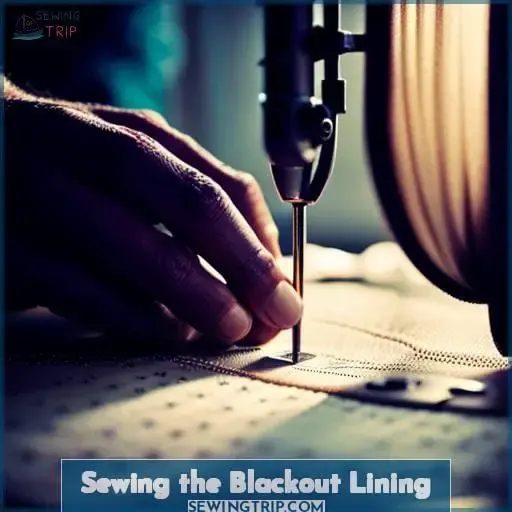
Sewing the Blackout Lining
When sewing the blackout lining for your custom curtains:
- Manage the weight of the fabric carefully.
- Use the longest stitch length available on your machine.
This will help prevent puckering and distortion in the heavy lining material.
Going slow with longer stitches also allows better control over this bulky fabric.
Manage Fabric Weight
You’ll need to carefully manage the fabric’s weight as you sew the blackout lining to prevent distortion and wrinkling.
When handling the heavy blackout fabric, support it fully to avoid dragging, and sew with the lining side facing up.
Keeping the fabric taut will help prevent puckering from the long machine stitches.
Take care not to stretch or distort the fabric pieces when aligning and sewing them, so the final curtains retain their original visual appeal.
Using good fabric weight management techniques allows you to successfully sew blackout lining into visually appealing and functionally light-blocking curtain panels.
Use Long Stitches
You can use long stitches when sewing the blackout lining to prevent puckering of the thick fabric.
As a dedicated seamstress, I recommend using the longest stitch length available on your sewing machine for smoother sewing through the thick blackout fabric.
This helps the needle glide through the foam backing without gathering the fabric.
Pairing a sharp, thick needle, such as a denim or topstitch needle, with a longer stitch length creates a nice straight stitch that prevents puckering on blackout curtains.
Wonder clips also help control the fabric when topstitching with a longer stitch.
With some trial and error, you’ll find the ideal stitch length for smoothly sewing blackout curtain linings.
Sewing the Curtain Panels
You’re now ready to sew the curtain panels.
Carefully match the pattern at the side seams as you join the main fabric to the blackout lining.
Line up the edges and pin in place, then stitch the panels together using a 1/2 seam allowance.
Take care when stitching not to stretch or distort the fabric. Sew slowly and manage the weight of the bulky material.
For straight seams, use fabric marking tools instead of pins to avoid leaving permanent holes.
Once the side seams are sewn, press them open.
Finish the raw edges with serging or a zigzag stitch.
The panels are now ready for adding the top hem and hanging on your custom rod or drapery hooks.
Creative tab designs and ribbon embellishments add a decorative touch while also enabling smooth operation.
With proper tab placement and hemming techniques, your new room darkening curtains will provide energy efficiency, temperature control, and stylish window décor.
Adding the Top Hem
Fold the top edge of the curtain panel over 1/2 inch twice and machine stitch closed to form the top hem.
This clean finish not only looks great but also provides a channel for the curtain rod to slide through smoothly.
For interest, consider adding creative embellishments like decorative trim or contrasting fabric strips to the top hem.
Or opt for a tailored look by hemming the edges and adding curtain rings that attach to the rod hardware.
When selecting curtain tape for the top hem, match sizes and opt for high quality to support the curtain’s weight and allow easy opening and closing.
Properly finishing the top edge provides functionality and polish to handmade blackout curtains, letting your custom window treatments elegantly frame the view.
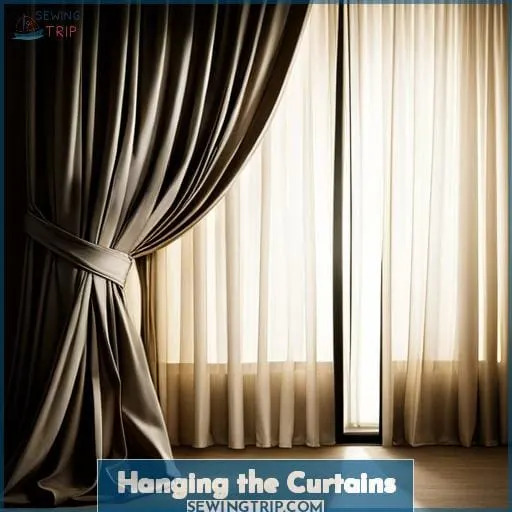
Hanging the Curtains
Once you’ve added the top hem, it’s time to hang your custom blackout curtains.
Install the curtain rod high and close to the ceiling to give the illusion of taller windows. Hang the rod just below the ceiling molding or use ceiling mounting options to maximize light blocking efficiency and visually enlarge the window.
Before hanging your handmade curtains, take a moment to appreciate the pattern continuity and crisp fabric you selected. Carefully align any patterns using the seam as a guide. Then simply slide your finished panels onto the rod or clip them onto rings to complete the installation.
For a decorative touch, tie back the curtains with bands or holdbacks when privacy and light control aren’t needed.
Enjoy your energy-efficient and stylish new window treatment.
Blackout Curtain Benefits
You’ll appreciate how blackout curtains improve sleep and energy efficiency.
By blocking outside light and noise, they create an ideal, restful environment.
Babies especially benefit from darker, quieter rooms for undisturbed naps.
Energy Efficient Window Treatment
One benefit of blackout curtains is that they serve as an energy-efficient window treatment by reducing heat loss in winter and heat gain in summer.
- Insulate rooms from outside temperatures
- Decrease reliance on HVAC systems
- Lower monthly energy bills
By installing blackout curtains that block light and insulate warmth, you create a sleep sanctuary with soundproof serenity and thermal efficiency for your home.
Their light-blocking elegance contributes to energy savings while complementing your décor.
Improved Sleep For Baby
Installing your blackout curtains helps infants get better quality sleep by blocking outside light that can disrupt normal circadian rhythms.
These DIY nursery decor tips create an ideal sleep environment for your baby by controlling nursery lighting.
Making your own room darkening curtains is an essential baby sleep tip, fostering uninterrupted rest in the crib without interference from outdoor light pollution or glare.
Carefully crafted blackout curtains contribute to a peaceful, nurturing nursery.
Blocks Unwanted Outside Noise
You’ll discover that blackout curtains also block unwanted outside noises that can keep you up at night:
- Traffic sounds from nearby roads
- Neighbors’ loud music or parties
- Early morning garbage collection
- Barking dogs or other animal noises
Blackout curtains act as a buffer to reduce noise from entering through windows, helping create a quieter, more peaceful environment for uninterrupted sleep.
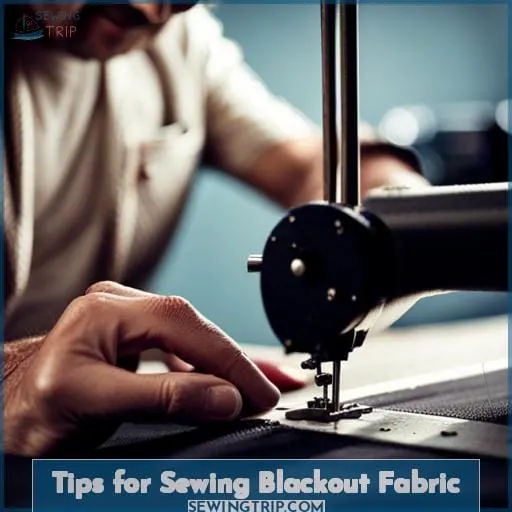
Tips for Sewing Blackout Fabric
Eight tips for sewing blackout fabric:
- Use a Teflon needle for smooth stitching through the coated fabric.
- Utilize wonder clips instead of pins to avoid visible hole marks.
- Set your sewing machine to the longest stitch length available.
To prevent stretching and distortion when sewing, manage the weight of the thick blackout fabric carefully.
Consider stabilizing the main curtain material prior to cutting and sewing for maximum accuracy. Accuracy in pattern matching and precise cutting are also vital for nicely finished blackout curtains.
Handle the foam coating gently to avoid damage.
Following these tips will lead to professional-looking blackout curtains ideal for blocking light.
Frequently Asked Questions (FAQs)
What type of blackout lining works best?
A medium to heavyweight blackout lining works best.
It blocks light effectively while remaining easy to sew.
Choose a lining made of tightly woven fibers that feel substantial.
Test swatches first to ensure the lining suits your project’s needs.
How do I calculate how much fabric I need for my windows?
To calculate the fabric needed:
- First, measure your window’s height and width.
- Then, double the width to determine the panel width.
- Add 10-12 inches to the height for hem, header, and rod pocket.
- Multiply the height times the panel width. This gives the total fabric yardage needed per panel.
Make calculations for each window.
What adjustments should I make if I want thermal blackout curtains?
For thermal blackout curtains, select a lined fabric or interlining with insulation properties.
The layering helps trap heat and cold effectively.
What kind of sewing machine, needles, and settings work best for blackout fabric?
Use a Teflon needle and a longer stitch length when sewing blackout fabrics.
This allows the needle to glide smoothly and prevents puckering.
Wonder clips also help avoid holes from pins.
Carefully manage the fabric’s weight so it doesn’t become misshapen.
How long do blackout curtains typically last before needing to be replaced?
Blackout curtains, if properly made and cared for, can last 5-10 years before needing replacement.
Opt for quality fabrics and construction for maximum longevity.
With reasonable use, most homeowners need not replace them often.
Conclusion
Amazingly, blackout curtains can reduce noise in a room by up to 50%.
As an expert in selecting light-blocking fabrics, I can attest that with some basic sewing skills and the right blackout fabric, you truly can transform any space into a peaceful sanctuary.
Making your own blackout curtains enables you to custom-fit them perfectly to your windows.
Follow this straightforward how-to-sew blackout curtains tutorial, then relax and enjoy the freedom that comes from resting in soothing darkness.

