This site is supported by our readers. We may earn a commission, at no cost to you, if you purchase through links.
 Like threading a needle through fabric, sewing elastic directly can transform your garments. You’ll master this skill in 9 easy steps, giving you control over gathers and fit.
Whether you’re crafting activewear or adding flair to everyday pieces, learning how to sew elastic directly to fabric opens up a world of possibilities.
This guide will walk you through the process, from selecting the right materials to creating professional-looking results.
Get ready to innovate your sewing techniques and achieve perfect elasticated edges every time.
Table Of Contents
Key Takeaways
- Conquer the art of sewing elastic to fabric and unlock infinite possibilities for your wardrobe.
- Divide and pin your elastic evenly, ensuring a flawless finish.
- Embrace the zigzag stitch as your trusted ally in sewing elastic.
- Create casings or channels for a refined look and simple elastic replacement.
How to Sew Elastic Directly to Fabric?
To sew elastic directly to fabric, you’ll need to start by gathering the necessary materials and preparing your elastic. Cut the elastic to size and test its stretch.
Divide the elastic into four equal sections; fold and mark it for even distribution.
Align the elastic with the fabric’s raw edge, pinning it at quarter intervals with even tension.
Test the placement by gently pulling on the fabric and adjusting as needed.
Before you begin sewing, adjust your machine’s settings to accommodate the elasticity of the fabric and the type of stitch you plan to use. Select the appropriate needle and adjust the tension settings accordingly.
Stretch the elastic as you sew, keeping the fabric flat. Ensure that the elastic remains securely in place and that the stitches are flexible enough to move with the elastic.
For a more detailed guide, continue reading for step-by-step instructions, including choosing the right elastic and stitch type for your project.
Gather Materials & Measurements
Ready to sew elastic directly to fabric? Let’s start by gathering your tools and taking essential measurements. You’ll need elastic (choose from braided, knitted, or woven types), fabric, thread, a safety pin, and your trusty sewing machine. Don’t forget scissors and a measuring tape – they’re your best friends in this DIY adventure!
Now, measure the area where you’ll apply the elastic. This could be a waistband, sleeve cuff, or neckline. Jot down that circumference – it’s your roadmap to success. Next, determine the length of elastic you need, adding a bit extra for overlap. Remember, different fabrics and elastics play well together, so consider your material’s stretchiness when selecting your elastic type. With these essentials in hand, you’re ready to conquer your sewing project!
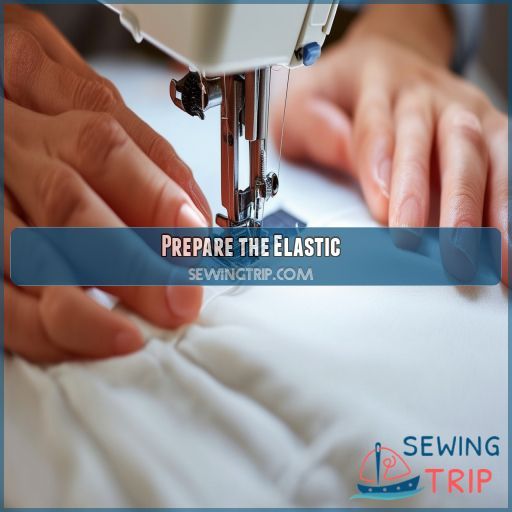
Prepare the Elastic
Now that you’ve gathered your materials, it’s time to prepare the elastic. This vital step sets the foundation for a successful sewing project.
Start by selecting the right elastic type for your fabric. Braided elastic works well for lightweight materials, while woven elastic is ideal for heavier fabrics.
Measure the area where you’ll apply the elastic and cut it to size, adding an extra inch for overlap. Before attaching, test the elastic’s stretch on a scrap piece of fabric to verify compatibility.
You’ll want to adjust your sewing machine’s tension and select the appropriate stitch type – typically a zigzag stitch works best for elastic.
Divide the Elastic
Now that you’ve got your elastic ready, it’s time to divide it up. This step is essential for ensuring even distribution when you’re sewing elastic directly to fabric.
Start by folding the elastic in half, then in half again. You’ll end up with four equal sections. Mark these points with pins or fabric chalk.
This division helps you maintain consistent tension as you attach the elastic, preventing puckering or uneven gathering. Remember, different elastic types may require slight adjustments in tension. For knit fabrics, you might want to stretch the elastic a bit more than for woven ones.
Keep in mind that your stitch selection and needle size will also play a role in how the elastic behaves.
With this easy step, you’re well on your way to a professional-looking finish.
Pin Elastic to Fabric
Now it’s time to pin your elastic to the fabric. Start by aligning the elastic’s edge with the fabric’s raw edge. Place your first pin at the elastic’s overlap, then stretch it gently as you go. Pin at quarter intervals, ensuring even tension throughout.
For an elasticated waistband or hem, this step is essential. Consider fabric compatibility when determining elastic tension – lighter fabrics need less stretch. Test your pin placement by gently pulling the fabric; it should gather smoothly without puckering.
If you’re creating a casing, pin the elastic inside before sewing. For sewing elastic directly to fabric, use pins perpendicular to the edge for easy removal during stitching.
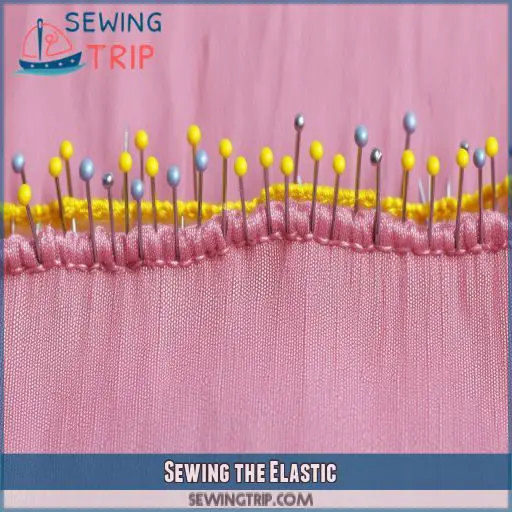
Sewing the Elastic
Now it’s time to sew that elastic! Set your machine to a zigzag stitch and adjust the tension for your fabric choice. You’ll want to use a needle that’s appropriate for both your fabric and elastic thickness.
Start sewing at one of the pinned points, stretching the elastic as you go. Keep the fabric flat under the presser foot to avoid wrinkles. For a gathered hem or waistband, pull the elastic taut while sewing. If you’re aiming for a smoother finish, try an overlock stitch instead.
As you sew, make sure the elastic is evenly distributed and not twisting. Keep your stitches close to the edge of the elastic, but don’t catch it in the needle.
Turning Up the Hem
Now that you’ve sewn the elastic, it’s time to turn up the hem for a professional finish. This step adds polish to your garment and makes sure the elastic stays in place. Here’s how to do it:
- Determine your desired hem depth, considering hem allowances for your specific project.
- Fold the fabric under to create a single fold, encasing the elastic completely.
- Pin the hem in place, making sure it’s even all around the garment.
- Use a zigzag stitch to sew the hem, pulling the elastic out slightly as you go to prevent wrinkles.
This method of top stitching creates a clean, durable seam that’ll withstand stretching. It’s perfect for DIY jeans or any elastic-waisted garment. Remember, clear elastic might require different methods, but we’ll delve into that in the next section.
Types of Elastic
Now that you’ve mastered turning up the hem, let’s explore the types of elastic you’ll encounter. Comprehending these variations is essential for selecting the right elastic for your project.
You’ll encounter four main categories: braided, knitted, woven, and clear elastic. Each possesses unique attributes that make it suitable for various garments and applications.
Braided elastic is ideal for lightweight fabrics, while knitted elastic provides versatility for medium-weight materials. Woven elastic excels in heavy-duty applications, and clear elastic is ideal for activewear.
When creating a casing or channel, consider the fabric’s weight and the desired stretch. Industrial applications often demand specialized elastics.
Sewing Elastic Directly
Now that you’re familiar with elastic types, let’s explore sewing it directly to fabric. This method is ideal for creating gathers in fashion pieces like denim jogging pants. For optimal results, follow these steps:
- Cut your elastic to the desired length, considering the intended gathering.
- Secure the elastic to your fabric with pins, ensuring even distribution.
- Set your sewing machine to a zigzag stitch and select the appropriate needle size.
- Sew the elastic while stretching it to match the fabric length.
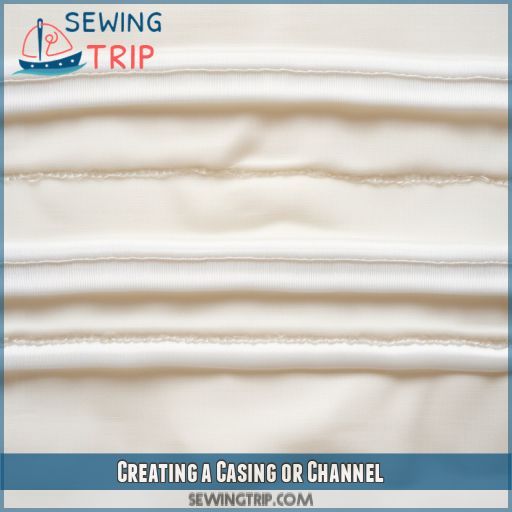
Creating a Casing or Channel
Now that you’ve mastered sewing elastic directly, let’s explore creating a casing or channel. This method offers a cleaner look and works well for various elastic types.
Start by determining your casing width, which should be slightly larger than your elastic. Fold the fabric edge over to your desired hem depth and iron it crisp. Measure and mark the channel size, ensuring it’s wide enough for the elastic to move freely.
Pin the folded edge in place, then sew along the ironed edge to create your casing. Leave a small opening to thread the elastic through later.
This technique gives you more control over the final appearance and allows for easy elastic replacement if needed.
Ready to give it a try?
Frequently Asked Questions (FAQs)
What is the best stitch to attach elastic to fabric?
You’ll want to use a zigzag stitch to attach elastic to fabric. It’s flexible and durable, allowing the elastic to stretch without breaking the thread. Set your machine to a medium-width zigzag for best results.
How do you sew elastic directly to fabric by hand?
While hand-sewing elastic can be tricky, it’s doable. Pin the elastic in place, stretching it slightly. Use a backstitch or overhand stitch, working in small sections. Keep tension consistent and overlap the ends securely for a durable finish.
How do you attach elastic to fabric without sewing?
You can attach elastic to fabric without sewing using fabric glue or iron-on hemming tape. Apply the adhesive between the elastic and fabric, press firmly, and allow it to dry. For a stronger hold, use multiple layers of adhesive.
How to sew elastic evenly?
Isn’t it ironic that sewing elastic evenly can be so uneven? You’ll want to divide your elastic and fabric into quarters, pin at each mark, then stretch as you sew with a zigzag stitch. You’ve got this!
Can I sew elastic to stretchy fabric?
Yes, you can sew elastic to stretchy fabric. Use a ballpoint needle and stretch stitch for best results. Pin the elastic evenly, stretching it as you sew. Test on scrap fabric first to verify proper tension and stitch length.
How do I prevent elastic from twisting inside?
An ounce of prevention is worth a pound of cure. To prevent elastic twisting, you’ll want to secure it at multiple points. Pin the elastic at quarter intervals, sew it down with a zigzag stitch, and consider using a casing.
What stitch length works best for sewing elastic?
You’ll want to use a medium stitch length, about 5-3 mm, for sewing elastic. This balance allows for stretch without compromising strength. Adjust slightly based on your fabric’s weight and the elastic’s thickness for best results.
Can I reuse elastic from old garments?
You can reuse elastic from old garments. Cut the elastic from the fabric, being careful not to cut through the elastic itself. The elastic from men’s and boys’ underwear is particularly good for reuse, as it’s wider than that from women’s underwear.
How often should I replace elastic in clothing?
It’s time to replace the elastic when it’s too stretched to hold your garment in place. You can cut the elastic close to the edge of the waistband, being careful not to cut the main fabric.
Conclusion
Sewing elastic directly to fabric is an essential skill for any sewer.
Whether you’re crafting activewear or adding a unique touch to everyday garments, this technique will elevate your sewing projects.
With the right materials and our 9 easy steps, you can master this method and achieve perfect results. From preparing and dividing your elastic to sewing it securely, you’ll create professional-looking garments with beautiful elasticated edges.
Get ready to boost your sewing skills and take your creations to the next level!
- sewingmachinebuffs.com

