This site is supported by our readers. We may earn a commission, at no cost to you, if you purchase through links.
 Nearly 85% of crafters say personalization is key in their projects.
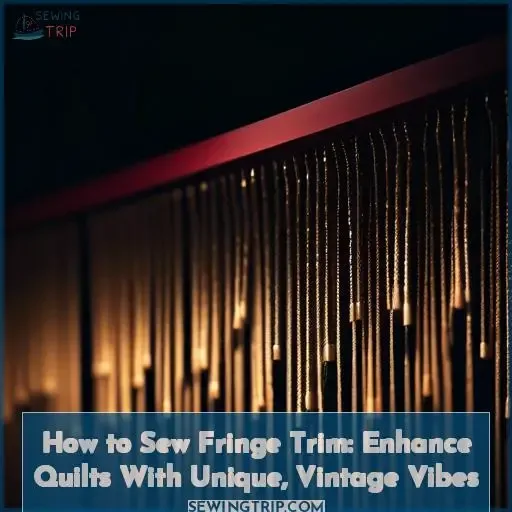
You’re here to elevate your quilting with fringe trim, a touch that adds vintage charm and a unique flair.
Sewing fringe trim isn’t just about aesthetics; it’s a nod to craftsmanship and a celebration of individual style.
Let’s dive into the techniques that will make your quilts stand out, ensuring they’re as durable as they are delightful.
Ready to master the art of fringe?
Table Of Contents
Key Takeaways
- Select cotton fringe for its versatility and durability, ensuring it matches the quilt’s character and desired aesthetic, including considerations for length, width, color, texture, and pattern.
- Prepare the fringe by cutting it to the accurate length, overestimating to allow for adjustments, and applying liquid seam sealant to the ends to prevent fraying.
- Attach the fringe to the quilt by pinning it around the edge, sewing with a consistent seam allowance, snipping into the fringe every few inches for a fuller effect, and overlapping the ends for a seamless finish.
- Care for the fringed quilt by washing it infrequently in a laundry bag on a delicate, cold cycle, laying it flat to dry, storing it in a cool, dry place, and rolling it in towels to remove excess moisture, while regularly inspecting and repairing as necessary.
Benefits of Adding Fringe Trim
Adding fringe trim to your quilts can significantly enhance their character. This detail introduces a unique and vintage vibe, setting off clean lines. It is relatively wash-friendly, making your creations stand out with added sophistication.
Enhancing Quilt Character
Adding fringe trim to your quilt isn’t just about a unique finish; it’s about infusing vintage aesthetics that elevate your creation’s unique character.
Think of it as the cherry on top, giving your Isola quilt that personalized touch.
This decorative element doesn’t just complement; it transforms, turning a simple blanket into a statement of quilt embellishment with delightful vintage vibes.
Vintage Vibes and Unique Details
Continuing from enhancing quilt character, let’s dive into the charm of vintage inspiration.
Adding fringe trim to your quilt binding isn’t just about the timeless elegance it brings; it’s a creative embellishment that injects unique character.
Imagine the vintage vibes and unique details dancing along the edges, turning a simple quilt into a masterpiece of quilting enhancement.
Wash Friendliness
Continuing from the charm of vintage accents, let’s talk fringe care. You’ll love that it’s not high-maintenance.
- Wash sparingly to maintain its pizzazz.
- Handle with care—think delicate cold cycles.
- Choose your detergent like a sommelier selects wine—wisely.
Selecting the Right Fringe
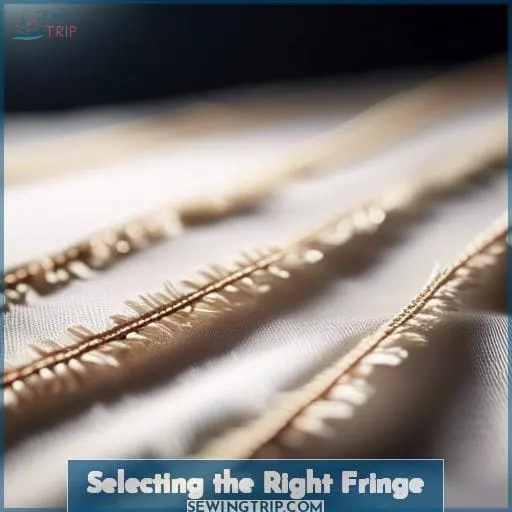
Choosing the right fringe for your quilt involves considering two key factors: type and durability.
Type of Fringe
Cotton fringe is a popular choice due to its versatility and accessibility. You can find cotton fringe on various online platforms such as Amazon and Etsy, as well as in local fabric stores.
Durability
When selecting fringe, it’s essential to consider its durability. Avoid delicate fringes that may not withstand frequent handling or washing. Cotton fringe is a good option in this regard, as it is known for its washability and resilience.
Types Suitable for Quilts
Fringe Trim for Quilts: Selecting the Perfect Type
Fringe trim adds a special charm to quilts. When selecting the perfect type, consider various factors such as fringe length, width, color, texture, and pattern.
Types of Fringe Trim
Cotton fringe is a top pick due to its durability and ease of washing. This type of fringe is known to withstand the test of time and use, making it an excellent choice for quilts.
On the other hand, delicate fringes may not be as durable and could potentially fray or become damaged over time.
Durability and Availability
Zeroing in on the perfect fringe type for your quilt is a great start. When it comes to durability, source fringes that offer both longevity and practicality. This means they should be able to withstand daily use and still maintain their appearance.
When it comes to washing, look for designs that are not only wash-friendly but also aesthetically appealing. Remember, a quick spin in a laundry bag on a delicate cold cycle and laying flat to dry can work wonders for maintaining the fringe’s quality.
In summary, prioritize durability and practicality when choosing fringe, and don’t forget about wash-friendliness and aesthetic appeal. With the right care, your fringe can last a long time and continue to look great.
Avoiding Delicate Fringes
When eyeing delicate fringe, remember it’s a high-maintenance relationship. You might want to consider alternative fringe types that promise a longer, hassle-free bond.
Vintage-inspired fringe? Yes, but ensure it’s tough enough for the journey.
Dive into our fringe trim tutorial for savvy sewing fringe techniques. These techniques can transform handmade fringe into a masterpiece that laughs in the face of the washing machine.
Preparing for Sewing
Before you start sewing fringe trim to your quilt, it’s crucial to cut and measure your materials accurately.
Gather your sewing tools, including thread, needle, and liquid seam sealant, to ensure a smooth and successful addition of fringe.
Cutting and Measuring Fringe
Before you dive into sewing that eye-catching fringe trim, grab your scissors and let’s talk prep.
First off, when cutting selvage, always overestimate your fringe length; it’s better to have too much than too little.
To dodge the dreaded fray, a dab of liquid seam sealant works wonders.
And remember, always test on a small sample first.
This isn’t just about adding fringe; it’s about perfecting your masterpiece.
Materials and Tools Needed
After mastering the art of cutting and measuring your fringe, it’s time to gather your sewing arsenal.
You’ll need a keen eye for fringe quality and selection, ensuring your fringe types match the project at hand, whether it’s a bias-cut dress or a fringe top.
For a successful fringe trim DIY, ensure your seam finishes are neat and your fringe attachment precise.
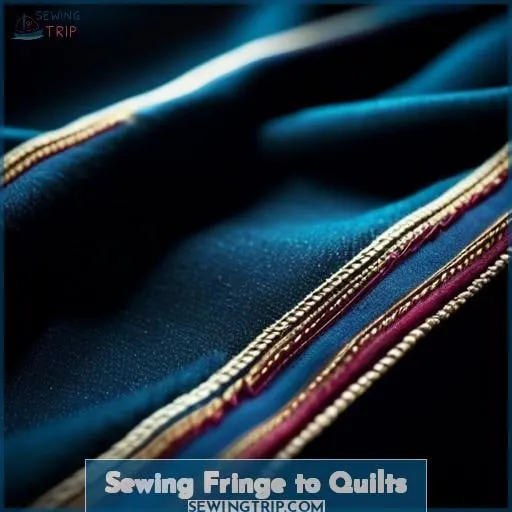
Sewing Fringe to Quilts
When you’re ready to attach fringe to your quilt, precision is key to ensure a clean, professional finish.
You’ll need to pin the fringe carefully and sew with a consistent seam allowance for the best results.
Attaching Fringe Trim
After choosing your fringe, it’s time to attach it to your quilt. This step transforms a simple project into a masterpiece of texture and style.
- Pin the fringe carefully around your quilt’s edge.
- Sew with precision, ensuring the fringe’s durability.
- Snip into the fringe every few inches for a fuller effect.
- Overlap ends for a seamless look.
- Marvel at your quilt’s enhanced character and vintage charm.
Sewing Techniques and Tips
After attaching your fringe trim, it’s time to dive into the nitty-gritty of sewing techniques. Think of your sewing machine as your dance partner in this easy dress refashion, especially for those holiday parties.
| Fringe Material | Fringe Durability |
|---|---|
| Cotton or Polyester | Wash and wear friendly |
| Sequined or Beaded | Handle with care |
For a subtle pattern, consider using iron-on vinyl to add flair to a thrift dress.
Care and Maintenance
Caring for your quilt with fringe trim is crucial to maintaining its beauty and longevity.
Always wash it as infrequently as possible and lay it flat to dry, following specific care instructions to avoid damage.
Washing Quilts With Fringe
After you’ve lovingly attached that fringe to your quilt, keeping it in tip-top shape is key.
- Fringe Laundering: Wash infrequently in a laundry bag on a delicate, cold wash cycle.
- Drying Considerations: Lay flat to dry, avoiding heat that could cause shrinkage.
- Long-Term Storage: Store in a cool, dry place to keep that flapper girl flair intact.
Drying and Storage Recommendations
After washing your quilt with care, drying and storing it properly is key to fringe preservation.
| Maintenance Techniques | Longevity Tips |
|---|---|
| Lay flat to dry | Use cotton bags for storage |
| Avoid direct sunlight | Regularly air out |
| Roll in towels to remove excess moisture | Inspect and repair as needed |
Frequently Asked Questions (FAQs)
Can I sew fringe trim by hand?
Yes, you can absolutely sew fringe trim by hand! It’s a piece of cake with a needle, thread, and a bit of patience.
Just stitch it on with care, and you’ll be fringing fantastic in no time.
How do I choose the right thread color?
Picking the perfect thread color is like choosing the cherry on top of your sewing sundae.
Aim for a shade slightly darker than your fabric for a seamless blend, ensuring your fringe trim flourishes fantastically.
What sewing machine settings are best for fringe?
For sewing fringe, set your machine to a zigzag stitch with a narrow stitch length.
Can fringe trim be added to curved edges?
Ironically, adding fringe to curved edges isn’t a walk in the park—it’s a tightrope walk over a canyon.
But fear not, with a bit of patience and precision, you’ll make those curves sing with personality.
How do I repair damaged fringe trim?
To fix damaged fringe trim, carefully comb out tangles, trim evenly to remove frayed ends, and apply fray-preventing gel or liquid seam sealant.
For severe damage, consider replacing the section with new matching fringe.
Conclusion
Fusing flair with functionality, you’re now equipped to sew fringe trim, transforming quilts into unique, vintage masterpieces.
By selecting the right fringe, preparing meticulously, and applying expert sewing techniques, you ensure your creations stand out.
Dive into the art of fringe, and watch your quilts become conversation starters and cherished heirlooms.

