This site is supported by our readers. We may earn a commission, at no cost to you, if you purchase through links.
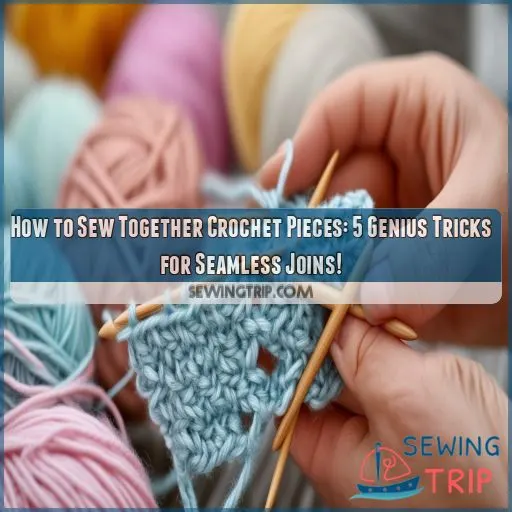
Don’t let that be you! Mastering how to sew together crochet pieces is essential for creating polished projects.
In this guide, you’ll discover 5 genius tricks for achieving flawless joins. Whether you’re working on a sweater, blanket, or amigurumi, these techniques will give you the control and precision you crave.
Get ready to elevate your crochet game and create stunning, professional-looking pieces that’ll make you proud.
Table Of Contents
Key Takeaways
- Mattress stitch is your new best friend for invisible seams – it’s like magic for making those pesky panel joins disappear faster than a chocolate chip cookie at a kids’ party!
- Don’t be afraid to mix it up – whipstitch for speed, running stitch for gathering, and invisible stitch when you want your project to look smoother than a fresh jar of Skippy.
- Amigurumi assembly is all about the details – from leaving a generous tail (because size matters!) to nailing that stitch placement. It’s like putting together a 3D puzzle, but way cuter and cuddlier.
- Tension is key, folks! Whether you’re working with yarn as thin as angel hair pasta or thick as a woolly mammoth’s coat, adjusting your grip can make or break your project. Think Goldilocks – not too tight, not too loose, but just right.
How to Sew Together Crochet Pieces?
To sew together crochet pieces, you’ll want to master a few key techniques.
Start with the mattress stitch for a seamless join: align your pieces, thread your needle, and create a criss-cross pattern through the stitches.
For flat pieces, try the whipstitch or invisible seam.
When working on amigurumi, use a long tail and pay close attention to stitch placement.
Don’t forget to weave in those pesky ends for a polished finish!
Whether you’re joining panels or stuffed creatures, the right method will make your project look professional.
With practice, you’ll be creating flawless seams in no time.
Stick around to discover five genius tricks that’ll take your crochet game to the next level.
How to Seam Crochet Panels Using Mattress Stitch
To start sewing your crochet pieces together using the mattress stitch, you’ll first place the panels right sides together and align the stitches carefully. Once aligned, thread your needle and begin creating a criss-cross pattern, tightening the yarn every few inches to achieve a smooth, nearly invisible seam.
Step 1: Place Pieces Right Sides Together
Ready to master the art of seamless crochet joins? Let’s get started with the first step of the mattress stitch technique. You’ll want to place your crochet pieces right sides together, with the wrong sides facing outwards. This might feel a bit counterintuitive, but trust the process!
- Line up your stitches like soldiers on parade
- Match those turning chain "bumps" for row ends
- Think of it as a crochet sandwich – right sides in!
- Amigurumi pieces? Same deal, inside out is in
- Embrace the "wrong" side – it’s the secret to perfect seams
Step 2: Align Stitches and Thread Needle
Now that you’ve got your pieces aligned, it’s time to thread your needle and get stitching!
Grab your trusty tapestry needle and some matching yarn.
Carefully line up the stitches or "bumps" of the turning chains if you’re joining row ends. This alignment is really important for a seamless join.
Thread your needle, leaving a tail long enough to weave in later.
You’re now ready to create an invisible stitch masterpiece!
Step 3: Create a Criss-cross Pattern
Thread your needle through the top two loops of the next stitch on one panel, then pull it through.
Repeat this on the corresponding stitch of the other panel.
Continue alternating between panels, creating a zigzag pattern.
This technique makes sure your stitches line up perfectly and keeps the tension even, resulting in a seamless join.
Step 4: Tighten Yarn for Smooth Seam
Now that you’ve created the criss-cross pattern, it’s time to tighten your yarn for a smooth seam. As you work, gently pull the yarn every few crochet stitches to snug up the seam. This technique makes sure your crochet sewing remains taut without puckering. Remember:
- Pull gradually to maintain even tension
- Adjust as needed for different amigurumi parts
- Check both sides to make sure the joining is seamless
Master this step, and you’ll elevate your crochet techniques, creating professional-looking projects with invisible seams.
Stitches for Sewing Crochet Pieces Together
If you’re looking to join your crochet pieces, you’ll want to master three essential stitches: the whip stitch, the running stitch, and the invisible stitch. Each of these techniques offers unique benefits, from quick and easy joins to nearly seamless connections that’ll make your finished project look polished and professional.
The Whip Stitch
Now that you’ve mastered the mattress stitch, let’s move on to the whip stitch.
This basic crochet technique is perfect for joining edges and creating secure seams.
You’ll love how quickly it works up, especially when you’re in a hurry.
Choose a yarn that complements your project and get ready to whip those pieces together for a neat finish.
It’s a crochet essential you’ll use time and again!
The Running Stitch (Gather Stitch)
Moving from the whip stitch, let’s explore the running stitch, also known as the gather stitch. This versatile technique is perfect for adding functional seams and decorative details to your crochet projects. Here’s why you’ll love it:
- Quickly join crochet squares
- Create gather effects in garments
- Add contrasting seam details
Whether you’re working on a crochet blanket or a garment, the running stitch offers both practicality and style. It’s easy to master and allows for quick adjustments as you sew.
The Invisible Stitch
Want to master the invisible stitch?
It’s your secret weapon for seamlessly joining crochet pieces side by side. This nifty technique creates a nearly imperceptible seam, perfect for closed or flat pieces.
Unlike the whip stitch or mattress stitch, it’s virtually undetectable on one side and barely noticeable on the other.
With a bit of practice, you’ll be creating flawless joins that’ll make your projects look professionally finished.
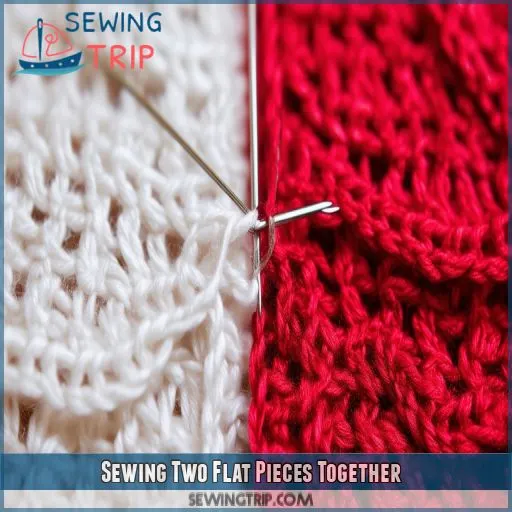
Sewing Two Flat Pieces Together
When sewing two flat crochet pieces together, you’ve got several techniques at your disposal to create seamless joins. From the simple whipstitch to the more refined invisible seam, you’ll learn how to anchor your yarn, create a zipper effect, and tighten your seams for a professional finish.
Whipstitch
Ready to master the whipstitch?
This versatile technique is your go-to for joining crochet pieces. It’s perfect for beginners and pros alike, whether you’re working on amigurumi or crochet appliqué.
You’ll find variations like the running stitch and blanket stitch, each with its own uses.
The whipstitch’s simplicity makes it a quick fix, but remember, it’s not the most discreet option.
Let’s get started and get those pieces seamlessly connected!
Invisible Seam
Ready to make your crochet pieces disappear into one seamless creation?
The invisible seam is your secret weapon! This technique is perfect for joining flat pieces, whether you’re crafting a crochet pillow or adding the finishing touches to your wardrobe.
By carefully weaving through the stitches, you’ll create a join that’s virtually undetectable. It’s a game-changer for crochet appliqué and a fundamental skill every crocheter should master.
Here’s a pro tip: use matching thread for ultimate invisibility!
Anchoring Yarn
When joining your crochet pieces, don’t let those pesky yarn tails ruin your masterpiece!
Anchoring your yarn is the key to a secure seam.
Start by leaving a generous tail, then weave it through the same two stitches multiple times.
This creates a sturdy foundation for your join.
Zipper Effect
After anchoring your yarn, it’s time to create the zipper effect.
This technique gives you a neat, ladder-like seam for joining flat crochet panels.
You’ll work back and forth between stitches on both pieces, mimicking a zipper’s interlocking teeth.
Start by inserting your needle into a stitch on one panel, then cross over to the corresponding stitch on the other.
Continue this pattern, creating a strong, flexible seam.
Tighten Seam
As you create your zipper effect, don’t forget to tighten the seam periodically.
Every few stitches, give your yarn a gentle tug to make sure you have a smooth, even finish.
This step’s important for a secure join that won’t unravel.
Find that sweet spot for a professional-looking seam that’ll make you proud!
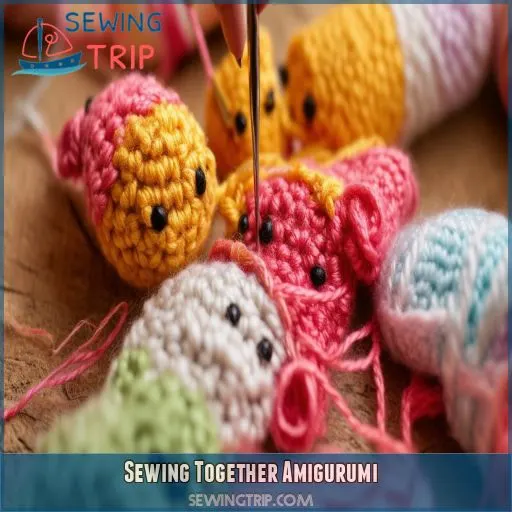
Sewing Together Amigurumi
When sewing together amigurumi pieces, start with a long yarn tail and carefully identify corresponding stitch locations on both parts. Thread your needle through the first stitch on the body, then come out where the second stitch will be, creating a secure pattern as you work your way around the piece.
Long Tail
When sewing amigurumi pieces, a long tail is your secret weapon.
Don’t fret if you’ve got a short one, though – you can always add more yarn.
The ideal tail length depends on your project’s size, but aim for at least 12 inches.
A longer tail gives you more wiggle room, making it easier to maneuver as you join pieces.
Stitch Placement
When sewing amigurumi pieces together, proper stitch placement is really important for a flawless seam.
You’ll want to pinpoint corresponding stitches on both pieces before you start. Think of it as a puzzle – each stitch should have a perfect match.
Take your time to align them precisely; it’s the key to a professional finish. Remember, patience pays off when you’re working on getting the stitches right!
Sewing Pattern
Thread your needle into the first stitch on the body, then come out where the second stitch will be. This creates a seamless join between your crochet pieces.
As you work, keep your tension even to make sure your amigurumi stays intact.
Knotting
When you’re knotting your amigurumi pieces together, don’t overlook the importance of securing those pesky yarn ends.
After threading your needle, tie a small knot at the tail’s base to anchor it firmly.
As you sew, periodically create tiny knots on the inside of your work.
This extra step makes sure your creation stays intact, even during the most vigorous playtime.
It’s a small effort for long-lasting results!
Stuffing
When sewing together amigurumi pieces, stuffing plays a big part in getting that perfect, huggable finish. You’ll want to stuff your creation before joining the final seam, using fiberfill, polyester, cotton, or wool. Here’s why stuffing right matters:
- Brings your amigurumi to life with a plump, cuddly shape
- Makes sure the stuffing is evenly spread for a professional look
- Makes it easier to handle during the sewing process
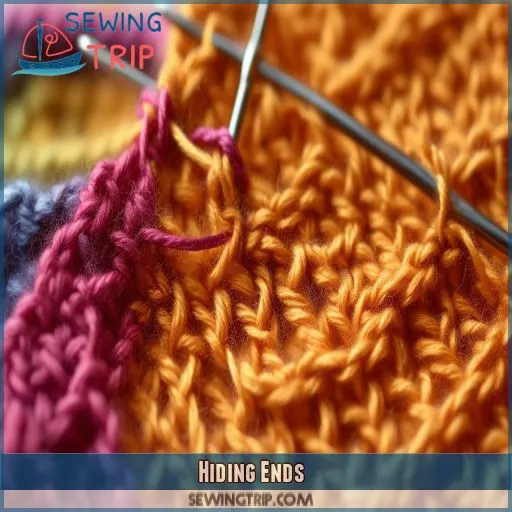
Hiding Ends
After you’ve finished sewing your crochet pieces together, you’ll need to deal with those pesky yarn ends. You can hide them by weaving them into the fabric, using a crochet hook to pull them through stitch loops, or simply trimming them close to the surface after securing them.
Weaving
You’ve finished your project, but those pesky yarn ends are still hanging around.
Fear not! Weaving is your secret weapon for banishing them.
By carefully threading your needle and zigzagging through the stitches, you’ll create an invisible finish.
Play with different weaving techniques to blend colors and add texture.
Crochet Hook
After weaving, you can use your trusty crochet hook to hide those pesky ends. It’s like a magician’s wand for your project!
Simply insert the hook into a nearby stitch, grab the yarn tail, and pull it through.
Repeat this process, zigzagging through different stitches to secure the end.
Keep your hooks clean for smooth sailing!
Cutting
Once you’ve woven in your ends using a crochet hook, it’s time for the final snip. Grab your trusty scissors and carefully trim the excess yarn close to the fabric.
Don’t cut too close, though! Leave about 1/4 inch to prevent unraveling.
For extra security, you can dab a tiny bit of fabric glue on the cut end.
Voila! Your project’s now polished and ready to shine.
Frequently Asked Questions (FAQs)
How to join two crochet pieces together?
You’ll want to align your crochet pieces and choose a joining method. Try the mattress stitch for an invisible seam, or whip stitch for a quick fix. Don’t forget to secure your yarn ends when you’re done!
How do you sew crochet toy pieces together?
You’ll want to pin your toy pieces together first. Then, use a yarn needle and matching thread to whipstitch around the edges. Pull gently to tighten, and don’t forget to stuff as you go!
How do you sew fabric on crochet pieces?
To sew fabric on crochet pieces, you’ll want to use a whipstitch or running stitch. Pin the fabric to your crochet work, then sew along the edge, catching both materials. Use matching thread for a seamless look.
How to seamlessly join crochet?
You’ll seamlessly join crochet pieces using the invisible stitch. Line up your edges, thread a yarn needle, and weave through both pieces’ loops. Tighten gently every few stitches for a smooth, nearly undetectable seam. It’s easier than you think!
How do I adjust tension when sewing different yarn weights?
You’ve hit the jackpot of crochet conundrums. To adjust tension when sewing different yarn weights, you’ll want to loosen your grip for heavier yarns and tighten it for lighter ones. Use a larger needle for bulky yarns too.
Can I use a sewing machine for joining crochet pieces?
You can use a sewing machine, but it’s not ideal. The machine’s tension might damage your crochet work. Stick to hand-sewing techniques like mattress stitch or whip stitch for best results. They’ll give you more control and a neater finish.
Whats the best method for joining textured or lacy patterns?
For textured or lacy patterns, you’ll want to use the invisible seam method. It’ll preserve your intricate designs while creating a seamless join. Match stitch patterns carefully and work slowly, using a thin yarn and small hook for best results.
How do I seamlessly join pieces with different stitch counts?
To join pieces with different stitch counts, you’ll need to adjust as you go. Work in extra stitches on the shorter piece or skip stitches on the longer one. Aim for even spacing and tension to maintain a smooth seam.
Are there alternatives to yarn for sewing crochet pieces together?
You’ve got options beyond yarn! Try using thin crochet thread, embroidery floss, or even fishing line for a nearly invisible seam. Dental floss can work in a pinch too. Just make sure your choice doesn’t overpower your project.
Conclusion
Mastering methods to sew together crochet pieces will revolutionize your craft.
You’ve learned five fantastic techniques to create seamless joins, from the mattress stitch to hiding ends.
Whether you’re working on flat panels, amigurumi, or intricate designs, these tricks will help you achieve professional-looking results.
Don’t be afraid to experiment with different stitches and methods to find what works best for your projects.
With these skills in your toolkit, you’ll be creating flawless, polished crochet pieces in no time.

