This site is supported by our readers. We may earn a commission, at no cost to you, if you purchase through links.
In this step-by-step tutorial for beginners, you will learn how to prepare your fabric correctly, choose appropriate tools, and apply basic techniques in sewing. Whether by hand or machine, in this bits-y-bobs tutorial, you will learn the step-by-step process toward perfect alignment, strong seams, and professional finishing touches.
Now, let’s get started and make those shots—flawless ones—with our lovely craft
Table Of Contents
Key Takeaways
- Sewing two pieces of fabric together is a skill that can be mastered with practice and the right tools.
- Pinning and aligning the fabric pieces correctly is essential for a strong and even seam.
- Reinforcing seams and finishing them professionally will help your sewn items last longer.
- Don’t be afraid to experiment with different stitches and techniques to find what works best for your project
How to Sew Two Pieces of Fabric Together?
First, choose the fabrics to be joined, considering their type, weight, and drape.
Measure and cut out pieces accurately, then add seam allowances.
Sew either on the sewing machine or using appropriate needles and threads.
Place edges together and pin at right angles before sewing.
For a basic straight stitch, set your machine to medium-length stitches and sew along the seam line, removing the pins as you go by.
Backstitch at the beginning and end of all seams, then trim the seams and press for a professional finish.
Want more tips on perfecting your sewing technique? Keep exploring!
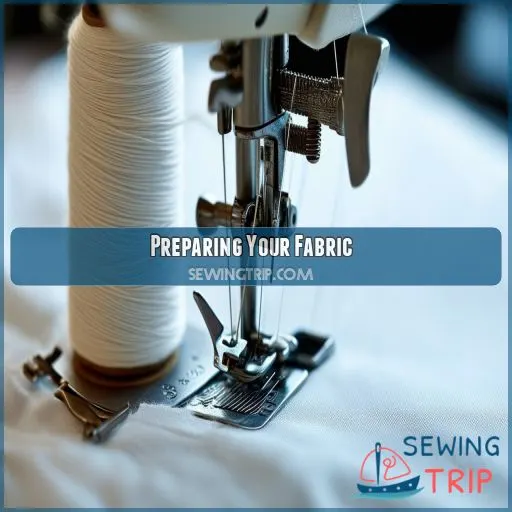
Preparing Your Fabric
Choosing the suitable fabric sets the very basis for a successful sewing project, so pick out your fabric and consider its type and if it’s appropriate for the intended use. Very accurate cutting and measuring of the pieces of the fabric will ensure that these pieces will be fittingly aligned when sewn together, avoiding wrinkles or mismatches.
Choosing the Right Fabric
One should select the appropriate fabric for your project. Reflections on drape, color pairing, and texture combinations are critical.
The durability assessment and weight of the fabric also depend upon the needs of your project. Seam allowance and how it will react to stitches are things you should always keep in mind with the fabric.
Choosing the proper fabric lays the ground for clean, vigorous seams along your sewing journey
Cutting and Measuring
Choose quality fabric for durability. The measurements should be accurate using measuring tools to achieve correct dimensions.
Mark and cut using precise cutting techniques; this will yield clean, raw edges. Always remember to add seam allowances. A sharp rotary cutter or sharp scissors can assist in precision cutting.
Line pieces correctly to have nice construction stitches. Remember, consistent pressing and trimming go into professional finishing stitches
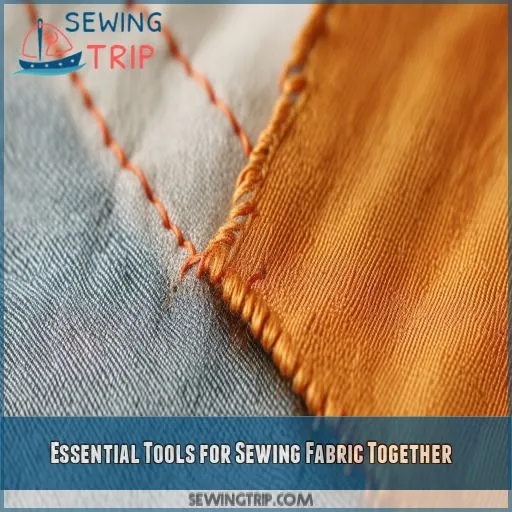
Essential Tools for Sewing Fabric Together
First, consider the scale and timeline of your project, as well as your comfort level with methods. Then, decide whether you’ll use a sewing machine or sew by hand. Proper selection of needles and threads is essential—a good match of the type of needle to be used with the appropriate thread, trouble-free stitching without risking the fabric.
Sewing Machine Vs. Hand Sewing
When deciding between a sewing machine and hand sewing, consider fabric thickness, embellishment needs, and project size. Machines offer precise stitch length, adjustable tension settings, and various features like edge stitch foot and edge joining seam options. Hand sewing provides control for delicate tasks and intricate embellishments, making it ideal for smaller projects with detailed requirements
Needles and Thread Selection
Use the correct needle and thread for your fabric.
For lightweight fabrics, use the smallest possible needle size.
Then, use more giant needles for heavier fabrics.
Cotton threads should be used with cotton fabrics and polyester threads with synthetics.
Proper threading provides the appropriate tension on the thread so that, whether using a zigzag stitch or serged seams, your stitching will be satisfactory and guarantee a lasting project
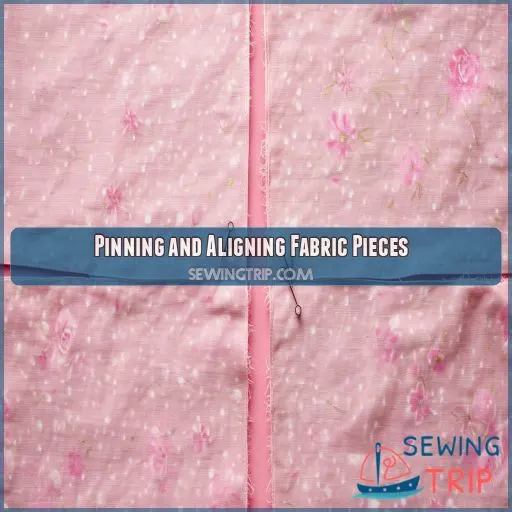
Pinning and Aligning Fabric Pieces
Start by pinning your fabric pieces together, ensuring the edges align perfectly to prevent shifting during sewing. Place pins perpendicular to the edge, spaced every few inches; this secures the fabric and keeps seams accurate
Proper Pinning Techniques
Use appropriate pins that suit the type of fabric being processed. Ensure constant thickness in pinning, which is approximately an inch apart.
Pin at angles perpendicular to any edge of the fabric for ease and stability. Ensure the direction of your pins will match your stitching path so that they’re easier to remove.
Remove the pins while sewing to avoid damaging your machine and your needle
Ensuring Accurate Alignment
First, align the edges of the fabric exactly. Use pins to hold the work in place, spacing evenly for stability. Before sewing, check registration; slight misregistration can lead to major woes. The process:
- Pin at regular intervals.
- Check the alignment again.
- Adjust as necessary before stitching.
Keeping the fabric preparation and the alignment of pins perfect leads to a faultless seam.
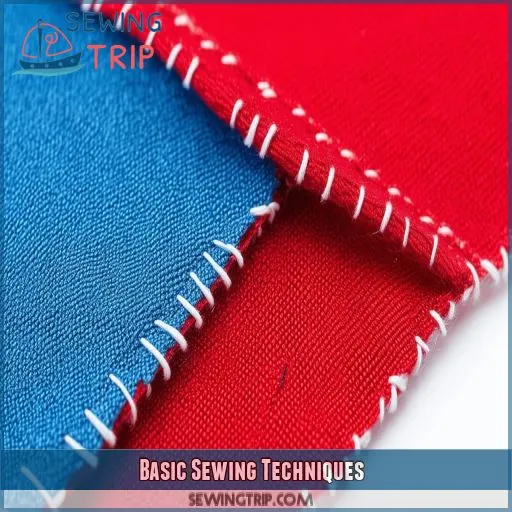
Basic Sewing Techniques
One must master only basic techniques when sewing two pieces of fabric together. Use a straight stitch with most fabrics; however, on those that stretch, use a zigzag for more durability and flexibility.
Straight Stitch Method
For a straight stitching method, put the pieces you have already cut of fabric under your machine’s presser foot.
Set the medium-length stitches and make sure the thread tensions are equal to work well with any particular type of fabric; this includes the needle, of course.
Don’t push; start sewing very slowly so that the feeding of your fabric isn’t bunched up unevenly.
Such steps give you a robust and straight seam every time
Zigzag Stitch for Stretch Fabrics
Sewing stretch fabric needs zigzag stitching for some flexibility and seam strength. Here’s how:
- Use the appropriate size of needle for your fabric.
- Align and pin fabric carefully, keeping even tension.
- Set your machine to a zigzag stitch with the appropriate width and length.
- Sew slowly, thereby allowing the Fabric to feed naturally through the Machine
Reinforcing Your Seams
Reinforcing your seams ensures that your fabric stays securely stitched over time. You can use backstitching for added durability or French seams for a clean finish on delicate fabrics
Backstitching
Backstitching will give added strength to seams.
First, select a sharp needle; then select a thread to match. Set your sewing length to medium.
Begin sewing, then hit your reverse key on the machine every few stitches, sewing backward. Keep your thread tension balanced so your fabric won’t pucker.
Place your seams correctly for added strength in your garment, especially in areas that are under stress
French Seams for Delicate Fabrics
To create a French seam, begin by placing the fabric pieces wrong sides together, and sew a straight stitch. Trim seam allowances, press open, then fold the fabric right sides together, enclosing the raw edges. Sew another straight stitch. This technique enhances the seam’s strength, durability, and appearance while minimizing bulkiness. Despite its perceived difficulty, it’s worth mastering
Finishing Touches
After sewing, you’ll want to trim any excess seam allowance to reduce bulk and then press the seams flat for a neat finish. Topstitching along the seam adds extra strength and can enhance the appearance of your project by providing a polished look
Trimming and Pressing Seams
First, strengthen your seams; next, reduce the bulk by trimming the seam allowance.
Overcast the edges to ensure they won’t fray.
The iron helps both for neatness by pressing your seams flat and then opening.
You can use flat felled seams or mitered corners to finish the more rugged stitch further nicely.
Use bias binding for smooth, professional edges.
This step adds to the value of both the appearance and durability of your work
Topstitching for Added Strength
Topstitching gives any seam added strength and a professional look. Follow these steps for topstitching through heavier fabrics like denim or quilts:
- Keep a straight line by using the edge of the presser foot as a guide.
- Very slightly loosen the stitch length for better visibility.
- In most garments and projects, sewing close to the seam edge aids durability.
It’s ideal for reinforcing and finishing seams neatly
Frequently Asked Questions (FAQs)
What is the strongest way to sew two pieces of fabric together?
Think of sewing as intertwining two life threads. For a strong stitch, you want a backstitch. It’s resilient and holds the fabric tightly. Make sure you have double-threaded your needle to give strength to every stitch.
How do you join two fabrics together?
Pin the fabrics together, aligning edges. Choose the appropriate stitch, then sew along the edge, ensuring a consistent seam allowance. Double-check alignment, remove pins while sewing, and finish by locking the stitch
How do you hand stitch two pieces of fabric together?
Effortlessly stitch two fabrics together by double-threading your needle, aligning and pinning the pieces, and using a simple backstitch or running stitch. Remember to secure your first and last stitches for durability. Patience pays off!
What stitch holds 2 pieces of fabric together temporarily?
Use a basting stitch to hold two pieces of fabric together temporarily. This long, loose hand stitch is relatively easy to remove and, thus perfect for lining up the fabric before permanent stitches are put in. Placement of pins should be avoided while basting.
How to sew two pieces of fabric together without stitching?
Use fabric glue or fusible webbing to join two pieces of fabric without stitching. Apply glue along the edges, press the fabrics together, and let it dry or iron to activate the webbing for a durable bond
How to attach two fabrics together?
To attach two fabrics together, use fusible webbing or fabric glue. Align the fabrics, place the webbing in between, then iron on a low setting. Alternatively, apply fabric glue evenly and press firmly to bond
How do you sew fabric together?
Measure twice, cut once for accuracy. Pin cotton fabrics together along edges. Make sure they’re aligned. Choose your stitch type and sew along the pinned line, removing pins as you go. Trim excess thread
Can you sew two fabrics together?
You can join the two fabrics; just sew them right side together, attach them properly with pins, and then sew either by a sewing machine or hand-stitch. Don’t forget to lock your stitches, trim the extras, and iron your seams like a pro (Source).
How do I fix skipped stitches?
Imagine your stitches inside a time machine. If you have skipped stitches, then rethread the machine; change to a new needle both in front and back; tension settings should be changed to avoid loose stitches; make sure you have the right needle for the fabric. Check the bobbin to see that it’s correctly placed.
What’s the best way to sew curves?
For sewing curves, use shorter stitches and move quite a lot on your fabric while sewing. Pin the fabric if necessary, aligning the edges of both pieces. Practice makes perfect, and patience is very crucial in executing the curves smoothly.
Can I sew delicate fabrics without tearing?
Yes, you can sew delicate fabrics without tearing by using a fine needle, lightweight thread, and gentle pressure. Adjust your machine settings for a lower tension and shorter stitch length for better control
How do I prevent fabric puckering?
To avoid puckering in the fabric, use a walking foot with your machine if possible, adjust your tension setting, and keep the work evenly distributed at all times. Like a steady hand in a storm, keep at a somewhat constant, gentle pace while sewing.
What’s the difference between basting and final stitches?
Basting stitches are temporary and used to hold fabric pieces together before final sewing. They’re easily removable. Final stitches are permanent, securing the seam for durability and strength. Both are critical in different stages of sewing
Conclusion
You have just been unmasked for the secrets to sew two pieces of fabric together. With your now-acquired, mastered ways of preparing the fabrics, using the appropriate tools, pinning and aligning, and applying some fundamental sewing techniques, you’re bound to have a surefire success rate.
Make sure to reinforce seams and professionally finish them in your sewn items so that they can stand impeccably. As these steps come in continuous practice for you, you’ll soon be creating projects that reveal your new sewing skills to any curious eyes with confidence and poise.
Happy sewing!

