This site is supported by our readers. We may earn a commission, at no cost to you, if you purchase through links.
 Did you know that sewing machines can stitch up to 1,000 stitches per minute? That’s power in your hands!
Discovering how to sew with a sewing machine can ignite your creativity and empower you over fabric.
In this guide, we’ll walk you through 10 easy steps to help you conquer the basics of machine sewing. You’ll discover essential machine parts, threading techniques, and fundamental stitches.
Get ready to bring your ideas to life as you begin your sewing journey.
Table Of Contents
- Key Takeaways
- How to Sew With a Sewing Machine?
- Understanding the Basics
- Getting to Know Your Sewing Machine
- Beginning Your Sewing Project
- Improving Your Sewing Skills
- Gathering Materials
- First Steps
- Preparing to Use the Sewing Machine
- Using the Sewing Machine
- Practicing Sewing
- Troubleshooting
- Frequently Asked Questions (FAQs)
- Conclusion
Key Takeaways
Dive into the enchanting world of sewing and unleash your creativity!
Master the fundamentals of machine sewing with these simple steps and handy tips.
Using this comprehensive guide, you’ll transform fabrics into breathtaking creations.
With practice and patience, you will become a sewing master, ready to take on any challenge!
How to Sew With a Sewing Machine?
Sewing machines can be intimidating at first, but they’re a great way to bring your creative projects to life.
First, get to know your machine: identify its parts, understand the manual, and set it up on a flat surface. Choose the right materials, like fabric, thread, and needles, and practice basic sewing techniques. Select and adjust your stitch, and you’re ready to start sewing!
There’s a lot more to discover about how to sew with a sewing machine, so stay tuned!
Understanding the Basics
To start sewing with a machine, you’ll need to understand its basic parts, learn how to thread it correctly, and familiarize yourself with essential stitches. Knowing these fundamentals will set you up for success as you begin your sewing journey, allowing you to create beautiful projects with confidence.
Machine Parts
You’ll need to familiarize yourself with your sewing machine’s key components.
The bobbin winder, tension dial, and stitch length selector are essential for perfect stitches. Don’t forget the presser foot – it’s your fabric’s best friend!
The needle size matters too, so choose wisely.
Master these parts, and you’ll be threading your way to sewing success in no time. It’s not rocket science, just a little mechanical magic!
Threading the Machine
Threading your machine correctly is essential for smooth sewing. You’ll need to position the thread on the spool pin, guide it through various points, and finally, through the needle’s eye. Here’s a quick guide:
- Wind and insert the bobbin
- Follow the thread path marked on your machine
- Adjust thread tension for ideal stitch quality
Basic Stitches
Basic stitches are the foundation of your sewing journey. Understanding stitch types, applications, tensions, lengths, and designs empowers you to create with precision and confidence.
Stitch types range from straight and zigzag to more advanced embroidery and quilting stitches. Each type has its unique application, from simple seams to decorative touches.
Stitch tensions and lengths are adjustable, allowing you to customize your sewing. Tension controls the thread’s tightness, while stitch length determines the distance between each stitch.
Fabric type and your desired outcome influence your stitch choices. Delicate fabrics require lighter stitches, while thicker materials demand stronger ones.
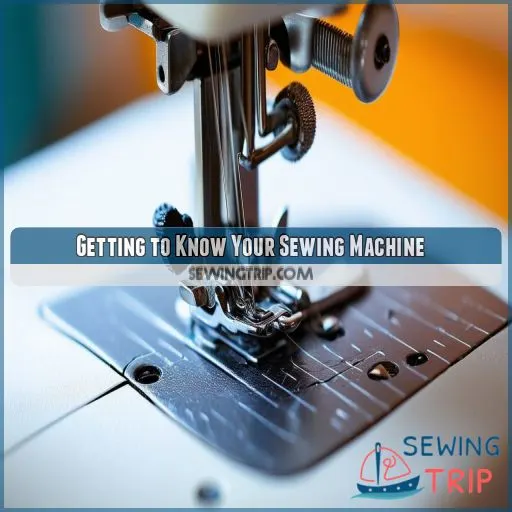
Getting to Know Your Sewing Machine
Before starting any sewing project, you’ll need to identify the machine’s parts and understand the manual. Next, set up your sewing machine carefully, and choose the right materials for your project to guarantee a smooth sewing experience.
Identifying Machine Parts
To become a sewing machine pro, you need to get familiar with its parts. Here are the key components you should know:
- Bobbin types: There are different types of bobbins, so make sure you use the right one for your machine.
- Thread compatibility: Check your manual to make certain you’re using the right thread type and size.
- Stitch length range: Know your machine’s stitch length limits to achieve the desired results in your projects.
Understanding the Machine Manual
The machine manual is your sewing sidekick.
It’s a secret weapon, giving you the lowdown on your machine’s unique features.
From ergonomics to repair instructions, it covers it all.
But, manuals can be tricky, don’t get lost in translation.
Whether digital or print, get familiar with the lingo and you’ll be sewing like a pro.
Setting Up the Sewing Machine
Now that you’ve familiarized yourself with the machine’s manual, it’s time to set up your sewing machine.
Machine placement is crucial: ensure it rests on a flat, sturdy surface for smooth operation and fabric handling.
Choose the right bobbin type for your machine. Always use high-quality thread to prevent tangles and breaks.
Select the appropriate needle size for your fabric.
Choosing the Right Materials
Choosing the right materials is essential for any sewing project.
First, select a fabric that suits your needs. Common options include cotton, linen, wool, silk, polyester, and denim.
Then, choose a compatible thread. For example, use an all-purpose thread for most fabrics or a fine thread for delicate materials.
Next, select a needle that is suitable for the weight and type of fabric you are using. A ballpoint needle is ideal for knit fabrics, while a stretch needle is better for Lycra.
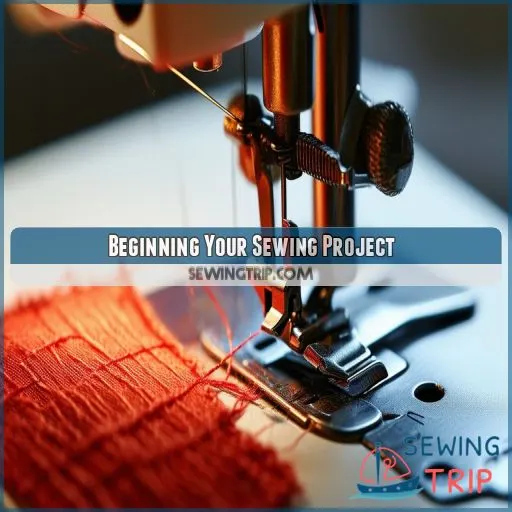
Beginning Your Sewing Project
To start your sewing project, select and adjust your stitch settings based on the fabric and the desired outcome. Practice basic sewing techniques, work with different fabrics, and make sure your machine is well-maintained for excellent performance.
Selecting and Adjusting the Stitch
Now that you’ve familiarized yourself with your sewing machine, it’s time to select and adjust the stitch for your project. This is where you can truly express your creativity and make your mark on your fabric. Here are some key factors to bear in mind:
- Stitch type: Opt for the appropriate stitch for the task. Whether it’s a straight stitch, zigzag, or something more decorative, ensure it aligns with your vision.
- Stitch length: Adjust the length to control the density of your stitches. A longer stitch length is ideal for quick projects, while a shorter length adds strength and durability.
- Stitch tension: Experiment with the tension to find the ideal balance. Too tight, and your fabric may pucker; too loose, and your stitches may not hold.
- Needle size and thread type: Confirm that your needle and thread are compatible. The correct needle size and thread type will ensure smooth stitching and a professional finish.
Practicing Basic Sewing Techniques
Practicing basic sewing techniques is key to mastering your sewing machine. Draw lines on practice fabric and sew along them to improve your accuracy. Try sewing curves, circles, spirals, and zig-zags to get a feel for different movements. Focus on maintaining consistent stitch quality and fabric tension. Remember, practice makes perfect!
Working With Different Fabrics
When working with different fabrics, you’ll need to adapt your sewing techniques. Each fabric type has unique properties that affect how it behaves under the needle. To master fabric selection and handling, consider these key points:
- Fabric types: Woven, knit, or stretchy materials require different approaches
- Fabric weights: Light, medium, or heavy fabrics need specific needle sizes
- Fabric properties: Consider drape, stretch, and texture for your project
- Fabric care: Pre-wash and iron fabrics to prevent shrinkage and guarantee accuracy
- Fabric selection: Choose materials that suit your skill level and project requirements
Maintaining Your Sewing Machine
Now that you’ve mastered different fabrics, let’s keep your trusty machine in top shape. Regular maintenance is key to smooth sewing.
Start by cleaning the needle area and bobbin case after each project. Don’t forget to oil your machine as per the manual’s instructions.
Check the tension regularly, and replace the light bulb when it dims.
These simple steps will keep your sewing machine humming along nicely.
Improving Your Sewing Skills
Once you’ve mastered the basics, it’s time to explore advanced sewing techniques like appliqué, embroidery, and quilting to expand your skills. You can also start designing your own projects and experimenting with different stitch combinations, while incorporating tips and tricks for better sewing, such as using the right needle for your fabric and maintaining proper tension.
Advanced Sewing Techniques
Once you’ve mastered the basics, it’s time to explore advanced sewing techniques. These skills will elevate your projects and expand your creative possibilities. Experiment with appliqué, embroidery, and quilting to add depth and texture to your work. Try your hand at pattern drafting and fabric manipulation to create unique designs.
- Appliqué: Learn to stitch decorative fabric pieces onto a larger background
- Embroidery: Master the art of stitching intricate designs by hand or machine
- Quilting: Discover how to layer fabrics for warmth and visual interest
- Fabric manipulation: Explore techniques like pleating, smocking, and ruching
Designing Your Own Projects
Now that you’ve mastered advanced techniques, it’s time to showcase your creativity. Designing your own projects allows you to showcase those newfound skills.
Start by selecting fabrics that inspire you and create patterns that reflect your style. Experiment with different seam finishes to elevate your work. Don’t be afraid to add embellishments for a personal touch.
Seek project inspiration in everyday life, fashion trends, or nature.
Tips and Tricks for Better Sewing
Now that you’ve designed your project, let’s elevate your sewing skills with some pro tips.
Choose the right needle types for your fabric to prevent snags. Invest in high-quality thread to avoid breakage.
Master fabric selection to ensure your creations drape beautifully. Perfect your seam finishes for a polished look.
Don’t shy away from pattern alteration – it’s key to achieving that custom fit you’re after.
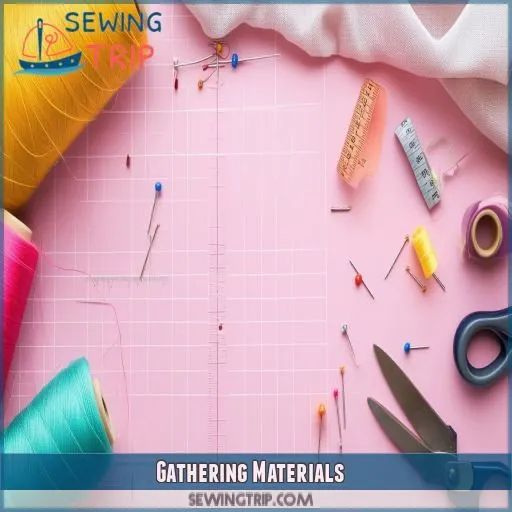
Gathering Materials
Before you start sewing, you’ll need to gather your materials. Start by planning your project and selecting the right fabric. Consider the weight, drape, and stretch of the material – these factors will influence your final product. Don’t forget to pick up matching thread; it’s the unsung hero of any sewing project!
You’ll also need scissors, pins, and a measuring tape. If you’re feeling adventurous, grab some interfacing or embellishments to add flair to your creation.
With your materials in hand, you’re one step closer to mastering the art of sewing!
First Steps
Now that you’ve gathered your materials, it’s time to take your first steps into the tapestry of sewing. Don’t let the machine intimidate you – you’re about to unleash a whole new domain of creativity!
Start by familiarizing yourself with the key components. Choosing the right needles is critical; they’re the unsung heroes of your sewing journey.
Next, get a feel for thread tension – it’s like finding the perfect balance in a tightrope walk. Bobbin winding might seem tricky at first, but soon you’ll be doing it with your eyes closed.
Finally, fabric selection is where your personality shines through. Pick something that speaks to you, but start with forgiving materials.
You’re on your way to becoming a sewing maestro!
Preparing to Use the Sewing Machine
Now that you’ve gathered your materials, it’s time to prepare your sewing machine. This step is essential for smooth sailing in your sewing journey. Let’s explore the essentials:
- Thread your needle and wind the bobbin carefully, ensuring both are secure and properly placed.
- Adjust the tension to match your fabric type – too loose, and you’ll have loops; too tight, and your stitches will pucker.
- Pin your fabric pieces together, keeping the pins perpendicular to the seam allowance for easy removal while sewing.
Using the Sewing Machine
To drive the fabric through your sewing machine, gently guide it with your hands while controlling the speed with the foot pedal. Once you’ve mastered this, practice backstitching by sewing forward a few stitches, then reversing to secure the thread at the beginning and end of your seams.
Driving the Fabric
Now that you’re ready to sew, it’s time to drive the fabric. You’ll need to account for fabric tension, needle types, and thread choice. Place the fabric under the presser foot and lower it. Gently guide the fabric as you press the foot pedal. Here’s a quick guide to help you:
| Fabric Type | Needle Size | Thread Type | Stitch Length |
|---|---|---|---|
| Lightweight | 9-11 | Fine | 1.5-2.0 mm |
| Medium | 12-14 | All-purpose | 2.0-2.5 mm |
| Heavy | 16-18 | Heavy-duty | 2.5-3.0 mm |
| Stretch | Ballpoint | Polyester | 2.5-3.0 mm |
Backstitching
Once you’re comfortable driving the fabric, it’s time to master backstitching. This technique adds strength to your seams.
Start by sewing forward 3-4 stitches, then press the reverse button and stitch backward the same distance. Release and continue forward. For extra durability, repeat this at the end of your seam.
Experiment with backstitch length and placement to create decorative patterns or reinforce high-stress areas.
Practicing Sewing
To hone your sewing skills, practice is key. Start by drawing lines on scrap fabric and challenge yourself to sew along them. This exercise will improve your hand-eye coordination and help you maintain consistent stitch length. As you gain confidence, try sewing curves. Move your hands gently left and right to guide the fabric smoothly around bends. Keep an eye on fabric tension to avoid puckering or stretching.
For more advanced practice, attempt circles, spirals, or zig-zags. These shapes will test your ability to control the machine and fabric simultaneously. Remember to adjust your needle selection based on the fabric type you’re using. As you practice, focus on staying on the line while maintaining stitch quality.
Don’t get discouraged if your first attempts aren’t perfect. With time and patience, you’ll master the art of sewing curves and intricate patterns.
Troubleshooting
Even seasoned sewers encounter hiccups, so don’t fret when things go awry. If your stitches look wonky, check your thread tension first. Adjust it gradually until you achieve that perfect balance.
Is your machine making strange noises? It might be time for a good cleaning and oiling. Regular maintenance tips include dusting the bobbin area and changing needles frequently.
If you’re still stumped, don’t hesitate to consult your machine’s manual or seek help from a pro. With practice, you’ll become a troubleshooting whiz, tackling issues like a seasoned tailor.
Soon, you’ll be powering through projects with the confidence of a master seamstress.
Frequently Asked Questions (FAQs)
Can you teach yourself to sew on sewing machine?
Yes, you can teach yourself to sew on a sewing machine. There are many ways to learn, from online communities to video tutorials and patterns. It’s possible to learn on your own, with a little help or through a DIY approach.
What is the easiest thing to sew on a sewing machine?
Start with something simple, like a tote bag, headband, or apron. You can make these in under an hour, and they’re a great way to build your skills and confidence.
How does a sewing machine work step by step?
Sewing machines work by passing a needle and thread through two pieces of fabric, binding them together. The needle moves up and down, forming a loop that the shuttle hook catches, carrying it under the bobbin case. The threads are then pulled up, locking into the fabric.
Is it hard to sew with a sewing machine?
Sewing with a machine isn’t hard. Once you’ve practised sewing lines, it’s easy. The machine does the work for you; all you do is guide the fabric. The difficult part is understanding patterns and how to sew a garment.
How do I sew curved seams smoothly?
To sew curved seams smoothly, mark the seam allowance on the fabric with chalk. If the fabric bunches, lift the presser foot. Cut small slits into concave curves to allow the fabric to stretch and flatten. Smooth out the curves with a pointed object, then iron.
Whats the best way to sew stretchy fabrics?
When sewing stretchy fabric, use a ballpoint needle to avoid cutting knit fabric loops. Opt for a triple zigzag stitch with nylon or polyester thread for stretch and durability. Practice on fabric scraps first.
How can I prevent fabric puckering while sewing?
To prevent puckering, use a thread that matches your fabric’s weight. Adjust your machine’s tension, and don’t pull the fabric as you sew. Use a Teflon or walking foot attachment for slippery fabrics.
What stitch should I use for hemming different fabrics?
The stitch you use depends on the fabric. For lightweight fabrics, use a single thread and a zigzag stitch. For heavier fabrics, the default stitch length of 5mm works, but you can lengthen it for bulkier fabrics.
How do I adjust tension for different thread types?
Adjusting tension is controlled by devices that manage the needle and bobbin threads, affecting their strength. You can loosen or tighten the tension by turning a dial or pressing buttons. Make adjustments when you change thread types, fabrics, and stitching operations.
Conclusion
Sewing with a machine is an art.
It empowers you to bring your ideas to life.
This guide has provided a detailed roadmap to help you conquer the basics of machine sewing.
You’ve explored essential machine parts, threading techniques, and fundamental stitches.
Now, with this knowledge, you are equipped to begin your sewing journey.
Master the basics and let your creativity flourish.
Refer back to these steps whenever you need a quick refresher or a boost of inspiration to continue honing your sewing skills.
Happy stitching!

