This site is supported by our readers. We may earn a commission, at no cost to you, if you purchase through links.
 Steeped in history and long-embraced by quilters, the triangle shape is a classic choice for quilts. Perfectly symmetrical yet versatile enough to create intricate designs, it’s no wonder so many choose triangles when crafting their one-of-a kind masterpieces.
To make your own perfect triangle quilt, you will need to know how best to cut and sew triangles together – but don’t worry! We’ve got just the guide for you: Sewing Triangles: Tips For Perfect Triangle Quilts.
With our tips on cutting 60 degree angles, sewing with precision and calculating fabric needs correctly, we’ll help ensure your project comes out looking flawless every time!
So get ready as we take you through each step of this journey towards a stunning triangle masterpiece that will be sure to turn heads wherever it goes!
Table Of Contents
- Key Takeaways
- Cutting 60 Degree Triangles
- Sewing Triangles
- Essential Supplies for Making a Triangle Quilt
- The Secret to Sewing Perfect Triangle Quilts
- Proper Pressing Techniques for Triangle Quilts
- Assembling the Triangle Quilt
- How to Calculate Fabric Needs for a Triangle Quilt
- Step-by-Step Guide to Cutting Triangles
- Layout and Design Tips for Triangle Quilts
- Quilting and Finishing Techniques for Triangle Quilts
- Conclusion
Key Takeaways
- Cutting 60-degree triangles precisely using a ruler and a sharp cutter is crucial.
- Sew the triangles together with a 1/4-inch seam and press the seams open.
- Proper pressing technique is essential. Open the seams and use a pressing cloth to avoid bulky corners.
- Carefully align and pin the triangle units for sewing success.
Cutting 60 Degree Triangles
You’ll cut a 60-degree triangle ruler along the marked angle line to get precise equilateral triangles. Position the ruler along the lengthwise grain of the fabric. Align it precisely before making the cut.
Check that your rotary cutter is sharp to get smooth edges. Mark cutting lines on the fabric with a Frixion pen.
Be sure to cut on a self-healing mat to protect your work surface. Cut with gentle pressure and smooth strokes.
Test the first triangle at your sewing machine to ensure proper sizing. Make any ruler adjustments needed for accuracy before cutting more triangles.
With patience and practice, you’ll master cutting triangles for fun quilting projects.
Sewing Triangles
After cuttin’ those triangles, align and pin a print and solid pair, then sew together along the 1/4-inch seam line. Press the seam open. Add triangles in a row, rememberin’ to start the next row with a solid triangle.
Align and pin the triangle rows before sewin’ with that trusty 1/4-inch seam. Press those seams open again.
Triangle Quilt Layout allows for endless creativity whether scrappy or coordinated. Sew a Triangle Quilt Design with large graphic triangles to showcase fun fabrics. For Triangle Quilt Patterns, cut triangles with a 60-degree quilting ruler. Align, pin and sew triangles along the marked seam allowance.
Press seams open to reduce bulk at the triangle point. With some patience, ya got this – keep practicin’ and have fun sewin’ triangles together for a colorful quilt!
Essential Supplies for Making a Triangle Quilt
Start with fabric – either fat quarters or yardage. You’ll also want a quilting ruler with 60-degree lines for perfect cutting. Marking tools like a Frixion pen are handy for marking seam allowances on your fabric.
Pins prevent stretching on bias edges. Don’t forget thread, both for piecing and quilting. Use a high quality cotton thread around 40 weight. A 50 weight thread works well in the bobbin.
Best practices include a 1/4 seam foot for consistent sewing. Use quilting clips or binder clips when joining rows. Finally, you need batting, backing, binding and a walking foot to finish the quilt.
With the right tools on hand, you’ll be piecing triangles in no time.
The Secret to Sewing Perfect Triangle Quilts
Aligning and pinning the triangle units is key for success when assembling your scrappy quilt. Despite their simple shape, triangles can be shifty during sewing. Take your time preparing the units. Marking the 1/4 seam allowance on each triangle piece helps you align the edges perfectly.
Place 2-3 pins within the 1/4” seam allowance to prevent stretching along the bias grain.
Press all triangle seams open, even if it goes against your quilting instinct. Pressing seams to one side creates bulky corners on the triangles.
With care aligning and pinning, your scrappy triangle quilt will come together beautifully.
Proper Pressing Techniques for Triangle Quilts
You’ll nail those tri’s once you’ve pressed each seam open to avoid bulk. Proper pressing is key for triangle quilts. After sewing triangles, press seams open between triangles. This prevents lumpy seams on the quilt top.
Use a pressing cloth to avoid imprints on lighter fabrics. Align triangles precisely, sewing with a scant 1⁄4-inch seam allowance.
Repeat assembling and pressing until the entire quilt top is complete. For pieced triangles, choose medium weight cottons that won’t stretch along the bias. Avoid flannel, satin, or metallic fabrics. Consider straight line quilting to complement triangles.
Press seams one direction before joining rows. Cut and sew triangles to utilize precuts or favorite fabrics from your stash. With mindful pressing technique, your triangle quilt will have crisp seams and smooth finishes.
Assembling the Triangle Quilt
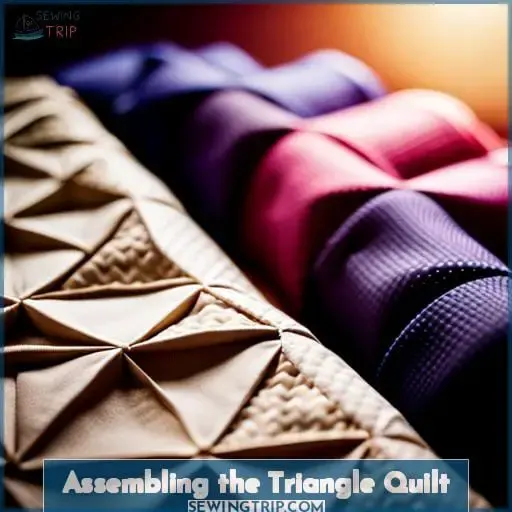
Just keep matching triangles together to create a beautiful kaleidoscope you’ll love bundling up in when it’s cold out. As you assemble your triangle quilt, focus on the layout and color coordination to achieve the look you desire.
Arrange triangles in pieced rows or as a large hexagon – the options are endless! For a scrappy quilt, grab fabrics from your stash and let your imagination run wild with inventive patchwork patterns.
Or use a bundle of precut triangles for fast piecing. Whichever method you choose, align triangles precisely and maintain an accurate 1/4 seam. Stay organized by labeling your rows before joining them together. With some planning and sewing skill, you’ll finish an impressive quilt that displays your patchwork prowess in no time! Experiment and find joy in the process – this versatile triangle technique allows for much creativity.
How to Calculate Fabric Needs for a Triangle Quilt
- Decide on your desired finished quilt size. Standard sizes are baby (30 x 40), lap (55 x 65), and bed (80 x 100).
- Determine the finished size of your triangles. For example, 5 finished triangles with 1/4 seam allowances mean you’ll cut 5 1/4 wide triangles.
- Calculate the number of triangles needed based on quilt size. A baby quilt uses about 90 triangles, lap quilt 250 triangles, and a bed quilt 450+ triangles.
- Buy yardage accordingly. Precut bundles like fat quarters or precuts like 5 charm squares can work.
With some planning, you can create a personalized triangle quilt in any size. Focus on fabric selection and layout before sewing neat rows of triangles together. Mark patterns carefully and match points; pressing seams will ease assembly. Enjoy calculating, cutting, and sewing your creative geometric quilt.
Step-by-Step Guide to Cutting Triangles
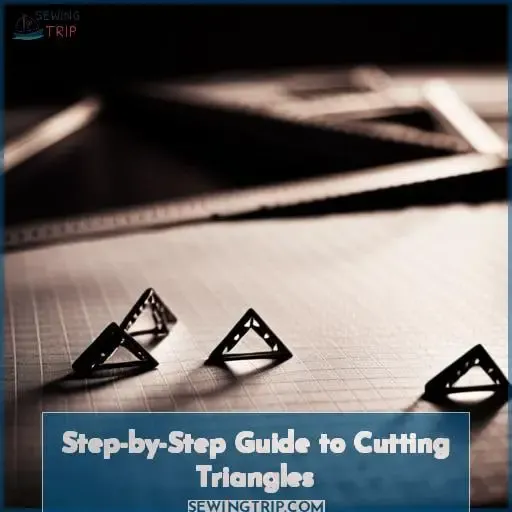
Aligning the ruler and marking the fabric with care, precisely cut each triangle for your creative quilt. To cut perfect triangles, first align a quilting ruler along the straight grain of fabric. Position the 60-degree line on the ruler so it runs from corner to corner on the fabric.
Use a fabric marker to draw the cut line, then cut along the marked line. For uniform triangles, consistently align the 60-degree ruler line before marking and cutting each triangle. Take your time with alignment and marking to achieve crisp seams when sewing the triangles.
With a careful approach, cutting equilateral triangles for quilt piecing can be mastered.
| Step | Tip |
|---|---|
| 1 | Align ruler grain line on fabric |
| 2 | Position 60-degree line corner to corner |
| 3 | Mark cut line with fabric marker |
| 4 | Cut along marked 60-degree line |
| 5 | Repeat steps for uniform triangles |
Maintaining consistency in alignment and marking is key to achieving precise triangle units ready for sewing. Patience and care will lead to triangles with perfect alignment for your showstopping quilt.
Layout and Design Tips for Triangle Quilts
- Play with color combinations. Contrasting or coordinating colors can create visual interest.
- Vary pattern placement. Scatter prints throughout or group similar ones together.
- Experiment with layout variations. Make chevrons, zigzags, or concentric triangles.
- Choose meaningful fabrics. Use scraps from favorite clothing or select prints with personal meaning.
- Seek visual balance. Distribute dark and light fabrics evenly for a cohesive look.
With a creative grids ruler, you can make a unique triangle quilt as a beginner quilter. Start simple with large triangles in a graphic layout. Then build on your skills, trying more complex designs.
Quilting and Finishing Techniques for Triangle Quilts
When quilting your triangle quilt, consider using straight or diagonal quilting lines to accentuate the geometric shapes, like I did on my Trios Lap Quilt. Quilting accentuates the triangle shapes and adds texture. For finishing, square up the edges before adding binding.
| Quilting Patterns | Design Ideas |
|---|---|
| Straight lines | Accent triangles |
| Diagonal lines | Add visual interest |
| Triangles | Complement design |
| Circles | Contrast quilt pattern |
Utilize a backing fabric in a coordinating or contrasting colorway. Bind with a colorful handmade bias tape or your fabric scraps. With some strategic planning, you can transform simple triangles into a stunning quilt.
Experiment with different quilting and finishing techniques to make your quilt unique.
Conclusion
With a little practice and the right supplies, sewing perfect triangle quilts is a breeze! Incredible results are guaranteed with a foolproof technique – and you’ll be standing tall with your own creation in no time.
Whether you’re a beginner or an experienced quilter, following these tips for sewing triangle quilts will give you the confidence to sew perfect triangles easily.
All it takes are the right supplies and a bit of practice to master the art of sewing triangles. Delve into the world of triangle quilts and explore its limitless possibilities.

