This site is supported by our readers. We may earn a commission, at no cost to you, if you purchase through links.
- Double Thread: Ideal for sturdy seams. Cut thread three times the seam length, then use a needle threader or moisten the thread’s end for easier threading.
- Basic Knots: Start with a granny knot for versatility or try a more secure Wrap-Around-the-Needle Knot.
- Tying Off Double Threads: Cut below the needle, tie two halves with a slip knot, make three knots, and secure with a locking stitch.
- Single Thread: Loop, hold against fabric, and tighten into a knot.
These basics will set you up for success; there’s more to explore for perfection!
Table Of Contents
Key Takeaways
- Don’t be a knot-head! Learn basic knots like the granny, wrap-around-your-finger, and wrap-around-the-needle to secure your seams like a pro.
- Double up your thread, double the strength! Using two threads instead of one creates a sturdier seam.
- Tie it off right, sleep tight! When finishing your seam, cut the thread below the needle, tie the two halves together, and make three knots to keep everything in place.
- Knots can be tricky, but don’t lose your thread! Practice makes perfect, so don’t get discouraged if your first few knots aren’t perfect. Just keep practicing, and you’ll be a knot-tying master in no time.
How to Tie a Sewing Knot?
To tie a sewing knot, start with the wrap-around-your-finger knot: thread the needle, wrap the thread around your finger, roll it off, and pull tight (Source). For a secure finish, use the locking stitch method: bring the needle up through the fabric, wrap the thread around the needle, and pull it back down to lock the stitch .
Preparing Your Needle and Thread
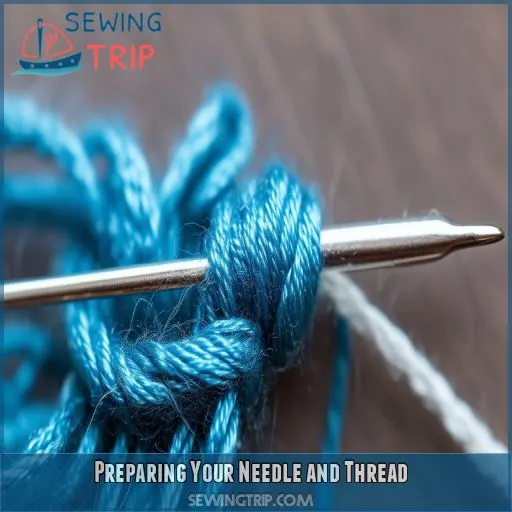
Before you embark on knot tying, let’s get your needle and thread ready. First, consider thread doubling for a sturdier seam. Cut your thread to about three times the length of your seam – you’ll thank yourself later! Now, match your thread type and needle size to your fabric. Thicker fabrics need stronger thread and larger needles, while delicate materials require finer options.
threading the needle can be tricky, but here’s a tip: moistening the thread end can help. If your finger dexterity isn’t cooperating, try using a needle threader. Once threaded, bring the ends together if you’re working double.
Basic Knots
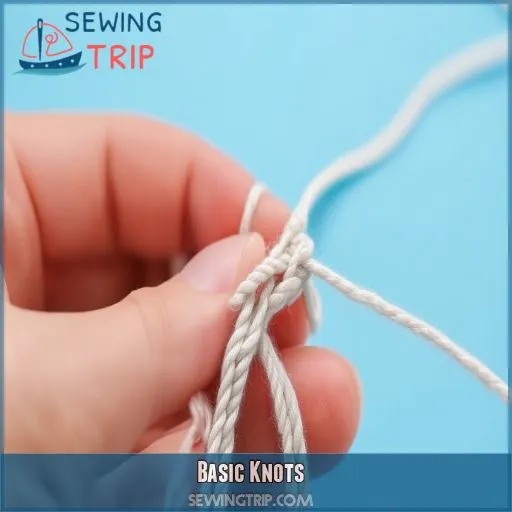
Learning basic knots is essential for successful sewing projects. We’ll explore three fundamental techniques: the Granny Knot, Wrap-Around-Your-Finger Knot, and Wrap-Around-the-Needle Knot, each offering unique advantages for securing your thread.
Granny Knot
The granny knot is a classic choice for sewing beginners. It’s quick to learn and versatile, but not the strongest option.
To tie it, loop the thread’s end back, lay it over the main part, pull through the circle, and tighten. Repeat for a second knot.
While simple, it’s not ideal for heavy-duty projects.
Consider exploring variations for decorative touches or comparing its strength to other knots.
Wrap-Around-Your-Finger Knot
Ready to master the wrap-around-your-finger knot? This technique’s a game-changer for quick, secure stitches. Here’s how to nail it:
- Pinch thread between thumb and forefinger
- Wrap around forefinger 2-3 times
- Roll wrapped thread off finger
- Pinch the resulting "wreath"
- Pull away from needle to form knot
This method’s versatility shines with various thread thicknesses and fabric types. Play with wrap variations to control knot visibility and strength. It’s your go-to for speedy, reliable sewing knots!
Wrap-Around-the-Needle Knot
Ready to master the wrap-around-the-needle knot? It’s a breeze!
Start by wrapping your thread around the needle 5-6 times. Pinch those loops tight, then slide them off and down to the thread’s end. Voila! You’ve created a knot. Now, just tighten it up.
This method works wonders with various needle sizes and thread thicknesses.
Practice makes perfect, so keep at it!
Tying Off With a Double Threaded Needle
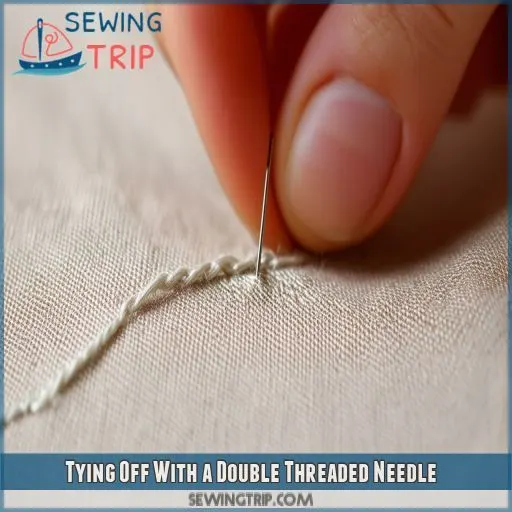
To tie off with a double threaded needle, start by cutting the thread below the needle and tying the two halves together. Then, make three knots in succession, tightening the first one gently to secure your stitching.
Cutting Thread Below Needle
Now that you’ve mastered basic knots, let’s advance to fastening with a double threaded needle.
Commence by severing the thread beneath the needle, retaining sufficient length for your seam. Contemplate the fabric thickness and desired stitch size when establishing thread length.
This step is essential for creating a secure knot that won’t unravel. Remember, the objective is to achieve a locking stitch that’s both robust and inconspicuous.
Tying Two Halves Together
After cutting the thread, you’ll tie the two halves together. This step is essential for creating a secure double-threaded needle. Here’s how to do it:
- Create a slip knot with one half of the thread
- Pass the other half through the loop
- Tighten gently, forming a surgeon’s stitch
This method combines elements of a clove hitch and French knots, ensuring your stitches stay put. It’s especially useful when working with felt or performing double back stitches.
Making Three Knots
Now that you’ve tied the two halves together, it’s time to secure your thread with three knots. Vary the knot size and placement for maximum strength. Remember, thread thickness impacts knot visibility.
| Knot | Size | Placement |
|---|---|---|
| 1st | Small | Close to fabric |
| 2nd | Medium | Slightly above 1st |
| 3rd | Large | Top of stack |
| Adjust | As needed | Based on thread |
| Tighten | Gently | Avoid puckering |
This triple-knot technique guarantees your stitches stay in place, giving you control over your sewing projects.
Tying Off With a Single Threaded Needle
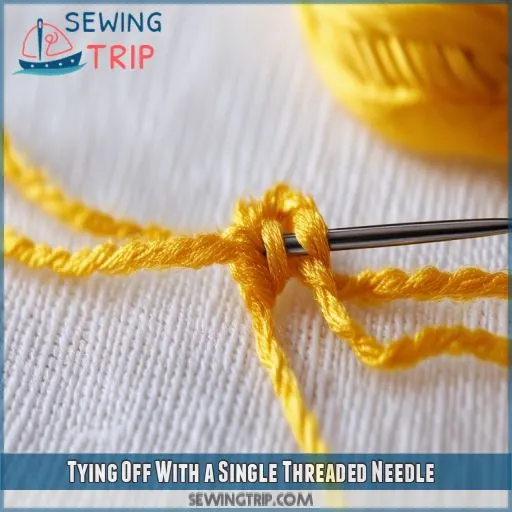
To tie off with a single threaded needle, start by leaving enough thread to create a knot. Loop the thread and hold it against the fabric, then pull the thread end to tighten the loop into a secure knot.
Looping Thread and Holding Down Against Fabric
When tying off with a single threaded needle, you’ll start by creating a loop. Here’s how to do it:
- Leave enough thread for a comfortable loop size
- Form a loop near the fabric’s edge, considering the knot location
- Hold the loop down against the fabric, adjusting for texture
- Maintain gentle thread tension as you prepare to tighten
This technique sets you up for a secure knot, giving you control over your stitching. Remember, practice makes perfect!
Pulling Thread End to Tighten Loop Into a Knot
After looping the thread, it’s time to tighten it into a secure knot. Pull the thread end gently but firmly, watching as the loop cinches down. The knot’s strength depends on various factors:
| Factor | Impact on Knot |
|---|---|
| Thread Thickness | Thicker = Stronger |
| Fabric Type | Affects Visibility |
| Needle Size | Influences Ease |
| Knot Visibility | Consider Placement |
Adjust your technique based on these elements to create a knot that’s both sturdy and suited to your project.
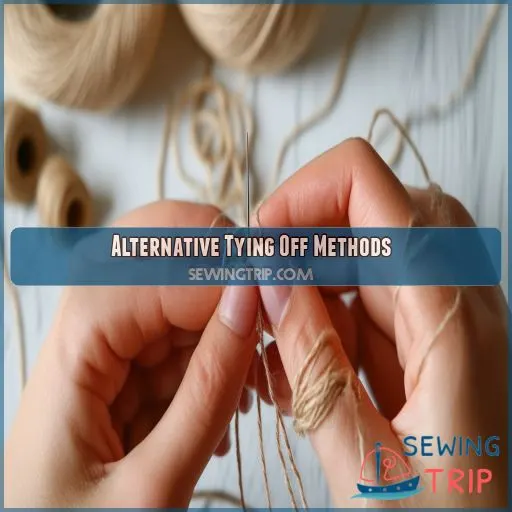
Alternative Tying Off Methods
There are alternative methods for tying off your sewing that don’t require traditional knots. You can secure your thread without a visible knot or use special techniques for specific materials like felt, giving you more options for a clean finish.
Tying Off Without a Knot
Sometimes you need to tie off quickly without a visible knot. Here’s a method for tying off invisibly:
- Make a tiny stitch through both fabric layers
- Reinsert needle through the same stitch
- Pull thread to form a loop
- Pass needle through loop and pull tight
- Cut off tail end close to fabric
This technique works well for stretchy and thick fabrics, ensuring your work stays secure without bulky knots.
Tying Off on Felt
When tying off on felt, you’ll want to create invisible knots that secure felt edges without compromising aesthetics.
Start by tying a knot and placing it against the felt. Then, insert your needle next to the knot and bring it back out in the felt’s center.
Pull the thread end to tighten, snip, and release. The knot will disappear inside, ensuring durability while accommodating felt thickness.
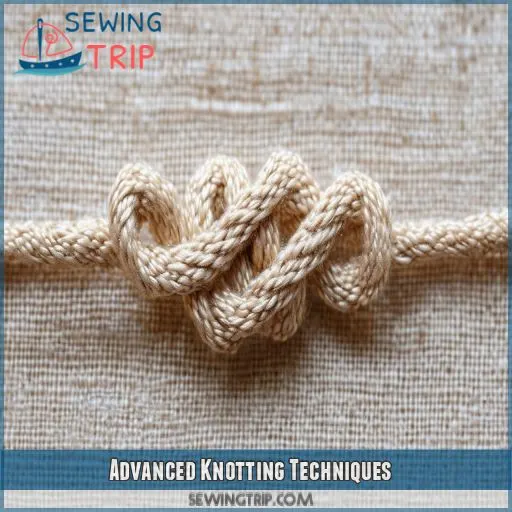
Advanced Knotting Techniques
Advanced knotting techniques can notably enhance the strength and durability of your sewing projects. Let’s explore three effective methods: the locking stitch, loop knot stitch, and double back stitches.
Locking Stitch
Now that you’ve mastered alternative tying off methods, let’s explore the locking stitch for enhanced knot strength and security. This advanced technique guarantees your knots stay put, even under stress. Here’s how to create a locking stitch:
- Make a small stitch in the fabric
- Create a loop with your thread
- Pass the needle through the loop
- Pull tight to secure the knot
Your locking stitch will provide durability and a clean appearance to your sewing projects.
Loop Knot Stitch
The loop knot stitch is a versatile technique that enhances knot durability. You’ll create a secure loop that’s particularly effective for various fabric types. Here’s a quick guide:
| Step | Action | Key Point |
|---|---|---|
| 1 | Position needle | Align with stitch length |
| 2 | Create loop | Consider thread thickness |
| 3 | Secure knot | Adjust for fabric type |
Master this stitch, and you’ll have a go-to method for robust seams that stand the test of time.
Double Back Stitches
Double back stitches are a reliable reinforcement knot, perfect for securing seams. Here’s how to master them:
- Insert the needle in reverse through the previous stitch.
- Repeat this process, ensuring you overlap the stitches.
- Once secure, tie a locking stitch to finish.
This method provides strength and stability, ensuring your seam stays put.
Frequently Asked Questions (FAQs)
How do you tie a simple sewing knot?
Pinch the thread between thumb and forefinger. Wrap it around your finger twice. Roll the loops off, pinch the bundle, and pull tight to form the knot. This technique guarantees a secure sewing knot.
Do you tie a knot at the end of sewing?
Yes, tie a knot at the end of sewing for a secure finish. This guarantees your stitches don’t unravel, giving your project durability. Use methods like the wrap-around-your-finger or granny knot for best results.
How to tie a thread at the end?
Imagine you’re securing a boat with a sturdy knot—precise and reliable. To tie off thread, make a tiny stitch, pull to form a loop, pass the needle through, pull gently, and trim.
How to tie a knot in a single thread?
To tie a knot in a single thread, loop the thread, hold it against the fabric, and pull the thread end through the loop. Tighten the knot by guiding it with your fingers, then trim the excess.
How do you tie a knot on a sewing thread?
To tie a knot on a sewing thread, wrap the thread around your finger, roll it off into a small loop, then pinch and pull tight. Repeat if needed for extra security. Trim excess thread.
How do you knot a sewing machine?
Don’t get tangled up! To knot a sewing machine, use the lockstitch method: stitch forward, then reverse to backstitch. Trim the thread near the fabric. It’s quick, secure, and prevents unraveling.
Do you need a double thread to tie a sewing knot?
No, you don’t need a double thread to tie a sewing knot. However, using a double thread provides extra strength and durability for your seams, making it less likely to unravel or break.
How do you tie a knot in a quilt?
To tie a knot in a quilt, you’ll loop the thread around the needle twice, push the needle through the quilt layers, and pull tight. Cut the thread close to the knot for a clean finish.
How to prevent thread tangling while sewing?
To prevent thread tangling while sewing, keep your thread length manageable, use thread conditioner, thread the needle properly, and sew with consistent tension. Also, avoid sewing too quickly for smoother, tangle-free stitches.
What thread types are best for strong knots?
Imagine the thread tightening effortlessly, securing your work. Strong knots need polyester or nylon threads; they’re durable, resistant to tangles and breakage. Perfect for ensuring your stitching holds firm under pressure, every time.
How frequently should knots be spaced in seams?
Space knots in seams approximately every 6-8 inches for durability. This guarantees your seams stay secure and resist unraveling, especially in stress points or heavily used areas. Adjust spacing based on fabric type and project demands.
Why do some knots come undone easily?
Knots can come undone easily because they’re not tightened properly, the wrong knot type was used, or the thread is slippery. Ensuring tightness, appropriate selection, and secure threading prevents this issue, enhancing seam durability.
How can you hide knots in visible fabric areas?
To hide knots in visible fabric areas, try inserting the needle next to the knot, pulling it through to the fabric’s underside, then gently tightening. This technique conceals the knot and maintains a clean, professional finish.
Conclusion
Mastering how to tie a sewing knot doesn’t have to be complex. By preparing your needle and thread, learning basic knots, and perfecting tying off with double and single threads, you’ll create strong, professional seams.
Explore alternative tying methods and advanced knotting techniques to further enhance your skills. With these fundamental steps, clear instructions, and a bit of practice, you’ll quickly become adept at creating durable and neat stitches for any sewing project.

