This site is supported by our readers. We may earn a commission, at no cost to you, if you purchase through links.
 Using the overcast stitch and presser foot is like giving your sewing machine a mini-serger boost!
First, check that the foot fits your machine’s shank type, then snap it on.
Choose an over-edge or zigzag stitch, align your fabric edge with the foot guide, and let the stitching magic happen.
Tackle fabric bunching by adjusting tension and stitch length—think of it as finding the perfect playlist for a workout.
With a bit of practice, you’ll master those seams in one step and maybe even impress your crafty friends.
Ready to sew like a pro? Let’s stitch forward!
Table Of Contents
- Key Takeaways
- Choosing the Right Overcast Presser Foot
- Mastering the Overcast Stitch
- Setting Up Your Sewing Machine
- Creating a Rolled Hem With Overcast Presser Foot
- Using Overcast Presser Foot for Pintucks
- Overcasting Stitches for Various Fabrics
- Overcast Stitch Applications and Ideas
- Tips and Tricks for Using Overcast Presser Foot
- Common Mistakes and Troubleshooting
- Frequently Asked Questions (FAQs)
- Conclusion
Key Takeaways
- Find Your Sewing Groove: Choosing the right overcast presser foot is like picking the perfect dance partner. Make sure it’s compatible with your machine’s shank type and matches your fabric needs. It’ll have you sewing those tricky edges with finesse!
- Master the Stitch Magic: Using the overcast stitch is like finding the right rhythm. Align your fabric with the foot guide, choose an over-edge or zigzag stitch, and adjust the tension and stitch length for that seamless finish. It’s like tuning an instrument—get it right and everything sings harmoniously.
- Tame Those Fabrics: Every fabric has its personality—lightweights can be delicate divas, while stretch fabrics might behave like mischievous cats. Adjust stitch width, length, and thread tension accordingly to keep them in line. It’s all about knowing your material like a true fabric whisperer.
- Troubleshooting Triumphs: Don’t let uneven stitches or fabric bunching throw you for a loop! Tweaks like adjusting needle size or stitch length can fix common hiccups. Remember, even the best have a few hurdles, but that’s why they make the triumph all the sweeter.
Choosing the Right Overcast Presser Foot
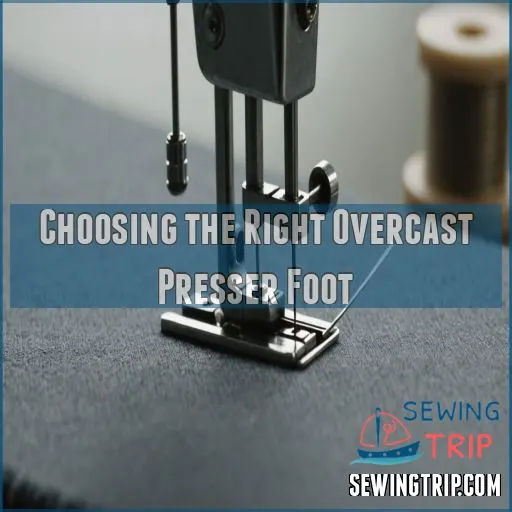
Choosing the right overcast presser foot is like finding the perfect dance partner for your sewing machine; it needs to match your machine’s type and complement your fabric.
Don’t settle for just any foot—consider compatibility, features, and brands to make sure you’re ready to tackle edges with finesse.
Types of Overcast Presser Feet
When you start looking at overcast presser feet, you’ll quickly find options like Snap-on Overedge Foot and its screw-on cousin.
Think of it as auditioning shoes for your sewing machine!
Each brand offers a unique flair—like dancers with different styles—tailored for specific purposes.
Explore overcast foot reviews to discover your perfect match, boosting your sewing prowess!
Compatibility With Sewing Machines
Your sewing machine’s compatibility is key when choosing the right overcast presser foot.
Most low-shank machines can accommodate these versatile feet, which typically clip on or screw into place.
Check your sewing machine manual for specific instructions on attaching the overcast foot and any adapter requirements.
Explore different brands and models to find the perfect fit for your machine.
Features to Consider When Buying
Choosing the right overcast foot is a bit like picking the perfect pair of shoes—compatibility, reputation, durability, and features matter! Make sure your foot matches your machine, and check for:
| Feature | Why It Matters | Considerations |
|---|---|---|
| Foot Durability | Long-lasting investment | Material quality |
| Feature Set | Versatility in projects | Adjustable settings |
| Price Range | Budget-friendly choice | Brand Reputation |
Happy sewing!
Brand and Model Options
Let’s explore choosing the right overcast foot brand. You’ll find options that suit various sewing machines.
- Top Brands: Consider brands like Brother, Janome, and Singer for reliable feet with good reviews.
- Compatibility: Make sure the foot fits your machine’s shank type.
- Budget-Friendly: Look for quality within your price range. It’s great to have options, right?
Mastering the Overcast Stitch
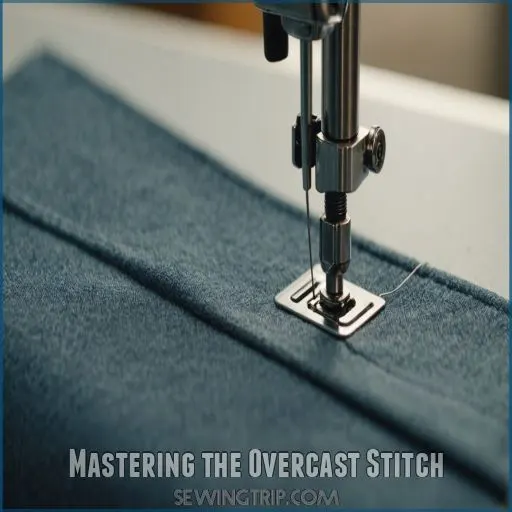
Mastering the overcast stitch sets you up for beautifully finished fabric edges, even if it occasionally feels like wrestling an octopus with a sewing machine, especially when you’re learning how to overcast stitch.
Don’t worry, you’ll soon be zipping along with ease by tweaking stitch length and width, choosing the right fabric, and troubleshooting the pesky issues that come up.
Basic Overcast Stitch Techniques
Mastering the overcast stitch is a breeze once you get the hang of it.
Start by lining up your fabric edge against the foot’s guide and selecting an over-edge or wide zigzag stitch.
Experiment with different stitches and fabric weights to find what works best.
| Fabric Type | Stitch Length | Stitch Width |
|---|---|---|
| Lightweight | Shorter | Narrower |
| Heavyweight | Longer | Wider |
| Knits | Adjust for stretch | Adjust for stretch |
| Wovens | Standard | Standard |
Adjusting Stitch Length and Width
From basic techniques, let’s explore adjusting stitch length and width.
It’s like tuning a guitar; the right tension makes magic.
Here’s how to master overcast stitching:
- Shorter stitches: Great for delicate fabrics.
- Long stitches: Ideal for thick materials.
- Narrow width: Keeps edges tidy.
- Wider zigzags: Perfect for stretchy fabrics.
- Medium setting: Balances everything beautifully.
Happy stitching!
Using Different Fabric Types
For different fabric types, consider how weight and stretch affect your stitch. Lightweight fabrics like silk might make you feel delicate, but they won’t be with short stitches and low tension.
For stretchy knits, maintain your overlocking foot’s stamina with medium stitch and tension.
| Fabric Type | Stitch Length | Thread Tension |
|---|---|---|
| Lightweight | Short | Low |
| Medium | Medium | Medium |
| Heavyweight | Long | High |
Troubleshooting Common Issues
Even with different fabric types under your belt, common issues can crop up. Tinker with these solutions:
- Uneven stitches? Adjust your tension; your overcast foot should glide smoothly.
- Fabric bunching? Check the seam allowance and use a stabilizer.
- Thread breakage? Try changing the needle.
- Stitch skipping? Make sure the needle size matches your fabric.
It’s a sewing tutorial that’ll save your sanity!
Setting Up Your Sewing Machine
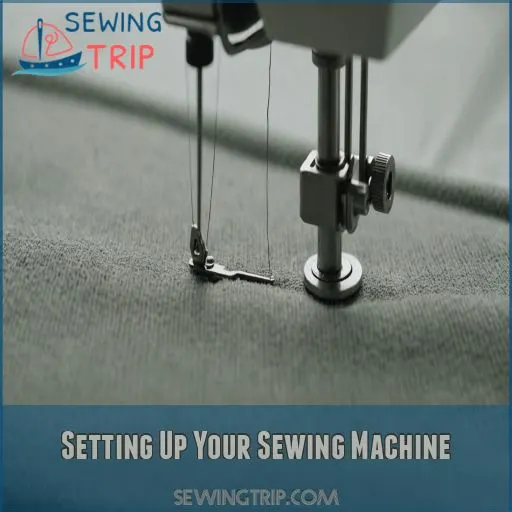
Setting up your sewing machine for the overcast stitch is a breeze.
Simply attach the overcast presser foot, select the right stitch settings, and adjust the tension and thread – you’ll be sewing like a pro in no time!
Attaching the Overcast Presser Foot
Alright, grab your snap-on foot and let’s get sewing! Think of the presser foot as the trusty sidekick for your sewing machine—simply clip it on. Make sure it’s compatible with your machine’s brand to make sure it fits like a glove.
Attach the presser foot carefully, making sure the foot tension isn’t too tight. And voilà! You’re ready to overcast stitch like a pro!
| Step | Action | Detail |
|---|---|---|
| 1 | Check | Make sure the foot is compatible |
| 2 | Attach | Clip on the snap-on foot |
| 3 | Adjust | Set foot tension |
| 4 | Inspect | Make sure it fits properly on the sewing machine |
| 5 | Test | Try a small section on scrap fabric |
Selecting the Right Stitch Settings
You’ve got the overcast foot in place, now it’s time to select the right stitch settings on your trusty sewing machine. Don’t worry, it’s not rocket science. Just consider these three steps:
- Fabric weight matters: Light fabrics need shorter stitches.
- Play with stitch width: Wider for heavier stuff.
- Check needle size: Make sure it’s just right.
Adjusting Tension and Thread
Picking the right stitch is just the tip of the iceberg!
Now, let’s talk about balancing tension and selecting threads.
Explore thread types that won’t misbehave like Monday morning hair.
If tension’s tricky, here’s a handy table:
| Issue | Possible Cause | Solution |
|---|---|---|
| Loose Stitches | Low tension | Increase tension |
| Tight Stitches | High tension | Decrease tension |
| Thread Breaks | Incorrect threading | Check threading |
| Puckering | Wrong thread type | Use proper thread |
Creating a Rolled Hem With Overcast Presser Foot
Creating a rolled hem with an overcast presser foot is a game-changer for achieving a professional, polished finish on your sewing projects.
By carefully guiding the fabric through the foot’s curved metal interior, you can effortlessly stitch a narrow, even hem that elevates the look of delicate fabrics like silk and chiffon.
Preparing the Fabric Edge
Let’s spruce up those fabric edges!
Before you jump into sewing, focus on trimming excess threads and pressing the fabric nice and flat.
It’s like giving your fabric a spa day.
Pinning helps keep it steady, just like a stabilizing hand, while marking the rolled hem makes sure it’s precise.
Using the Overcast Guide
Got the fabric prepped? Awesome, now it’s time to rock that overcast guide! Follow these steps for guide accuracy:
- Align the fabric edge against the guide.
- Adjust it for curved edges or trickier fabrics like knits.
- Watch as your hem looks tidy and professional!
Consider it your sewing GPS for great finishes.
Sewing the Rolled Hem
You’ve got your presser foot attached and your sewing machine ready—it’s time for rolled hem magic!
Start by curling the hem edge and feeding it through the overcast guide.
Keep calm; it’s like folding a perfect burrito!
Use the overcast stitch to secure the edge.
With practice and a knack for fabric types, your hem will stay smooth.
Tips for a Professional Finish
To achieve a professional rolled hem with your overcast presser foot, gently guide the fabric as you sew, keeping the tension just right. Trim the raw edge close to the stitching for a clean look, and experiment with different thread choices and stitch lengths to find the perfect combination for your fabric. The key is taking your time and practicing – you’ll be a rolled hem pro in no time!
- Use your finger to lightly guide the fabric
- Trim the raw edge close to the stitching
- Try different thread types and stitch lengths
- Keep fabric tension consistent as you sew
- Practice makes perfect for a polished finish
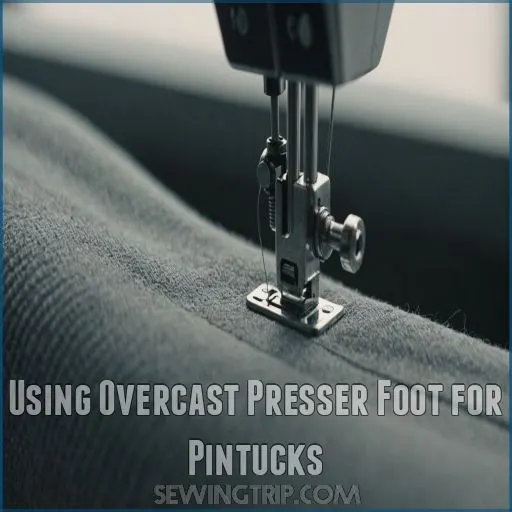
Using Overcast Presser Foot for Pintucks
Want to add some flair to your sewing projects?
Using the overcast presser foot, you can create pintucks on various fabrics for a neat and decorative touch.
And spice things up with matching or contrasting thread for fun!
Creating Pintucks on Different Fabrics
So, you’ve mastered rolled hems! Now, let’s chat about pintucks. Whether you’re working with delicate silks or sturdy linen, adjust your stitch density and fabric weight for precision.
Use the overcast stitch and presser foot to create evenly spaced pintucks.
Tweak thread tension to make sure you get smooth, crisp lines.
Who knew sewing machine technology could be this fun?
Using Matching or Contrasting Thread
Pintucks on different fabrics bring unique charm to projects.
Selecting thread offers creativity galore!
Match colors for unity or use contrasting hues to make elements pop.
Consider:
- Thread color: Brights or neutrals?
- Aesthetic impact: Bold or subtle?
- Thread weight: Light versus heavy finishes?
- Color combos: Compliment or clash?
Feel free to embrace your inner artist with thread choices!
Adding Decorative Details
Beyond basic pintucks, get creative by using your overcast presser foot to add decorative flair.
Experiment with varying the stitch width and length to produce unique textured effects.
Pair contrasting thread colors for a bold statement or match for a more subtle touch.
The possibilities are endless – let your sewing machine’s talents shine!
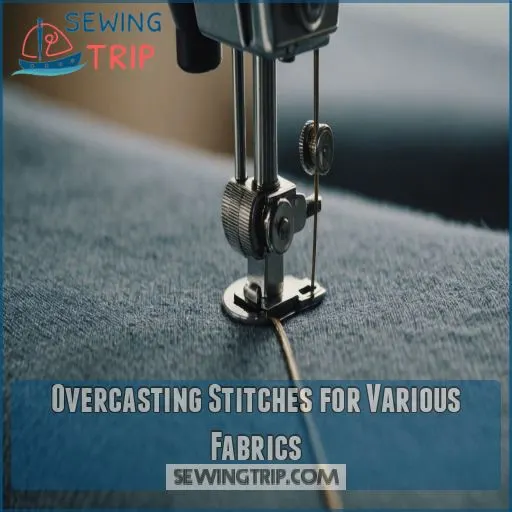
Overcasting Stitches for Various Fabrics
Choosing the right overcasting stitches for different fabrics can feel like finding the perfect shoes for a dance; lightweight silks need a gentle touch, while sturdy denims demand more robust handling.
You’ll love how these well-chosen techniques can turn your fabric edges from frayed to fabulous with just a little practice!
Lightweight Fabrics Like Silk and Charmeuse
When dealing with silk charmeuse hems, embrace your sewing machine love for silk’s delicate touch.
Use these tips:
- Adjust delicate stitch settings to prevent puckering.
- Support the fabric to prevent slippage on the rolled hems.
- Embrace sewing machine wisdom by practicing on scraps first.
Medium-Weight Fabrics Like Cotton and Linen
Moving from delicate silk, cotton and linen have unique quirks.
For a flawless hem finish, dial in your sewing machine with slightly longer stitch length and adjust tension for these medium-weight gems.
Your sewing machine’s understanding of these fabrics enhances its value—imagine it as your trusty steed, galloping through fabric fields with ease and impact.
Heavyweight Fabrics Like Denim and Canvas
When sewing with heavyweight fabrics like denim and canvas, you’ll want to adjust your overcast stitch settings.
Opt for a wider stitch width and longer stitch length to power through those thick layers.
Don’t be afraid to crank up the needle tension too – you’ve got this, sewing superstar! Just take it slow and steady for a professional finish.
Stretchy Fabrics Like Knits and Spandex
Stretchy fabrics like knits and spandex can be trickier than a mischievous cat. An overcast stitch paired with a sewing machine’s presser foot gets the job done beautifully:
- Use a zigzag stitch to prevent hems from going haywire.
- Trim close before overcasting for a tidy edge.
- Light pressure keeps fabric from stretching.
- Finish with a charming rolled hem.
Overcast stitches are a great way to finish edges on stretchy fabrics.
Overcast Stitch Applications and Ideas
Get creative with your overcast stitch and presser foot by transforming your projects with neat hems on stretchy fabrics or adding playful fringe effects.
You can even tackle a raised satin stitch or use it for topstitching, making your sewing more professional and visually appealing.
Sewing a Hem on Stretchy Knit Fabrics
Got a stretchy fabric giving you a run for your money? With overcast stitches, you can hem knits like a seasoned pro.
Easily avoid the serger’s expense by using your sewing machine’s presser foot to hug that hem in place.
Trim the raw edge close, keeping the fabric taut as a tightrope, ensuring a smooth, professional finish.
Creating a Fringe Effect
Create a fun fringe effect by sewing a raised overcast stitch and then snipping or using a seam ripper along the stitches next to the outer side.
Just be careful not to accidentally cut your fabric!
This works best on projects that won’t see heavy wear and tear.
Experiment with different stitch lengths to achieve your desired fringe width.
Making a Raised Satin Stitch
After mastering the fringe effect, why not try your hand at a raised satin stitch?
With an overcast presser foot, you can add texture to your fabric by adjusting stitch density and direction.
Use satin stitch variations or a simple zig-zag stitch over a flat-felled seam.
Choose silky threads for a luscious look; it’s like dressing your projects to the nines!
Using Overcast Stitch for Topstitching
You’re mastering the raised satin stitch, now let’s explore topstitching with your overcast stitch.
Here’s the scoop: plan your topstitch placement for style and function, like a chef picking ingredients.
Choose fun thread colors, adjust stitch length to fabric thickness, and select the right needle.
Experiment with overcast stitches using your presser foot.
Happy sewing!
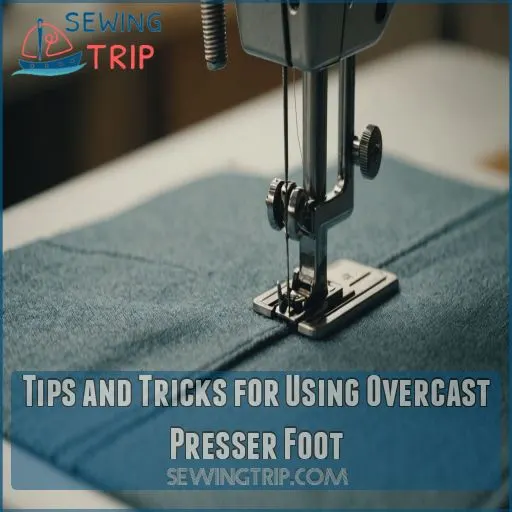
Tips and Tricks for Using Overcast Presser Foot
Mastering the overcast presser foot helps your sewing projects from turning into a tangled mess.
You’ll soon be sewing like a pro with these practical tips and tricks for smooth, polished edges.
Preventing Fabric Bunching
Preventing fabric bunching is key when using the overcast presser foot.
Try these three tips: 1) Adjust your stitch length to a shorter setting, 2) Increase the foot pressure to keep the fabric from puckering, and 3) Make sure your feed dogs are timed properly to smoothly guide the fabric through.
With a little practice, you’ll be overcasting like a pro in no time!
Achieving a Smooth Edge
To achieve a smooth edge with your overcast stitch, think of your fabric as a delicious cake layer that needs perfect icing.
Control fabric tension and choose the right needle—a mismatched one is like using a fork to frost a cupcake!
Adjust stitch length and thread choice wisely, trim edges precisely, and you’ll soon reach your sewing machine dream.
Using the Overcast Guide for Accuracy
While mastering a smooth edge, the overcast guide really steps up your game with accuracy.
It’s like having a GPS for your sewing machine.
Guide benefits include perfect edge control and precision stitching.
Snugly align your fabric with the guide, avoiding any detours.
Enjoy the ride, and watch those stitches fall into place like a well-choreographed dance!
Experimenting With Different Stitches
As you’ve nailed accuracy, it’s time to embrace your sewing machine’s potential by playing with stitch options!
Tweak stitch length, width, and density to see how different overcast stitches complement fabric weight.
Adjust thread tension for smooth results.
Like a chef with spices, each adjustment intensifies your sewing machine vision, opening up mastery and control over your creative projects!
Common Mistakes and Troubleshooting
Using the overcast stitch and presser foot isn’t always a walk in the park.
But don’t worry – we’ve got your back!
In this section, we’ll tackle common mistakes like snipping the fabric and uneven stitches, and share practical tips to help you resolve any issues that pop up.
Avoiding Snipping the Fabric
You’ve mastered stitch techniques, but cutting fabric unintentionally is no fun.
Make sure you have a smooth ride by keeping fabric tension steady and stitch length consistent.
Sharp scissors are your best pal; reserve them exclusively for fabric.
Sew slowly, channeling zen-like patience.
Preserve the overcast stitch by practicing the fringe technique methodically, preventing mishaps.
Fixing Uneven Stitches
Having mastered fabric snipping, let’s tackle uneven stitches.
Picture yourself as a sewing detective, investigating the mystery of mismatched threads.
Check your sewing machine’s tension—too tight or loose causes havoc.
Make sure the needle size matches your fabric type.
Adjust stitch length for consistency, and tweak foot pressure.
Mastering these quirks will have your overcast stitch looking sharp and seamless!
Resolving Common Issues
Tangled fabric can frustrate any sewist! To tame those common overcast stitch woes:
- Uneven Stitches: Adjust the tension.
- Fabric Bunching: Check your presser foot’s alignment.
- Stitch Skipping: Make sure the needle sharpness matches the fabric.
- Thread Breakage: Test different thread types and watch your sewing machine future unfold with joy.
Make your sewing machine happiness a stitch in time!
Frequently Asked Questions (FAQs)
How to use overcasting presser foot?
Think of the overcasting presser foot as training wheels for sewing perfect edges.
Clip it onto your machine, align fabric with the guide, choose an over-edge stitch, and avoid hitting metal for a smooth sewing journey.
What foot do you use for overcast stitch?
Use an overcast presser foot to create a professional-looking edge finish on your sewing projects.
This specialized foot wraps thread around the fabric edge, preventing fraying without the need for a serger. (Source)
How to use overcast stitch?
To master overcast stitching, attach the overcast presser foot, select the overcast stitch, and align fabric with the foot guide.
Adjust stitch width and length.
Then sew along the fabric edge for a clean, professional finish.
What does an overlock presser foot do?
An overlock presser foot helps you achieve smooth, professional seam edges on your sewing projects.
It guides fabric, supports the overcasting stitch, and prevents fraying,
making your sewn pieces look store-bought without the need for a serger.
What types of stitches work with overcast feet?
You can use stitches like the zigzag and over-edge when working with overcast feet.
These stitches help create clean, professional finishes.
They prevent fabric fraying.
They handle both lightweight and heavier fabrics with ease.
Sew like a pro!
Can overcast presser feet be used on knits?
Overcast presser feet are a sewing superpower for knits.
Just glide that stretchy fabric through, and watch as the foot works its magic, taming those edges with a professional-looking finish.
It’s a knitter’s dream come true!
How does overcast foot differ from a serger?
Overcast foot is like your trusty sidekick, helping to finish edges on a basic sewing machine.
A serger, however, is a superhero, stitching, cutting, and overcasting simultaneously for industrial-level precision and speed.
Use wisely!
Are overcast feet compatible with high-shank machines?
Like a knight needing a fitting sword, your machine requires the right foot for battle.
Most overcast feet suit low-shank machines; high-shank ones might need an adapter.
Check your machine’s manual for compatibility wizardry!
How to maintain an overcast presser foot?
To maintain your overcast presser foot, gently clean it with a soft brush to remove lint and debris.
Occasionally check for wear or damage.
A bit of attention keeps it running smoother than a well-oiled machine!
Conclusion
With a little practice, the overcast stitch and presser foot will become your new best friends.
Mastering these techniques is a piece of cake – just take it one step at a time and you’ll be sewing like a pro in no time.
Before you know it, you’ll be the talk of the town, wowing your crafty buddies with your seamless (pun intended!) use of the overcast stitch and presser foot.
So, what’re you waiting for? Let’s get stitching!

