This site is supported by our readers. We may earn a commission, at no cost to you, if you purchase through links.
Learn how to identify which you should be using—fusible or nonfusible interfacing—and how to choose the correct weight and type of interfacing for your project. Know the secret to applying it flawlessly.
Find out how to skip over common issues and finally get that professional finish you’ve always been after. From fairly easy garments to intricate bag-making, these interfacing tips can take your sewing skills to a whole new level.
Take control of your projects and begin being empowered to create with confidence today!
Table Of Contents
- Key Takeaways
- What is the Role of Interfacing in Sewing?
- When to Opt for Fusible Versus Non-fusible Interfacing
- How to Select the Right Interfacing Weight and Type
- Applying Fusible Interfacing Step-by-step
- Avoiding Common Issues When Using Non-woven Interfacing
- Interfacing Selection for Bag-making Projects
- Tips for Achieving a Professional Finish With Interfacing
- Identifying the Correct Side and Placement When Applying Interfacing
- Characteristics and Uses of Woven, Non-woven, and Knit Interfacings
- Enhancing Garment Structure With Sew-in Interfacing
- Frequently Asked Questions (FAQs)
- Conclusion
Key Takeaways
Interfacing is like the secret weapon that transforms flimsy fabrics into professional-looking garments, giving them structure, stability, and shape.
When choosing between fusible and non-fusible interfacing, think of fusible as the "quick and easy" option, while non-fusible gives you more control and a more natural drape.
Just like Goldilocks and the Three Bears, finding the right weight and type of interfacing is crucial. Match it to your fabric’s weight and consider the project’s needs, and you’ll have a happy ending!
Avoid common pitfalls like wrinkles and puckering by using a pressing cloth, adjusting iron settings, and pre-pressing your fabric. Remember, practice makes perfect, so don’t be afraid to experiment and find what works best for you.
What is the Role of Interfacing in Sewing?
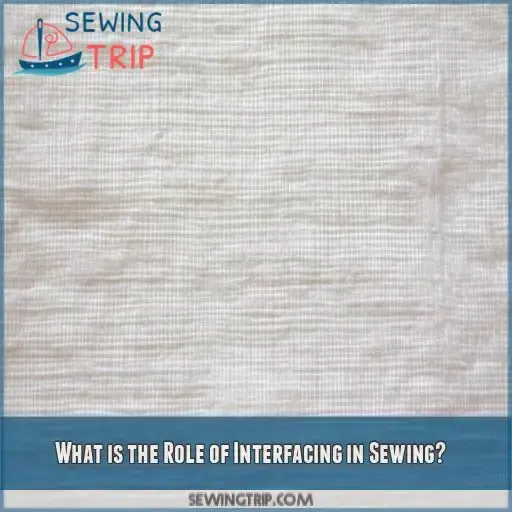
Interfacing is the unsung hero of sewing, giving your projects that professional edge. It’s the secret weapon that adds structure, stability, and shape to your garments.
Whether you’re working on a crisp collar, a sturdy waistband, or a bag that stands tall, interfacing has got your back. This versatile material comes in various types – woven, non-woven, and knit – each with its own superpowers. You’ll find it in different weights too, from feather-light to heavy-duty.
Interfacing applications are endless: reinforcing buttonholes, preventing stretchy fabrics from losing their cool, and giving flimsy fabrics some backbone.
When to Opt for Fusible Versus Non-fusible Interfacing
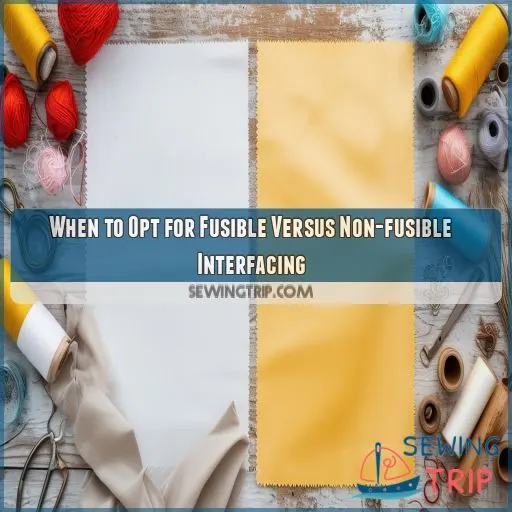
Now that you understand interfacing’s role, let’s tackle when to choose fusible versus non-fusible options. Fusible interfacing is your go-to for most projects, especially if you’re new to sewing. It bonds to fabric with heat, creating a firm structure. However, non-fusible (sew-in) interfacing has its place too. Consider these factors when deciding:
- Fabric suitability: Delicate or heat-sensitive fabrics need sew-in
- Garment drape: Non-fusible allows for a more natural fall
- Laundry compatibility: Sew-in works better for frequent washing
- Visual effects: Some projects benefit from the look of sew-in
How to Select the Right Interfacing Weight and Type
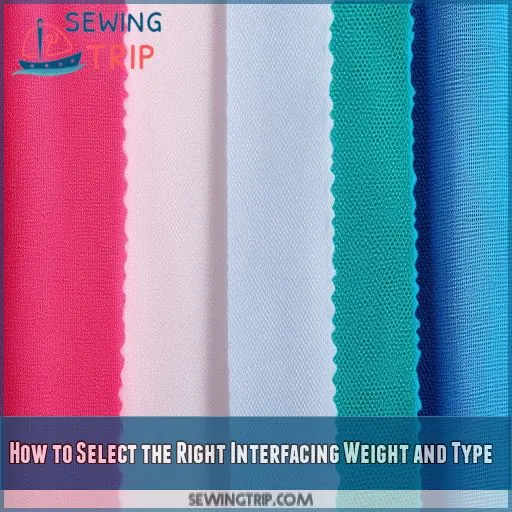
You will also need to keep in mind your type of fabric, the weight matching, and the purpose of the project. First of all, consider the needs of your project with the fabric properties, then pick a weight of interfacing that can complement each property without overpowering it.
Fabric Type Considerations
First of all, begin your process of interfacing by considering the weight and other features defining your fabric. Lightweight fabrics should be fitted with lightweight interfacing so that they don’t get overwhelmed.
For knits, knit interfacing will ensure stretchability, while sturdy interfacing provides heavier ones with proper support. Notice how stiffening characteristics are and how they’ll affect the drape of a fabric.
Consider compatibility in texture so that this blend can appear invisibly. After all, appropriate interfacing prevents fraying and offers enhanced overall structure to your project.
Project Requirements Assessment
While considering the needs for your project, take into consideration the following tips regarding interfacing for sewing.
- Examine the garment’s intended structure and drape
- Check all stress points that should be reinforced
- Weight and texture of the fabric
- Know if you’d want added stiffness or flexibility
These factors make a lot of difference regarding the suitability of your project for any of the interfacing types. Always remember to test the application on a scrap piece of fabric; for fusible options, use a pressing cloth. This will confirm whether you chose the right interfacing for your project and, at the end, give a professional result.
Weight Matching Techniques
Now that you’ve seen what your project requires, it’s time to master weight matching. Your interfacing has to be something that will either match or be a bit lighter than your fabric’s weight.
Very light, thin fabrics work with featherlight or lightweight interfacing. If you’re using a medium-weight fabric, the best is medium-weight interfacing; for heavy-weight fabrics, extra-heavy interfacing must be used.
The right balance ensures that the article of clothing holds its shape without being overly stiff and bulky.
Applying Fusible Interfacing Step-by-step
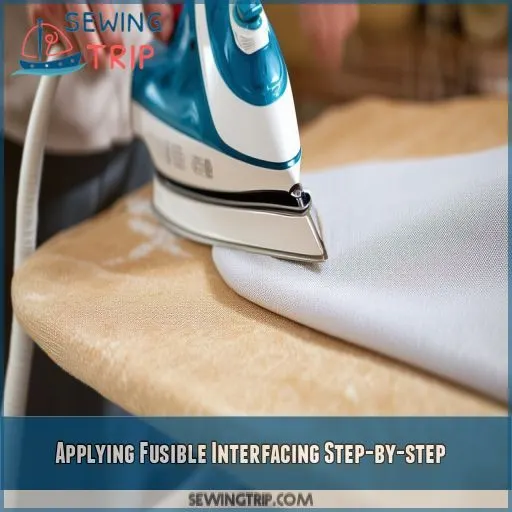
Ready to conquer fusible interfacing? Let’s go through the step-by-step process that’s going to give your projects that professional edge. Place your fabric right side down on a flat area of your ironing board. Place the interfacing on top, with the adhesive side toward the fabric. Now, here’s where the magic happens:
- Cover with parchment paper to protect your iron
- Set your iron to the appropriate temperature for your fabric
- Press firmly for 10-15 seconds depending on your fabric weight
- Lift and reposition the iron; don’t slide it.
Allow the fabric to cool before moving.
Avoiding Common Issues When Using Non-woven Interfacing
Now that you have learned to apply fusible interfacing, let’s talk about some common problems associated with non-woven types. These interfacings can be a little finicky. However, with the right approach, you’ll steer clear of those real pesky problems in your projects.
| Issue | Cause | Solution |
|---|---|---|
| Wrinkling of | Uneven pressure | Use pressing cloth |
| Puckering | Too much heat | Adjust iron settings |
| Bubbling | Trapped moisture | Pre-press fabric |
Always run a scrap first to avoid any distortion. This allows you to dial in the right temperature and pressure for an even bond. Because the non-woven interfacing has no grain, it’s very important to cut it out accurately to match up with your pieces of fabric.
In the case of bags, non-woven interfacing is vastly used, but with the hazard of air pockets. When fuseing, make sure the bonded air pockets have been ironed out to avoid any less-than-professional finish. Follow these techniques and methods, and you’ll realize that your sewing skills have risen a notch in following professional, finished work engineered to be outstanding.
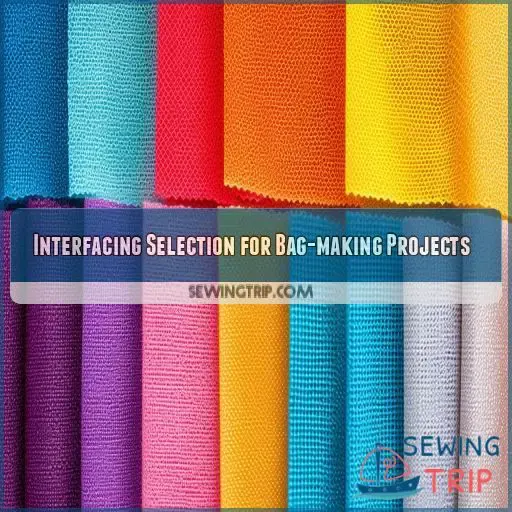
Interfacing Selection for Bag-making Projects
Specifically, fusible and non-fusible options will have to be browsed with considerations regarding the use of weights and stiffnesses within your design. You may also need interfacing that specializes in this field, like a bag-specific one—these give an added bonus toward structure and durability for professional-looking results.
Fusible Vs. Non-fusible Options
When choosing interfacing for your bag-making projects, you’ll need to decide between fusible and non-fusible options. Each has its strengths, depending on your project’s needs and your skill level. Consider these key points:
- Fusible durability vs. sew-in drape
- Visual effects of non-fusible interfacing
- Ironing skill requirement for fusible options
- Fabric compatibility with fusible adhesives
- Time investment: fusing vs. sewing
Fusible interfacing offers quick application and stability, while non-fusible provides a natural drape and versatility. Your choice will impact your bag’s structure and finish, so choose wisely!
Weight And Stiffness Considerations
When choosing interfacing for bags, you’ll need to balance weight and stiffness. Consider your fabric type and project needs carefully.
Lightweight interfacing works for delicate fabrics, while heavyweight options provide more structure. Match the interfacing weight to your fabric or go slightly lighter.
For bags that need to stand up, opt for stiffer interfacing.
Specialty Interfacing For Bags
When crafting bags, you’ll need specialty interfacing to achieve that professional look.
Decovil is your go-to for sturdy, structured bags that stand up on their own. For a softer touch with added stability, try craft foam.
Don’t forget about your bag’s lining – a light interfacing can prevent sagging and add strength.
Mix and match these options to create the perfect bag reinforcement for your project.
Tips for Achieving a Professional Finish With Interfacing
Now that you’ve selected the right interfacing for your bag-making project, let’s focus on achieving that professional finish you’re after. Mastering interfacing techniques can elevate your sewing game and give your creations a polished look. Here are three essential tips to help you achieve pro-level results:
- Use proper pressing techniques: Apply firm pressure and hold for 10-15 seconds, lifting and repositioning the iron rather than sliding it.
- Store interfacing correctly: Keep it flat or rolled to prevent creases, and avoid folding to maintain its integrity.
- Invest in quality tools: A reliable iron, pressing cloth, and sharp scissors are must-haves for working with interfacing.
Identifying the Correct Side and Placement When Applying Interfacing
In application of interfacing, you’ll need to develop the art of proper placement. First, determine which side of fusible interfacing has glue—it usually is a bit bumpy or shiny. Place this against the wrong side of your fabric. When working with woven interfacing, however, grains need to be matched for proper drape. If you’re not sure about the wrong side, a fabric generally has a duller finish or your seam allowances may be more noticeable.
Because the non-woven interfacing isn’t oriented, consistency is key. For pressed fabric with an image printed on it, take a moment to mark the wrong side. You really must remember that proper placement is key for you to get your project done right, as mentioned in previous lessons. If you’re unsure, try it in a swatch first.
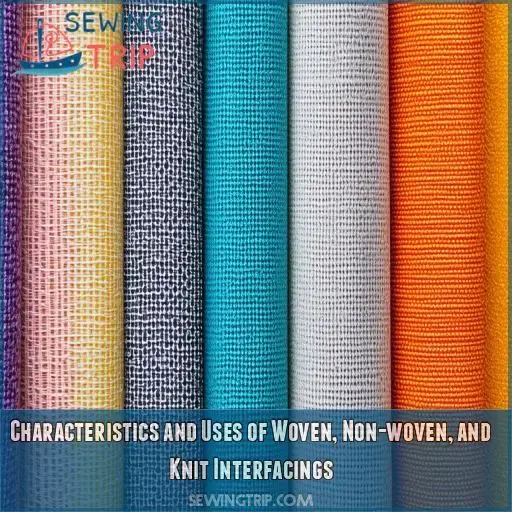
Characteristics and Uses of Woven, Non-woven, and Knit Interfacings
Now, when it comes to the types of interfacing, you basically have three giant players that make up this bag of three: woven, nonwoven, and knit. Each with its own superpowers, so let’s break them down.
Woven interfacing is more or less like fabric’s twin—with a grain that will match your material—which is especially good for structured pieces like collars and cuffs.
Non-woven has no grain and thus is a jack-of-all-trades. Perfect for most projects and beginners.
Knit interfacing is your stretchy sidekick. It keeps all your elastic fabrics in line without cramping their style.
When choosing an interfacing, remember to balance the weight against the stretch of the fabric. Woven gives crisp structure; non-woven, general support; and knit keeps flexibility.
The right interfacing can make or break your project—use the correct one!
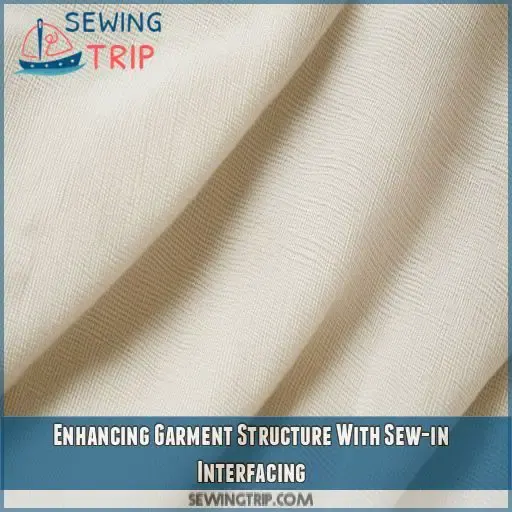
Enhancing Garment Structure With Sew-in Interfacing
Although fusible interfacing is very popular, sew-in has its perks. You’ll find that this particular product is extremely useful while working on sheer fabrics or garments washed frequently. The sewn-in interfacing helps the fabric drape naturally and provides your garment structure without restricting the flexibility.
To use sew-in interfacing:
*Interfacing cut a bit smaller than your pattern piece
• Baste it to the wrong side of your fabric
- Treat the layered pieces as one when sewing
- Trim seam allowances to reduce bulk
Unlike fusible, sew-in interfacing doesn’t distort the texture of your fabric or its appearance. So, it’s very apt to help retain the original look of your fabric while offering the needed support. Note that with sew-in interfacing, patience is everything. It may take some more time, but it’s worth it, especially on garments in which preserving the natural qualities of the fabric is very important.
Frequently Asked Questions (FAQs)
What is the rule for choosing interfacing?
Choose interfacing that’s slightly lighter or matching your fabric’s weight. Consider the project’s needs: stiffness, drape, or stretch. Opt for fusible for ease, or sew-in for delicate fabrics. Match the color to your fabric or go lighter.
Should you iron or press on interfacing?
Imagine this: your iron, with the grace of a knight’s sword, is ready to drive wrinkles to their knees. You’ll want to press, not iron, interfacing. Apply firm pressure, holding still for 10-15 seconds to allow the heat to fuse it properly.
How to use interfacing when sewing?
Choose the right type and weight for your fabric. Cut interfacing to match pattern pieces. Fuse or sew it to the wrong side of your fabric. Press carefully to avoid wrinkles. Always test on scrap fabric first.
How do you get interfacing to stick to fabric?
Fantastic fusible fusing requires finesse! Prepare your fabric, place interfacing adhesive-side down, and press with a damp cloth. Apply steady heat for 10-15 seconds, letting it cool before moving. You’ll have perfectly stuck interfacing in no time!
Can interfacing be removed after its applied?
You can remove fusible interfacing, but it’s tricky. Heat the fabric with an iron, then gently peel off the interfacing. For stubborn bits, use a seam ripper or adhesive remover. It’s easier to prevent mistakes than fix them.
How long does interfacing typically last?
Did you know 90% of interfacing lasts as long as the garment itself? You’ll find that properly applied interfacing typically endures through numerous washes and wears. It’s a durable addition that’ll keep your creations looking sharp for years.
Is interfacing machine washable and dryable?
Most interfacing is machine washable and dryable, but you’ll want to check the label first. Pre-wash your interfacing if you’re using it with fabrics that’ll shrink. For best results, follow the care instructions provided.
Can interfacing be used on leather or vinyl?
You can use interfacing on leather and vinyl, but it’s tricky. Opt for non-fusible types to avoid damaging the material. Sew-in interfacing works best, providing structure without altering the fabric’s surface. Always test on scraps first.
Are there eco-friendly or sustainable interfacing options available?
Yes, you’ll find eco-friendly interfacing options made from recycled polyester, organic cotton, or bamboo fibers. These sustainable choices offer similar performance to traditional interfacing while reducing your environmental impact. Look for them at specialty fabric stores or online retailers.
Conclusion
Master interfacing tips for sewing, and elevate your projects to a professional standard.
Understand when to use fusible versus non-fusible, select the right weight and type based on fabric and project needs, and apply it flawlessly.
Avoid common issues, choose the best interfacing for bags, and achieve a polished finish.

