This site is supported by our readers. We may earn a commission, at no cost to you, if you purchase through links.
Set up a well-lit workspace with plenty of room to spread out. Practice straight-line stitching and use a 1/4-inch seam allowance for consistency. Press your seams flat, as it keeps everything neat and accurate.
Begin with a small, simple design like a baby quilt to build confidence. Keep fabric scraps organized for future projects.
Ready to refine your technique? There’s more to explore with practice!
Table Of Contents
Key Takeaways
- Start small with simple projects like baby quilts or patchwork to build confidence and skills.
- Use high-quality cotton fabrics, a rotary cutter, self-healing mat, and quilting ruler for clean and precise precise cuts.
- Master a 1/4-inch seam allowance and practice pressing seams flat for neat, accurate results.
- Organize your workspace with good lighting, ergonomic setup, and accessible storage for an easier quilting experience.
Quilting Essentials
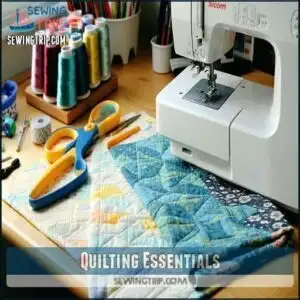
You’ll need quality fabric, sharp scissors, a reliable sewing machine, and a flat workspace before starting your first quilt project.
Having these essential tools ready will save you time and prevent frustration as you begin your quilting journey.
Choosing Right Fabric
When diving into quilting, start with 100% quilting weight cotton. It’s durable and easy to work with.
Choose a focus fabric you love, then add light, medium, and dark fabrics for contrast.
Color palette coordination matters – try the 80/20 rule: 80% from one collection, 20% from others for interest.
Print scale variety adds dimension. Beginners benefit from pre-cut fabric bundles that eliminate guesswork.
Selecting Basic Tools
Now that you’ve picked your fabrics, let’s get your toolbox ready. A quality sewing machine is your foundation.
Add an 80/12 needle and 100% cotton thread like Mettler. For cutting, you’ll need a rotary cutter with a self-healing mat (24×36" works well) and a 6×24" quilting ruler.
Consider rotary cutter options for precise cuts. Don’t forget a seam ripper—everyone makes mistakes!
A quarter-inch foot guarantees accurate seams every time.
Setting Up Workspace
Now that you’ve assembled your tools, let’s create your quilting space. Good lighting prevents eye strain—position your sewing machine near natural light or add adjustable lamps.
Your ergonomic setup should include a chair at proper height and accessible storage solutions for fabrics and supplies. Create a designated cutting station on a flat surface.
To maximize space, consider modular storage solutions. Remember to leave room for machine maintenance.
Keep quilting basics organized, and you’ll save time hunting for that perfect piece.
Understanding Quilting Terminology
Now that your workspace is ready, let’s talk quilting lingo.
Understanding quilting terminology helps you follow patterns and instructions with confidence.
Here are 3 key terms to know:
- Quilt Anatomy – The three layers: top (pieced fabric), batting (middle layer), and backing
- Seam Allowance – The space between stitching and fabric edge (typically 1/4 inch)
- Fabric Grain – Direction of threads that affects how fabric stretches
Mastering Quilting Basics
You’ll need to learn four key skills to build your quilting foundation: rotary cutting, straight line quilting, free motion techniques, and binding methods.
Once you master these basics, you’ll create better quilts with less frustration and more consistent results.
Learning Rotary Cutting
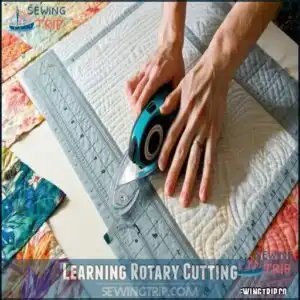
While mastering rotary cutting seems challenging at first, it’s the foundation of quilting basics.
Always practice blade safety by keeping fingers away from the cutting line. Position your ruler firmly using ruler grips to prevent slipping.
Place fabric flat on your mat before cutting angles. Regular mat maintenance extends its life.
Many quilters find all their rotary cutter quilting supplies online. For beginner quilting success, accurate cutting makes everything else easier.
Practicing Straight Line Quilting
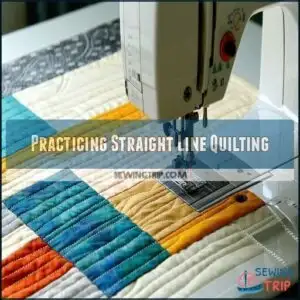
Now that you’ve got your fabric pieces cut, it’s time to tackle straight line quilting – a perfect beginner technique.
A walking foot is your best friend for straight line quilting. It helps with even fabric feeding, preventing puckering.
- Increase your stitch length to 3.0-3.5mm for smoother lines
- Use marked lines as guides for consistent spacing
- Maintain even quilting density to guarantee durability
Start from the center and work outward to manage fabric bulk.
Understanding Free Motion Quilting
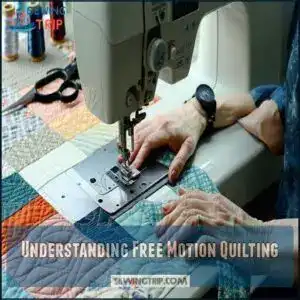
Free motion quilting opens up a world of creative possibilities once you drop your feed dogs and attach a darning foot. This technique gives you complete control over your design direction and stitch length.
Free motion quilting transforms fabric into canvas—your hands become the paintbrush, creating flowing designs limited only by imagination.
| Skill Level | Techniques | Results |
|---|---|---|
| Beginner | Stippling designs | Textured surface |
| Intermediate | Travel stitching | Connected patterns |
| Advanced | Complex motifs | Decorative results |
Practice is essential—start with simple designs on small projects before tackling full quilts. To minimize fabric drag, consider using a Supreme Slider tool. This will help you achieve better results and improve your overall quilting experience.
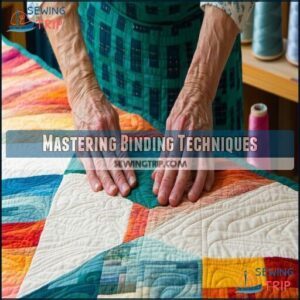
Mastering Binding Techniques
Binding forms the final hug around your quilt’s edges.
To master this essential finishing technique, consider the following steps:
- Cut binding strips 2.5 inches wide for standard quilts
- Join strips with diagonal seams to reduce bulk
- Create mitered binding corners by folding at 45-degree angles
Try machine binding for speed or hand binding for traditional looks.
Explore decorative binding options like flange or scalloped edges.
Quilting Techniques
You’ll find that mastering basic quilting techniques makes the difference between a frustrating project and a finished masterpiece.
These essential methods will help you press seams correctly, maintain accurate seam allowances, and prepare fabric properly for a polished result.
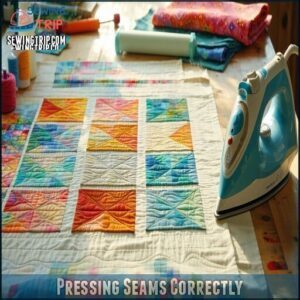
Pressing Seams Correctly
Why do seasoned quilters always insist on proper pressing? It’s because pressing seams correctly prevents distortion and guarantees your blocks fit together perfectly.
Use these pressing techniques based on your fabric type:
| Seam Direction | When to Use | Pressing Tools |
|---|---|---|
| Press open | For bulky intersections | Pressing board, dry iron |
| Press to darker fabric | For nesting seams | Starch, tailors clapper |
| Press to one side | For standard piecing | Mini iron, seam roller |
| Press backwards | For complex patterns | Pressing bars, spray bottle |
The key to successful quilting is understanding when to apply each technique, ensuring that your seams are pressed correctly and your quilt turns out as envisioned, with all parts fitting together perfectly.
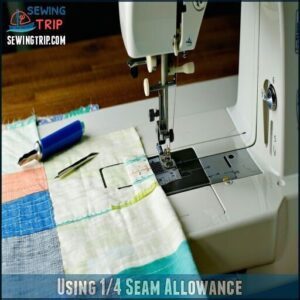
Using 1/4 Seam Allowance
That perfect quarter-inch seam allowance can make or break your quilt blocks.
Consistent seam width guarantees your pieces fit together correctly during block construction.
- Use a quarter-inch foot on your machine for built-in piecing precision
- Mark a guideline with painter’s tape if your machine lacks specialized feet
- Test your seam allowance accuracy on scrap fabric before starting your project
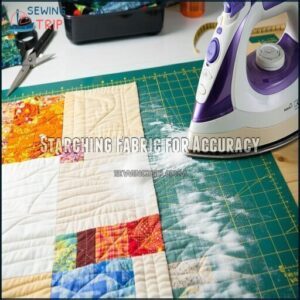
Starching Fabric for Accuracy
Now that you’ve mastered the quarter-inch seam allowance, let’s talk about starching fabric. This simple step dramatically improves your cutting accuracy by reducing fraying and stretching.
Starch adds stiffness to fabric, making it easier to handle and cut. To achieve the best results, consider how pre-washing impacts shrinkage.
| Starch Types | Starching Techniques |
|---|---|
| Spray Starch | Light misting, press dry |
| Homemade (cornstarch) | Apply with cloth, press |
| Starch Alternatives | Follow product instructions |
| Best’s Pressed | Use on wrong side of fabric |
Marking Fabric for Placement
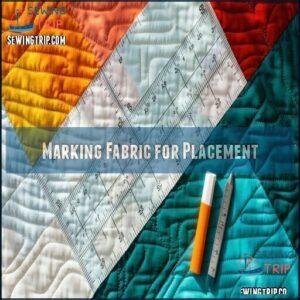
The right marking tools make all the difference when aligning your quilt pieces.
Use water-soluble fabric markers for temporary lines that disappear with a damp cloth. For dark fabrics, try chalk pencils or soap slivers.
Tailor’s chalk draws precise lines.
Test markers on fabric scraps first to confirm they’ll remove completely.
Place rulers precisely when marking to achieve placement accuracy that will elevate your finished quilting patterns, ensuring the use of the right tools for accurate alignment.
Quilting Project Management
You’ll save time and prevent frustration by planning your quilting project before cutting your first piece of fabric.
Start with small projects that match your skill level and set aside regular, short quilting sessions to maintain steady progress.
Assessing Skill Level
Honestly evaluating your quilting skill level is essential before starting any project.
Ask yourself: Can you sew straight lines? Are you familiar with basic sewing terms? Don’t jump into complex patterns if you’re still learning fundamentals.
Start with technique familiarity tests – try simple piecing exercises before committing to a full quilt. Use learning resources to build skills gradually.
Remember, quilting tips for beginners emphasize skill progression, not perfection.
Choosing Right Project Size
Now that you know your skill level, selecting the right project size will set you up for success.
Starting too big can lead to frustration and unfinished projects.
- Small wallhangings (12"×12") – Perfect weekend projects requiring minimal fabric
- Table runners (12"×36") – Build skills with manageable time commitment
- Baby quilts (36"×45") – Good fabric consumption practice
- Lap quilts (50"×65") – Next step in skill progression
- Twin quilts (70"×90") – Tackle only after mastering basics
Starting With Simple Designs
Many beginner quilters succeed with easy patterns like half square triangles and basic star designs.
Look for quilt blocks labeled "beginner-friendly" and avoid patterns with tiny pieces or curves.
Small projects using repurposed materials give quick finishes while you learn. Simple designs in solid beginner fabrics help you focus on technique.
Free patterns like Star Dance offer perfect starting points for quilting beginners.
Managing Quilting Time
When you’re learning to quilt, managing your time effectively prevents project burnout and helps you finish what you start.
Try these quilting time management tips to boost your efficiency:
- Set aside regular 20-30 minute sessions rather than waiting for "enough time"
- Prioritize projects by keeping only one or two active at once
- Batch similar tasks like cutting or piecing for multiple blocks
- Track your quilting time to understand your pace
- Minimize distractions by organizing your workspace before each session
This approach will help you stay focused and ensure that you make the most out of your quilt-making sessions.
Finishing Quilts
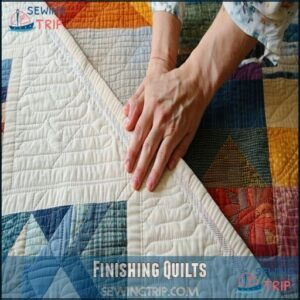
You’ll need to add binding and proper care to transform your pieced quilt into a finished masterpiece.
The final steps of binding, labeling, washing, and displaying your quilt properly will protect your hard work and showcase your accomplishment.
Adding Perfect Binding
With your project structure complete, it’s time for binding. This finishing touch frames your quilt beautifully.
Cut binding strips 2.5 inches wide, join them with diagonal seams, and fold lengthwise.
Attach to the quilt front, then fold over to the back. Perfect mitered binding corners require careful folding at 45-degree angles.
Choose between machine binding for speed or hand binding for a classic invisible finish. For a smoother result, consider using a walking foot.
Labeling Quilts for Identification
Once your binding is secure, don’t forget to add a label. Quilt labels serve as birth certificates for your creations.
You’ll need simple labeling methods that last for beginners.
- Use archival inks on plain fabric for permanence
- Include content details like your name, date, and occasion
- Try various placement options (back corner works well)
- Add personal touches like mini-blocks or fabric signatures
Washing and Storing Quilts
Now that your quilt has its label, you’ll want to preserve your hard work.
Proper washing and storing techniques extend your quilt’s life.
| Storage Methods | Temperature Control | Humidity Effects |
|---|---|---|
| Fold in thirds with acid-free tissue | Keep at 50°F-60°F | Maintain 50% humidity |
| Avoid plastic containers | Store in darkness | Prevent mold growth |
| Use cotton muslin covers | Avoid attics/basements | Rotate quilts periodically |
Air quilts outdoors occasionally instead of frequent washing to maintain freshness and prevent wear.
To ensure the longevity of your quilt, it is essential to follow these storage methods and temperature control guidelines carefully, as they help prevent mold growth.
Displaying Finished Quilts Proudly
After completing your masterpiece, showcase it where others can admire your hard work.
Wall display ideas offer the perfect finishing touch to your quilting projects.
Consider these hanging sleeve options for inspiration:
- Install a wooden quilt rack in a well-lit corner
- Add a sleeve and rod for wall placement
- Arrange on a decorative ladder for easy rotation
- Drape across an heirloom chair
- Fold neatly on a visible shelf
These ideas will help you find the perfect way to display your finished quilts, making them a beautiful addition to any room, and allowing you to enjoy your hard work and quilting projects.
Frequently Asked Questions (FAQs)
What is the golden rule in quilting?
Think of quilting like a puzzle; the golden rule is precision.
Always cut, piece, and sew with accuracy.
Consistent 1/4" seams and careful trimming guarantee your blocks fit together seamlessly, creating a stunning, lasting masterpiece.
What is the basic rule of quilting?
Always layer and secure your fabric properly before stitching.
Focus on precise cutting, consistent seam allowances, and careful pressing.
Start small—mastering basics like straight-line stitching and proper basting guarantees your quilt stays smooth and durable.
What does a beginner quilter need to know?
Starting quilting is like building a sturdy house—your foundation matters.
Master a 1/4" seam allowance, use quality fabric and tools, and practice patience.
Focus on small, simple projects to build confidence and skills gradually.
What is the easiest technique in quilting?
The easiest quilting technique is "quilting in the ditch".
You simply sew along existing seam lines, keeping the top secure and neat.
It’s beginner-friendly, requires minimal tools, and helps build confidence with your sewing machine, making it a great way to start with minimal tools.
How many quilting techniques should a quilter Master?
Mastering five to seven quilting techniques, like rotary cutting, piecing, binding, quilting in the ditch, and free-motion quilting, gives you a solid foundation.
Focus on one at a time, building skills with practice.
How to prepare your quilt for quilting?
Think layering a perfect sandwich—start by smoothing the backing, batting, and quilt top flat.
Trim excess, pin tightly, or spray baste for hold.
Wrinkles are troublemakers; smooth them out before quilting magic begins!
Where can I find helpful quilting advice for beginners?
You can find helpful quilting advice for beginners in online tutorials, quilting blogs, and YouTube channels.
Local quilt shops and beginner-friendly books also offer great guidance.
Join quilting communities for tips, encouragement, and expert advice to get helpful guidance.
What are some tips for quilters?
Start small with simple patterns, focus on a consistent 1/4" seam allowance.
Practice pressing seams for clean results, and use quality tools like a rotary cutter.
Invest in extra fabric to reduce stress.
What is the magic 8 method in quilting?
Picture creating eight identical triangles from a single fabric square—it’s magic!
The Magic 8 method simplifies piecing by marking, sewing, and cutting, turning two squares into perfect half-square triangles quickly and consistently.
What is the easiest quilting pattern for beginners?
The easiest pattern for beginners is a simple patchwork quilt using pre-cut squares.
You’ll focus on sewing straight seams and aligning corners, making it a forgiving project that helps build essential skills like piecing and pressing.
Conclusion
Mastering quilting basics may seem intimidating at first, but like piecing together a quilt, it’s all about taking one step at a time.
With these quilting tips for beginners, you’ve got the tools to start strong. Focus on choosing quality fabrics, practicing straight seams, and starting small.
Stay organized and embrace mistakes as opportunities to learn. Over time, your confidence will grow, and so will your skills.
Soon, you’ll create quilts you’re proud to display.

