This site is supported by our readers. We may earn a commission, at no cost to you, if you purchase through links.
Start by choosing the right fabric—cotton for crispness or silk for elegance—and apply interfacing to one layer for structure.
Cut your pieces accurately, following your pattern, and pin them together with care.
Sew the long and short seams, then trim the corners at 45 degrees for a smooth turn.
Flip the collar right-side out, press it like you mean it, and attach it to your garment, ensuring even seam allowances.
A final press sets everything perfectly.
Master these steps, and your collar will look so professional, people might ask if it’s store-bought!
With patience, you can achieve a high-quality result.
Table Of Contents
Key Takeaways
- Choose the right fabric and interfacing to give your collar the structure and look you want.
- Pin and sew with precision, trimming corners and grading seams to reduce bulk for a polished finish.
- Use pressing tools like a tailor’s ham and point turner to shape and sharpen your collar edges.
- Align notches carefully when attaching the collar to the neckline, and press thoroughly for a professional result.
Collar Types
You’ll find five essential collar styles in sewing: Peter Pan, Stand-Up, Shirt, Shawl, and Notched, each adding its own special touch to your garment.
Whether you’re making a classic shirt collar for work or a sweet Peter Pan collar for a vintage look, you’ll learn how to create crisp, professional-looking necklines that’ll make your friends ask, "Where did you buy that?
Peter Pan
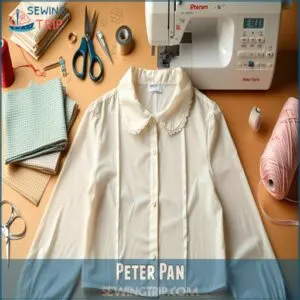
Like a delicate butterfly perched on your neckline, the Peter Pan collar adds a charming vintage touch to any garment.
This classic collar shape features rounded edges that create a soft, feminine look.
Here’s what makes this collar special:
- Choose lightweight cotton or lawn fabric for crisp definition and easy shaping
- Apply interfacing to one collar layer for professional structure
- Use precise fold techniques when pressing curves for that perfect rounded edge
Understanding different collar types can help you make informed decisions about your garment design.
You’ll find mastering the Peter Pan collar opens up endless creative possibilities. With careful attention to collar height and proper fabric choice, you’ll create a timelessly elegant neckline that rivals boutique designs.
Stand-Up
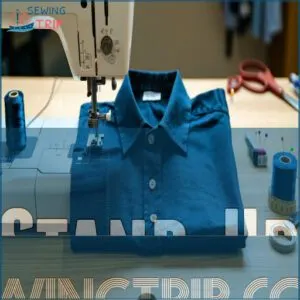
Stand-up collars frequently intimidate beginners, but you’ll master them with these expert tips.
Start by choosing the right interfacing for proper collar stability – lightweight fusible works best for most fabrics. Position your collar height markers carefully, then fold along pressed guidelines for crisp edges.
Press collar
Remember: Your stand-up collar’s success lies in precise fold techniques and patient pressing. Soon you’ll be crafting collars that rival designer pieces!
Shirt
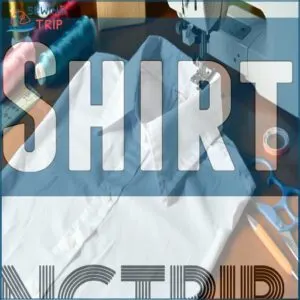
While stand-up collars command attention, shirt collars can feel intimidating. You’ll be surprised how simple they’re to master! The secret lies in your fabric choice – crisp cotton or linen works beautifully.
Here’s your roadmap to a professional shirt collar:
- Start with precise pattern cutting and fuse interfacing for that perfect collar height
- Match top collar to undercollar, keeping seam allowances even for ideal shirt fitting
- Trim corners at 45 degrees, turn right side out, and press with care
- Pin collar to neckline methodically, ensuring smooth attachment
With these sewing tips, you’ll create collars that look completely store-bought. Let’s begin your garment care journey!
Shawl
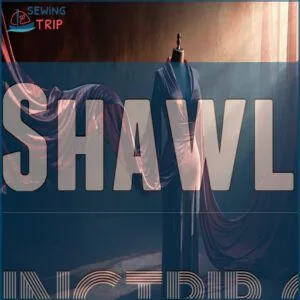
Moving from classic shirt collars to shawl collars opens up a world of elegant possibilities. You’ll love how a shawl collar adds sophistication to any garment with its flowing drape style and seamless fold techniques.
When sewing a shawl collar, your fabric choice makes all the difference. Here’s what you need to know:
| Shawl Fabric | Drape Style | Elegant Touch |
|---|---|---|
| Wool Crepe | Soft Cascade | Classic Appeal |
| Silk Charmeuse | Liquid Flow | Evening Glamour |
| Light Linen | Structured | Casual Chic |
| Cotton Sateen | Semi-Rigid | Professional |
| Velvet | Deep Folds | Luxurious |
For the perfect collar depth, use lightweight fusible interfacing on the upper collar only. This creates structure while maintaining that signature flowing drape. Your collar sewing techniques should focus on precision – press those seams open and grade them carefully.
Pro tip: Want that extra-crisp edge? Try "stitch-in-the-ditch" along the collar’s fold line. It’s like giving your shawl collar a secret superpower!
Notched
Step into the realm of notched collars with these precision-driven sewing tricks that’ll transform your garments from homemade to haute couture.
You’ll master those sharp collar points and professional edges with the right know-how.
- Choose heavyweight interfacing for structured notched collar variations
- Press each seam thoroughly before moving to the next step – no shortcuts!
- Cut your notches at precisely 45 degrees for that perfect V-shape
- Grade your seams carefully, trimming the under-collar slightly shorter
- Test your edge finishing on scrap fabric first – practice makes perfect!
Remember, notched collar success comes down to careful preparation and patient execution. Take your time with precision cutting, and you’ll create stunning results.
Tools Needed
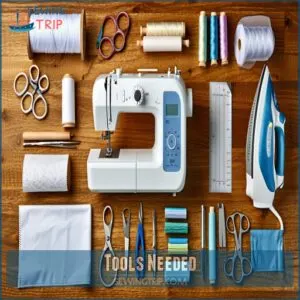
Now that you’re familiar with collar styles, let’s get your toolkit ready for success. Having the right sewing tools makes all the difference between a homemade look and professional results.
Start with quality sewing needles and a reliable sewing machine that can handle multiple layers. You’ll need sharp scissors or thread cutters for clean edges, and a measuring tape for precise measurements.
Interfacing tools are your best friends – they’ll help you add structure to your collar. Don’t forget your pressing tools: a good iron and pressing cloth prevent scorching and ensure crisp edges.
A point turner is worth its weight in gold for those perfect collar points. Keep pins, chalk, and a seam gauge nearby for accuracy.
Pro tip: Set up your workspace with everything within arm’s reach. There’s nothing worse than hunting for your scissors mid-project! With these tools ready, you’re all set to create collars that look store-bought. Investing in proper sewing tool kits can substantially improve your sewing experience.
Prepare The Collar Pieces
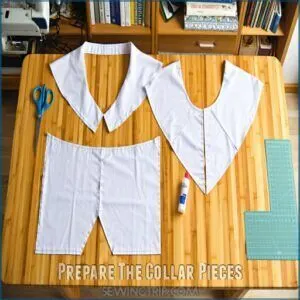
Now that you’ve got your tools ready, let’s set up your collar pieces for success. Start with your collar pattern and carefully cut two main pieces from your chosen fabric – remember, fabric choice can make or break your final look!
Different collar styles require specific construction techniques, such as the essential collar stand interfacing. Take your sew-in interfacing and cut it 5/8 inch smaller than your collar pieces. This clever interfacing tip prevents bulk at the seams.
Next, fuse the interfacing to the wrong side of one collar piece – it’ll give your collar that professional structure you’re after. Draw your seam allowances along the edges, and don’t skip marking those notches – they’re like GPS coordinates for perfect alignment later.
For extra insurance against shifting, try glue-basting the interfacing to your fabric. Your collar pieces should now be ready for construction – properly prepped materials make the rest of your collar-sewing journey so much smoother!
Sew Collar Seams
You’ll start sewing your collar by joining the long outer edge of both collar pieces with right sides together, making sure to maintain an even seam allowance throughout.
Next, you’ll tackle those tricky short edges at each end of the collar, where precision is key for achieving those sharp, professional-looking points that’ll make your friends wonder if you bought it from a boutique.
Long Seam
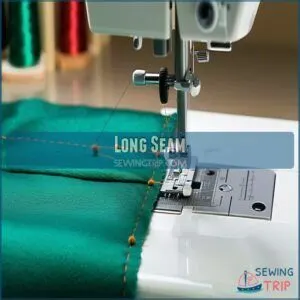
Like a skilled conductor leading an orchestra, align your collar pieces with right sides together, matching notches precisely.
Pin along the long edge, starting from the center back, maintaining an even seam.
A key step is to finish the back neckline seam for a polished look.
Here’s what makes a perfect long seam:
- The steady hum of your machine as you sew with confidence
- The satisfying click of pins securing your work
- The smooth glide of fabric under your skilled hands
- The pride of achieving professional-looking results
Set your stitch length to 2.5mm for perfect edge stitching.
Take your time sewing the long seam.
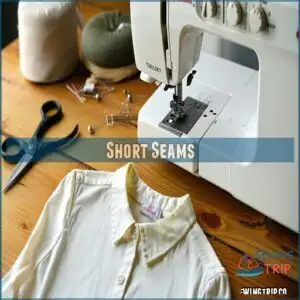
Short Seams
After mastering the long edge, those short seams on your collar deserve special attention.
Here’s your game plan for perfect collar construction:
- Start with a 5/8" seam allowance, trimming the interfacing back by 1/4" to reduce bulk
- Pin perpendicular to the edge, spacing pins 1" apart for effective control
- Sew with a 2.0mm stitch length, keeping your needle down when pivoting corners
- Grade your seam allowances by trimming the under-collar slightly shorter than the top
Press each short seam open, then shape with your iron at your desired angle.
You’ll be amazed how these little details elevate your collar’s professional finish.
By following these steps, you can achieve a high-quality collar with a desired angle and a game plan that ensures success.
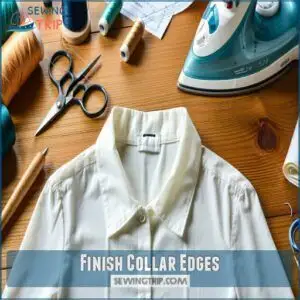
Finish Collar Edges
You’ll want to trim those bulky seams and carefully turn your collar right side out, using a point turner to create crisp corners that’ll make your sewing friends jealous.
Now it’s time to press your collar with steam, paying extra attention to rolling the seam slightly toward the undercollar so it won’t peek out when you’re wearing your newly crafted masterpiece.
Trim and Turn
After sewing those precise seams, you’ll want to perfect your collar’s shape.
Here’s how to trim and turn like a pro:
| Step | What to Do | Why It Matters | Pro Tip |
|---|---|---|---|
| Trim | Cut seam allowance to 1/4" | Reduces bulk | Leave extra at points |
| Grade | Trim under-collar shorter | Creates smooth edges | Stagger cuts |
| Snip | Cut corners at 45° angle | Helps sharp points | Don’t cut stitches |
| Turn | Use point turner tool | Forms crisp edges | Press as you go |
Using a point turner tool is essential for achieving professional results.
Remember to trim those corners at a 45-degree angle—it’s like giving your collar a precision haircut!
Press
Turn your collar from good to great with proper pressing techniques that’ll make it look store-bought. Your iron becomes your magic wand in this key step.
Before you begin, adjust your iron’s temperature to match your fabric. Here’s what seasoned sewists know about getting that crisp finish:
- Start by pressing seams open with the iron’s tip, moving slowly to relax the fabric
- Use steam press settings for stubborn areas, then switch to dry heat for that sharp edge
- Apply gentle pressure while shaping the collar over a tailor’s ham or sleeve roll
For perfect collar shaping, work systematically around the edges. Your pressing tools are essential here – a tailor’s ham helps navigate curves while a point presser creates those crisp corner points professionals admire. Remember to let the fabric cool completely before handling to set that perfect shape. Utilizing the right collar pressing tools can make a significant difference in achieving a professional finish.
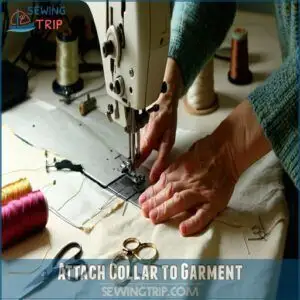
Attach Collar to Garment
Now that your collar edges are crisp and clean, it’s time to bring your creation to life. Using the correct sewing machine attachments can greatly improve efficiency.
Attaching your collar transforms a simple garment into something special.
- Center your collar stand against the neckline, matching notches perfectly for flawless alignment
- Pin every 2-3 inches, keeping the interfacing flat and smooth against the fabric
- Stitch with confidence using a 5/8-inch seam allowance, maintaining even pressure
- Press those seams with authority – a well-pressed collar attachment is your secret weapon for that store-bought look
Remember: Your pins are like tiny soldiers, keeping everything in formation until the final stitch, which requires confidence and results in a well-pressed outcome!
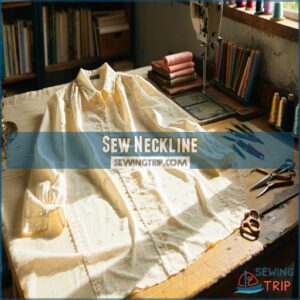
Sew Neckline
You’ll need to bind and pin the neckline to create a stable foundation for your collar attachment, ensuring the fabric won’t stretch or distort during sewing.
With your neckline properly sewn, you’re ready to transform your garment into a professional-looking piece that’ll make you feel like a seasoned tailor.
Bind Neckline
Skillfully binding your neckline transforms a basic collar into a professional masterpiece.
Start by pinning and sewing shoulder seams right sides together, then press them open.
For perfect neck binding, stitch with a 1/4" allowance, trim excess, and press the folded edge inward.
Achieving a professional V-neck finish requires careful attention to seam preparation and pressing techniques.
Your sewing techniques should focus on maintaining even tension as you work around curves—this attention to detail elevates your collar’s final look, creating a professional V-neck finish with perfect neck binding.
Pin Neckline
Now that you’ve bound your neckline, let’s master pin placement for a flawless collar attachment.
Your neckline’s success depends on proper alignment and secure pinning.
- Start at the center back, working outward for even distribution
- Space pins one inch apart, following the curve naturally
- Double-check notches align perfectly with shoulder seams
- Use ballpoint pins for delicate fabrics to prevent snags
- Pin perpendicular to the seam line for easy removal while sewing
Remember: measure twice, pin once – your collar’s precision depends on it!
Final Pressing
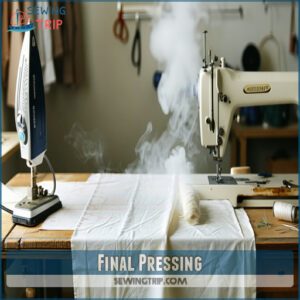
A flawless collar starts with mastering the craft of final pressing. Think of your iron as the magic wand that transforms seams into perfection. Set it to the correct temperature for your fabric—too hot, and you risk scorch marks; too cool, and stubborn wrinkles will refuse to budge.
For ideal results, learn proper fabric pressing techniques. Use steam pressing to encourage fabric relaxation and flatten those seams into submission. A press cloth is your secret weapon to avoid shiny spots or burns.
If you’re tackling curves, a tailor’s ham is worth its weight in gold—it helps with collar shaping and prevents seam imprints. Don’t overlook the underside! Smooth and press it thoroughly for a polished, professional finishing touch.
For extra finesse, stretch the undercollar slightly to avoid puckering. A final press makes sure your collar looks sharp and ready to impress—because in the craft of sewing, details make the difference.
Frequently Asked Questions (FAQs)
How do you make a collar step by step?
Think of it as crafting a masterpiece!
Cut fabric and interfacing, attach them, sew edges, trim, turn right-side out, press flat, and topstitch.
Can you sew a collar without interfacing?
Yes, you can sew a collar without interfacing, but it’ll lack structure and mightn’t hold its shape well.
Use sturdier fabric or double-layer the collar for added support if skipping interfacing.
What are the three types of collars?
Collars come in three main types: flat collars like Peter Pan, which lie against the garment.
Stand collars that rise slightly around the neck.
Rolled collars, combining standing and flat elements for a classic, versatile look.
How do you pin a collar for sewing?
Pin the collar by aligning its notches with the neckline.
Secure with pins along the edges, spacing evenly. Use extra pins at curves for stability.
It’s like taming a wild fabric—precision is key!
How to fix uneven collar points or edges?
When collar points misbehave, trim excess fabric evenly, then press with a tailor’s ham for crisp edges.
Use a point turner gently—don’t jab!
Topstitch carefully, adjusting tension to smooth uneven seams for a polished finish.
What fabric works best for structural collars?
Choose medium-weight fabrics like cotton poplin or linen for a crisp, structured collar.
Add interfacing for extra support.
Avoid stretchy or slippery fabrics—they’ll fight you every step of the way and ruin the shape!
How to handle stretching in bias-cut undercollars?
Bias-cut undercollars can stretch unpredictably, so stabilize them with lightweight fusible interfacing before sewing.
Handle gently, avoid over-pinning, and press, don’t iron, to maintain shape.
A little patience here saves a lot of frustration later!
What to do if topstitching puckers the fabric?
Like a ripple in still water, puckering can ruin your smooth finish.
Loosen your stitch tension, switch to a walking foot, and press the fabric flat with steam before sewing to avoid those frustrating gathers.
How to create custom collar shapes or designs?
Start by sketching your desired collar shape on paper, then transfer it onto pattern paper.
Adjust seam allowances and test with scrap fabric.
Experiment with curves or angles—it’s your chance to express creativity!
How do I choose the right interfacing?
Interfacing choice depends on your fabric and collar style.
Lightweight fabrics need fusible interfacing for subtle structure, while stiffer collars benefit from sew-in types.
Test on scraps first—it’s like a fabric chemistry experiment!
Conclusion
Did you know a well-sewn collar can elevate a garment’s value by up to 30%?
By mastering these steps to sew a collar, you’ll create necklines that look polished and professional. From choosing the right fabric to perfecting that final press, each detail matters.
Don’t rush—precision and patience are your best tools. With practice, your collars will look store-bought, and you’ll feel proud every time someone admires your handiwork.
Ready to sew your next masterpiece?
- https://www.craftsy.com/post/how-to-sew-a-shirt-collar
- https://www.theshapesoffabric.com/2022/02/23/how-to-sew-different-types-of-collars/
- https://www.stylearc.com/magazine/sewing-tutorials/how-to-sew-a-collar-and-a-collar-stand/
- https://blog.closetcorepatterns.com/traditional-method-sewing-shirt-collar-closet-case-patterns/
- https://fairfitstudio.com/blog/how-to-sew-a-collar

