This site is supported by our readers. We may earn a commission, at no cost to you, if you purchase through links.
In this brief DIY guide, learn how to sew a father-son set of bow ties by choosing your fabrics, cutting out the pieces, and putting them together to form two bow ties that will be sure to make faces smile.
You’ll need patterned cotton, basic sewing supplies, and just a pinch of patience.
Let’s begin!
Table Of Contents
Key Takeaways
- Select complementary fabrics for a cohesive look, ensuring they work well together in terms of color, pattern, and texture.
- Pre-wash and iron the fabric before cutting to prevent shrinkage and ensure precise cutting and stitching.
- Take accurate measurements and carefully cut out the fabric pieces for the father and son bow ties to ensure consistency and precision.
- Personalize the bow ties by adding tags or labels, and consider creating a matching fabric pouch or box for a special presentation when gifting the father-son bow tie set
Fabric Selection and Preparation
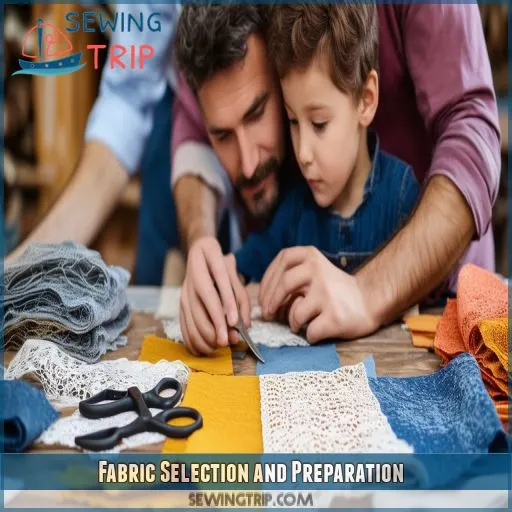
Start by picking fabrics that complement each other for a cohesive look, ensuring both prints and solids work together. Then, prewash and iron the materials to prepare them for precise cutting and stitching
Choosing Coordinating Fabrics for Father and Son
Choosing coordinating fabrics for a matching father and son bow tie set is key. Consider:
- Fabric color combinations: Stick with shades that complement each other.
- Pattern mixing techniques: For a stylish look, pair stripes with solids.
- Texture contrasts: Combine smooth cotton fabric with textured materials.
- Seasonal fabric choices: Opt for lightweight in summer, warmer in winter
Prewashing and Ironing Fabric to Prepare for Cutting
Before you start, prewash the fabric to prevent any future shrinkage and remove excess dye. Follow laundering instructions based on fiber content. Check for color bleeding, especially with vibrant hues. Dry using appropriate methods for the fabric types. Iron your patterned fabric smooth, ensuring no wrinkles, prepping it perfectly for your father-son bowtie set
Cutting the Bow Tie Pieces
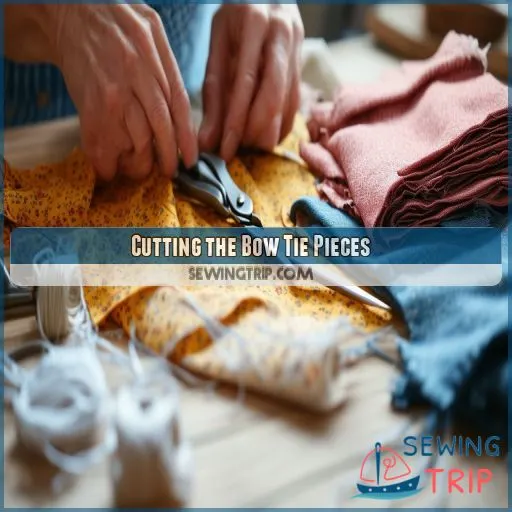
Start by cutting your fabric pieces for the bow ties—front, back, and neckband. Measure carefully to ensure precision and consistency for both the father and son sets
Measuring and Cutting the Front and Back Pieces
First, measure and cut out the patterned fabric for the front of Dad’s bow tie to be 4" x 16" and 2.5" x 10" for Baby’s. Then, cut solid fabric for the back to be 3" x 16" for Dad and 2" x 10" for Baby, making sure to cut accurately and following your fabric’s grain while lining up patterns and accounting for seam allowance.
Cutting the Neckband Strip
Cut an 18-long by 2-inch-wide strip of fabric; this will be the neckband.
Be sure to iron the edges under for a clean finish before you sew. You may also want to add interfacing to stabilize your fabric.
If necessary, adjust the neckband length for proper fit.
This step personalizes your father-son bowtie set from scratch, just in time for Father’s Day.
® Casandra Luz Quintero
Assembling the Bow Tie Front
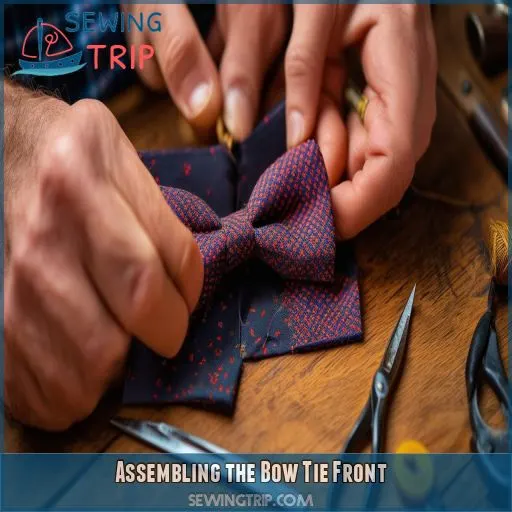
Fold the front fabric in half lengthwise with the right sides facing each other, then sew along the long edge, leaving the ends open. Once sewn, turn the fabric tube right side out and press it flat for a crisp finish
Folding and Sewing the Front Piece
Fold the fabric lengthwise, right sides together. Sew along this long edge, leaving both ends open. Ensure that edges line up, and there’s good thread tension.
- Check the quality of the fabric
- Apply accurate sewing techniques
- Ensure alignment of seams
- Keep edges straight
This step lays the groundwork for stylish Father/Son bow tie gift sets.
Turning and Pressing the Tube
Flip the tube of fabric right side out. If needed, use a turning tool to help.
Smooth it flat and line up the center seam. Press the tube with an iron to find all the seams, ensuring they’re consistent.
Don’t rush through this part, because this is what makes everything look polished at the end.
This great and easy beginner sewing project is perfect for Father’s Day and will strengthen parent-to-child bonding through creative making
Attaching the Back and Neckband
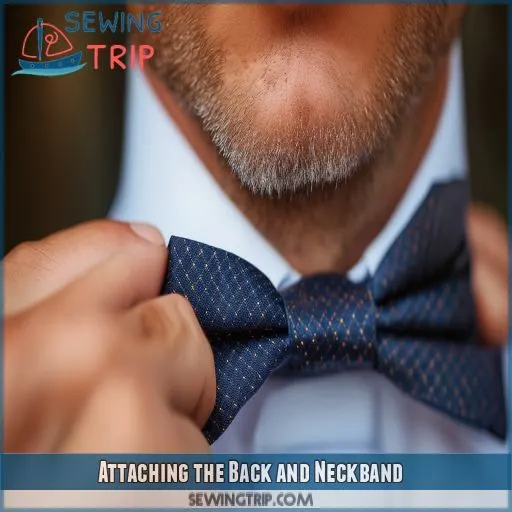
To attach the back piece to the front, pin the patterned fabric and solid lining together, then sew them, leaving a small gap. For the neckband, create a loop, secure it around the bow tie’s center, and hand stitch for a clean finish
Pinning and Sewing the Back to the Front
When you’re ready to pin and sew the back to the front, ensure your alignment is as it should be for perfect seamlessness. Hold in place with sewing pins.
- Match seams carefully.
– Sew with arrows in the direction for consistent stitches.
- Select a robust stitch type to ensure more durability.
- Ensure both sides align perfectly for a professional appearance
Creating the Neckband Loop
Fold your neckband strip lengthwise, right sides facing. Sew along the long edge to form a tube. Turn it right side out and press. Attach clasps if desired. For the bow, just wrap the neckband around the center, forming a knot. Make sure the stiffness of the fabric with securing stitches.
| Step | Description |
|---|---|
| Fold | Lengthwise, right sides in |
| Sew | Along long edge |
| Turn | Tube right side out |
| Press | For crisp edges |
Finishing the Bow Tie
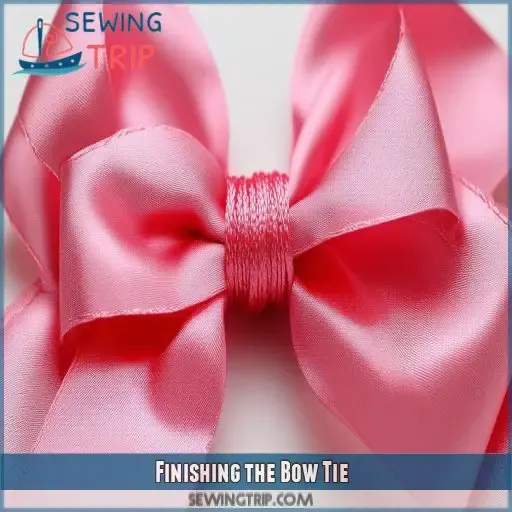
Now, it’s time to turn your bow tie right side out and give it a good press for a crisp finish. To seal the deal, hand stitch the opening closed, creating a seamless look
Turning and Pressing the Bow Tie
Turn the right side out with turning tools for precision. Press flat, minding extra the seam allowance for crisp edges and defined shape. Adjust pressing techniques based on fabric types. Enhance any style bow tie for Dad and boys ages 0-7. Perfectly coordinated Father’s Day set
Hand Stitching the Opening Closed
Hand-sew the opening closed with matching thread—invisible seams, nice and neat. Good lighting will help you be precise. Your careful stitching will give it a seamless look and add quality to these 100% silk satin ties. This touches up your proud Father’s Day memory, perfect for boys ages 0-7, featuring pre-tied expertise noted in the contact section.
Adjusting for Baby Size
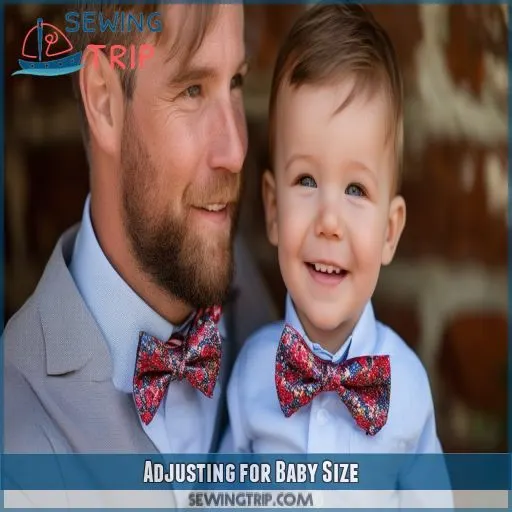
When creating a bow tie for a baby, you’ll need to adjust the measurements to fit their smaller size. Modify the dimensions and follow the same sewing steps with extra care for tiny details
Modifying Measurements for a Smaller Bow Tie
To adjust for a smaller bow tie, resize the front piece to 2.5" x 10" and the back to 2" x 10". The neckband should be 1.5" x 12". Consider pattern variations and color options using fabric scraps. Remember to incorporate different bow shapes for added flair. This DIY guide is perfect for creating spring bow ties or special Father’s Day gifts
Adapting the Sewing Process for a Miniature Version
To create a miniature version of sewing for baby bow ties, adapt the sewing process. Just follow these steps:
- Stitch modifications: Shorten stitch length for precision.
- Proportion of size: Apply careful measurement for balance.
- Seam placement: Allow for smooth seams for comfort.
- Miniature scaling: Downscaled patterns accurately.
Make a charming, comfortable accessory, perfect for Dad on Father’s Day.
Gifting and Presentation
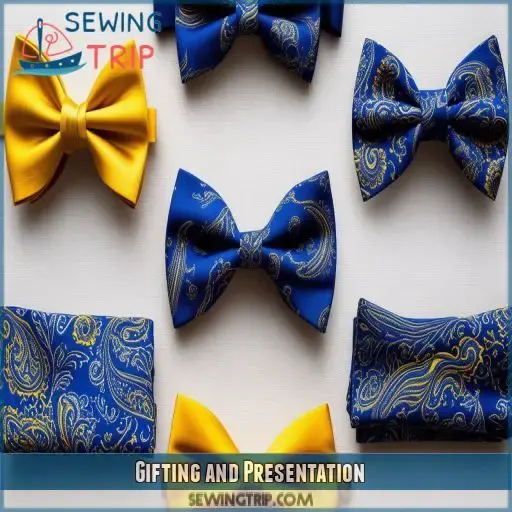
To make your Father-Son bow tie set truly special, consider adding personalized tags or labels. For a polished touch, create a matching fabric pouch or box for gifting
Adding Optional Tags or Labels
Adding personalized designs, custom labels, or tags increases brand recognition and craftsmanship quality. Opt for durable tag materials to withstand wear.
These additions make each bow tie memorable, striking a chord on Father’s Day. To thank moms, include a note.
With pre-tied boys’ ties for ages 0-7, you create special moments. Add an extra boys’ bow tie for more smiles
Creating a Matching Fabric Pouch or Box
Add some panache to an item by finishing it off.
Think about some packaging choices that can be made by creating a matched fabric pouch or creative containers.
Design aesthetics are enormous, so let your DIY personalization pop.
Finish these small bow ties off with custom labeling and create something extraordinary for Father’s Day.
Great for dads and sons from 0 to 7, these unique patterns won’t be forgotten in bow ties
Frequently Asked Questions (FAQs)
What type of stitching is most durable?
Backstitching is the most solid stitching you can do; it’s strong and secure. It will hold, specifically at areas of high stress in your work, like bow tie neck bands. You’ll ensure long-lasting, quality craftsmanship.
How should the bowtie be washed?
Hand wash your bowtie in cold water with mild detergent. Gently squeeze out excess water without wringing and lay flat to air dry. Iron on low heat, if needed, to maintain a crisp, polished look
Are there additional accessories for bowties?
Accessories for bowties? Absolutely! Elevate your look with pocket squares for a dash of flair, tie bars for added polish, and cufflinks to up your game. A complete ensemble that’ll have you looking sharp as ever!
Whats the best fabric for a secure bow?
Choose 100% cotton or silk for a secure bow tie. Both fabrics offer durability, breathability, and a polished finish. Cotton is ideal for everyday wear, while silk adds luxury for special occasions
How can I troubleshoot sewing machine issues?
Check the tension, and then rethread the machine. Make sure the needle isn’t bent or dull. Remove any lint and dust. As a last resort, refer to your sewing machine’s operating manual for troubleshooting tips.
Conclusion
Now that you, too, have commenced your epic odyssey of sewing, you can easily sew a father-son bowtie set. From the perfect choice of fabrics to the ironing out of the final details, everything is in line with style. Just think about beaming faces in your handmade attire! Gather the materials and begin the steps—celebration next. Happy sewing!

